
Sourdough Old Fashioned Beer Doughnuts, no bakers yeast makes these easy to make!
Sourdough Old Fashioned Beer Doughnuts, no bakers yeast makes these easy to make!
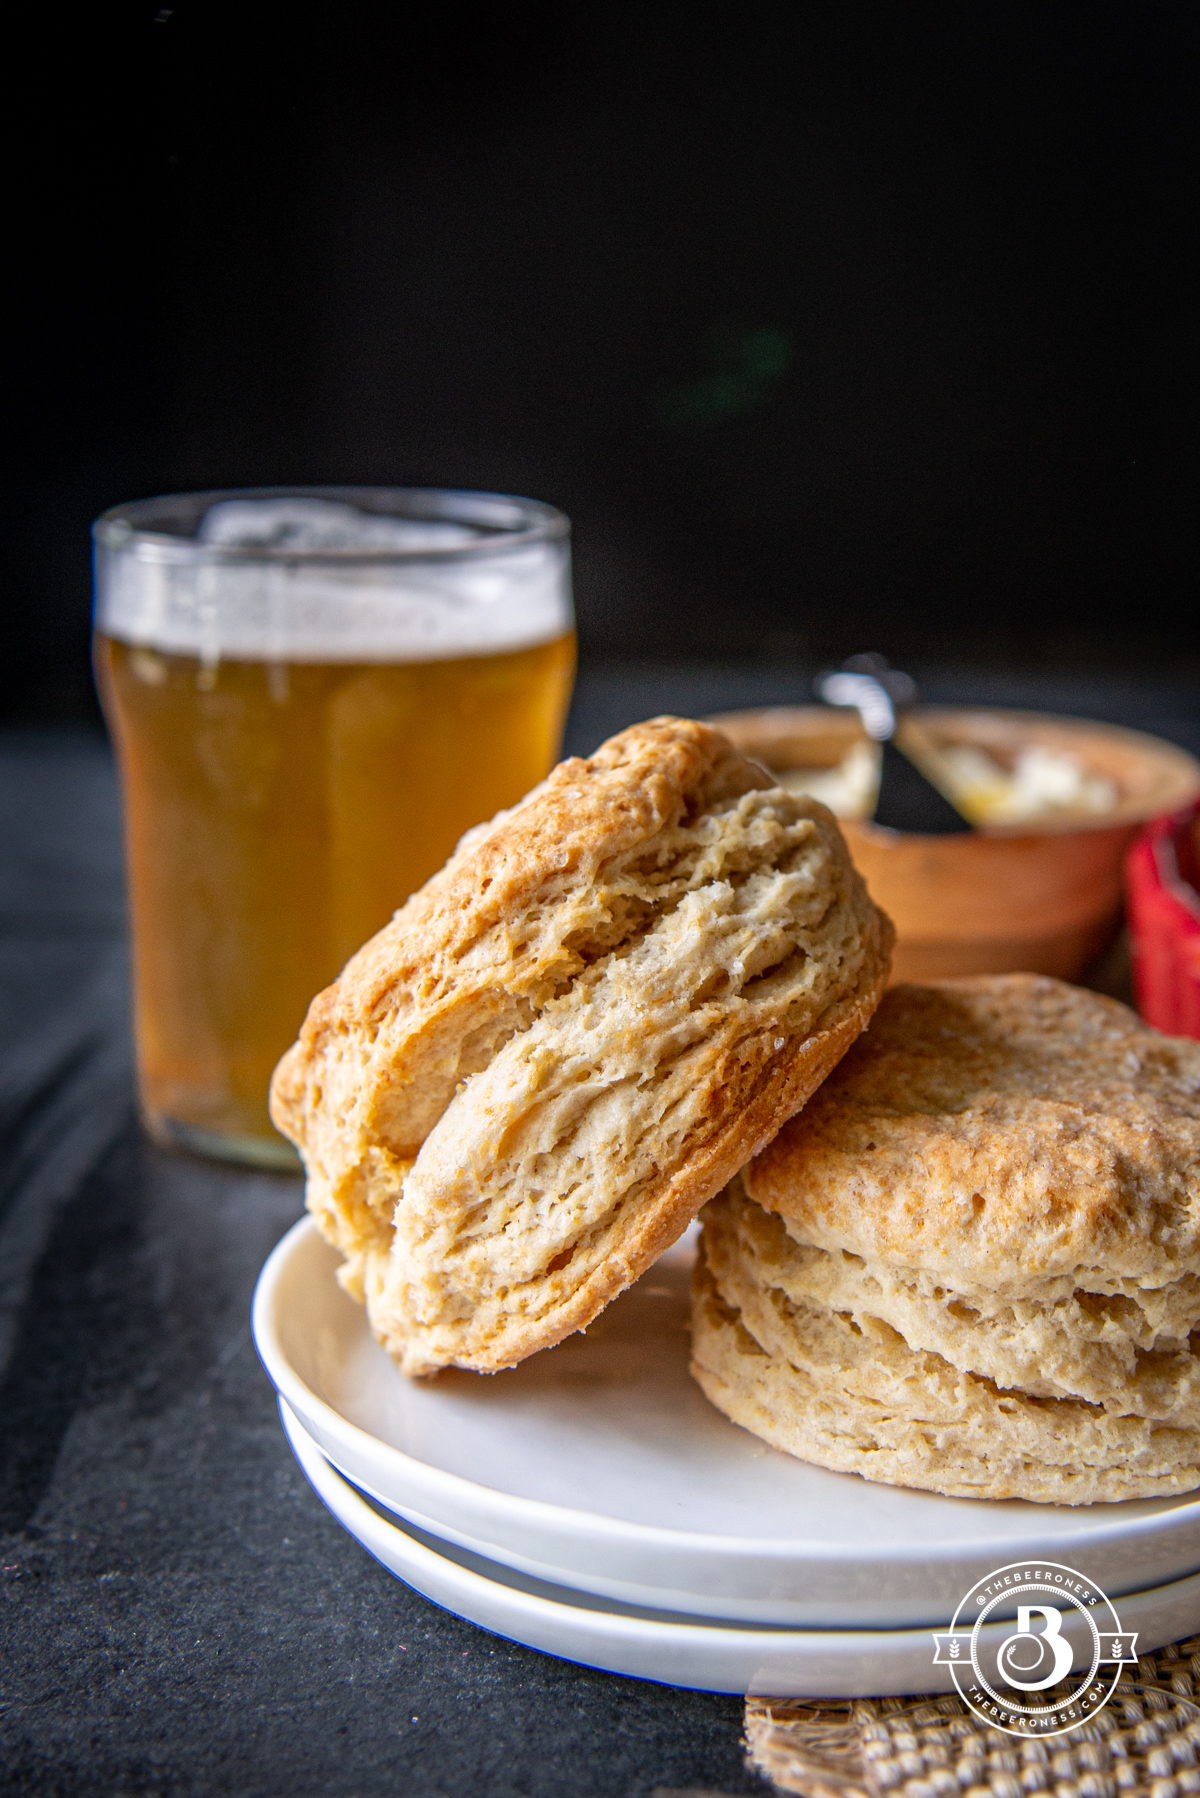
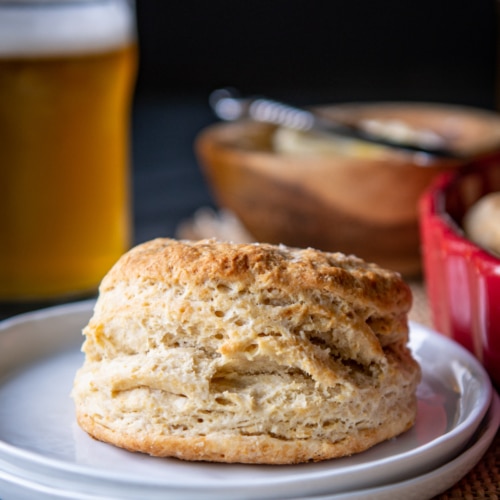
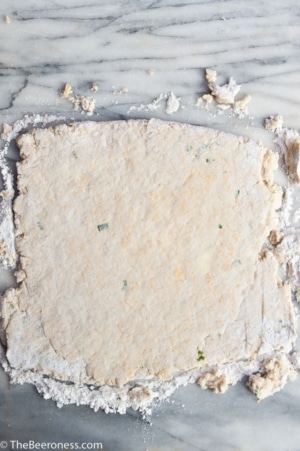
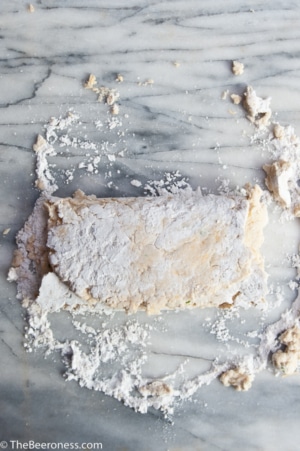
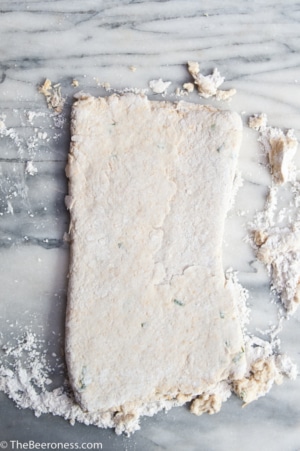
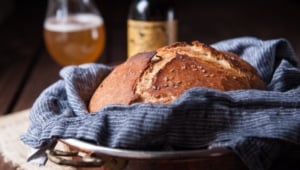
Sourdough Beer Biscuits

I know I told you that it would be DAYS before I posted this recipe, and in reality, it’s been like 30 hours, but that’s the nature of our existance right now, right? 30 quarantine hours seem like days. Quarantine days are like dog years, each one is equal to seven regular days, I think this is a scientific fact. 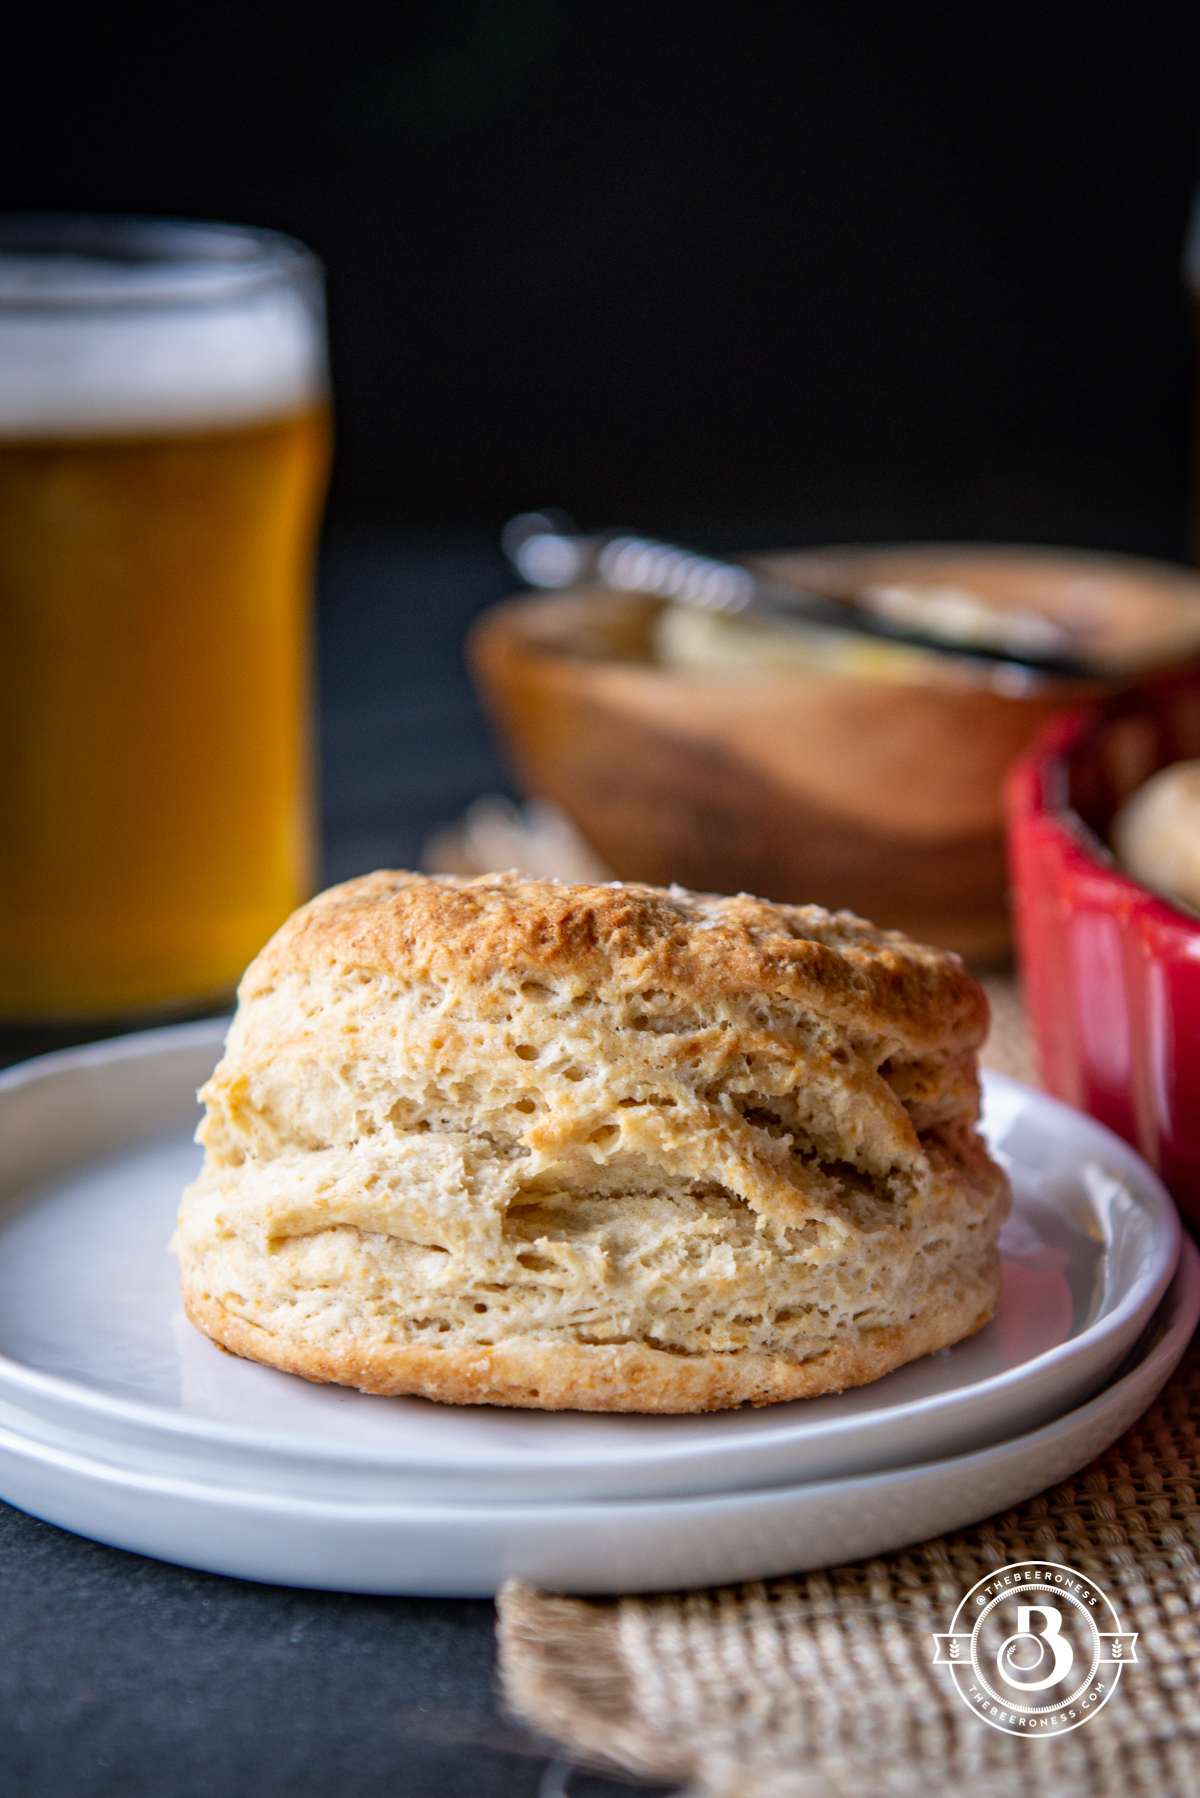
But this is a recipe that doesn’t need an overnight proof like the Sourdough Beer Waffles (but those waffles are SO worth the wait), so you don’t have to wait days to get these biscuits into your face, just minutes. And we also need to normalize biscuits at every meal because dinner needs them and breakfast shouldn’t have all the fun. It’s my pandemic mission.
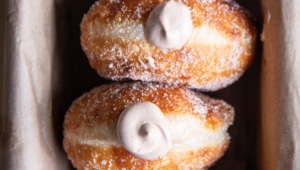
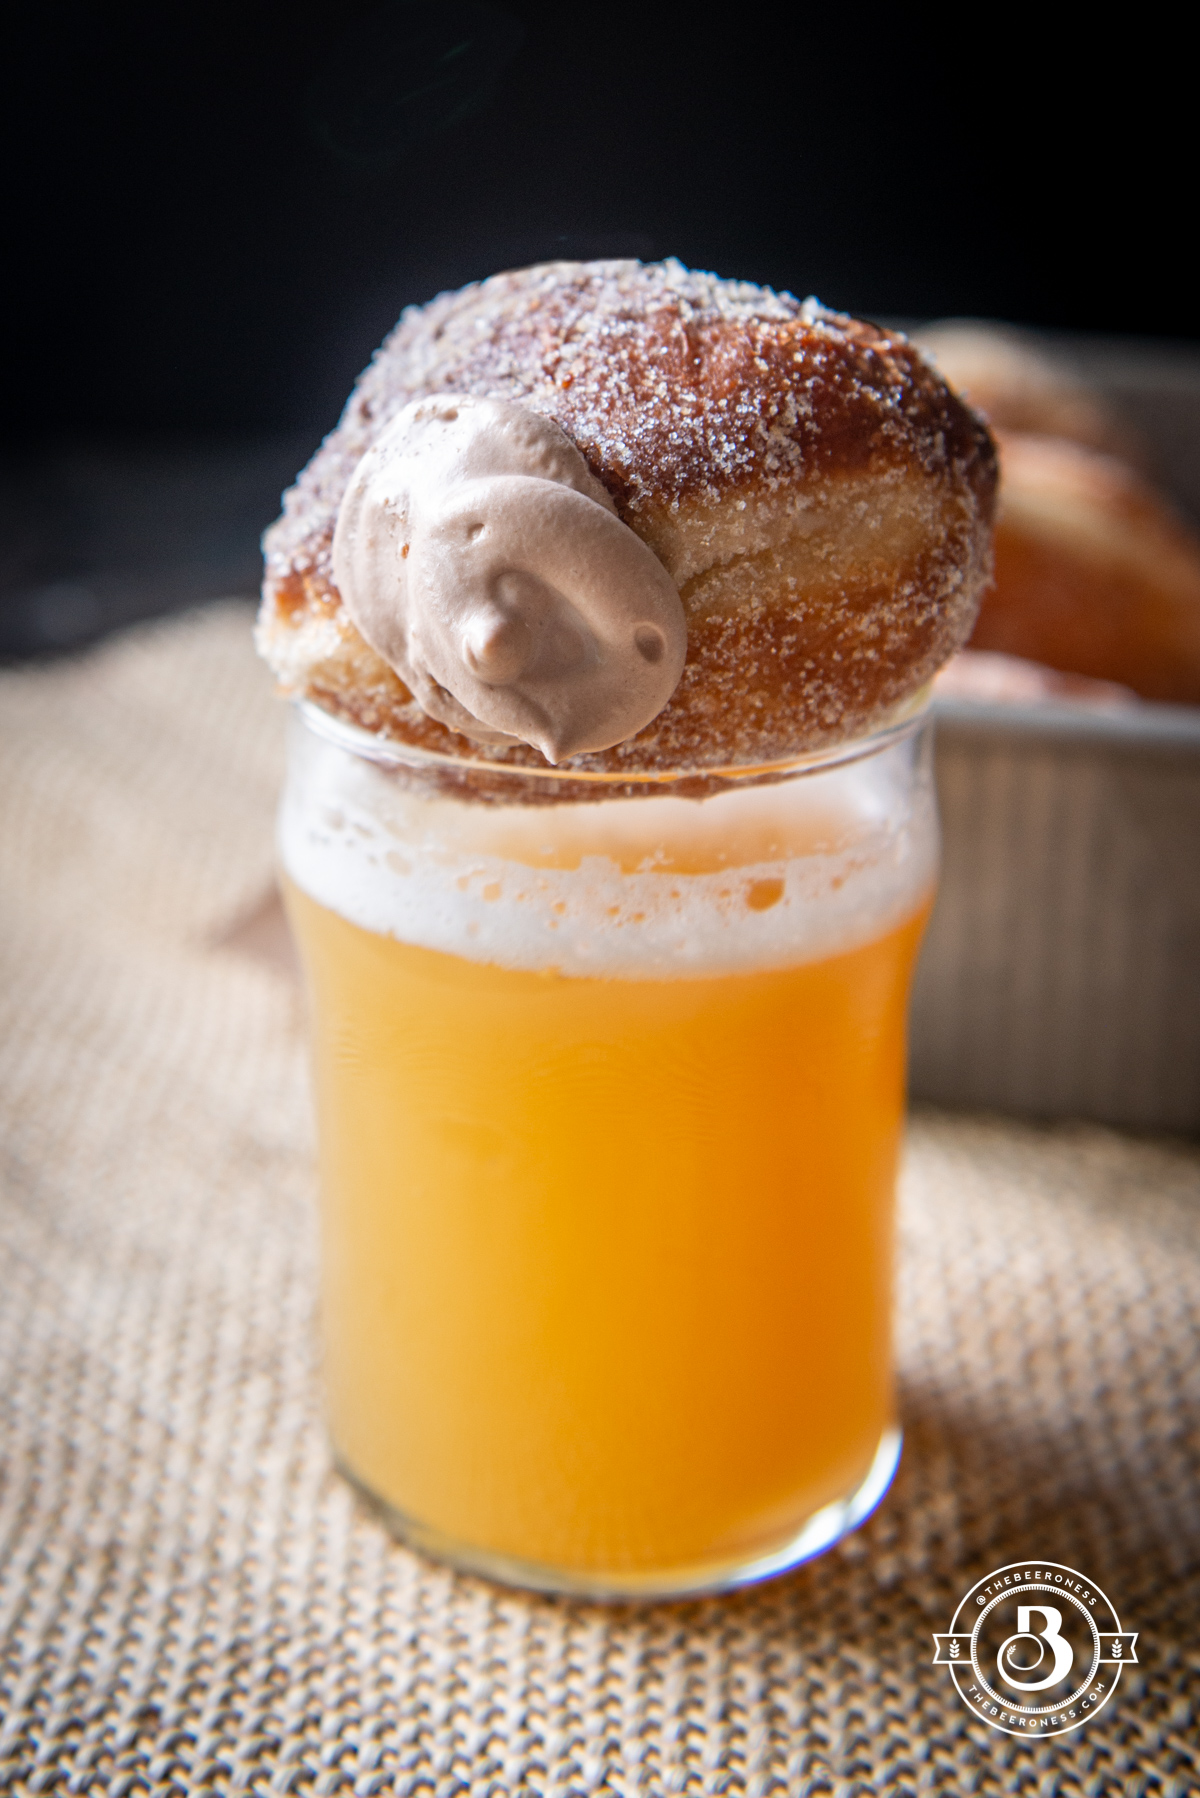
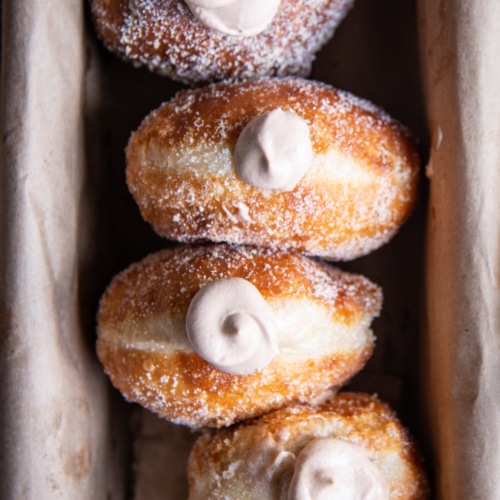
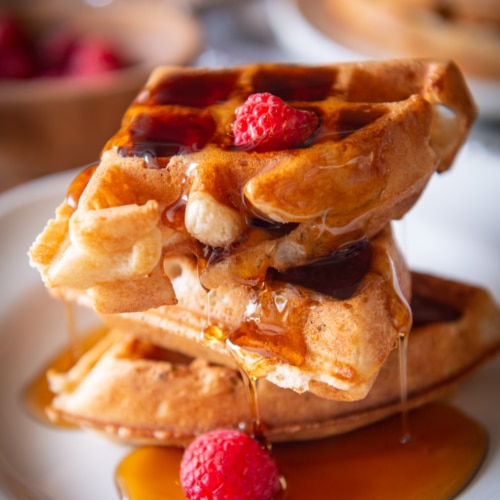
Sourdough Beer Doughnuts with Nutella Mousse Filling

Doughnuts are my thing. My last meal thing, my birthday treat thing. Cake is great, but it’s not as good as doughnuts. It’s sort of becoming a thing on my birthday, finding nearby doughnuts wherever I happen to find myself. Even when I was here, I was able to find some which was quite the birthday miracle in such a remote location.
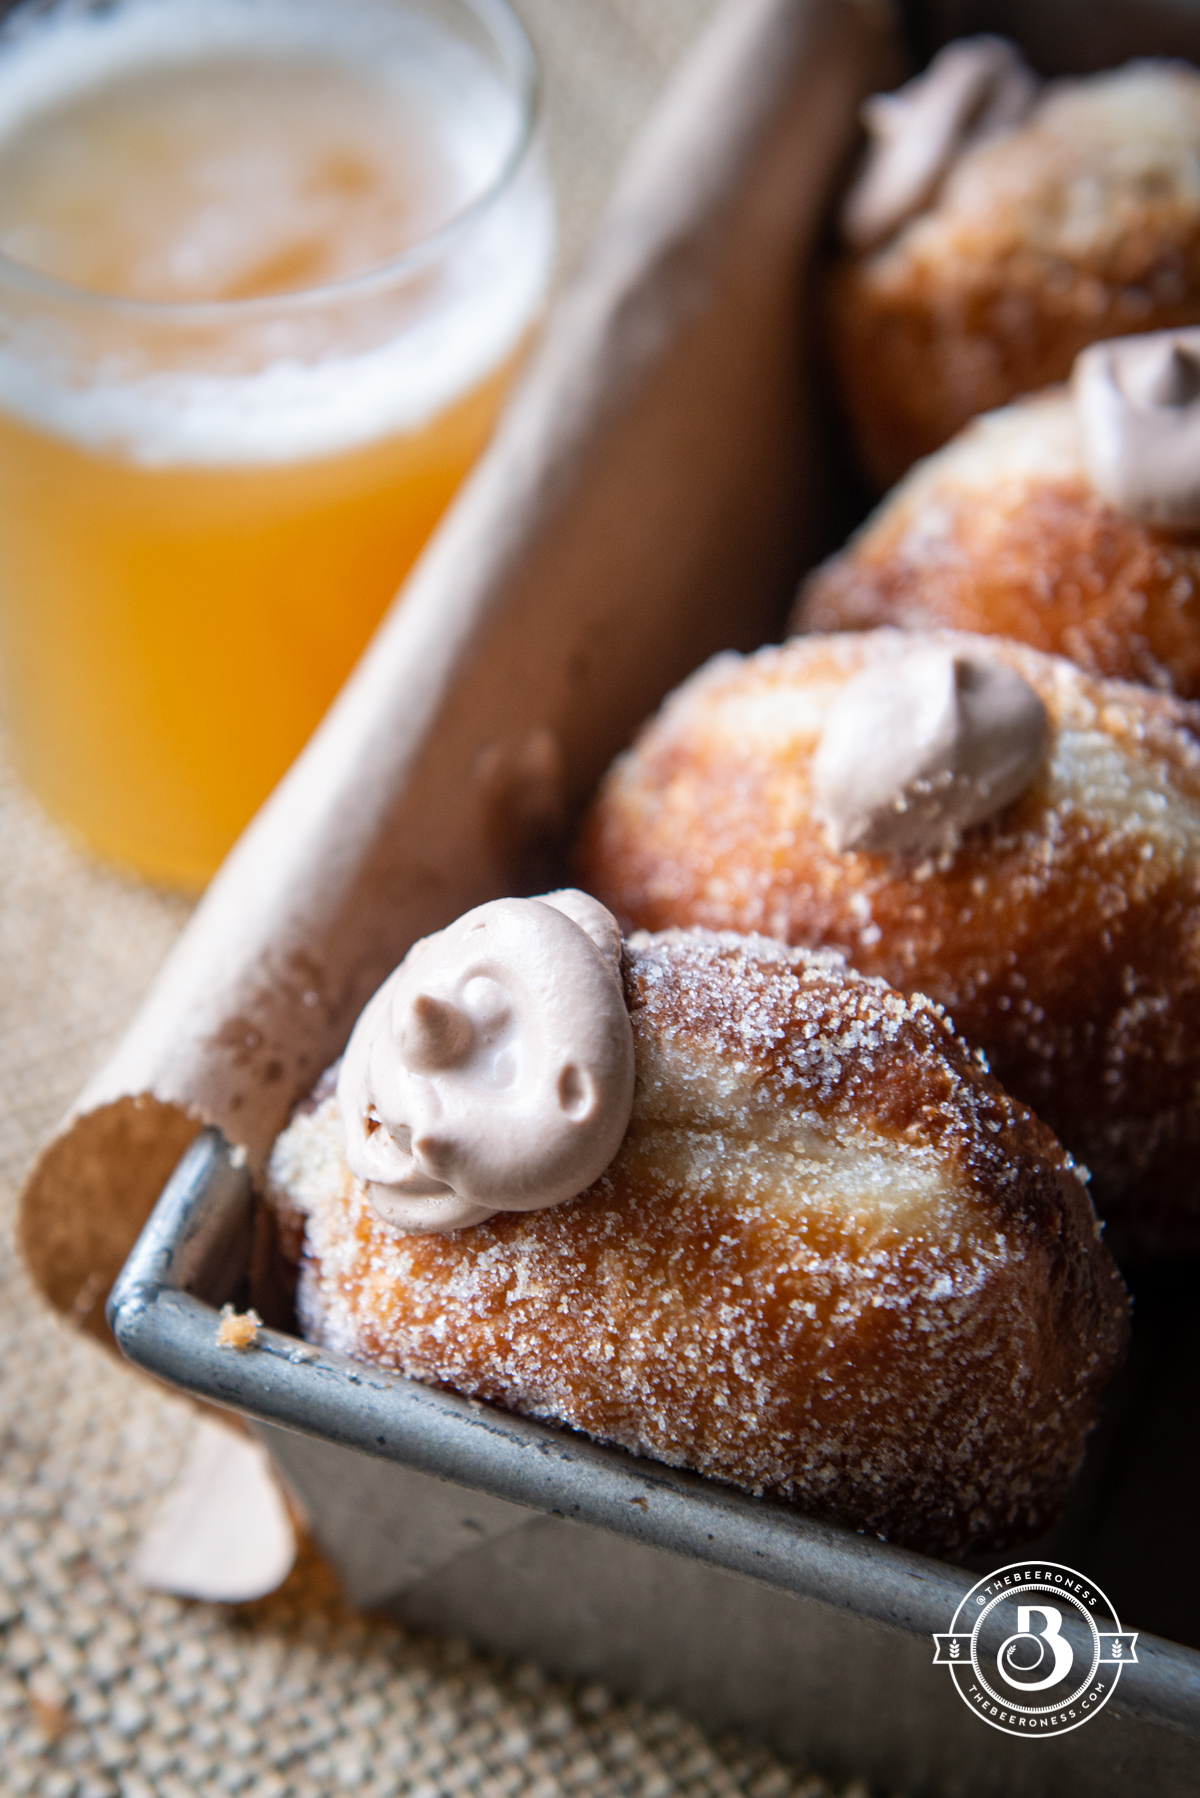
There is one thing I always look for when it comes to doughnut perfection. Ok, that’s not true, there are several things. But first and foremost, when a doughnut is yeasted (or raised) it needs to have that tan line in the center. That’s probably not the correct term, but that’s what I call it, the doughnut tan line. That white belt around the doughnut means the dough was light enough to sit on top of the oil, if it’s missing it means the dough was too dense and the thing sank, that’s sub-optimal.
I also believe that raised and filled doughnuts are the apex of doughnuts. Cake doughnuts are just fried muffins with the exception of Old-Fashioned. You can fight me on this but I will win. Afterwards, we can share a beer with some proper raised and filled doughnuts and all will be well again.
I read the other day that sourdough starters are a problem. As in: we are wasting too much flour by feeding and discarding on a daily basis.
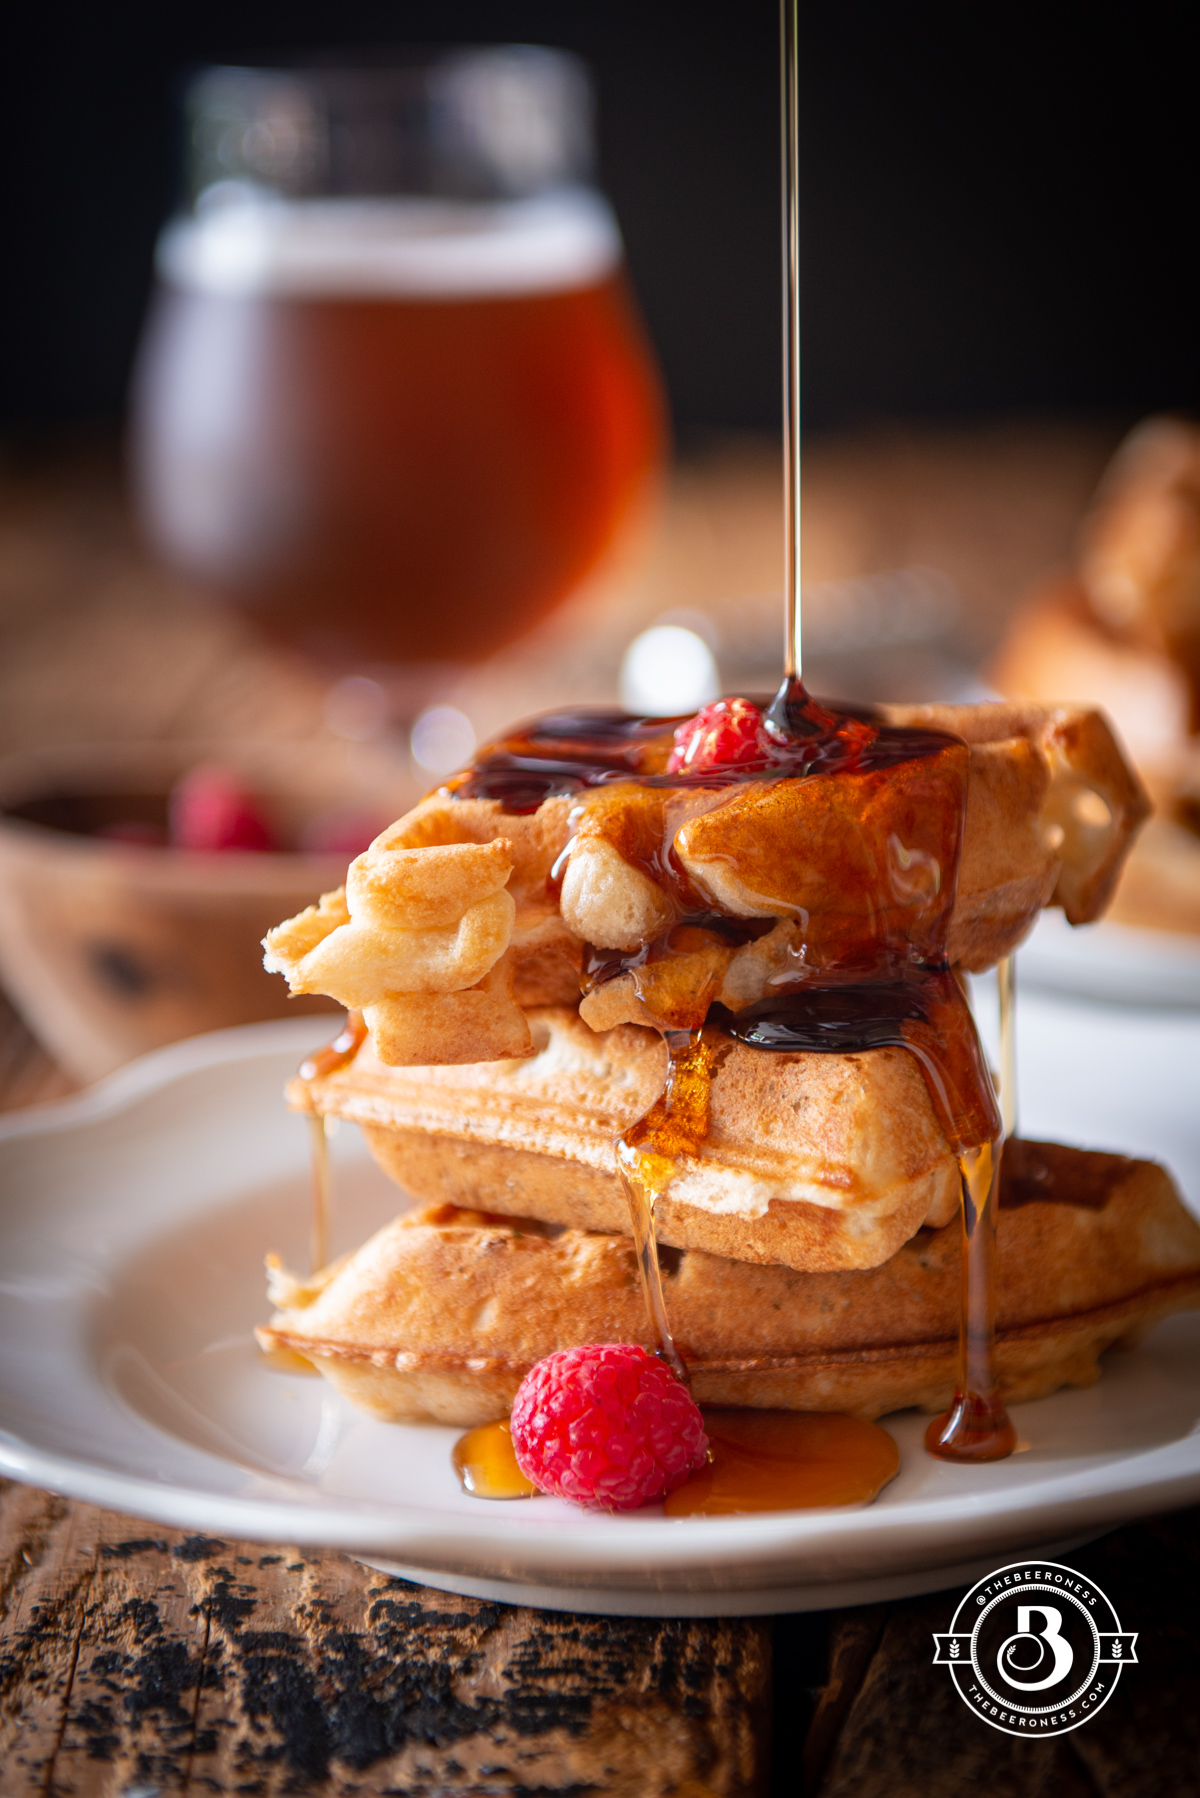
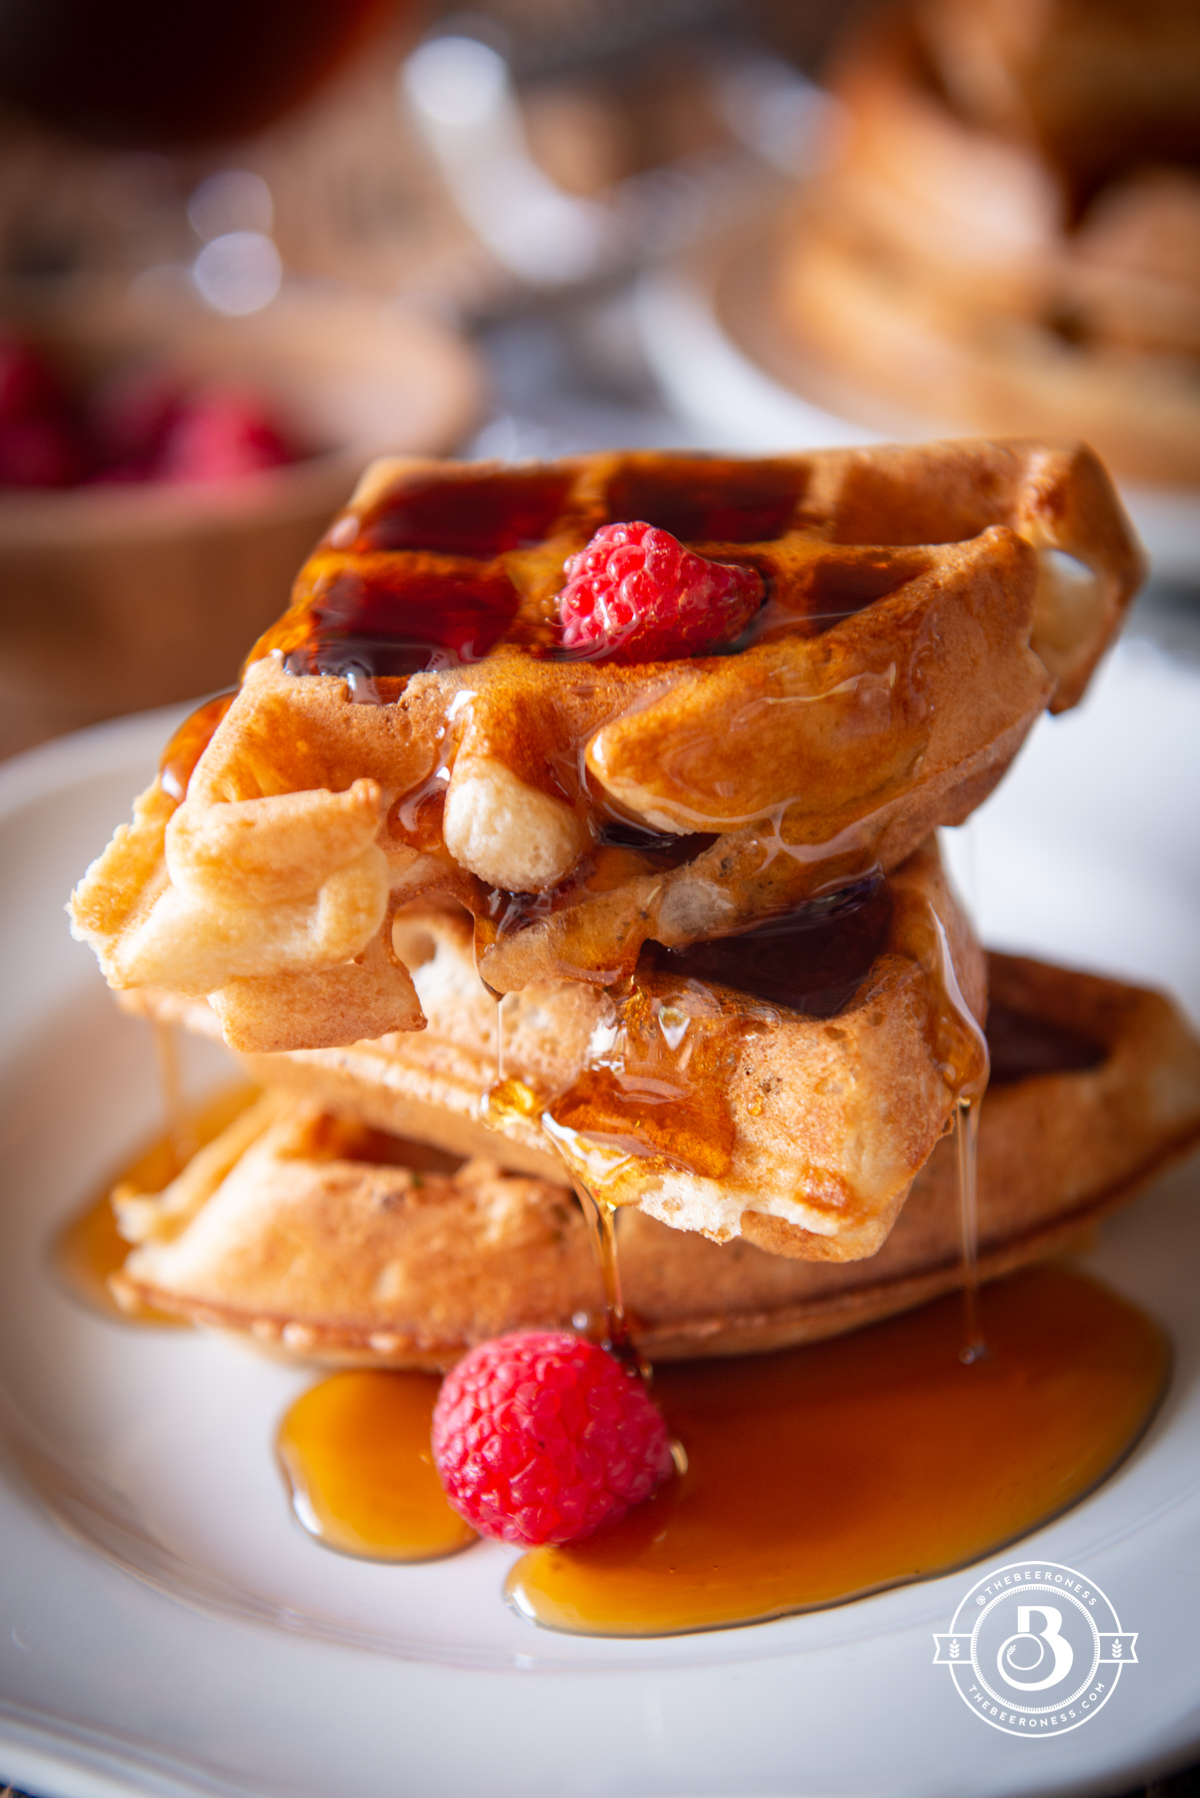
Overnight Sourdough Beer Waffles
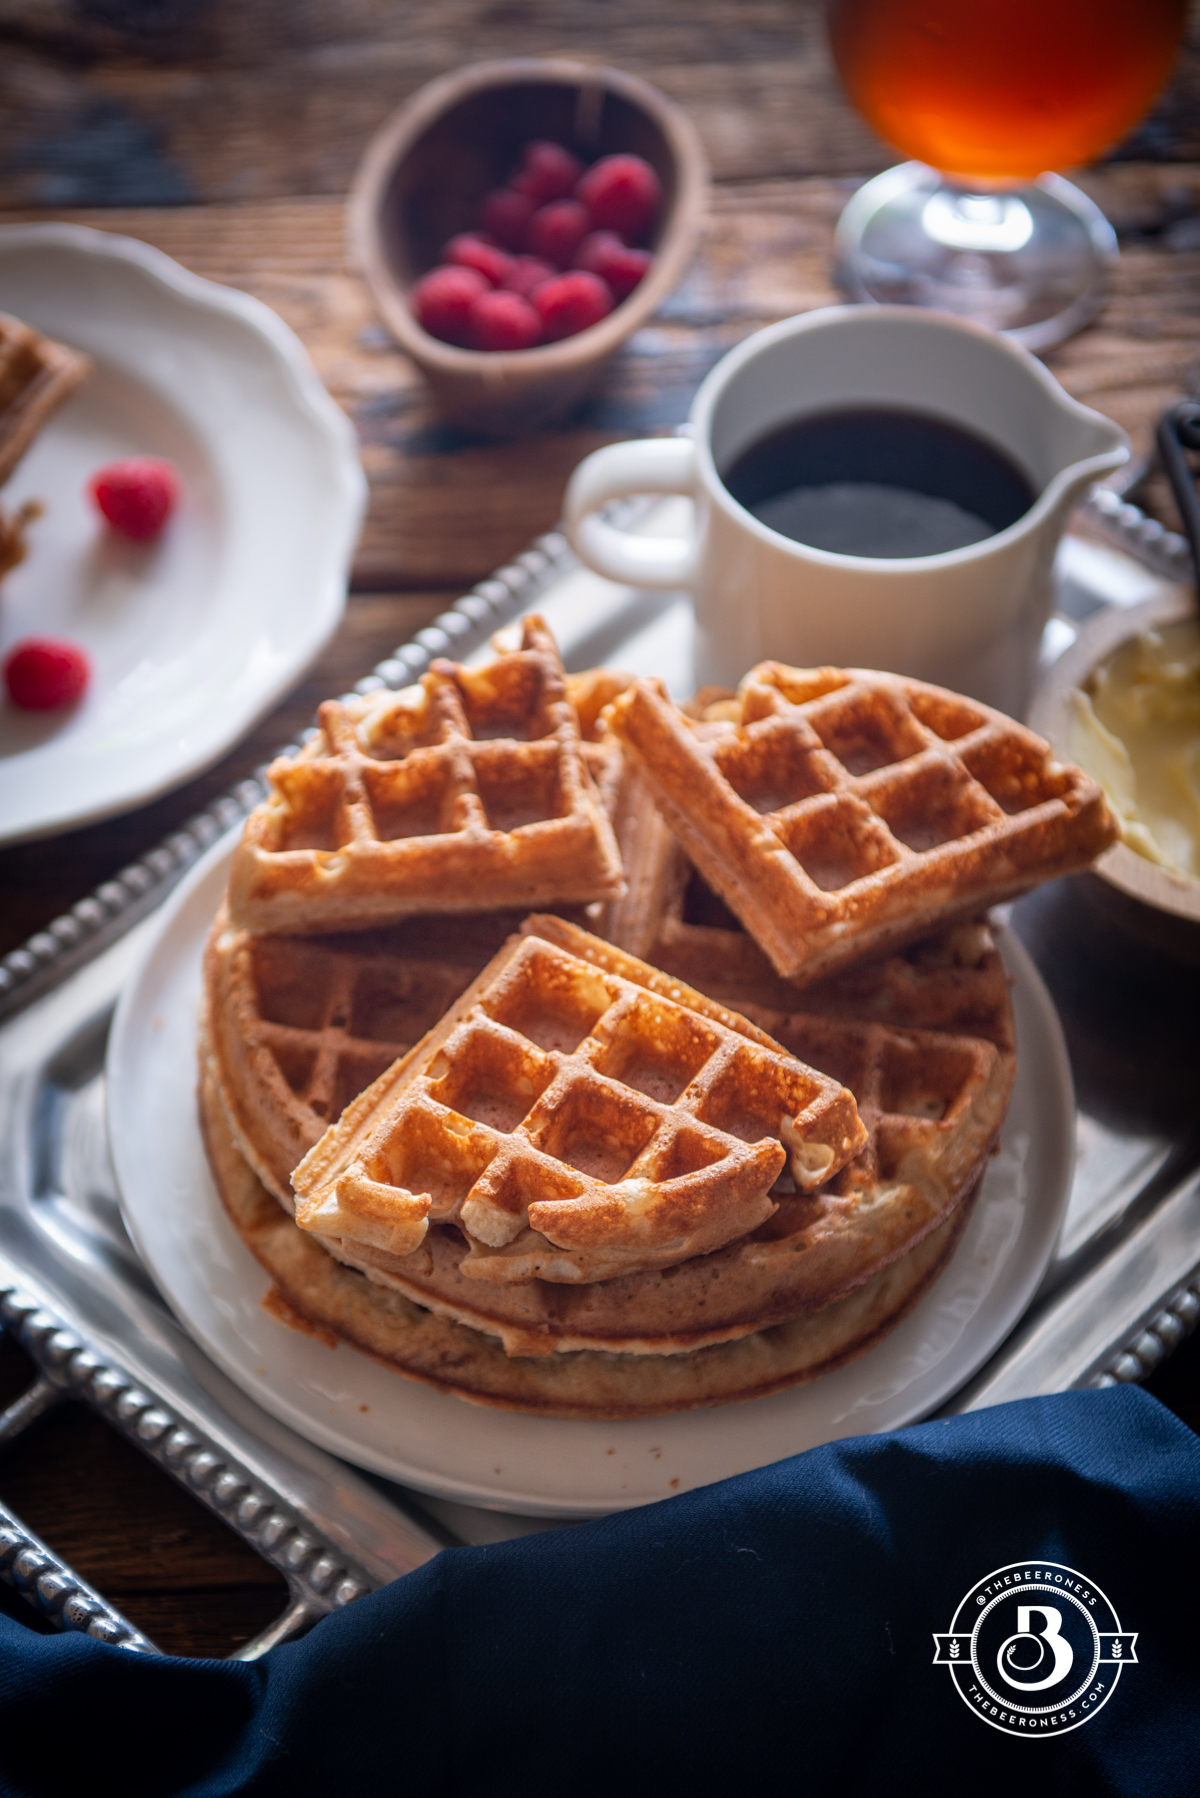
Do you remember parties? The kind you went to in-person and didn’t involve internet access and a Zoom account? Yeah, me too, just barely. Do you remember being in a group of strangers, standing close, and even letting them taste your beer? Now that idea is slightly horrifying but also rebelliously exciting.
The last time someone made waffles for me was the morning after one of these…what did we call them again?….parties? Yes, one of those.
Even before I left my place to join a party at my friend Linda’s house, I planned not to return until the next morning. Late that night, before we all went to bed, we drunk-mathed her sourdough starter into a bowl with a handful of other ingredients, pretty unsure how it was going to work out the next morning.
A handful of hours later a scraggly, slightly hungover group of morning after party-goers sat at her kitchen island as she made us all sourdough waffles. They were amazing, and I suspect at least half the reason most of the people there had stayed the night in the first place.
I texted her a few days ago, I needed to make the waffles again. She sent me her recipe, which I obviously updated with beer because I do that sort of thing. It’s one of the best things I’ve made in a while, but I’m certain it will taste even better the next time I am actually allowed to have humans over to help me partake, hungover or not.
Want to make your own sourdough starter? Try my sour ale sourdough starter
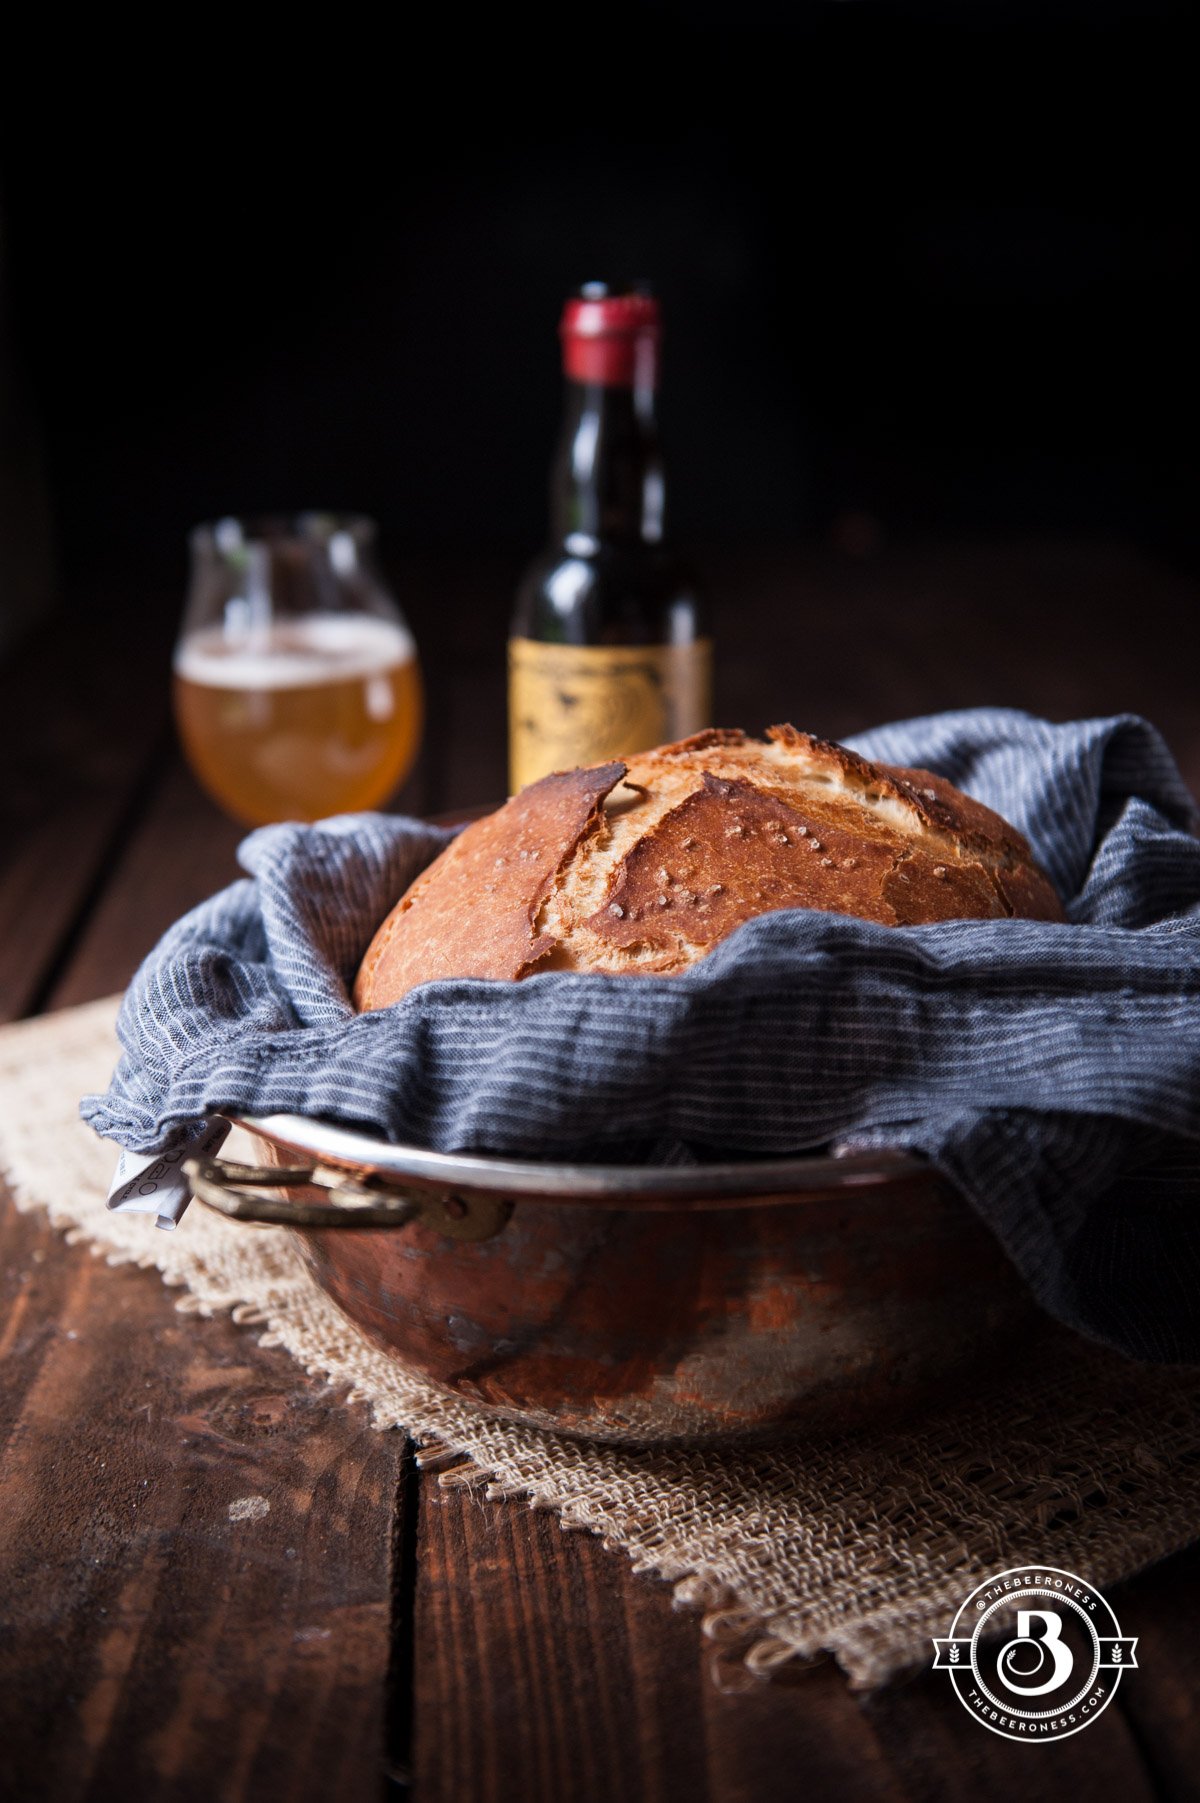
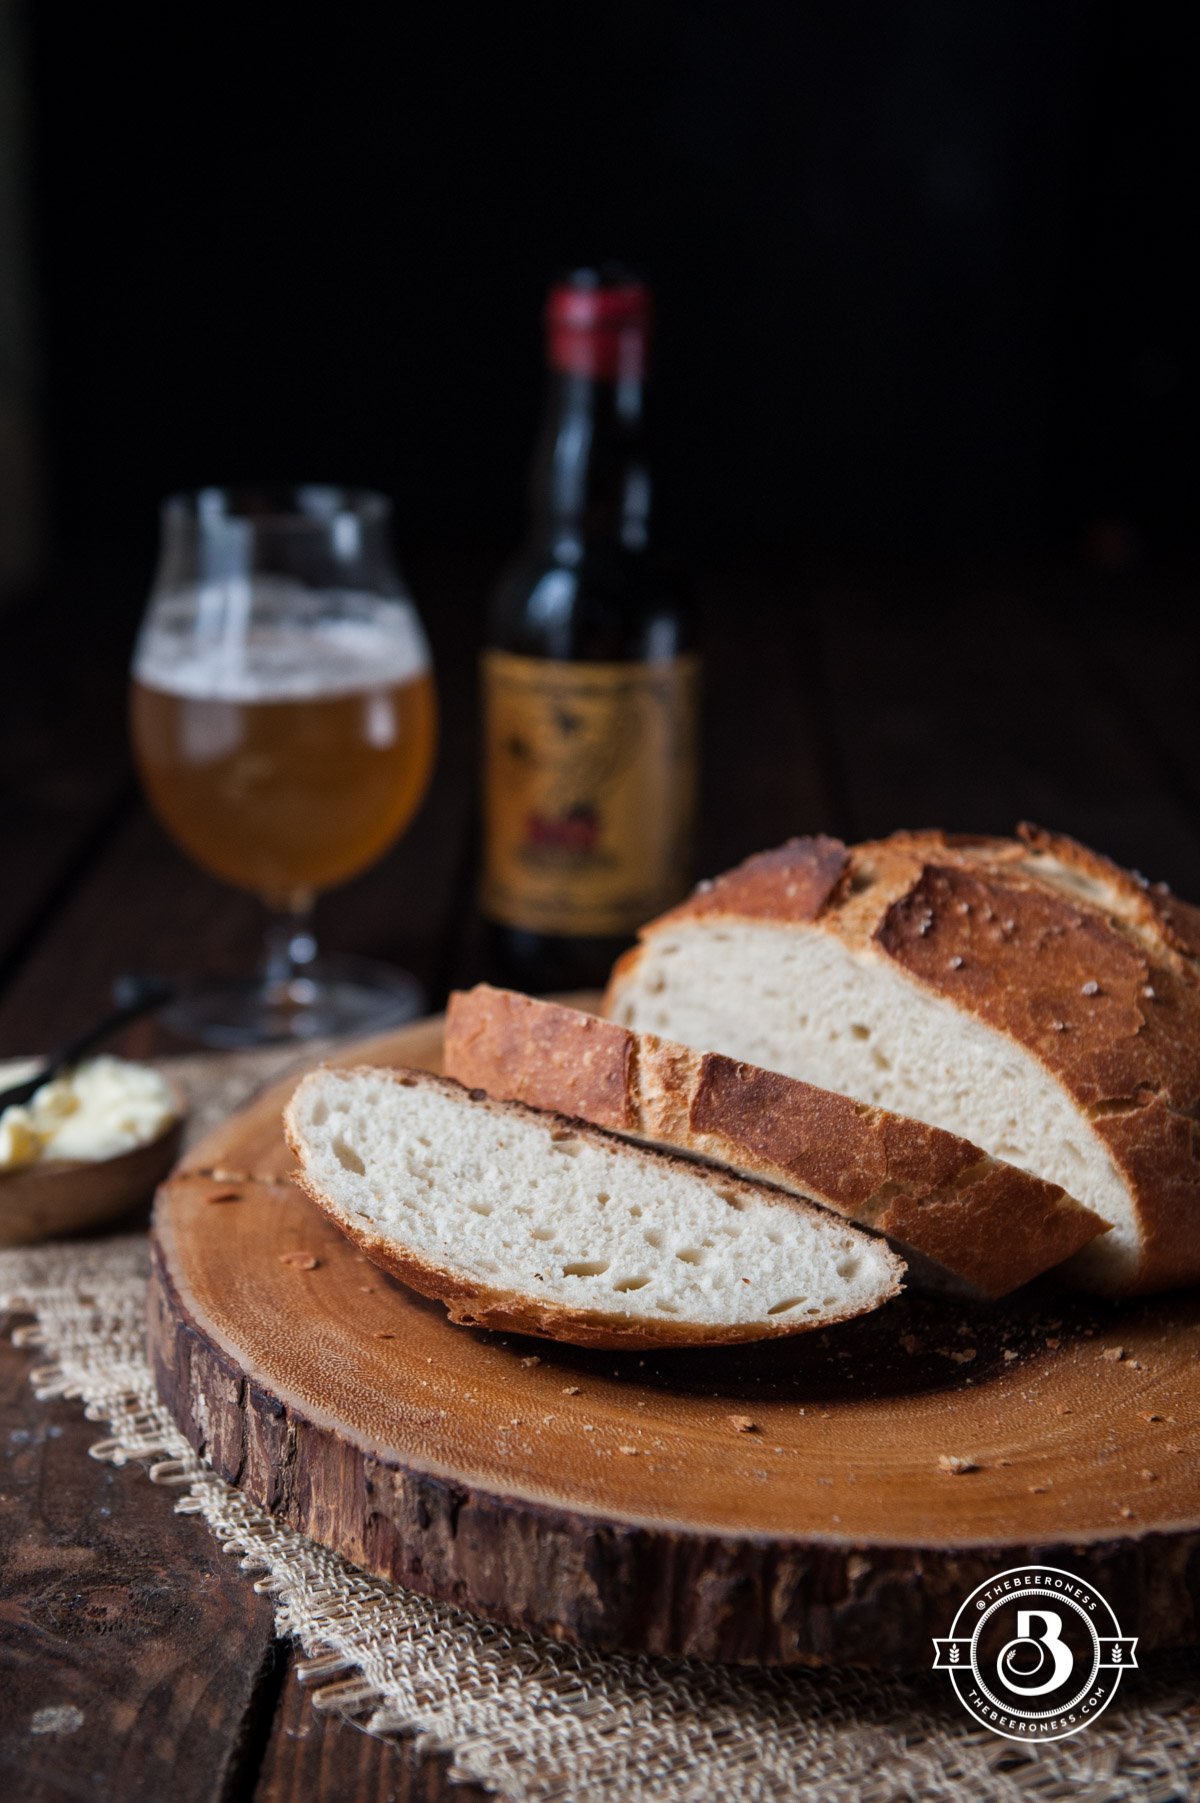
If you close your eyes, and take a second, you can put the taste of sourdough bread side-by-side with a sour ale. The flavor is liquid sourdough, the notes are so similar, and there is a good reason for that: it’s the same process.
Sourdough bakers and sour ale makers are cultivating the same thing: a wild yeast strain, as well as a wild bacteria called lactobacilli. Sourdough bread tastes sour because of the same two things that make sour ale taste that way. When combined, those two microscopic beasts team up to leaven your bread, ferment your beer, while bringing you that beautiful tang (*Not all sour ales contain lactobacilli, but plenty do).
Because of this, making your sourdough starter with a liquid that a master brewer already spent weeks ensuring contained both a wild yeast strain AND lactobacilli puts you ahead of the game. Water is fine, but a sour ale is like water with superpowers.
Things to keep in mind:
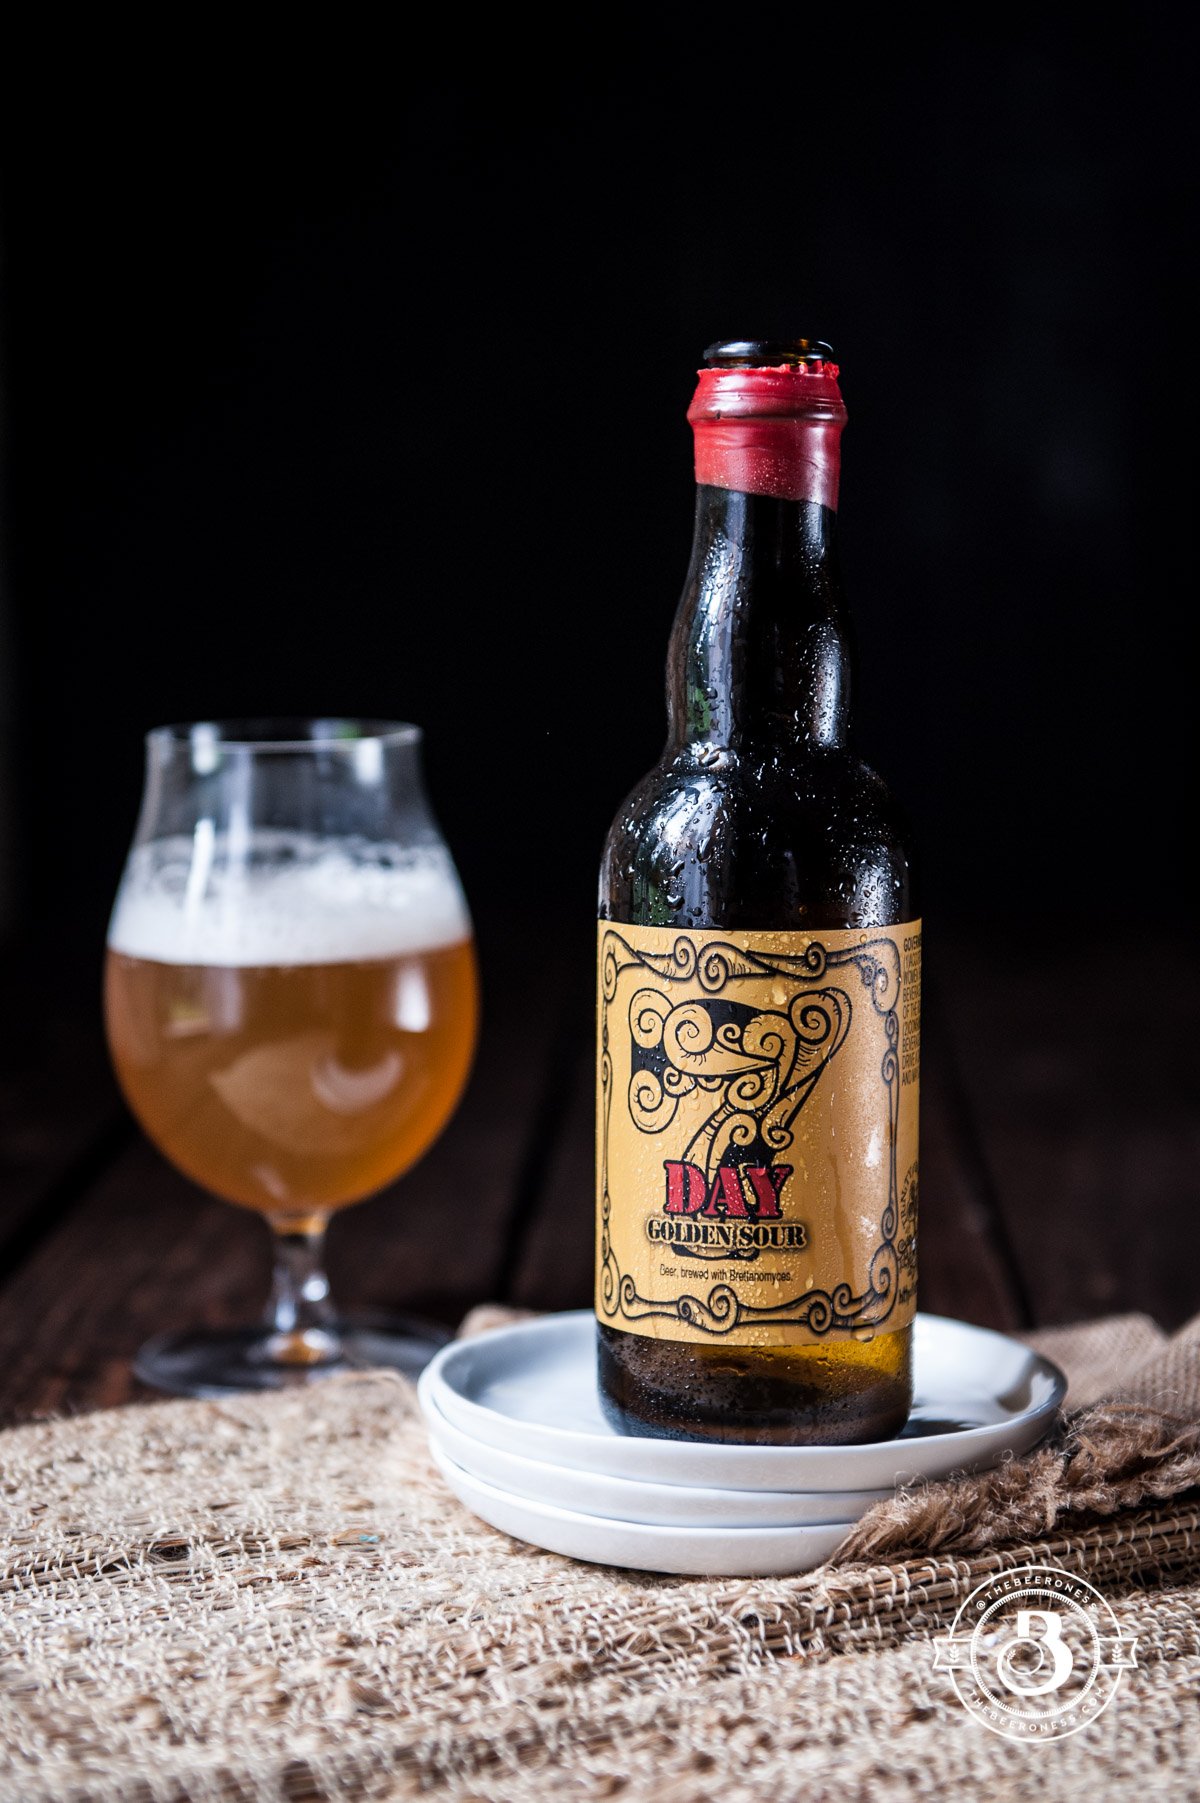
I used Trinity Brewing, 7 Day Golden Sour
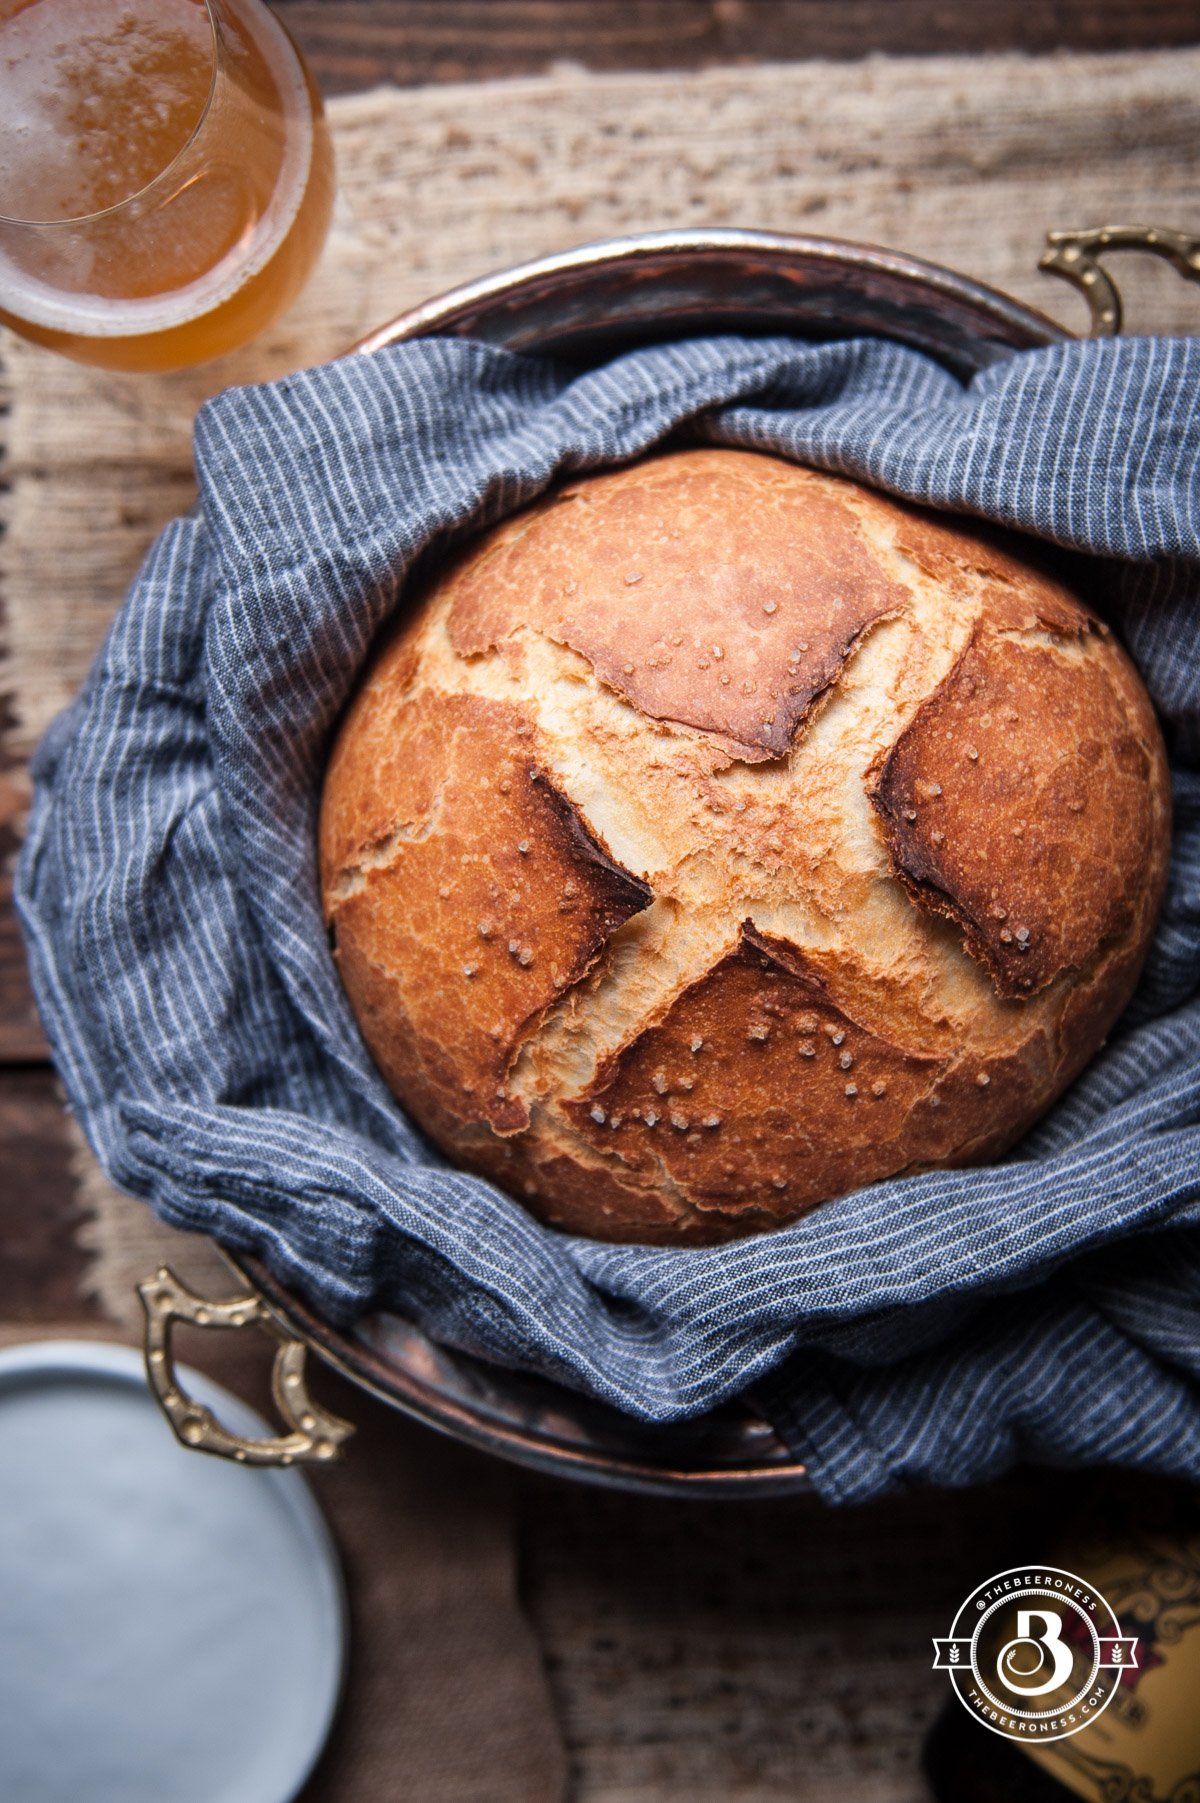
Combine 1 cup (120g) flour (whole wheat flour works best to start), and ½ cup (4oz) sour ale that has both lactobacilli and Brettanomyces (ask at your local bottle shop, a beer like this should be easy to find) in a glass, ceramic, or clay crock. Stir until all the flour has been moistened. Cover loosely with a lid or plastic wrap (not airtight, you want some air going into the crock) and allow to sit at room temperature for 24 hours. (Cover the remaining beer and allow to sit at room temperature for your next two steps).
After 24 hours stir the mixture, remove all but ½ cup (4 oz) discarding the rest. Add 1 scant cup (110g) all-purpose flour and ½ cup (4 oz) room temperature beer. Stir the 1/2 cup starter, flour, and beer, until well combined, cover, and let sit at room temperate.
Continue feeding once a day as directed in step two for three days. Once 12 ounces of beer has been used, switch to warm water (filtered water works best). On the fourth day begin feeding twice a day, as directed in step two. One feeding first thing in the morning, second feeding at night.

Once your starter doubles in size in less than 2 hours, it’s ready to use. This could take as little as one week and as many as three weeks. Colder environments will take longer, warmer temperatures will be quicker. Once you’re ready to use the starter measure out what you need for your recipe, feed your starter, and place it in the fridge.
Feed your starter once a week. It can live indefinitely, starters have been known to live for decades, and in some communities are passed down through generations. When you want to use your starter, take it out of the fridge, feed it, and allow to come to room temperature before using (about 6 hours, overnight if the room is cold). Feed it again and then put away.
Check out my recipe for:
Overnight Sourdough Beer Waffles


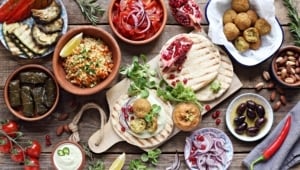
With Italian, Turkish, Greek, Spanish, Levantine, and North African influences, it’s no wonder that Mediterranean cuisine is taking the international food scene by storm. But how do these Mediterranean food cultures work together? That’s what we’ll discover here.

Sunflower seeds have an exceptionally long history. They’ve been much loved for many thousands of years. As such, they’ve long been known for their health benefits and many helpful nutrients. Read on to learn everything about the health benefits of sunflower seeds.

Delve into the deeply ingrained, flavor-packed world of Ethiopian cuisine, where each dish is a tour de force of taste and tradition. Stick with us, and you’ll soon be whipping up authentic Ethiopian dishes with the verve of a seasoned chef.
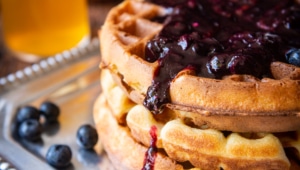
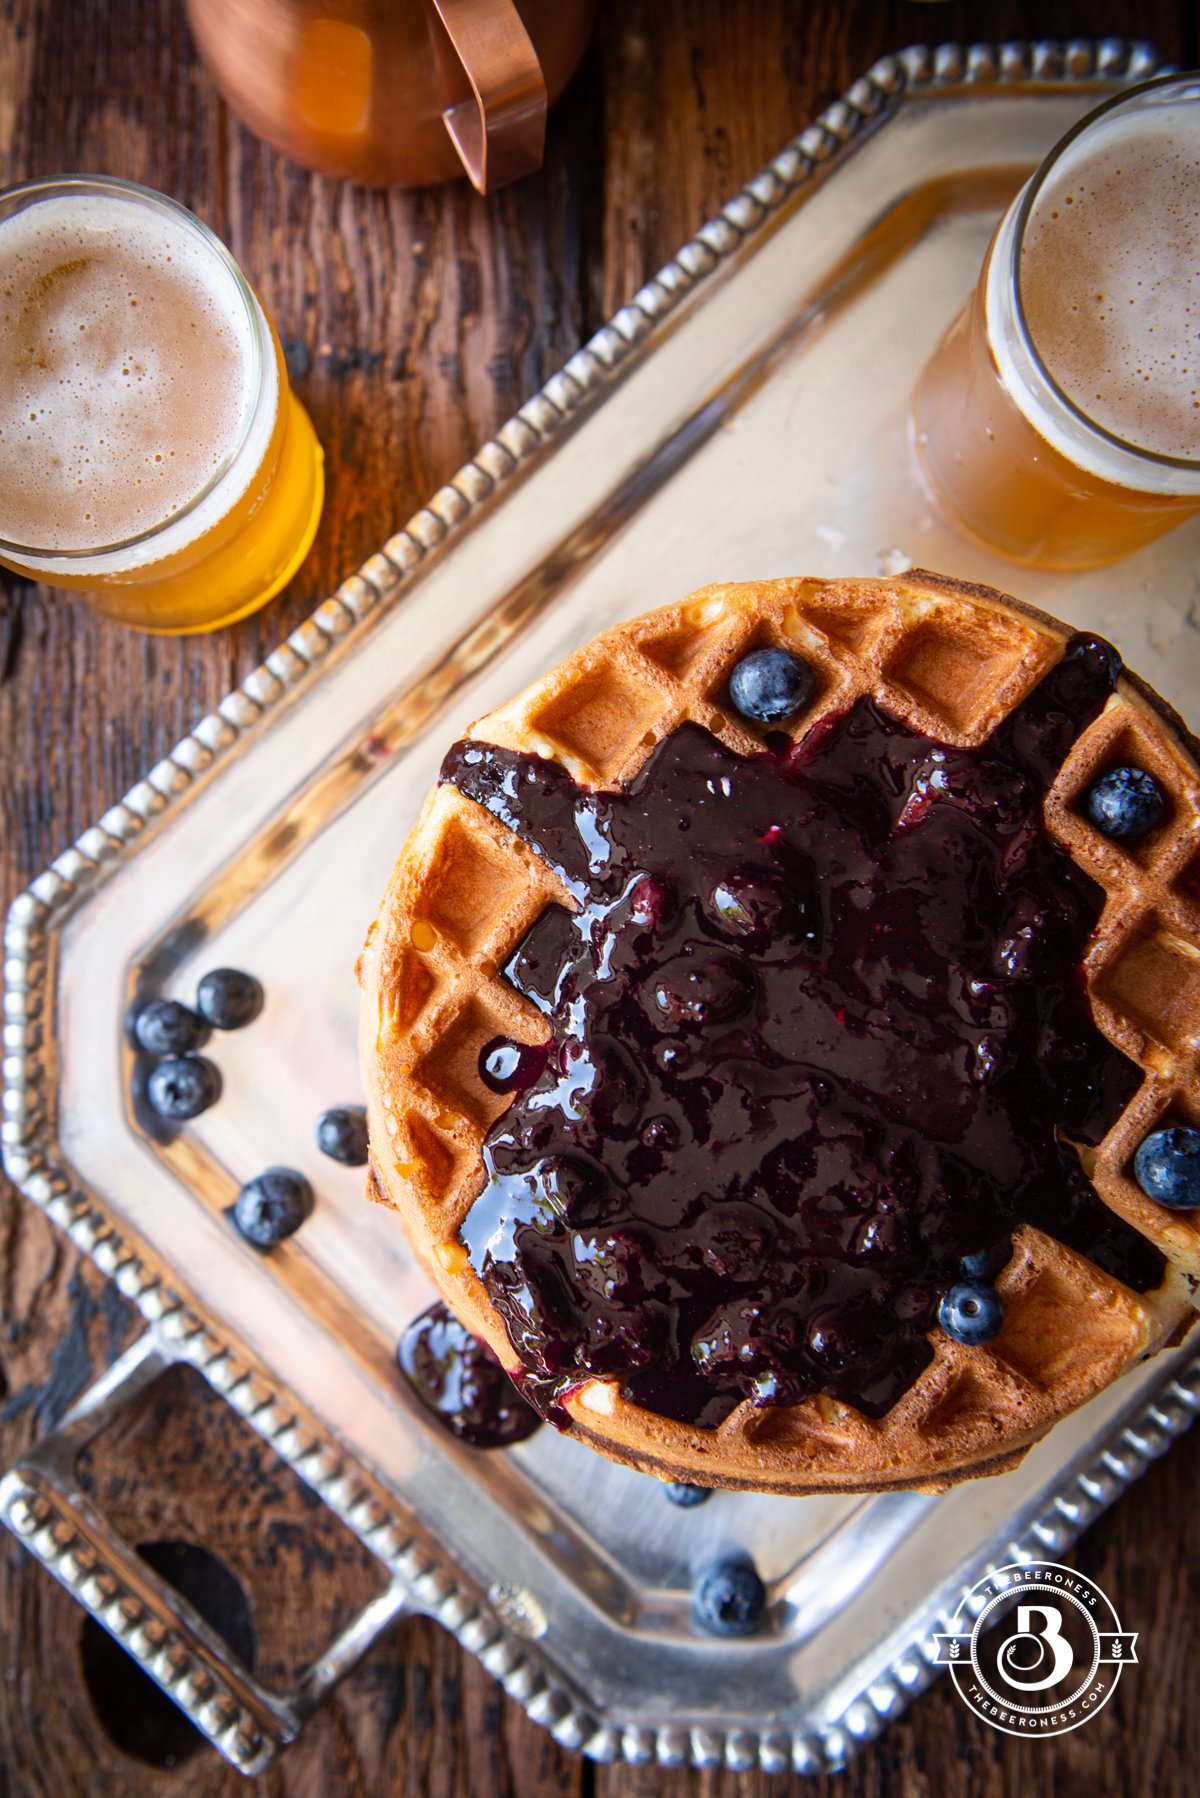
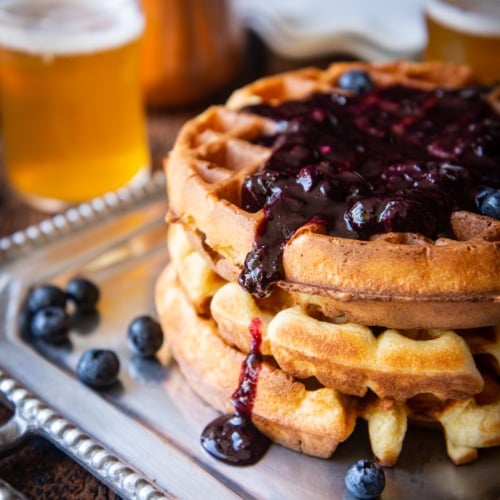
Overnight Yeasted Beer Waffles with Blueberry Syrup
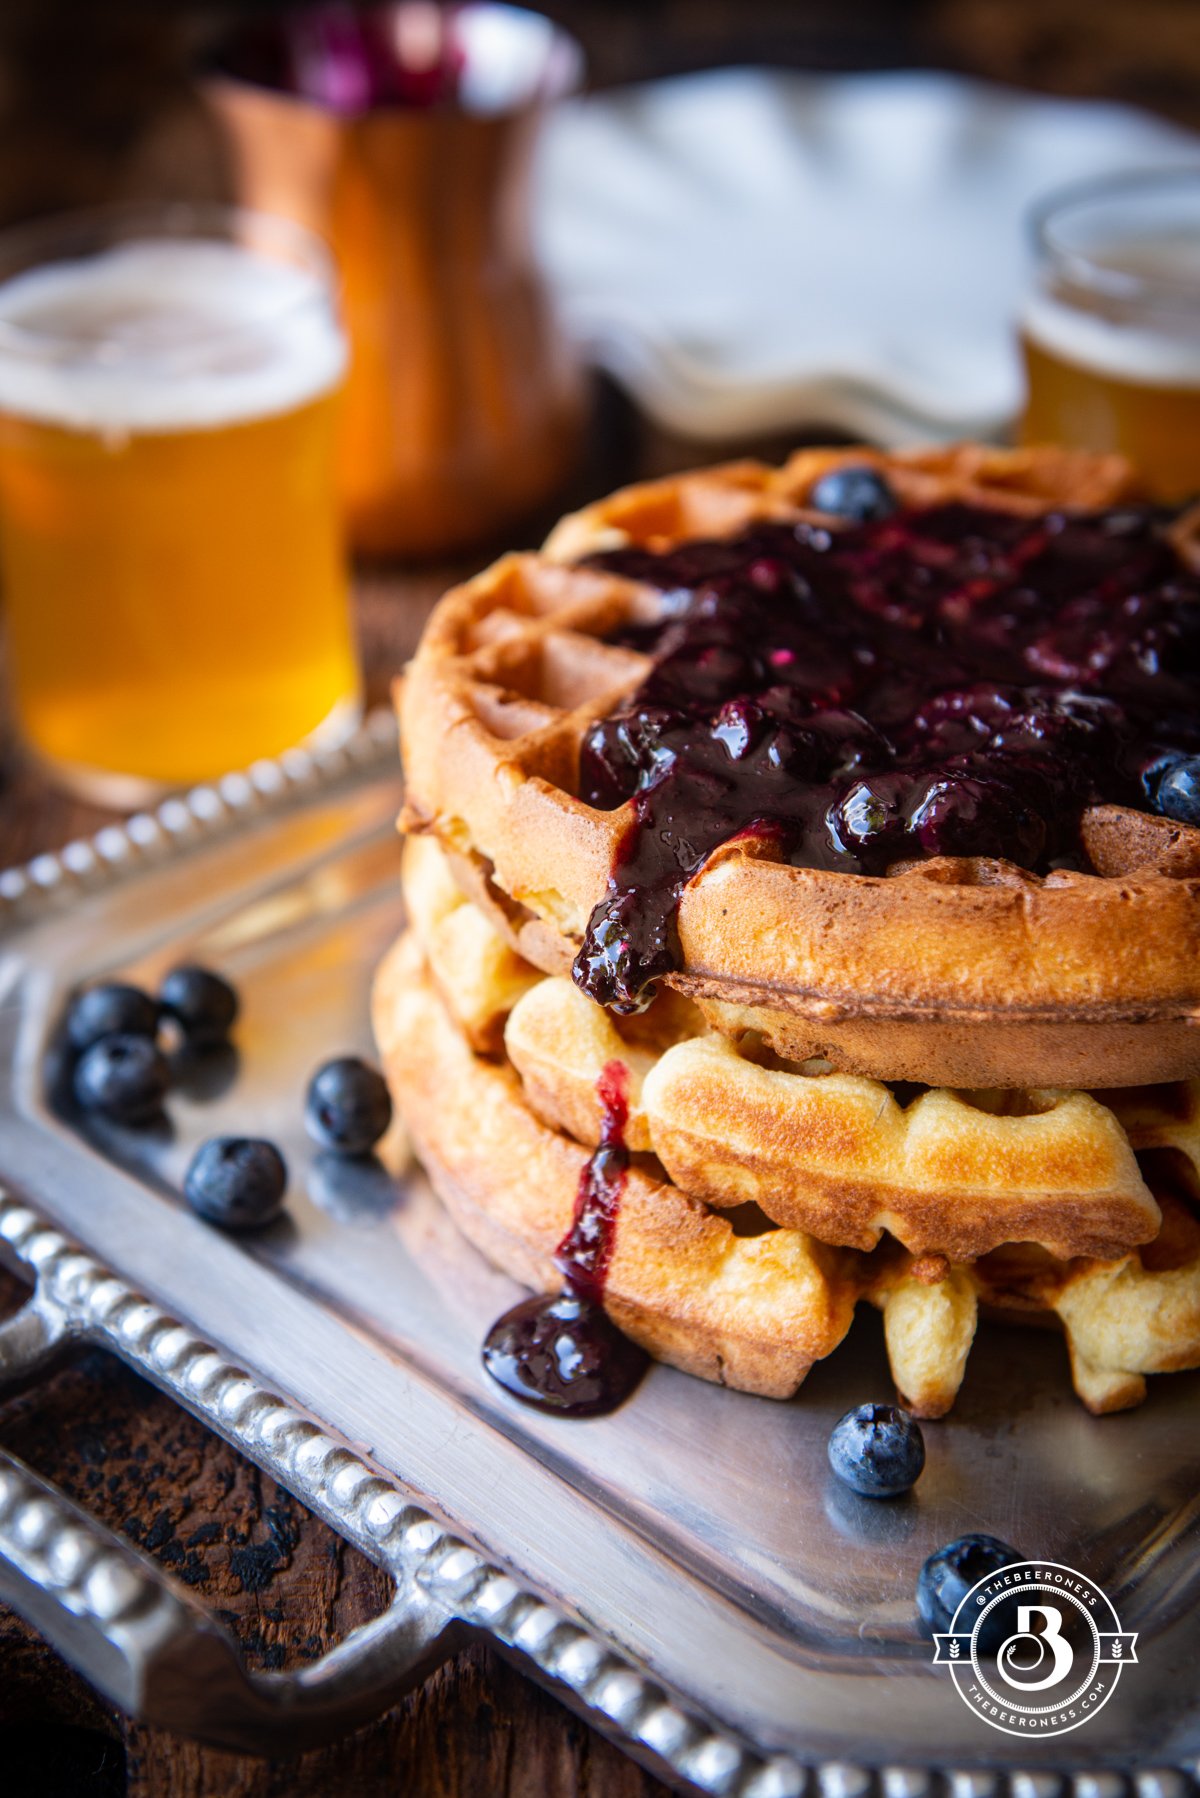
This is really because I love you. And waffles, obviously. My favorite waffles of all time are the Sourdough Beer Waffles, they are gorgeous and amazing but do require the wild-fermented magic of a sourdough starter that takes at least a week to coax into existence.
And when you don’t have one, or you neglect it and it refuses to magic for you, you can’t have the waffles. This is FINE. Sourdough starters are not actual pets, it’s totally fine to neglect them until they stop working and then flush them down the sink. It’s also totally fine to not have them at all, it’s not everyone’s bag. But this should not impede your ability to make a batch of the best waffles in existence, and those waffles have to include yeast, this is a non-negotiable.
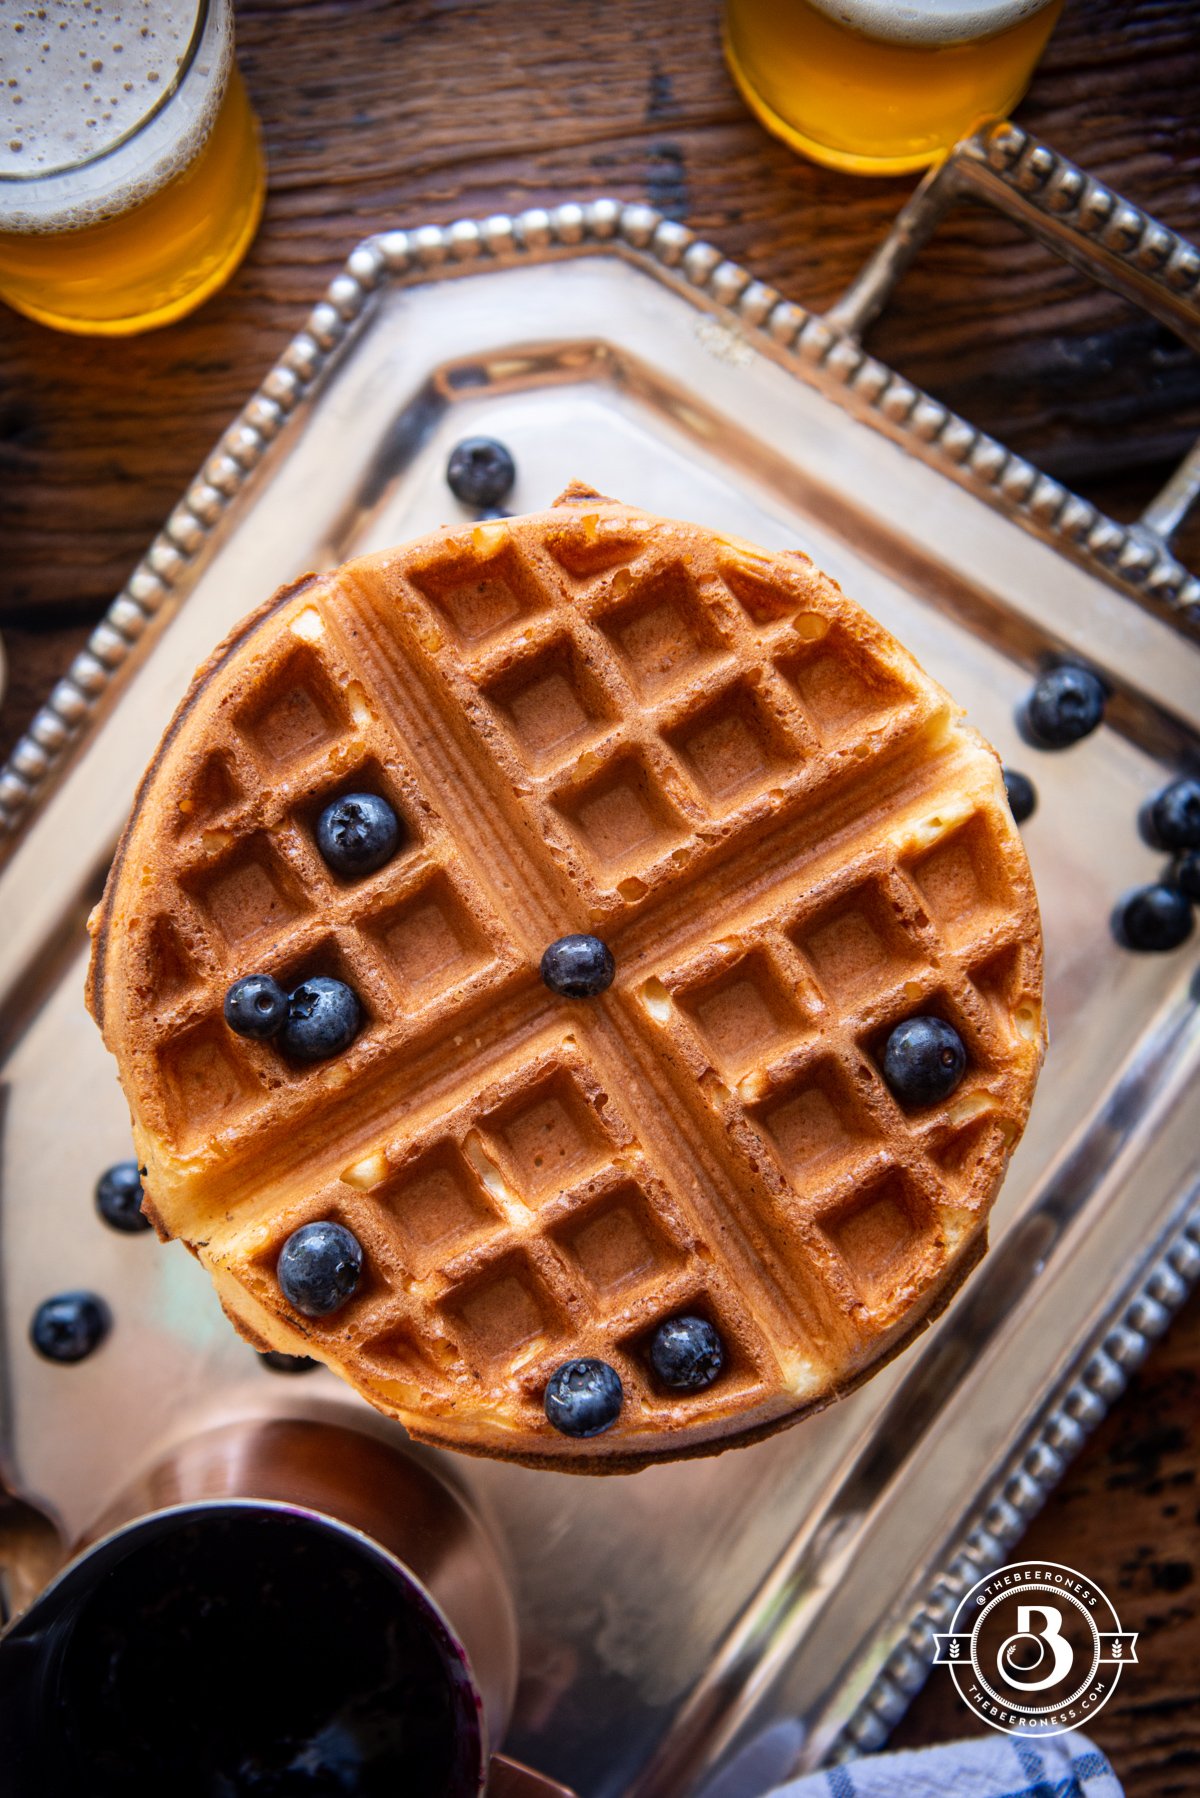
Yeasted waffles are just better than all other waffles and this is a fact. The crispy outside, light yet chewy insides, it’s just pure breakfast gold. You do have to be aware and functional enough the night before the waffle consumption to throw it all together, but that’s easy. You will ALWAYS want waffles in the morning so just do it, you’ll thank yourself.
And "night you" needs to do something to make amends to the "morning you". Since "night you" gets all the beer and "morning you" gets all the hangovers and the "what did I drunk buy on Amazon last night" buyer’s remorse. These waffles will go along way to make reparation for all that "night you" has done.
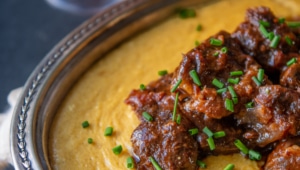
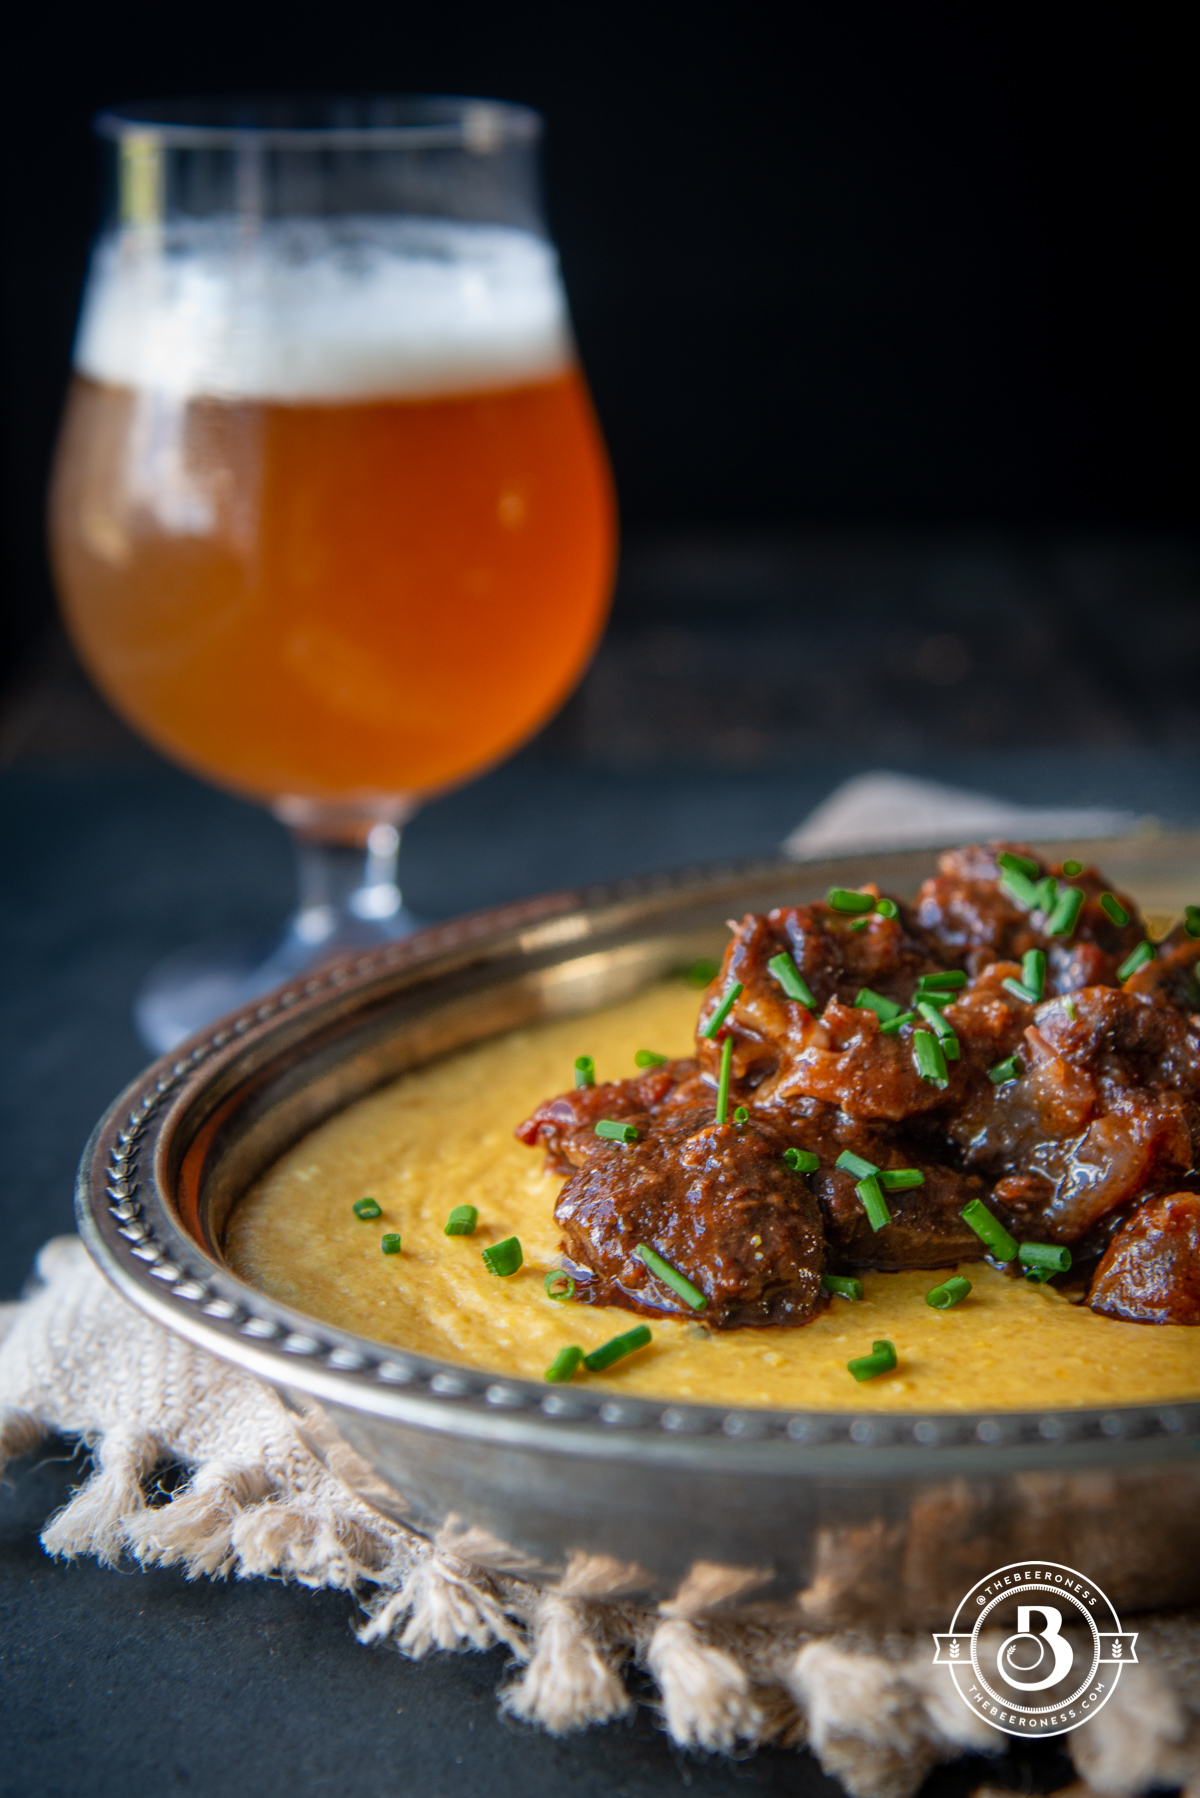
Sriracha Stout Braised Beef Shanks over Gouda Polenta
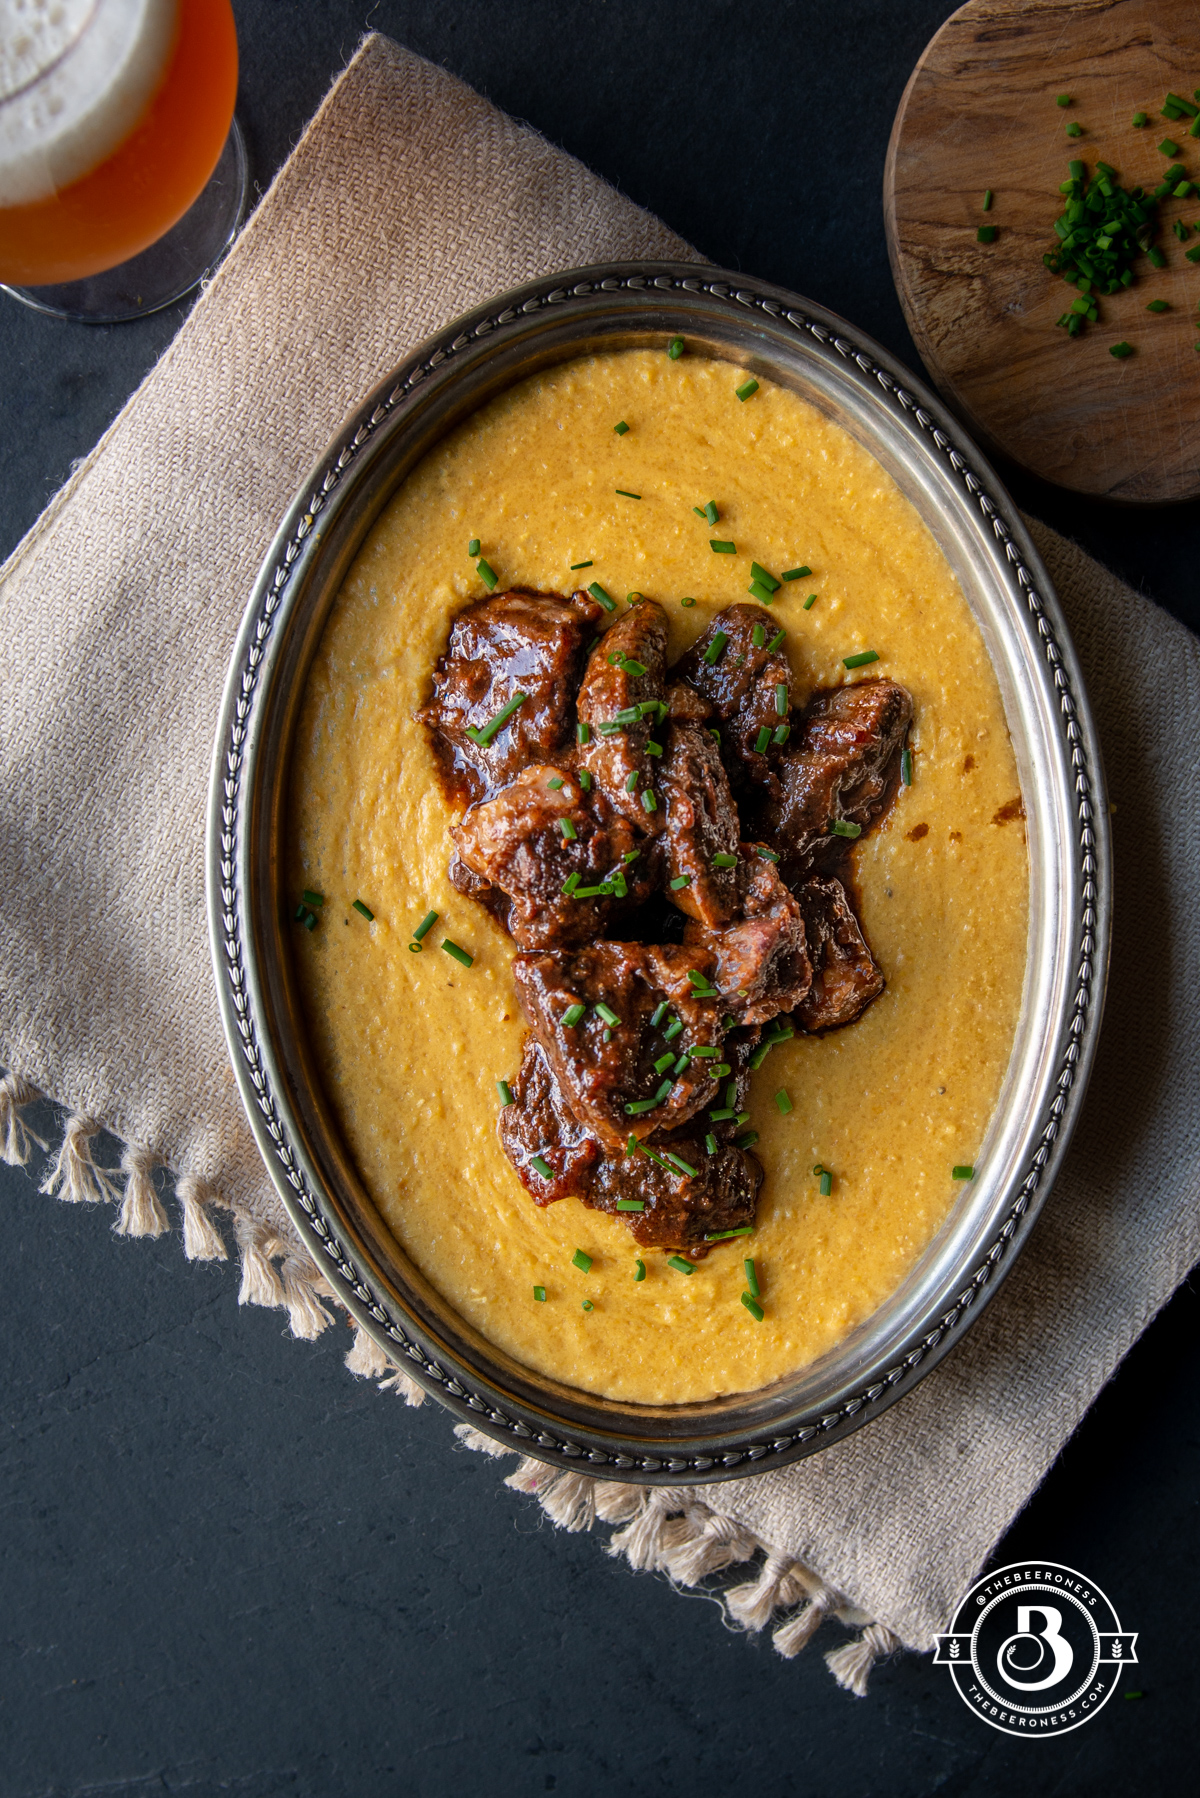
Slow cooking things helps in times of crisis, this is a true fact. It reminds us that everything changes and good things are ahead, we just have to be patient. We have to sit back and let the things work, even if we can’t see the things work, they are working.
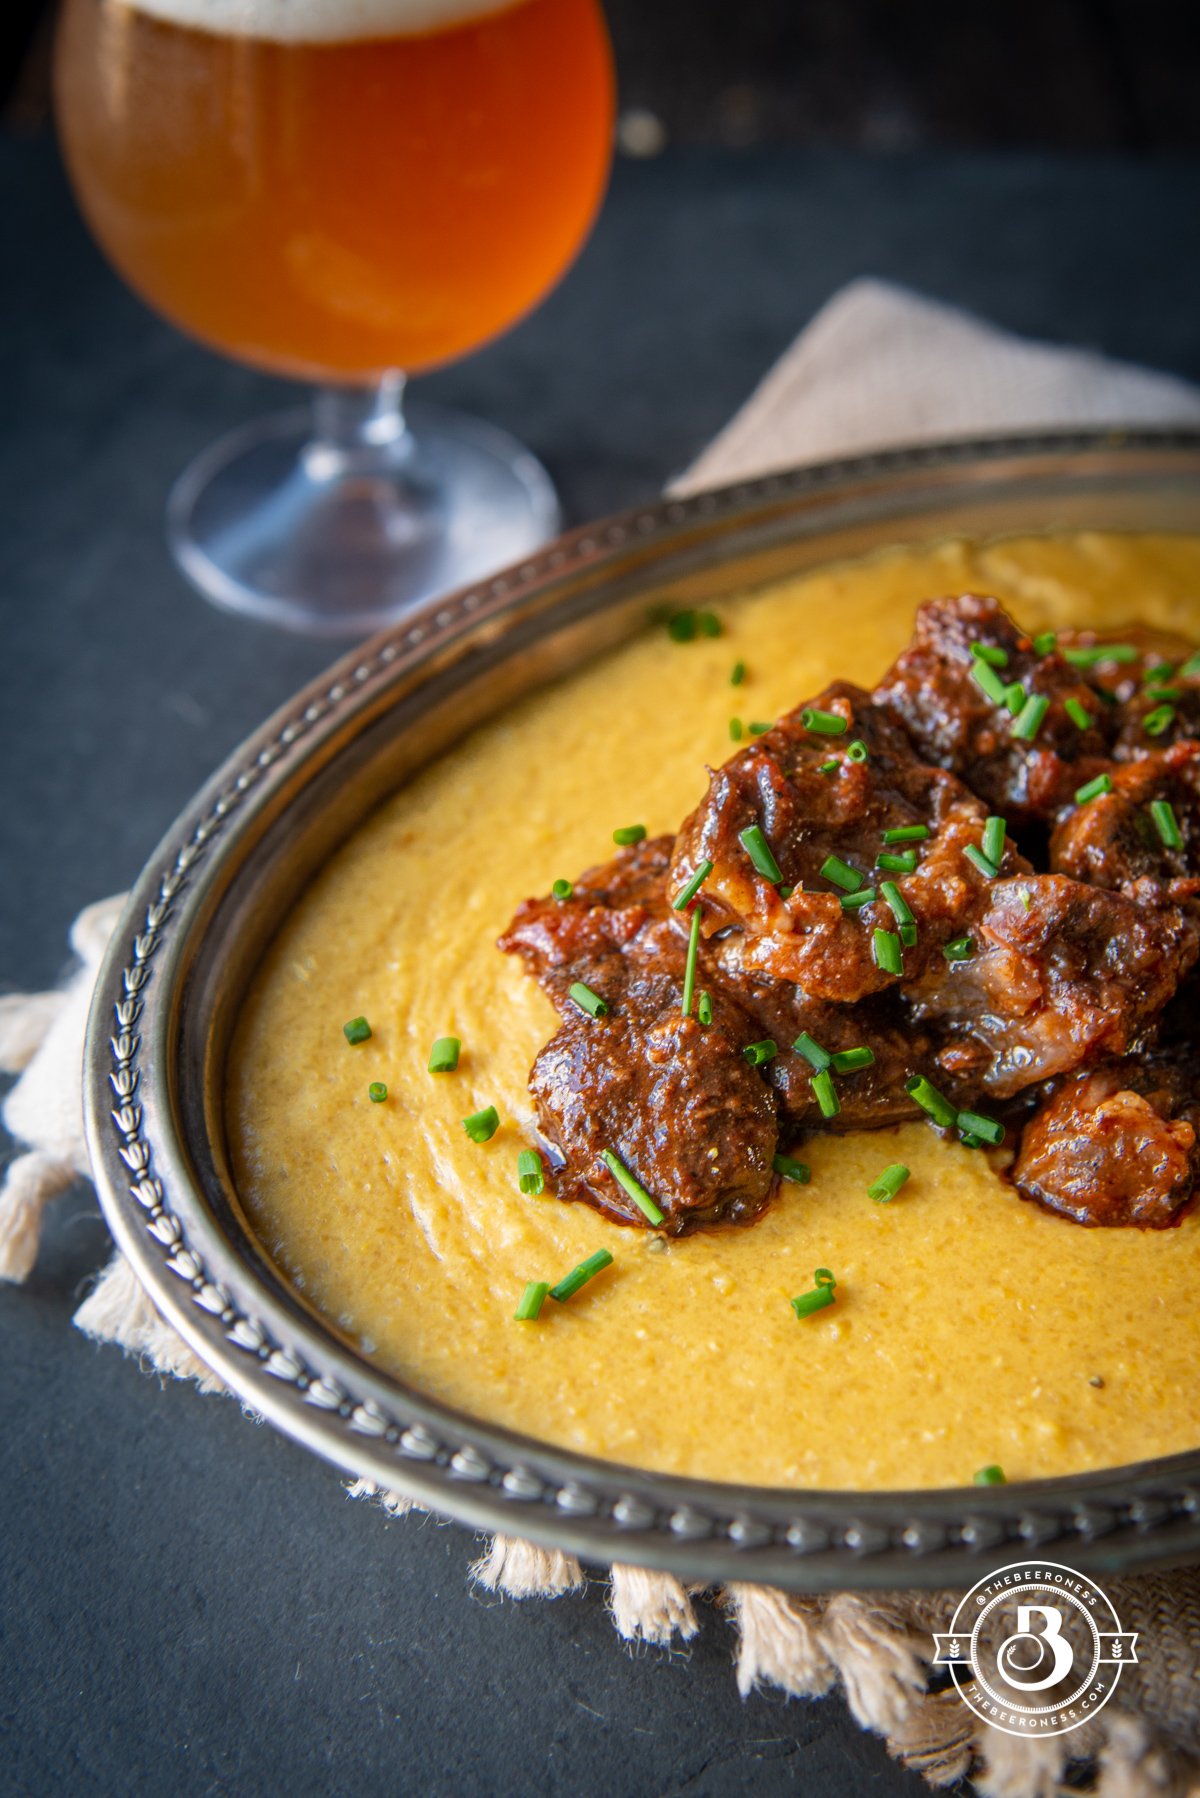
My favorite things to make are things that take time: short ribs, sourdough, ice cream, kimchi, beer, shanks. All these things need time, you can’t rush them. We have a time frame for them, which makes it so much different than the "when will this be over?" feeling of our current world. But the first guy to make sourdough bread had no idea, he just had to wait and hope it would turn into something great, and it did. Eventually.
We just have to remember that this is the same, it just takes time. Humans are incredibly adaptable, we’ve adapted to so much over the course of history and this won’t be any different. We will adapt to this, too.
Until then, I’m fixing all minor emotional trauma with slow-cooking things*. It helps, try it. (*advice most successful when paired with beer).
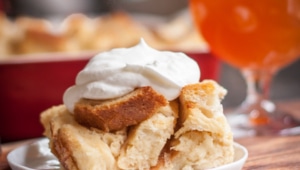
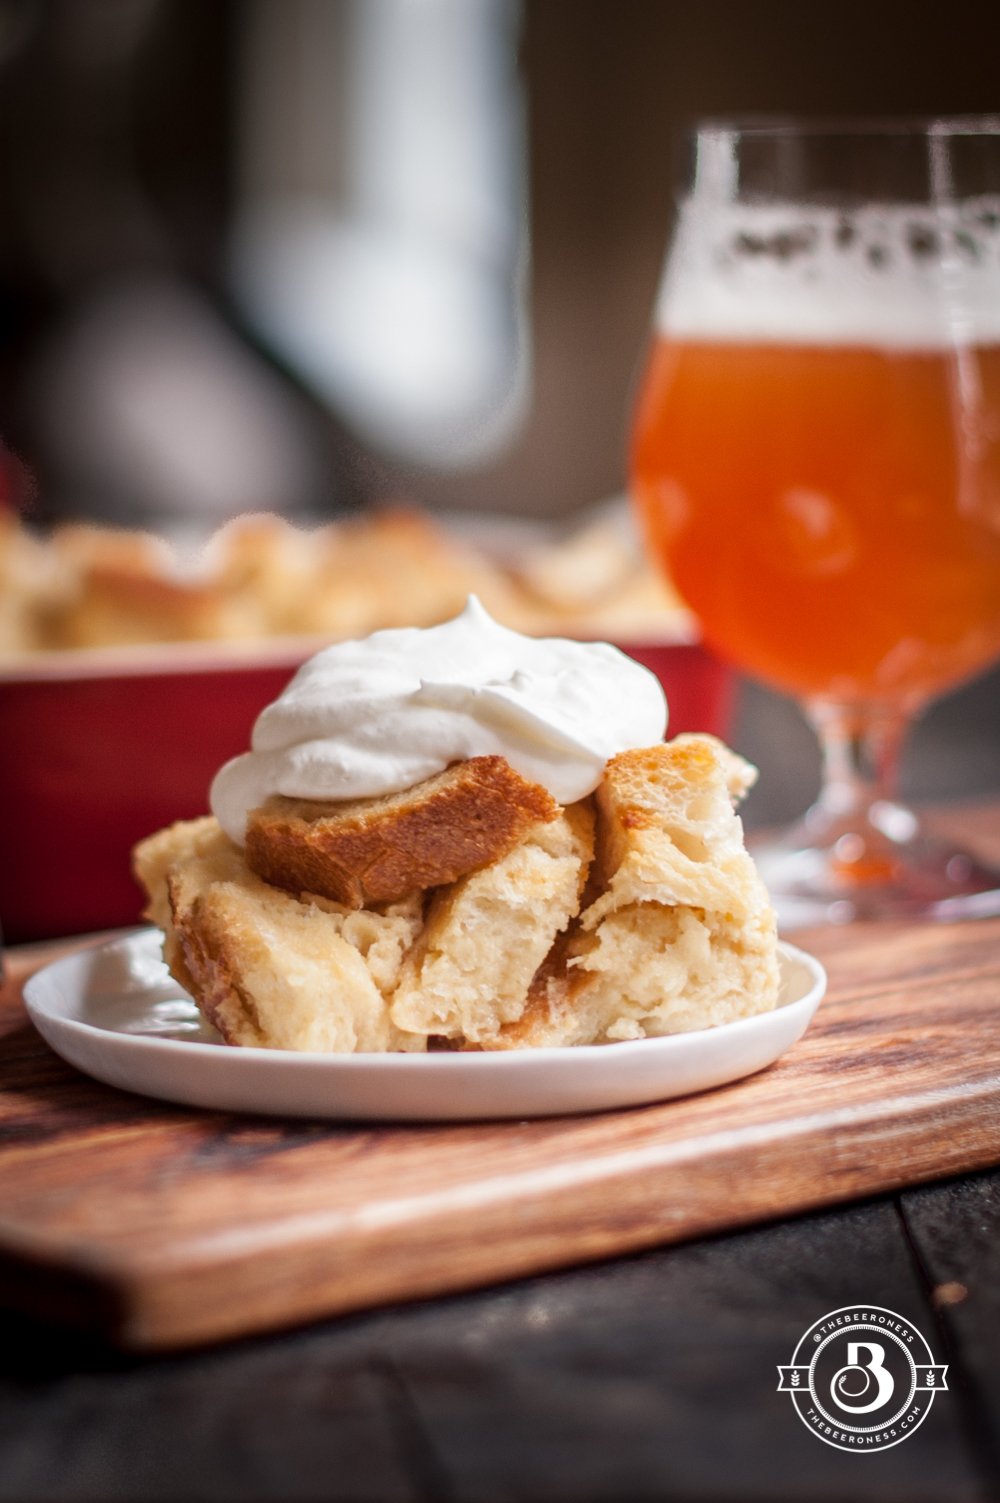
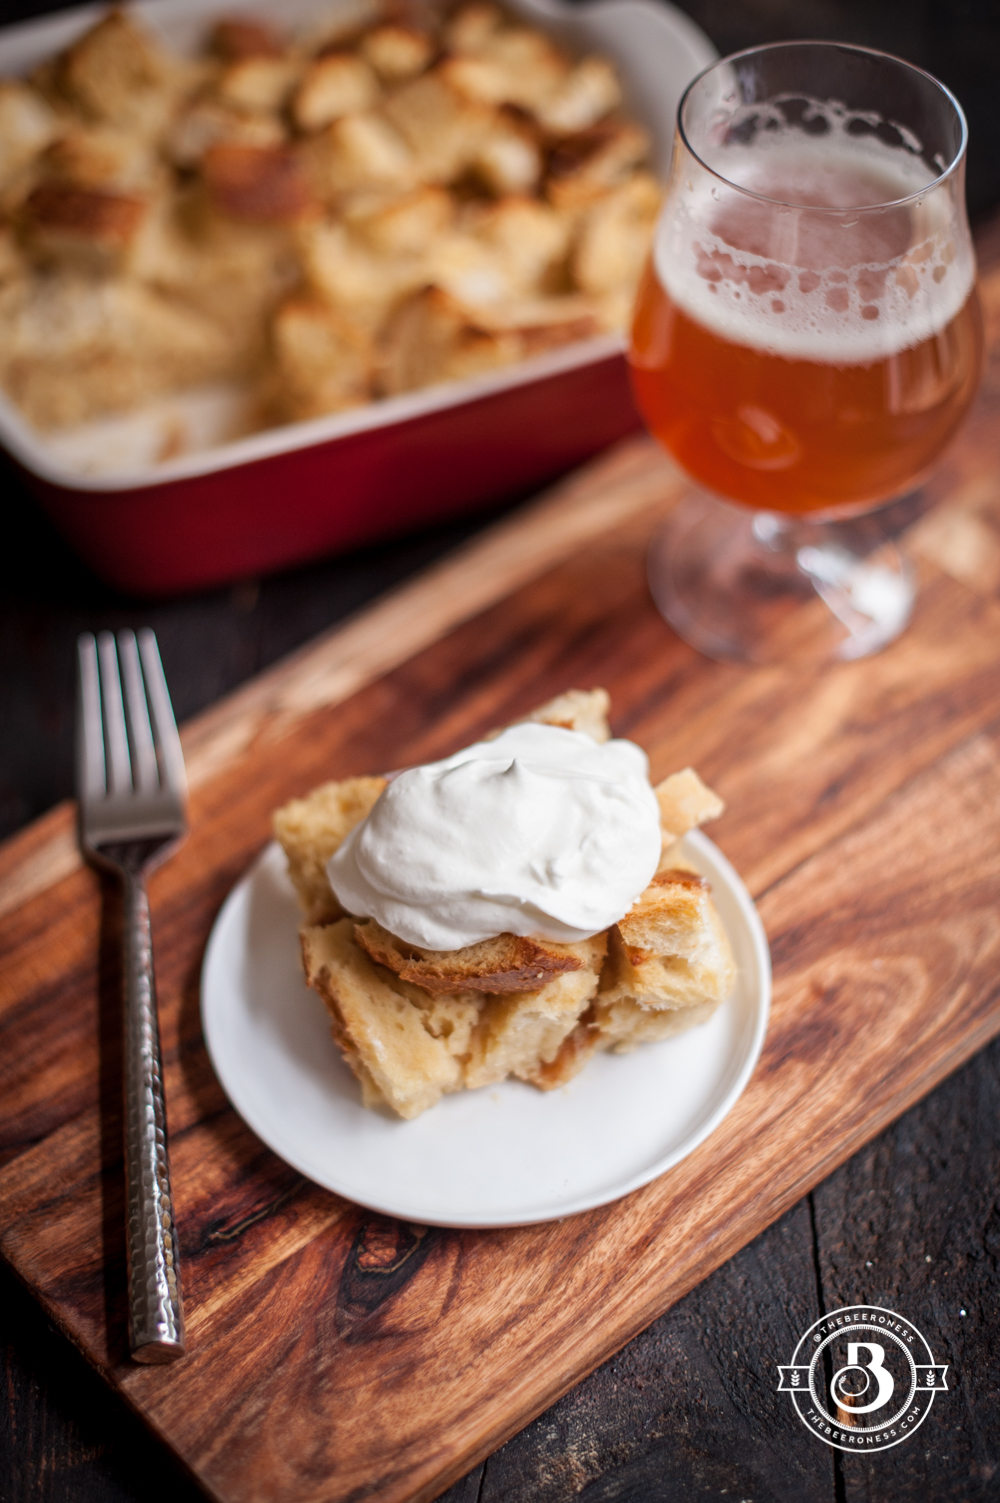
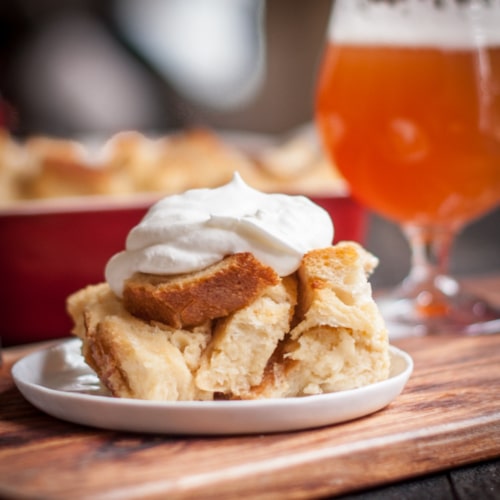
Pineapple Hefeweizen French Toast Bake with Rum Whipped Cream
This is how we lie to ourselves. And we’re really good at it, aren’t we? This is dessert, we know that. It carries all the hallmarks of a post-dinner treat, but we ignore them and call it breakfast. Because we don’t want to wait all day to actually eat it, we don’t have time for that. So we serve it with coffee in the pre-noon hours and call it breakfast. Or maybe we make ourselves a mimosa and call it brunch. Let’s brunch! It’s not an indulgence, it’s an activity!
That’s ok, we’re honest with ourselves about enough, we can afford this lie to make our morning just a wee bit better. Because that’s how we live our best life. We eat dessert first, open a beer before noon, maybe invite a friend over to be that bad influence we know we are.
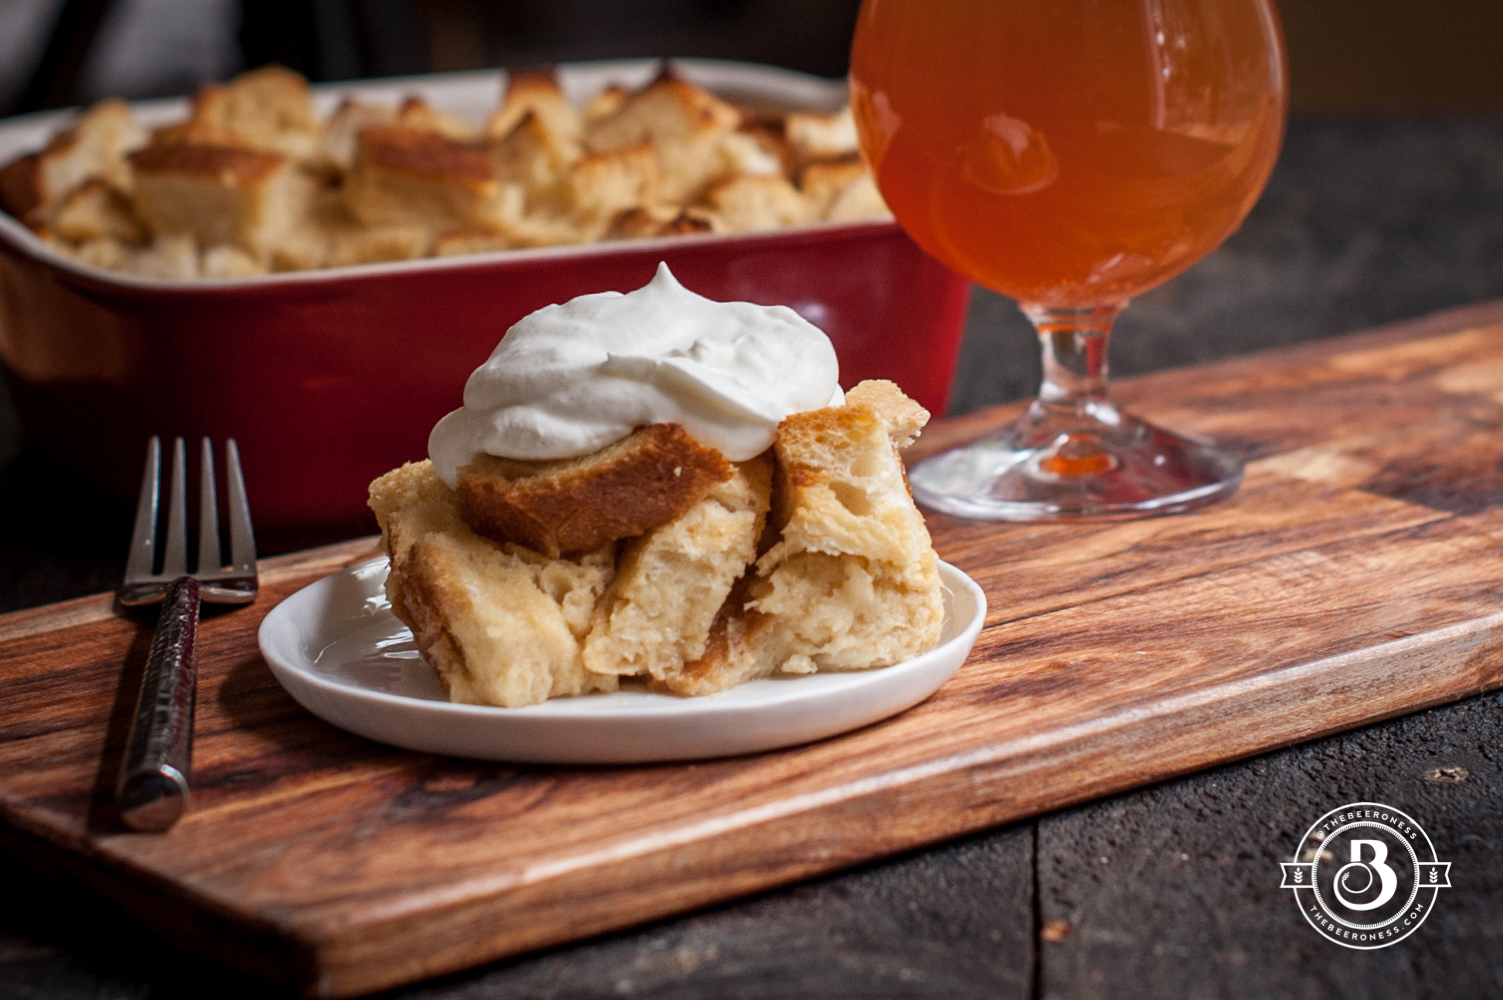
Mostly because if we eat our dessertfast with a friend, it’s not a bad habit, it’s a social engagement. And that’s good. There’s no way to make this meal healthy, but we can share it with others who love us and call it "mental health food," which is what we all need right now, amiright?
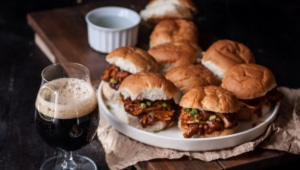
Pulled Chipotle Beer Chicken Sliders

I’ve made a decision.
I need to clear the emotional cache from this past week. I need to a little distance from reality and my incessant need to over-think. I need a break and a beer and I’ve decided that a trip to Bend, Oregon can fix what ails me right now. Or at least numb it and distract me enough to remind me how big the world is.
I’ve even booked a place that has a kitchen, because I’ve already told you about my need to bake bread when I’m sad, and my over excitement for the sourdough starter I made (yes, I’m contemplating bringing it with me like a cat in a carrier). I’m leaving in 11 days and I’m going to update you, like I did when I was here. Because even if you can’t blow off Thanksgiving to road trip and drink beer, I still want you along for the ride.
I also made you some sliders, because football is forever and we need food for that, these just take 20 minutes.


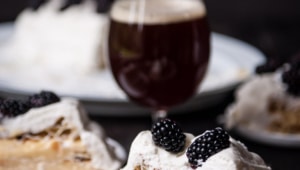
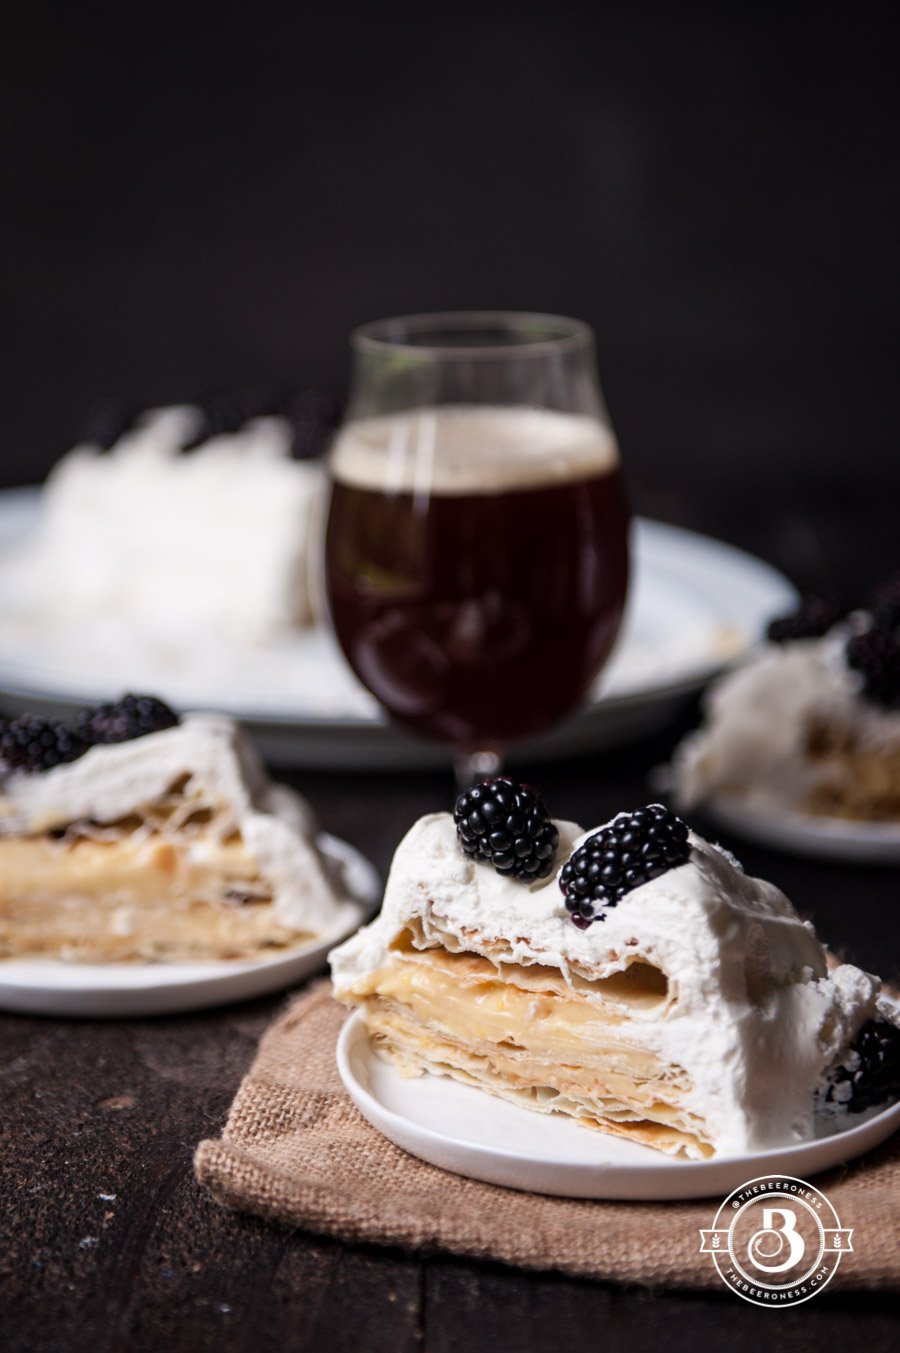
Puff Pastry Cake with Maple Ale Pastry Cream
It’s storming in a way that makes me nervous.
But maybe not in the way you’d expect. I watch the outage map light up all around my town as the lights start to flicker off. I hear the light footsteps of rain on the roof and the cold wind slither through the trees. It’s charming. As much as it can be for a California girl transplanted to the Pacific Northwest.
I worry about not being able to take the photos I had planed for the day, about getting cut off from the Skype call I have this afternoon, and about the fate of the sourdough starter in my fridge.
It also helps me to take a giant step back. All of this is just an inconvenience, a minor disruption that changes my plans of working into fireside book reading. I’m grateful. Breathlessly, disgustingly, grateful that it isn’t more, that the "first world" problem that is making my neighborhood panic and make plans to flee the city isn’t anything more than just sort of uncomfortable.
Sometimes we all just need a little perspective. Just take a step back, pour a beer, eat some cake and tell yourself how lucky you are. Not in the good moments when it’s easy, but in the hard ones when it could be much worse. MUCH, much worse.
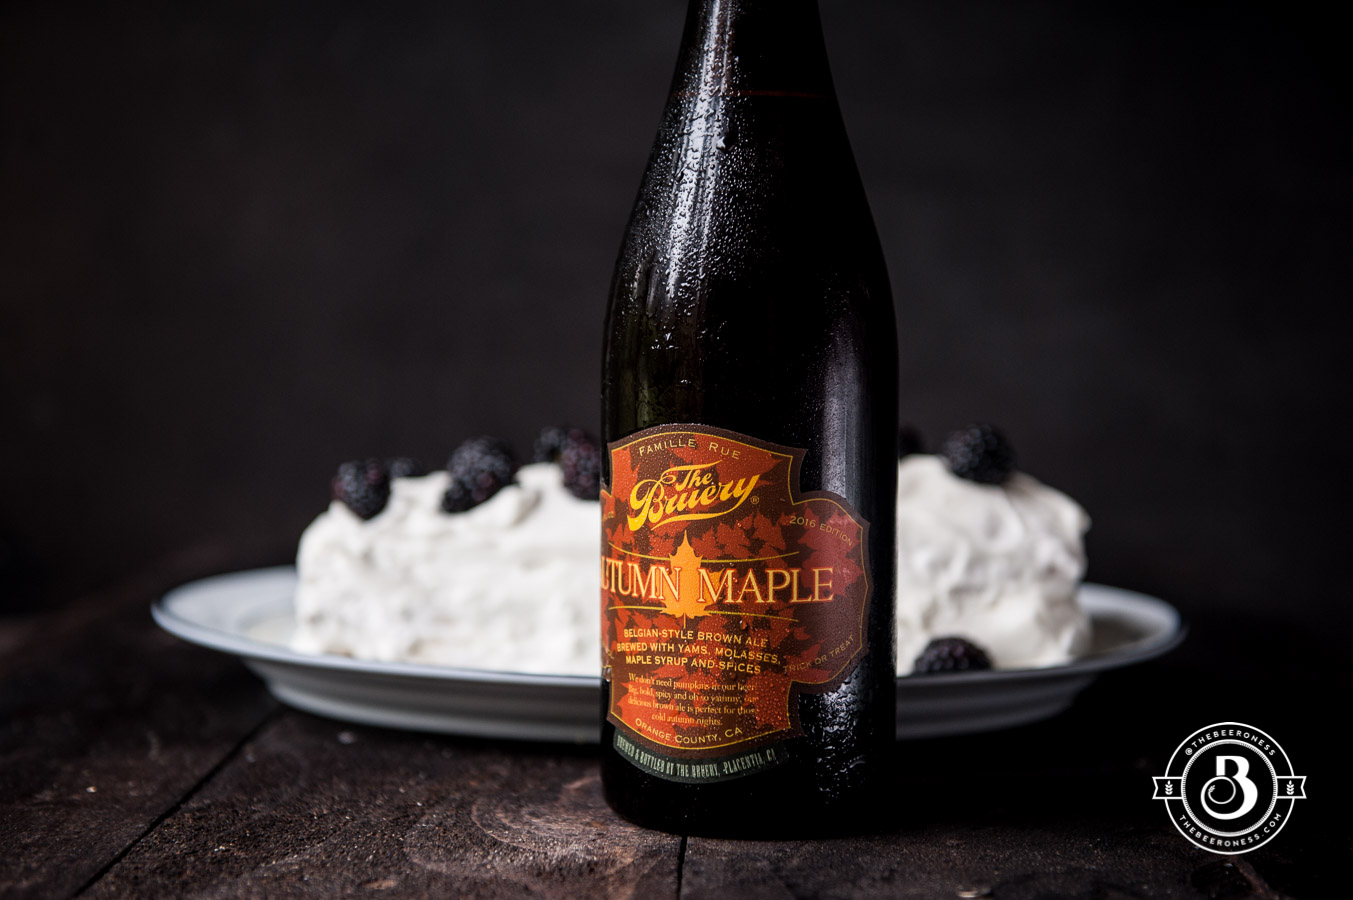
Have a safe weekend. Eat some cake. Drink some beer.
I used Autumn Maple from The Bruery

Photos from my Instagram account
I made it.
From LA to Seattle, up Highway 1. Past fat lazy seals, miles of winding coastlines, epic Redwoods, and into an unusually sunny Seattle. Although the sun has now given way to the typical rain, it’s somehow comforting.
Although figuring out how to wield a camera in low light has been a bit challenging.
But the food isn’t. This part of the word has gorgeous produce, fantastic seafood, incredible beer. I’m starting to get familiar with the Northwest breweries and the beautiful beer that I’m now so close to. If you know of a local brewery I should go to, please, I’m all ears.
As I unpack the boxes, rely heavily on my navigation to get around, figure out what local stations to set my car radio to, and try to amend my ill-equipped wardrobe (warm socks?? I need new socks?), I’m excited to be here. My Gypsy Soul gets to wander a new city.
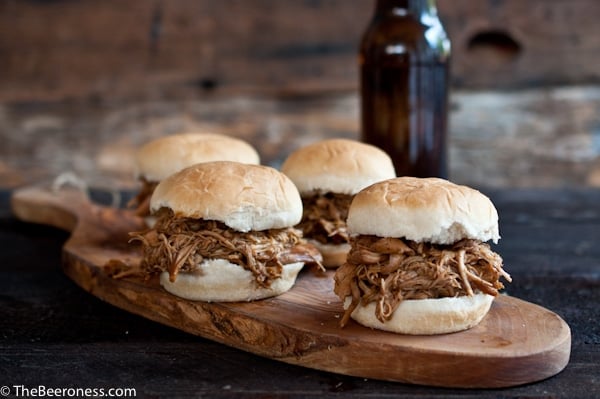
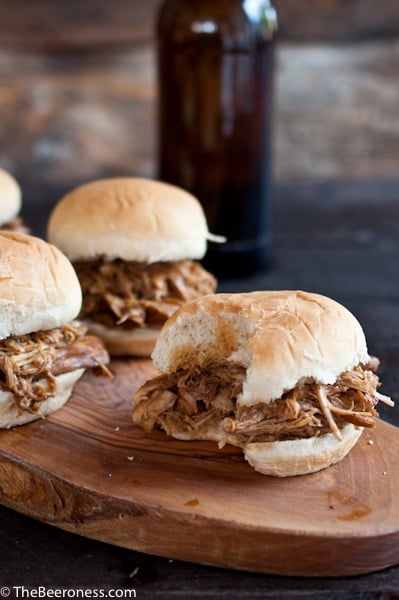
Slow Cooker Beer and Brown Sugar Pulled Chicken Sliders. Perfect for a football game!
For all of the FanBoy love that seems to be sent to the Slow Cooker, it’s my least favorite way to produce a meal. Flavors tend to muddy, its hard to develop layers of flavor, and this culinary contraption seems to render a thinking cook obsolete: dump it in and turn it on.
Meat seems to be the best use, especially when you introduce beer into the mix. Both a low and slow cooking method and the alcohol in beer are meat tenderizers giving you a great final product.
I can concede that it’s convenient for those of you who don’t prefer to spend all day in the kitchen babying a sauce or teasing a sourdough starter back to life, I tend to favor the high maintenance meals.
 Given my skepticism of a Slow Cooker meal, I was thrilled with how this came out. I made it twice, once with a stout with about 4% ABV (Alcohol By Volume, it should be listed on the label of your beer) and the second time with a porter with 9% ABV.
Because it’s the alcohol in the beer that gives it it’s tenderizing power, the higher ABV did the best job. Look for a beer that packs a punch, and you’ll have a fantastic crowd-pleasing meal that takes only about five minutes of active time.
I’ll just have to satisfy my need for involved cooking tasks with homemade beer slider buns.
