
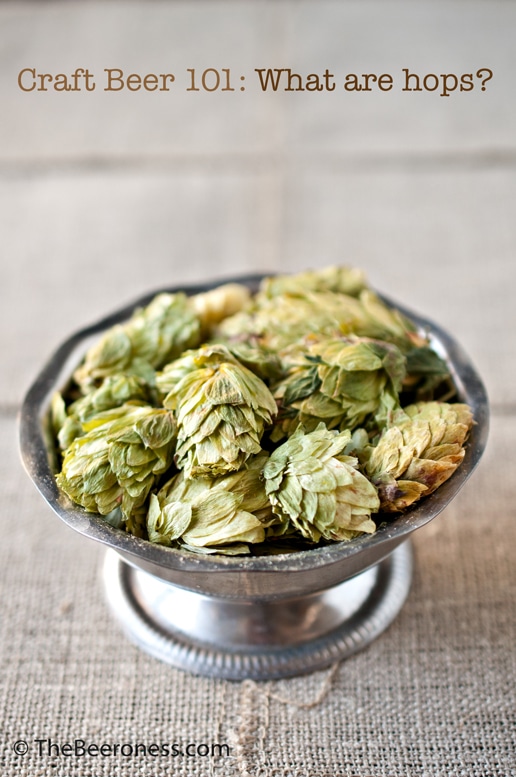
Chances are, if you’ve spent anytime within stumbling distance of a Craft Beer Lover, you’ve heard the word "hops" thrown around like a rag doll. You may have been leery asking the "What are hops?" question for fear that you’ll be subjected to the mad beer-geek ramblings of your semi-inebriated friend. So, here I am to save you from the possibility of a lecture on beta, delta, and gamma resins whist trying to hide your shell shocked expression, with a quick and dirty introduction to this essential beer ingredient.
Hops are a flower that comes from a plant in the marijuana family. It’s believed that they were originally added as a preservative when trying to make water safe to drink, but due to their uniquely bitter flavor, the use became more about taste than preservation.
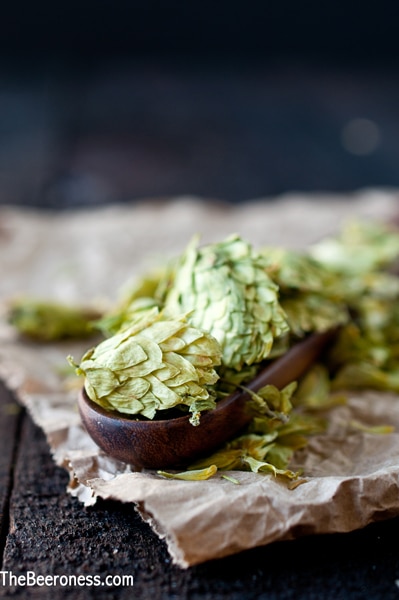
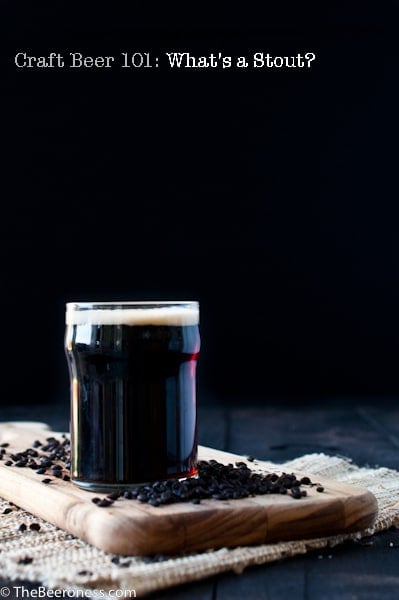
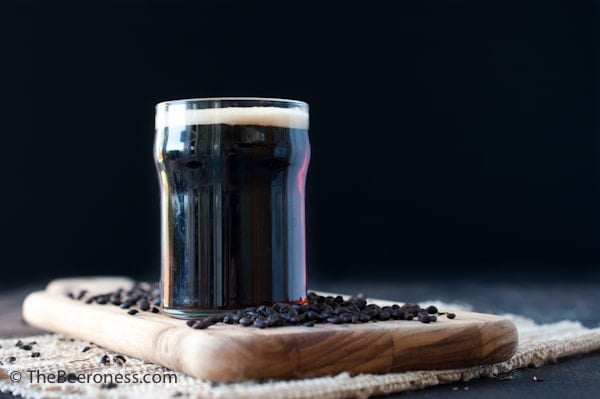
Hops have a very specific taste that comes from the oil and gives beer it’s bitterness. These levels of bitterness are measured along a scale called the International Bitterness (or bittering) Units, that we just refer to as a beers "IBU’s." Generally, the higher the IBU’s, the more bitter the beer. That bitterness is used to counter the sweetness in the sugars used to feed the yeast, and it’s that balance that dictates how "hoppy" or bitter a beer tastes, more so than the amount of hops used. For instance, most stouts have a very malty taste (malt, essentially, is the opposite taste of hops), but can have a very high IBU rating. Think of this like weather, the same temperature feels much colder with the wind chill factor. Beer tastes much more bitter without a malty balance. IBU’s are only one indicator of what’s in store for you, bitterness wise, but isn’t always a linear expression of experience.
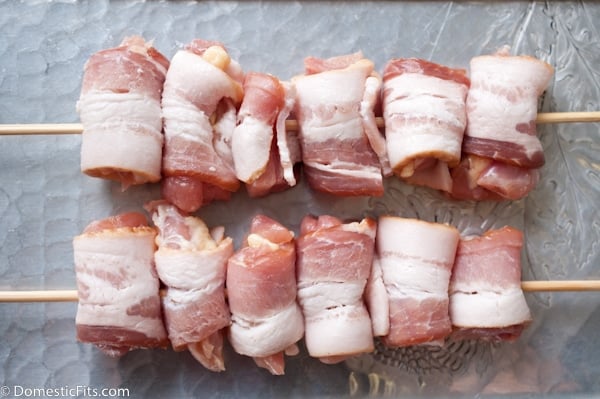
Hops can be added at various phases of the brewing process and are often added more than once while the beer is being made. If you hear the term "dry hopping" it really has nothing to do with the hops being actually dry, it means that the hops were added at the end of the brewing process and steeped like tea, giving a bright floral taste to the beer, rather than a strictly cooked hop flavor. Most likely, the hops were also added previously in that brewing process and the dry hopping was purely for that bright hop flavor and an extra kick of bitterness.
Hops can be used in the flower state, but are commonly used after being compressed into a pellet that looks like food for a small furry pet. The highest concentration of US hops are grown in the Pacific Northwest. If you’re driving through Oregon and see long green vines strung up on tall wires, you are probably looking at the makings of beer’s most notable ingredient.
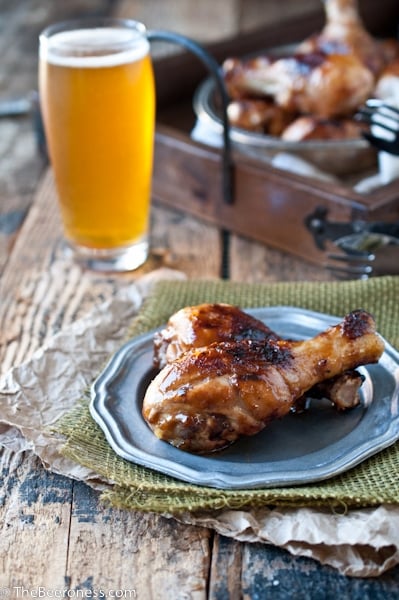
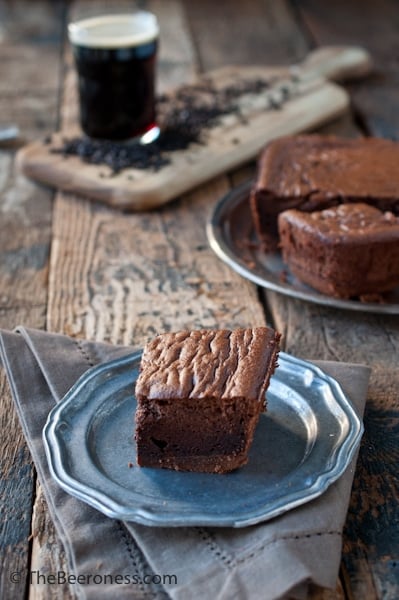
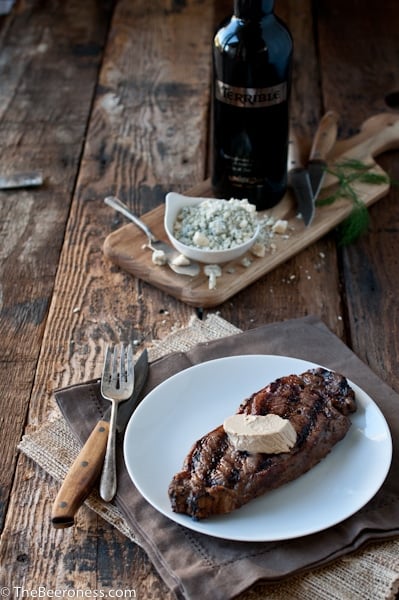
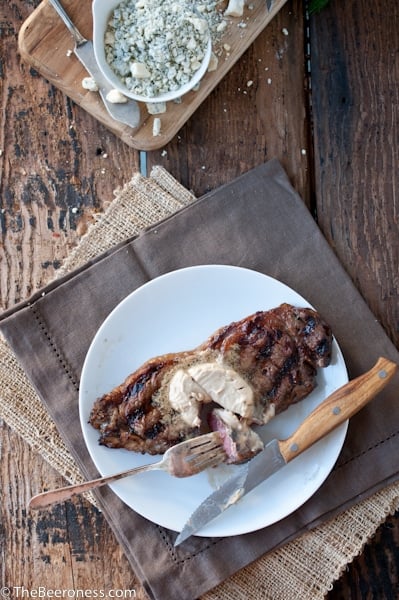
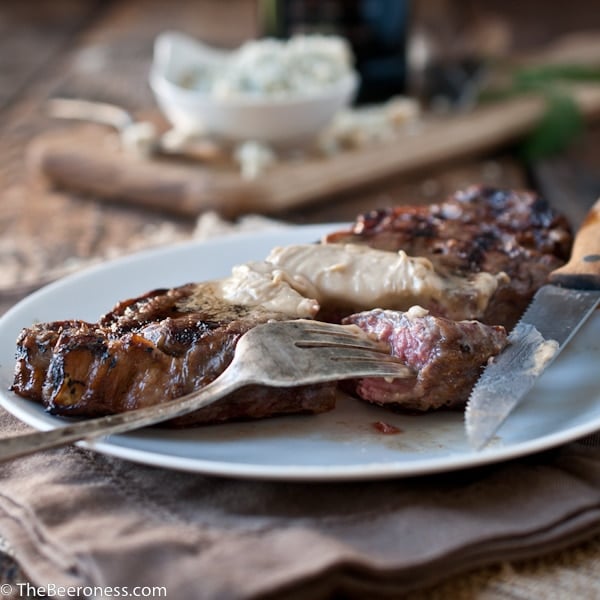
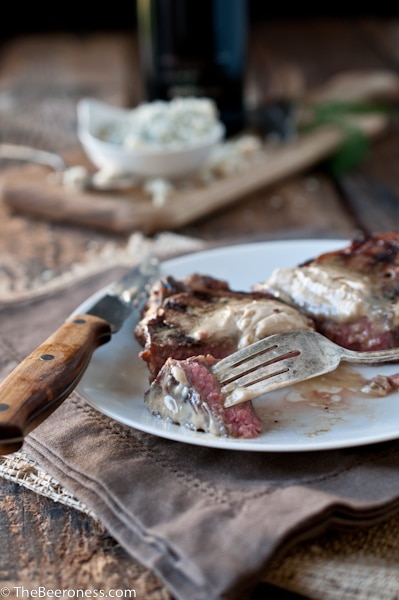
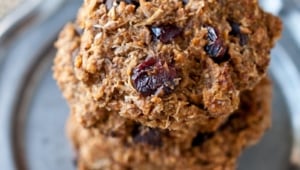
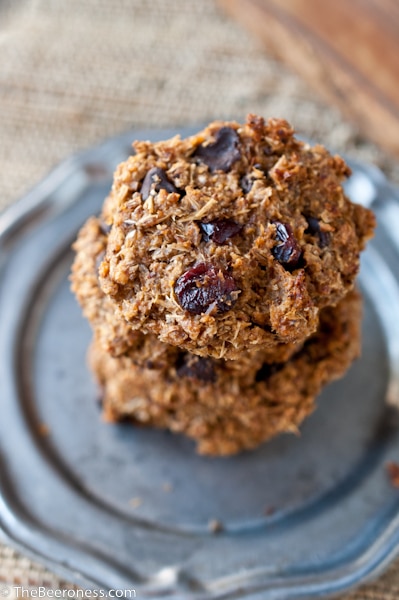
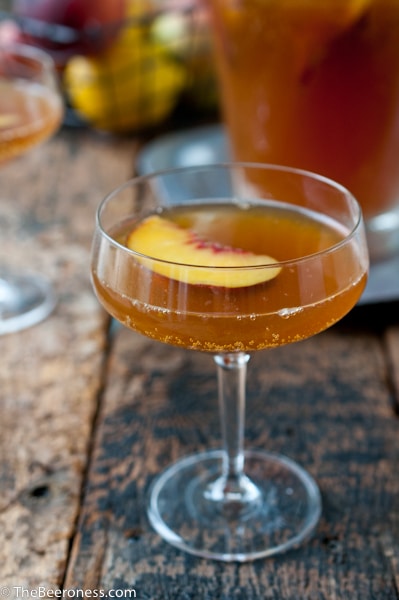
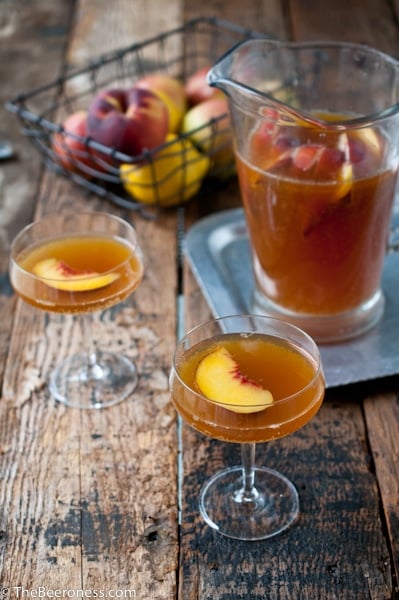
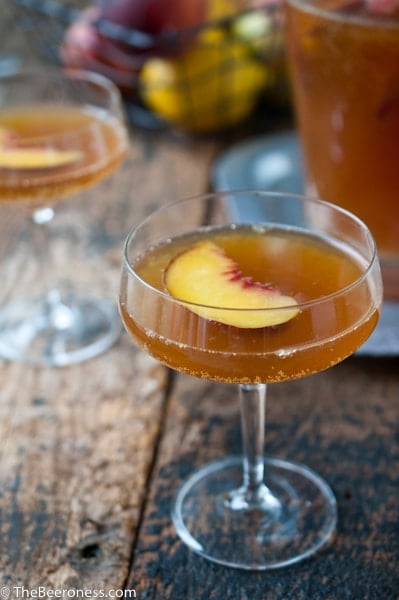
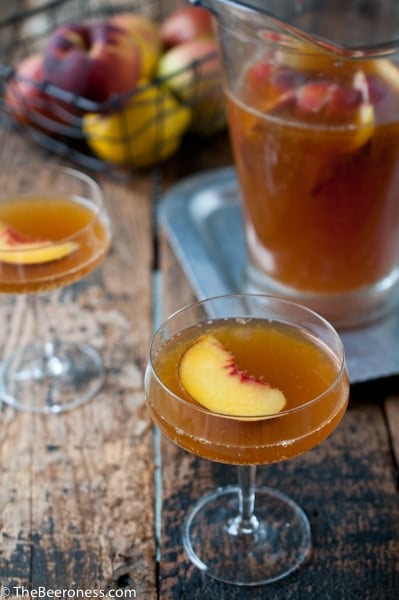
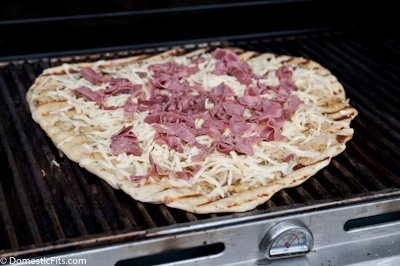
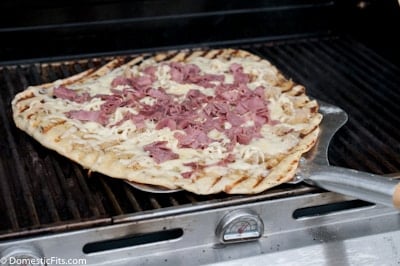
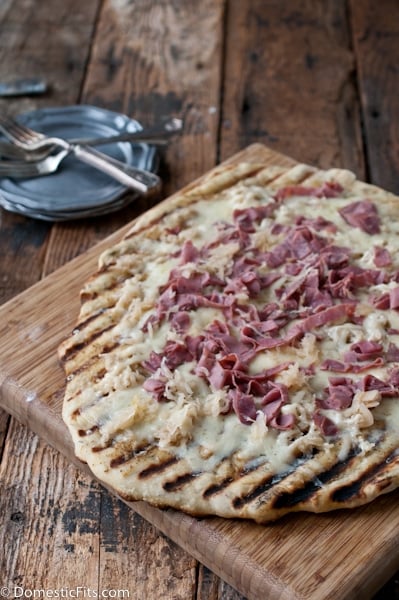
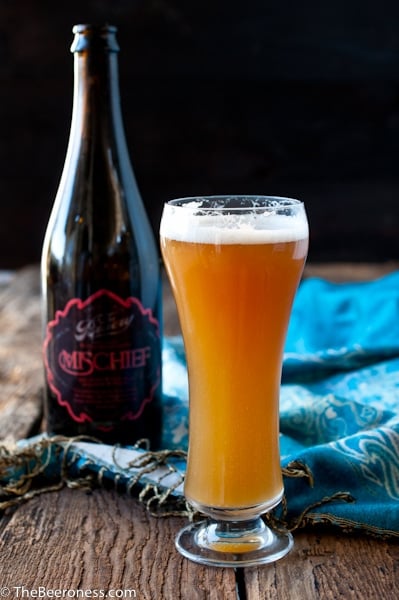
 Oh, and hey, I have some food for you. Thank you for indulging my need to Beer Geek Out for a few paragraphs. Because I’m so nice, I gave you both the oven and grill methods as not to taunt the grill-less causing Sad Face reactions across the world.
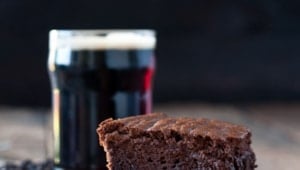
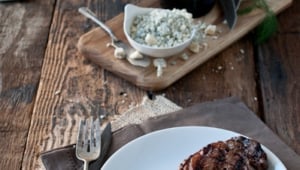
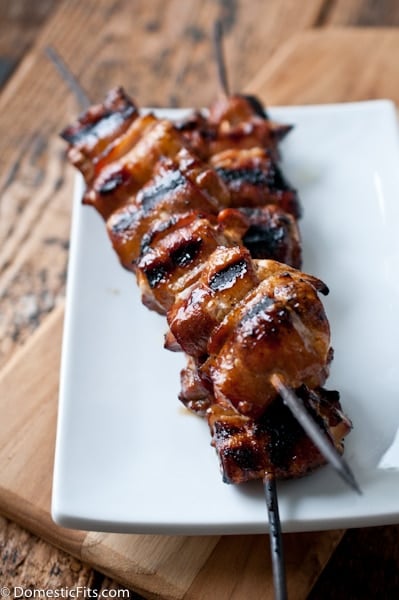
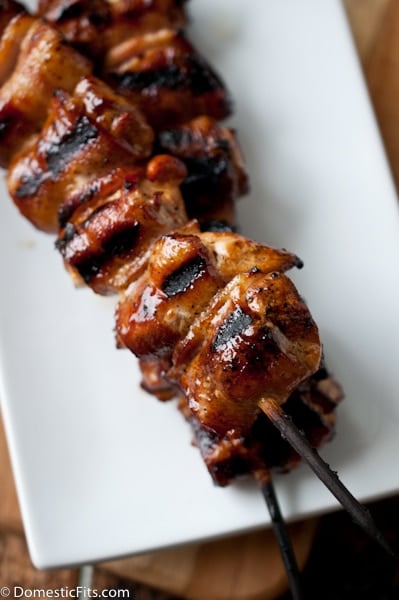
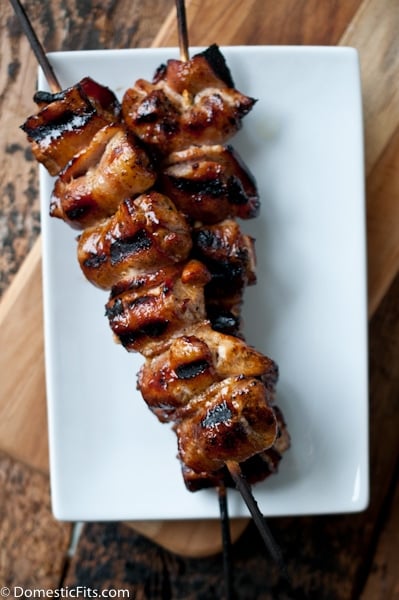
This chicken was great from the oven, but I have a huge crush on my grill right now so the win goes to grilled.
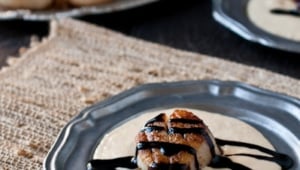
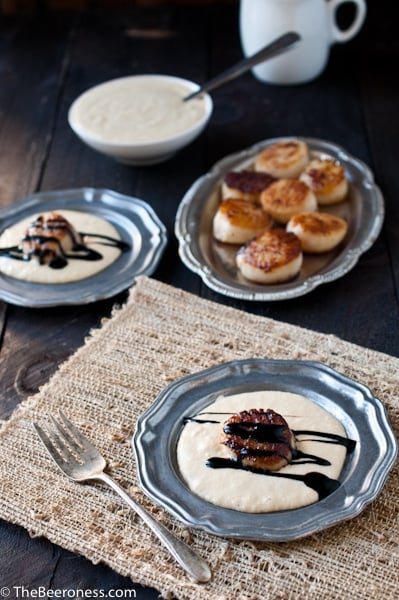
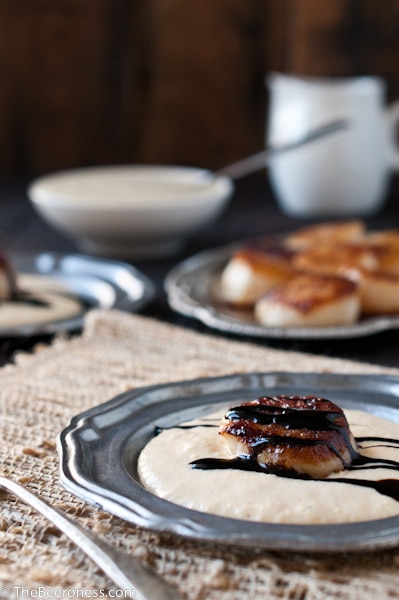
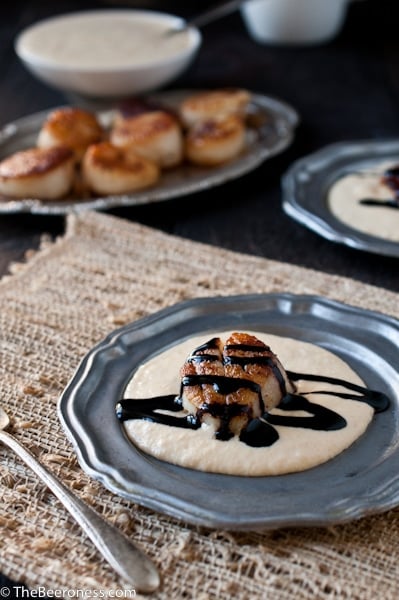
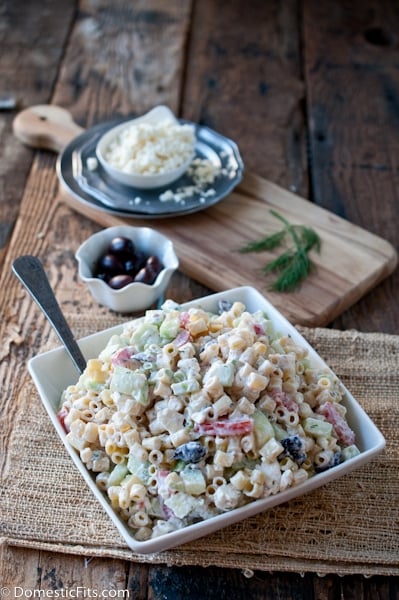
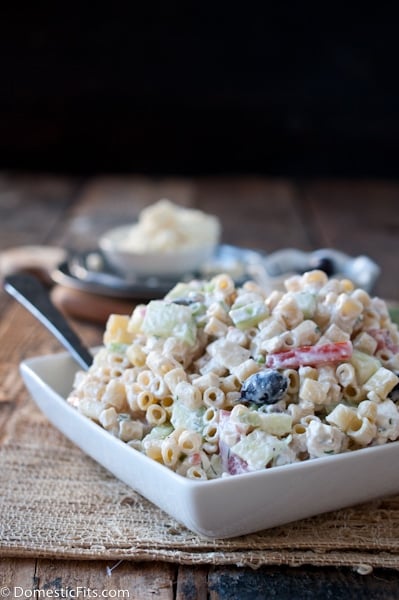
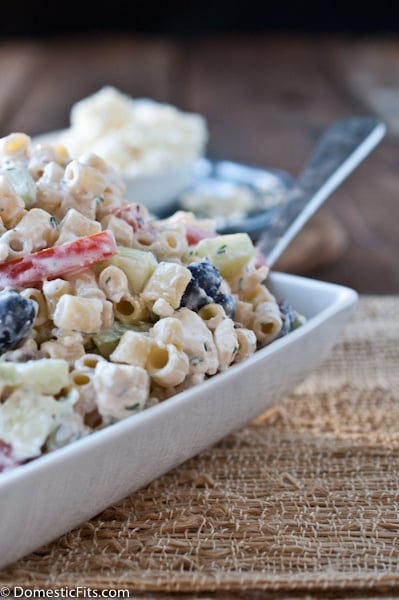
Hoisin Stout Chicken Legs
Ingredients
- 2 cups buttermilk
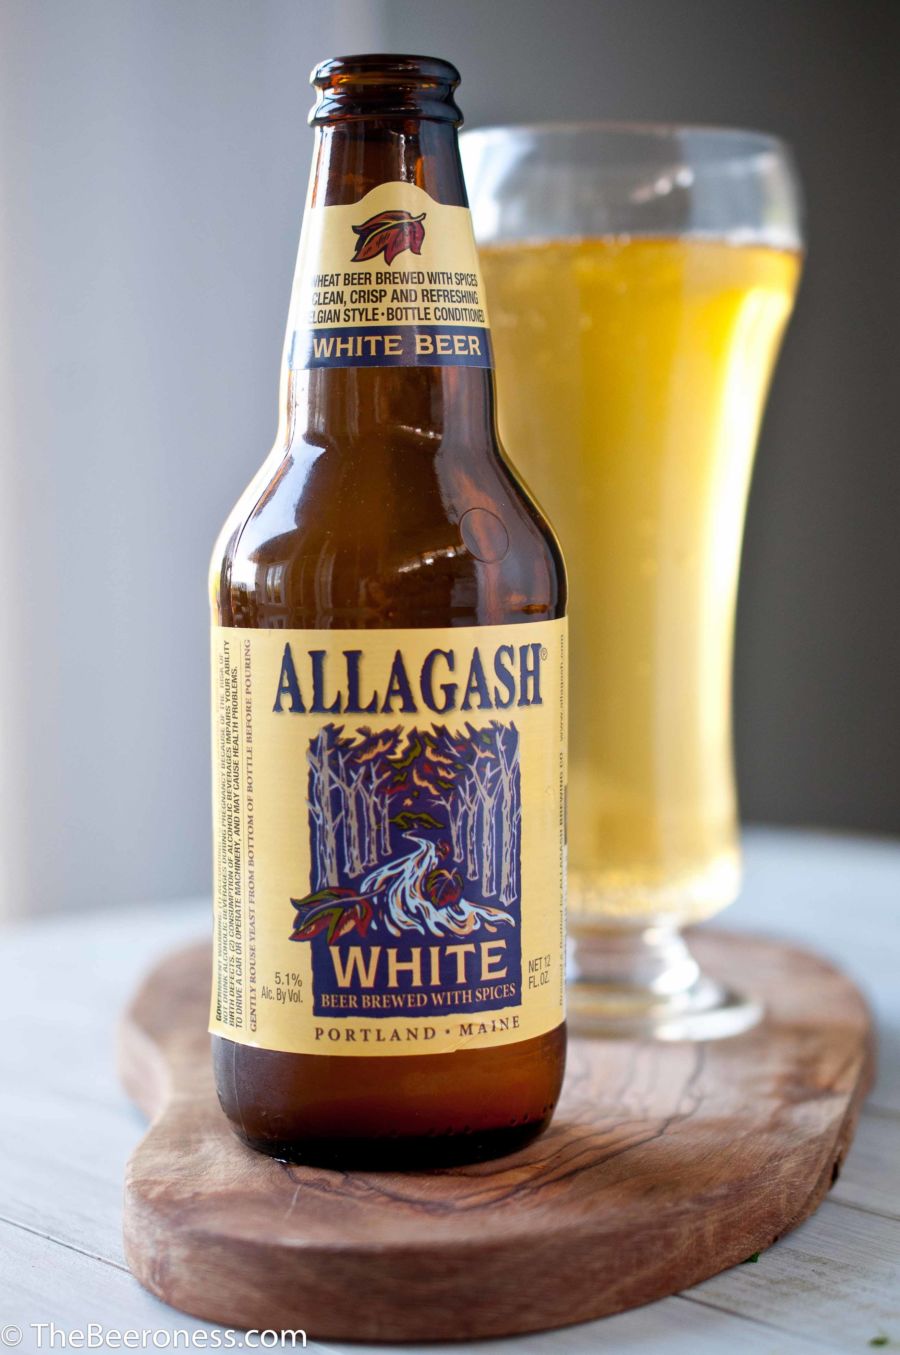
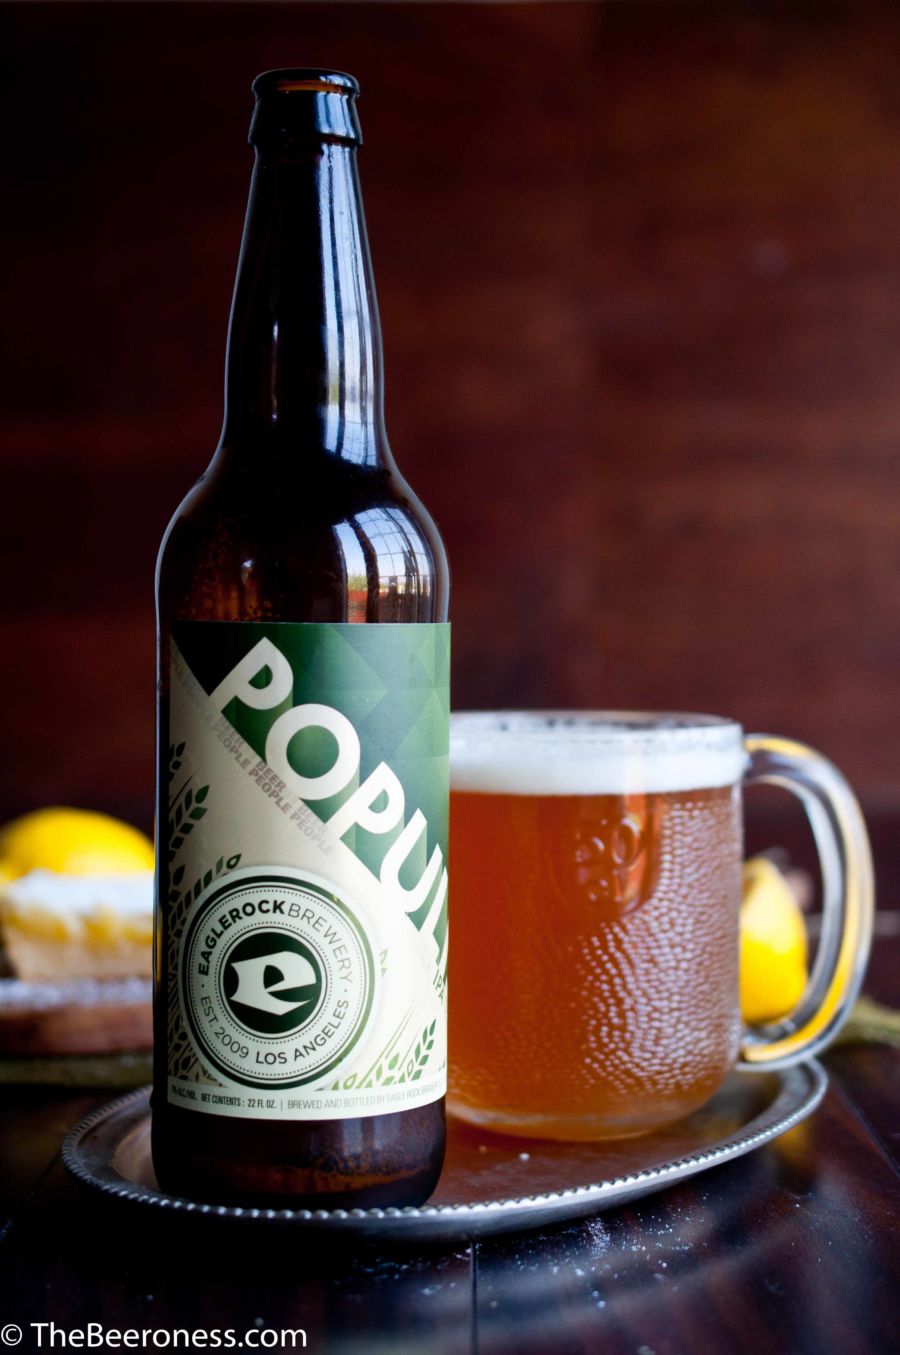
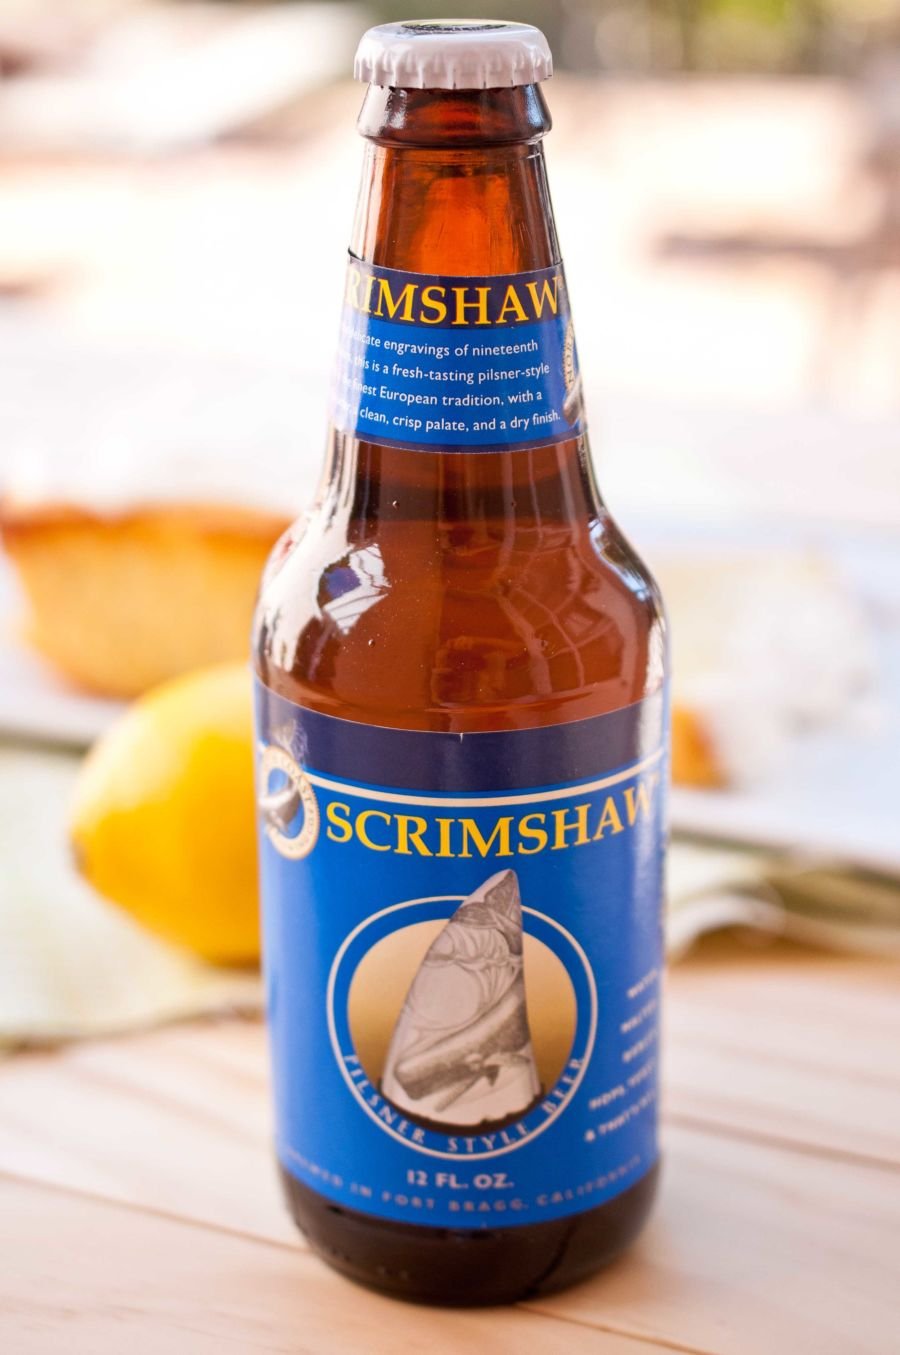
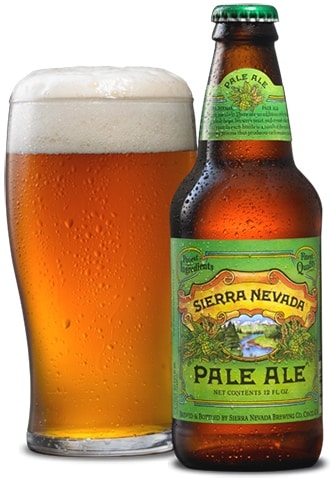
- 12 ounces pale ale
- 2 tbs salt
- 3 lbs chicken legs
- 2 tbs sesame oil
- 2 cloves garlic grated with a microplane (or minced)
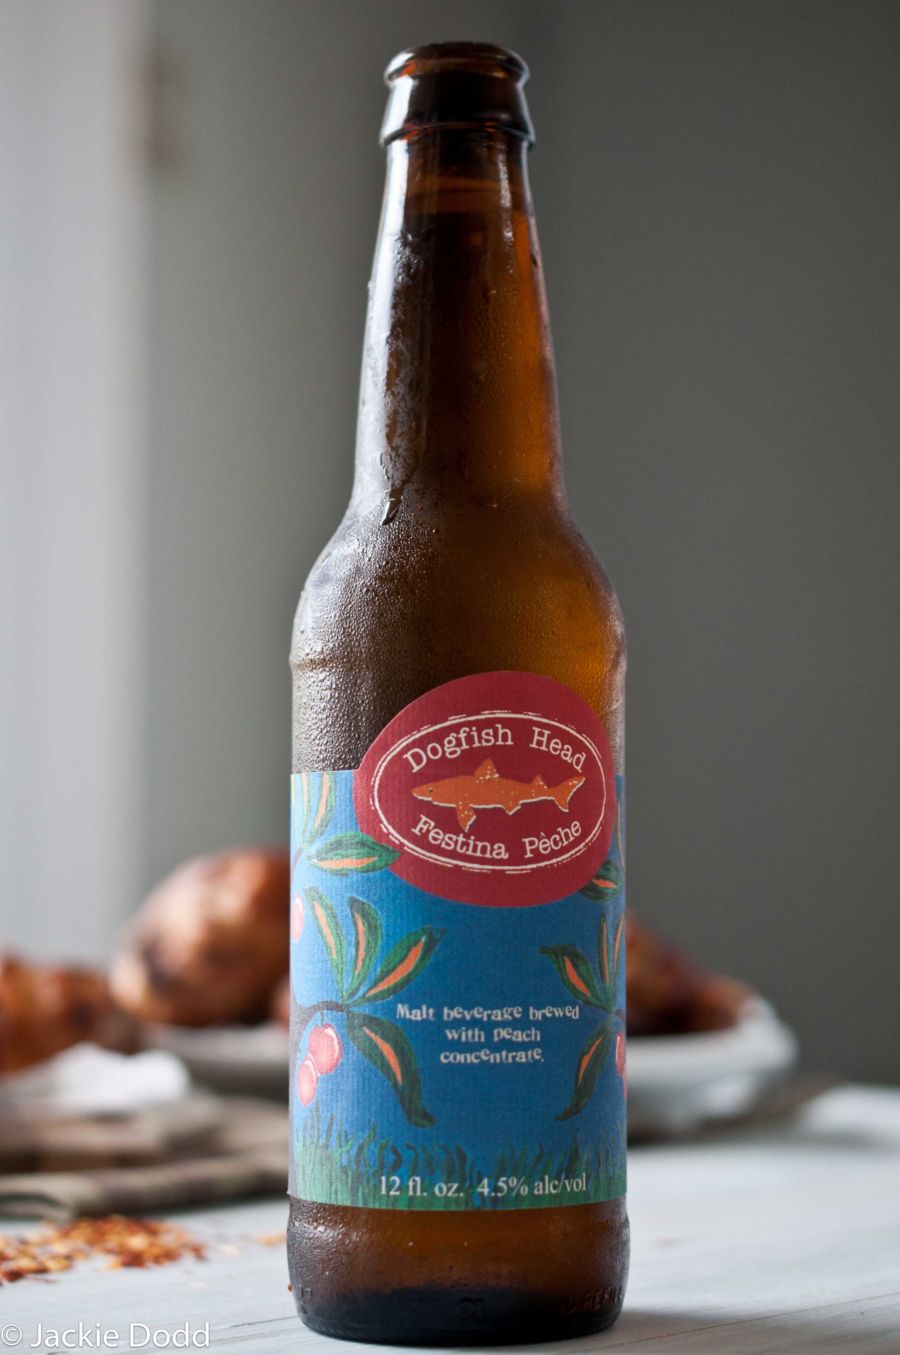
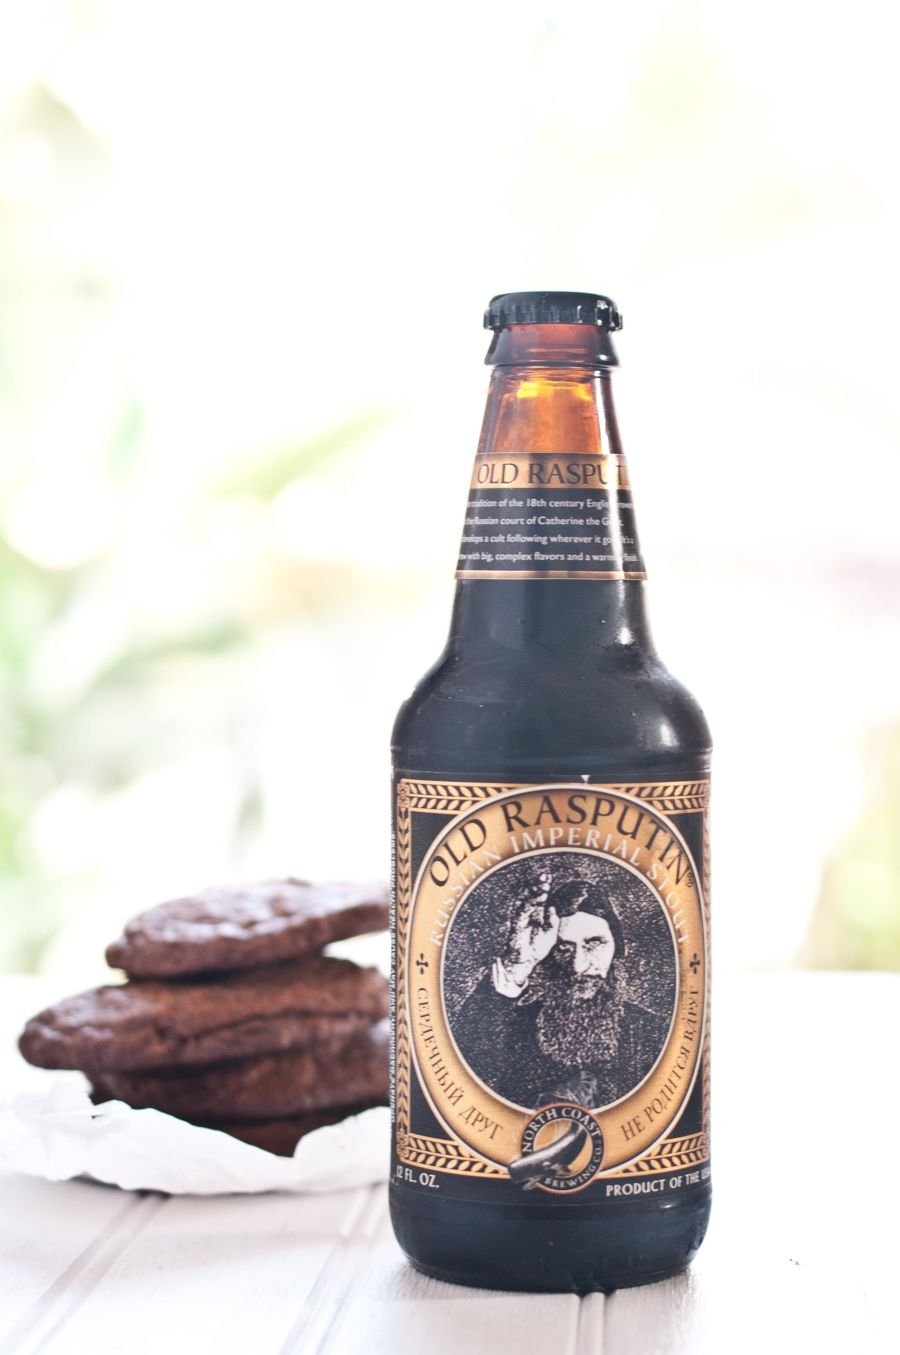
- 2/3 cup stout beer
- 1/3 cup soy sauce
- 3 tbs honey
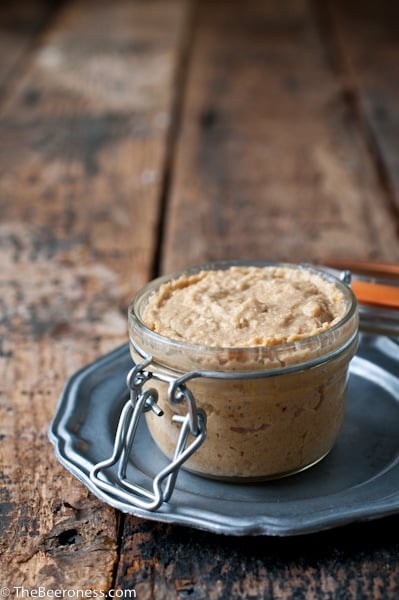
- 7.4 ounce jar Hoisin sauce about ¾ cup
- ¼ tsp smoked paprika
- ½ tsp sriracha hot sauce
- 2 tbs olive oil
Instructions
- In a large bowl whisk together the buttermilk, 12 ounces pale ale and salt. Add chicken, cover and allow to sit at room temperature for 30 minutes (if all ingredients are cold from the fridge, this is not long enough from any foodborne pathogens to form). Alternately, chicken can also be allowed to soak in the fridge for 3 to 6 hours.
- Rinse chicken well with cold water, pat dry.
- While the chicken is soaking, make the glaze. Add the sesame oil to a pot over medium high heat, add the garlic, stir. Add the stout, soy sauce, honey, hoisin, smoked paprika and sriracha, bring to a boil, stirring frequently until thickened, about 8 minutes.
Oven method:
- Preheat oven to 425.
- Heat olive oil in a skillet over high heat until just starting to smoke. Add the chicken (working in batches if necessary) and sear on all sides until browned, transfer to a baking sheet that has been covered with parchment paper or aluminum foil. (note: browning the chicken before the oven will help you to avoid rubbery, chewy, skin on your chicken).
- Brush the chicken on all sides with glaze. Cook for thirty minutes, removing chicken from the oven and re-glazing every ten minutes. Cook until internal temperature reaches 165.
Grill method:
- Preheat grill to medium high.
- Brush the grates with olive oil.
- Brush chicken on all sides with glaze.
- Place on hot grill, close the lid.
- Turn and brush with glaze every 2 minutes until cooked through, about 8-10 minutes.