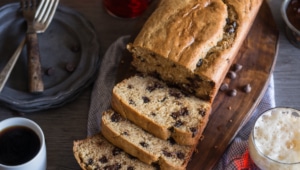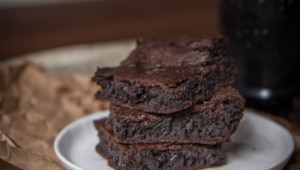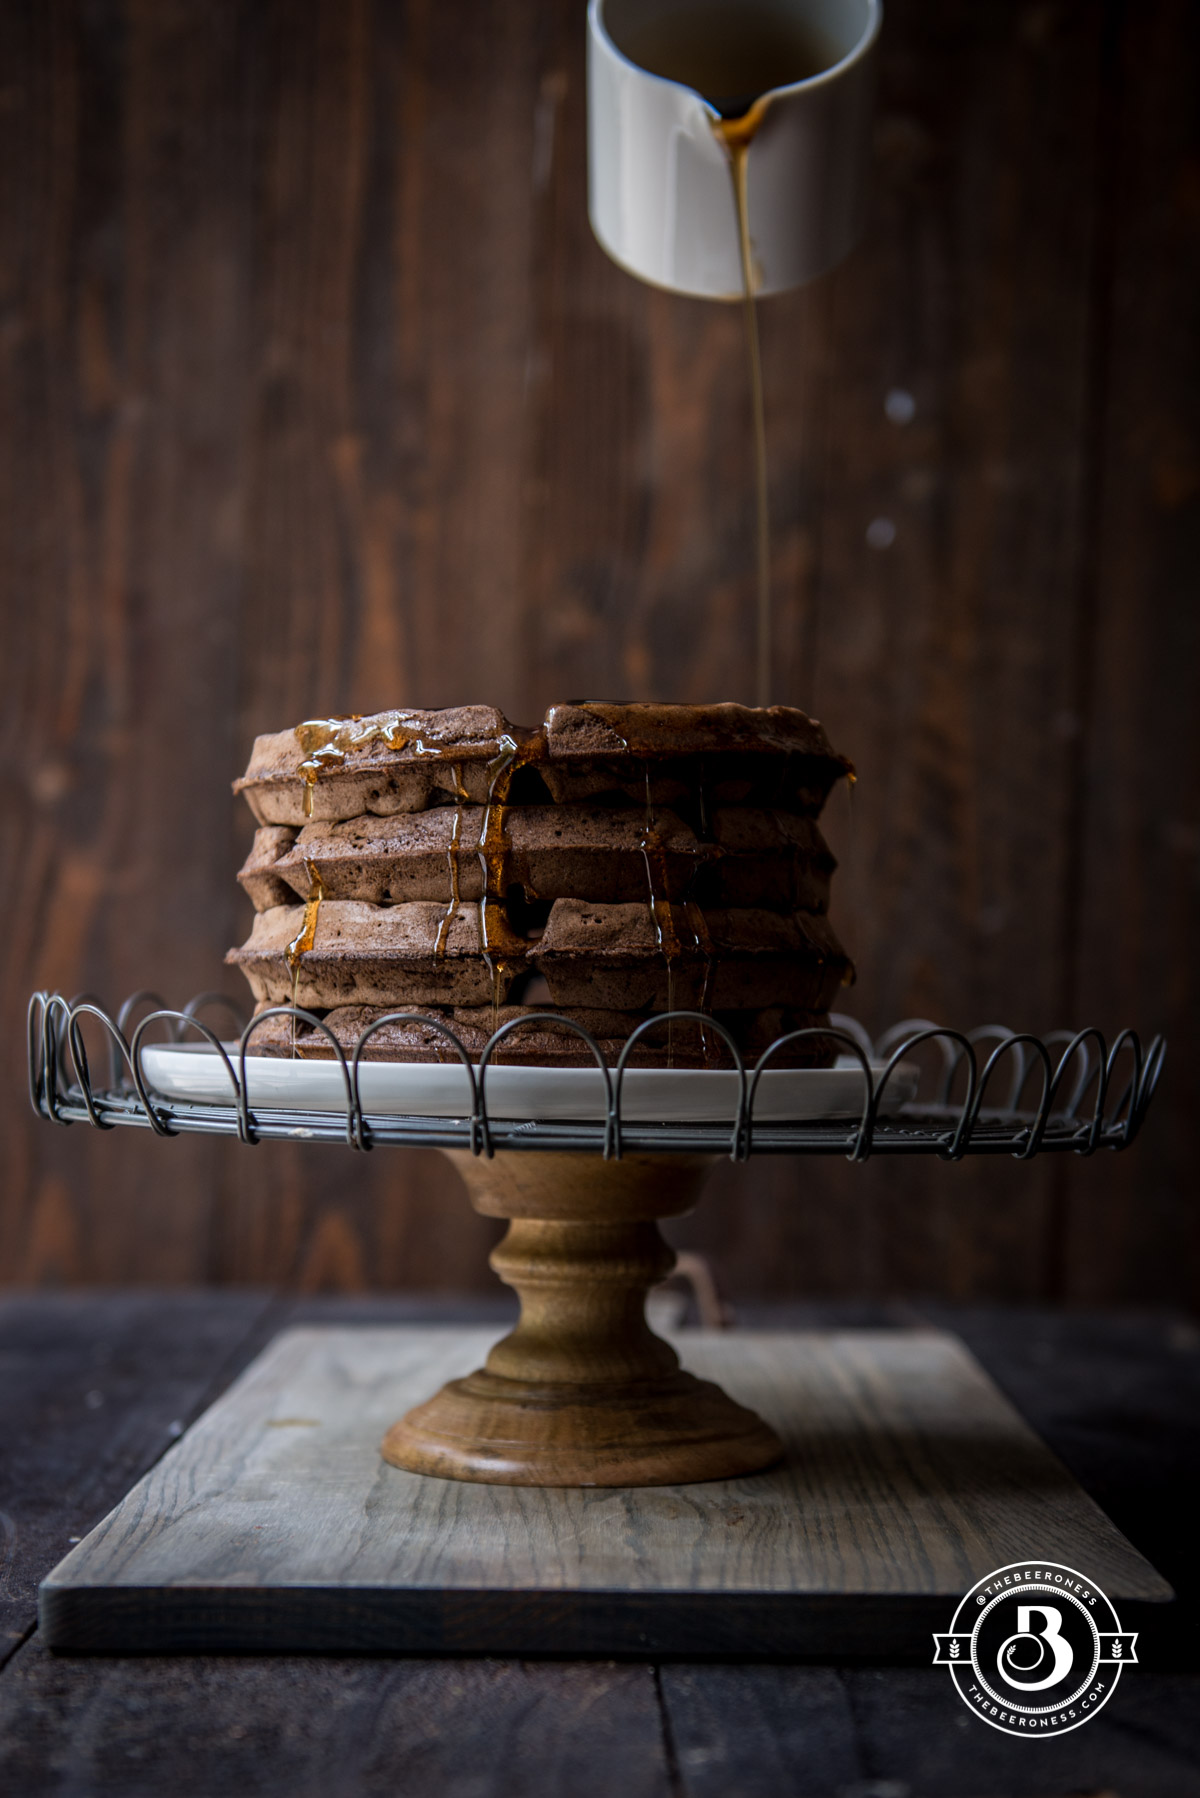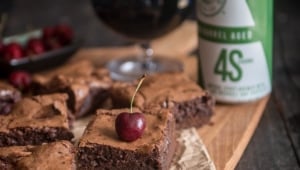
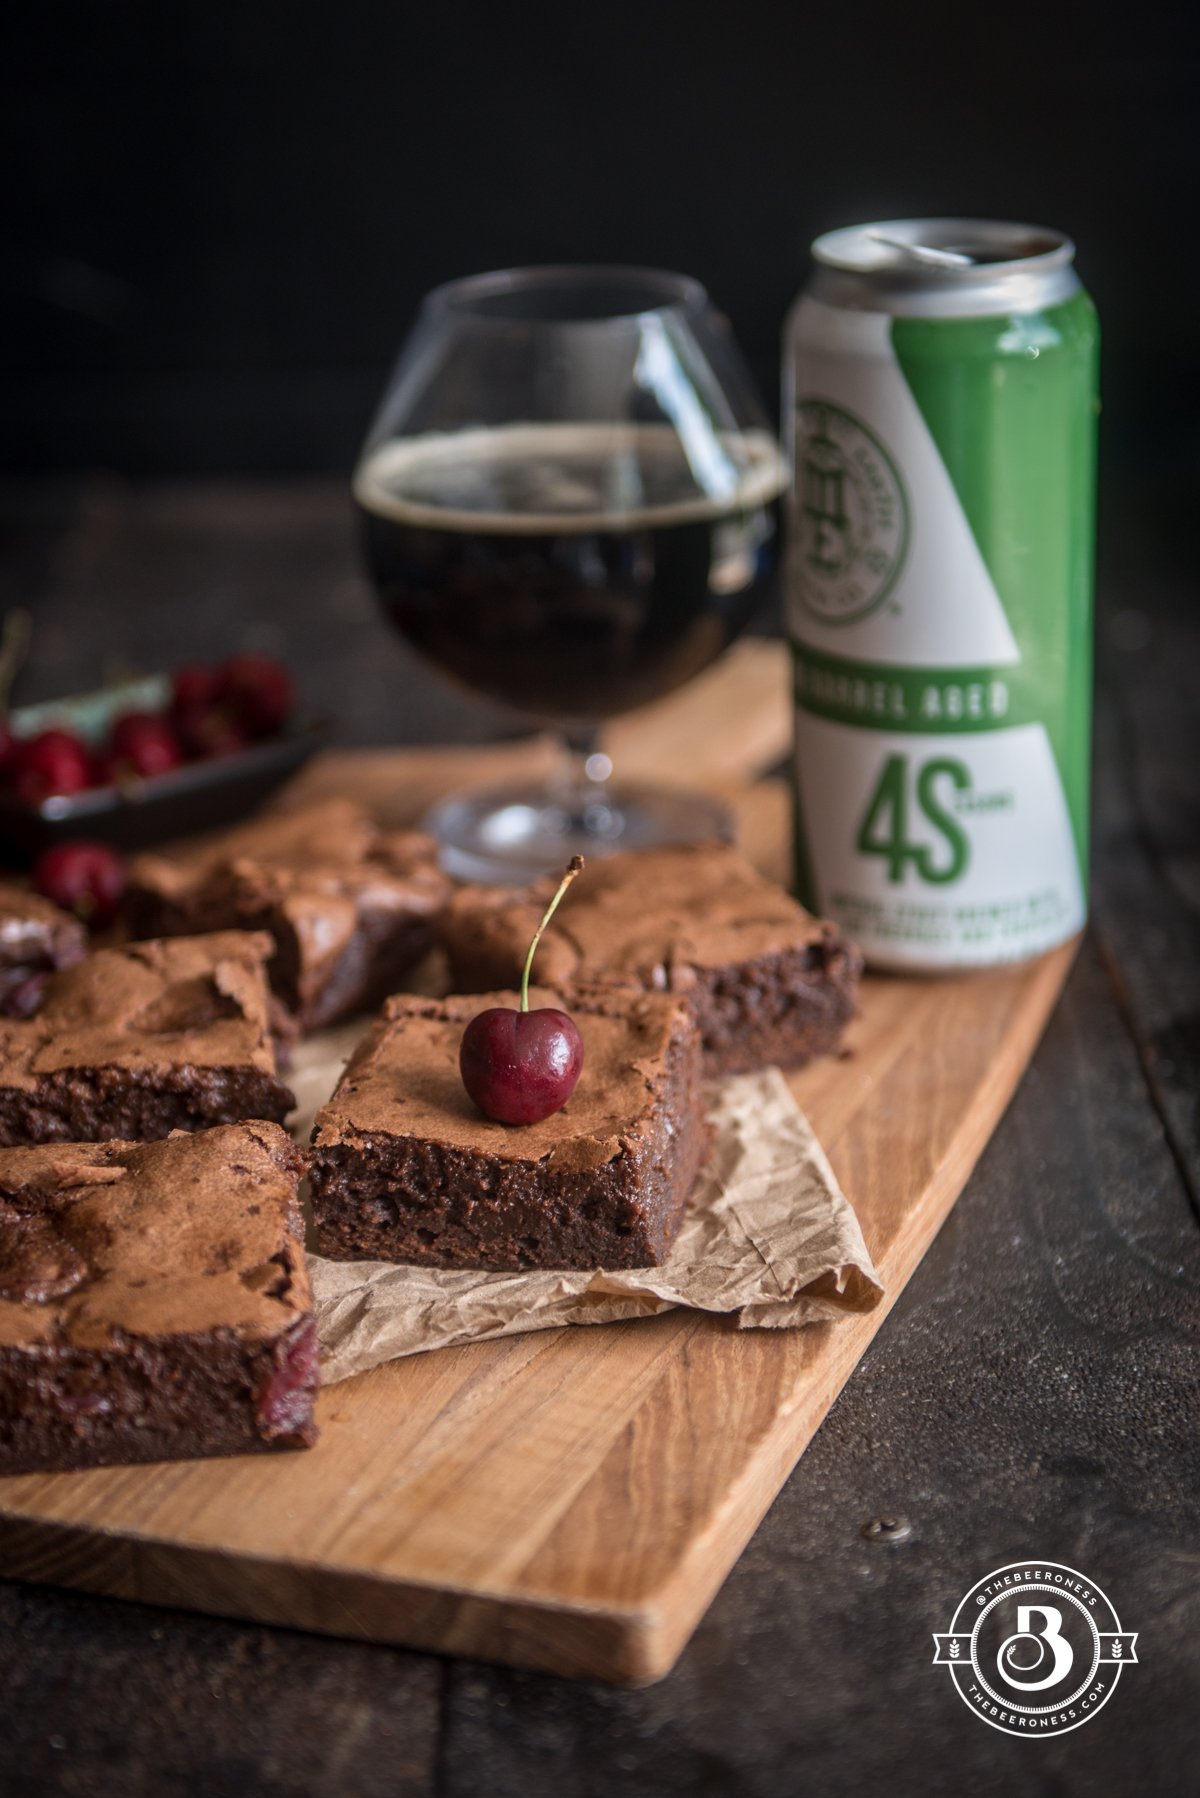
Cherry Stout Beer Brownies
Don’t look at me like that. I know we agreed that brownies shouldn’t be bastardized by things like nuts or fruit, but this is different. Mostly because I wanted to do it and rules don’t apply when I feel like this, you know how it goes.
Just hear me out. When cherries come into season I need to put them on all the things. All. The. Things. Remember when I pickled cherries in beer? That was fun, I need to do that again. This brownie situation was like that because I had cherries and need to make something borderline ridiculous with them.
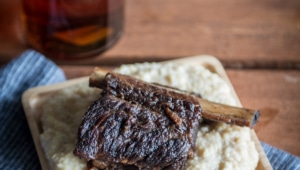
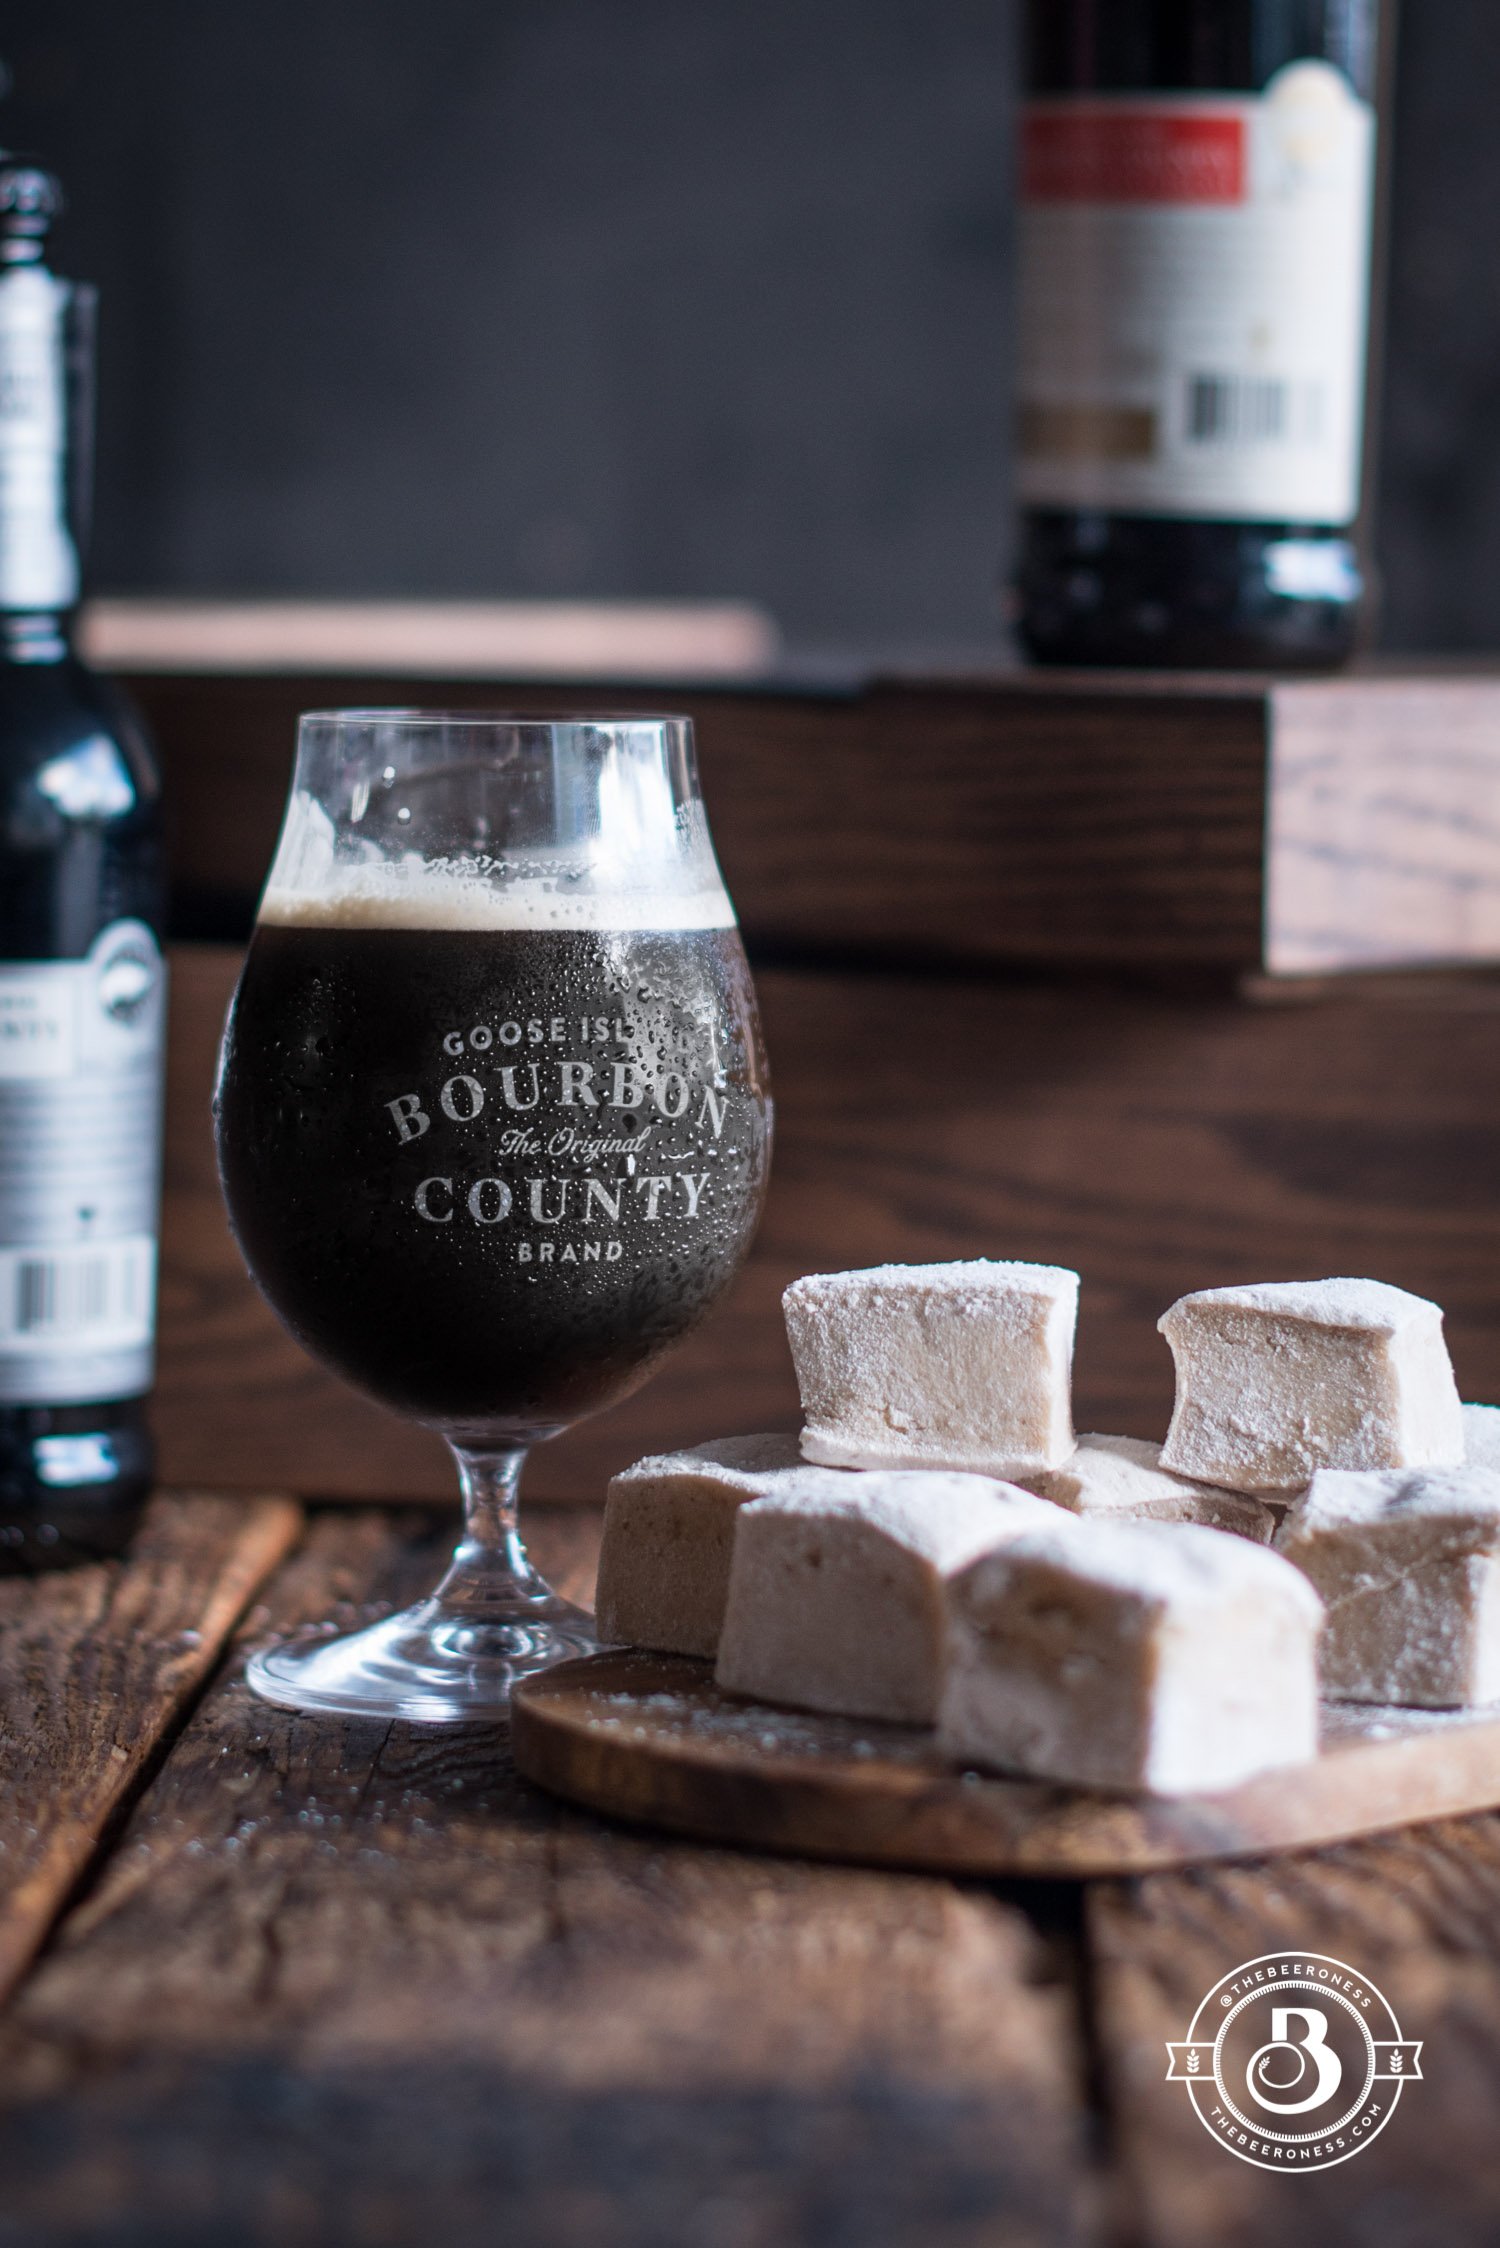
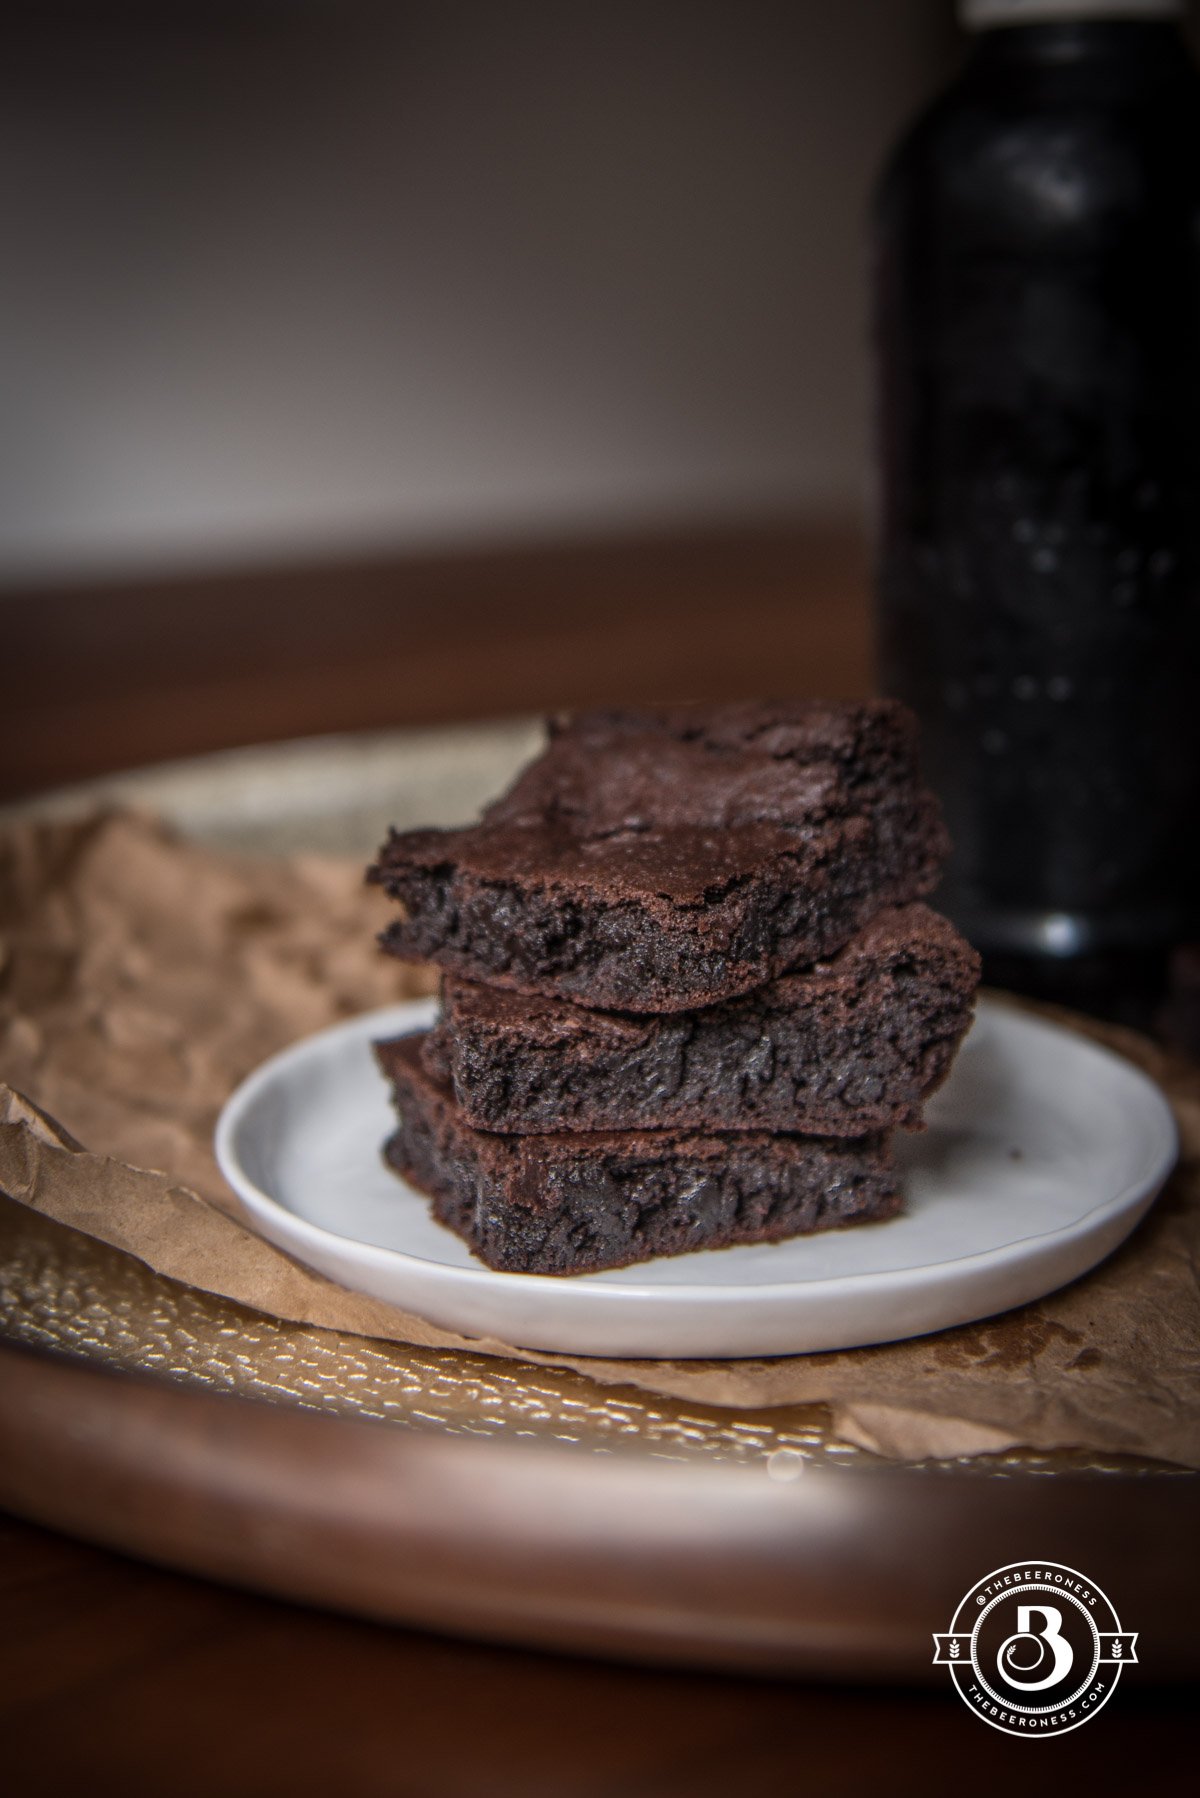
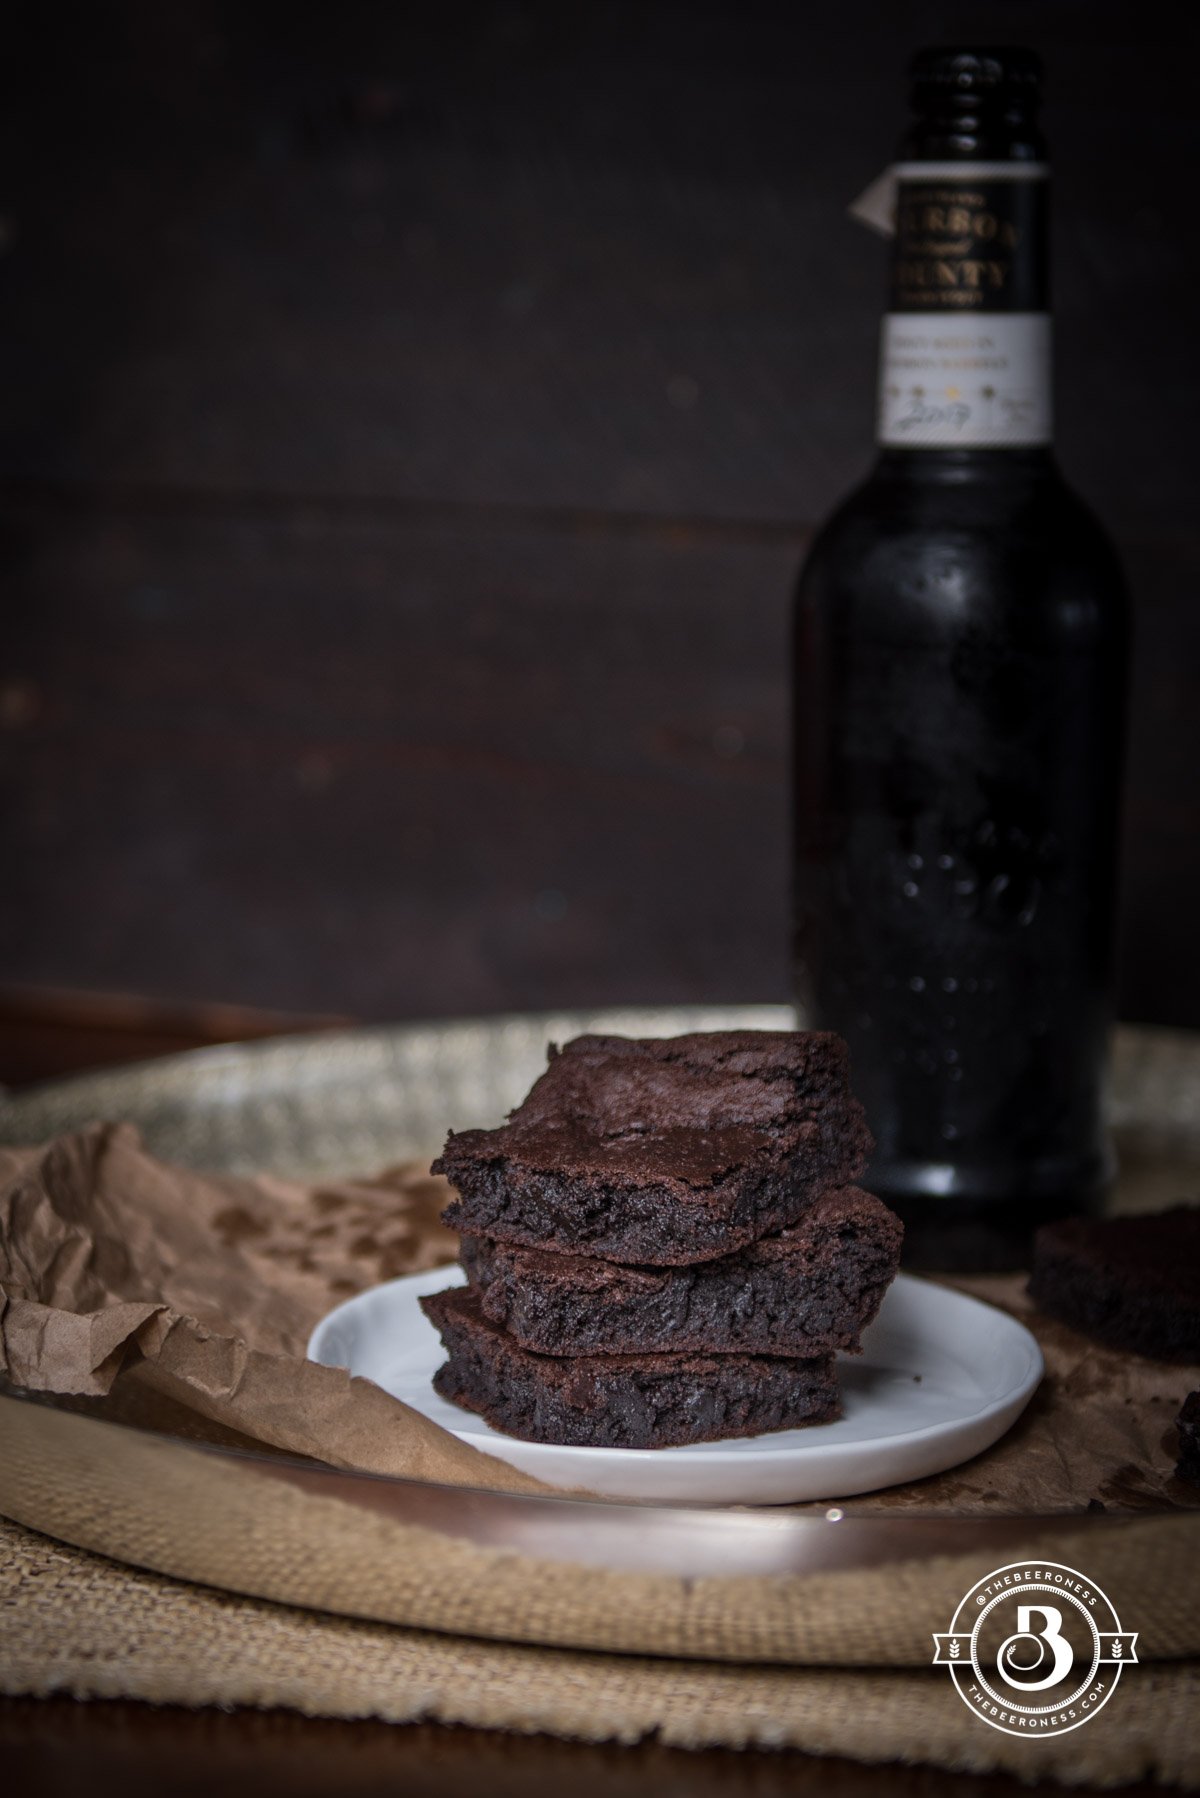
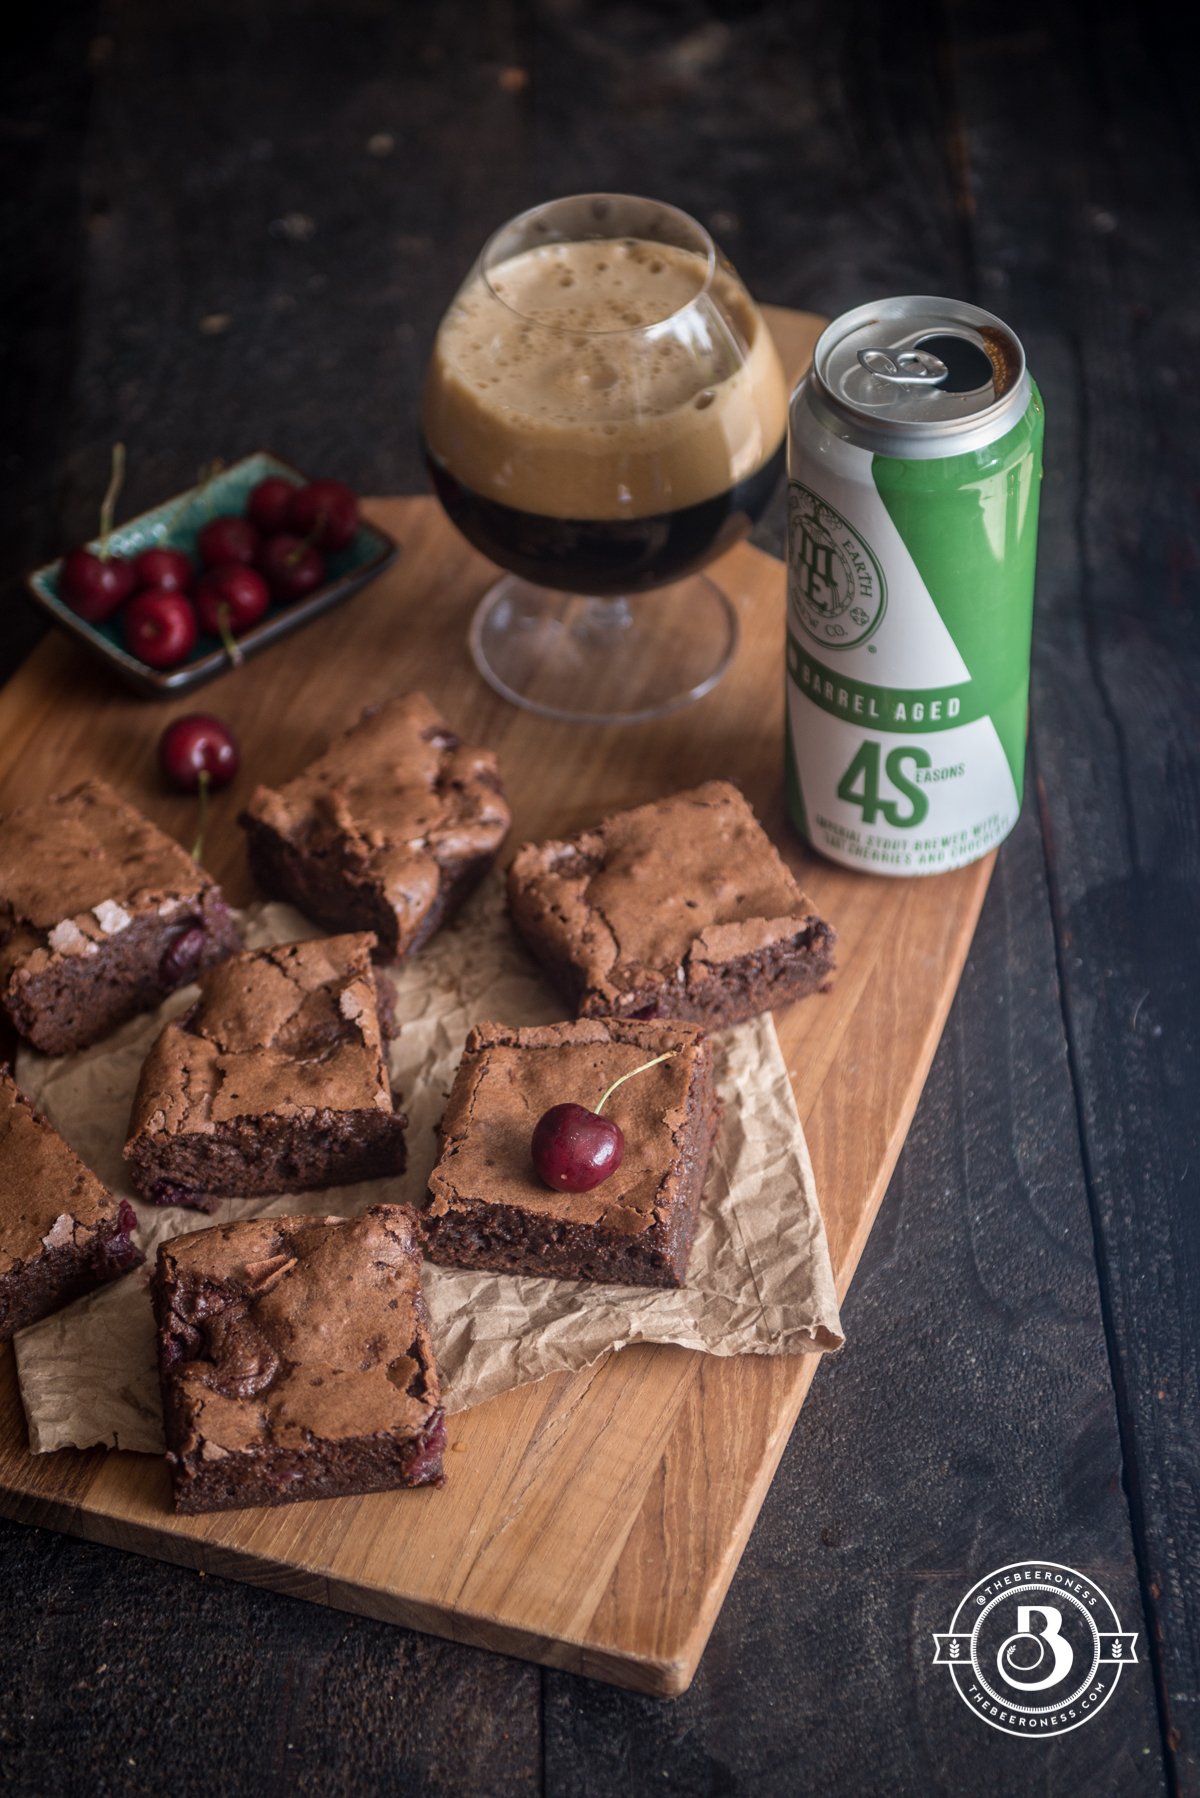
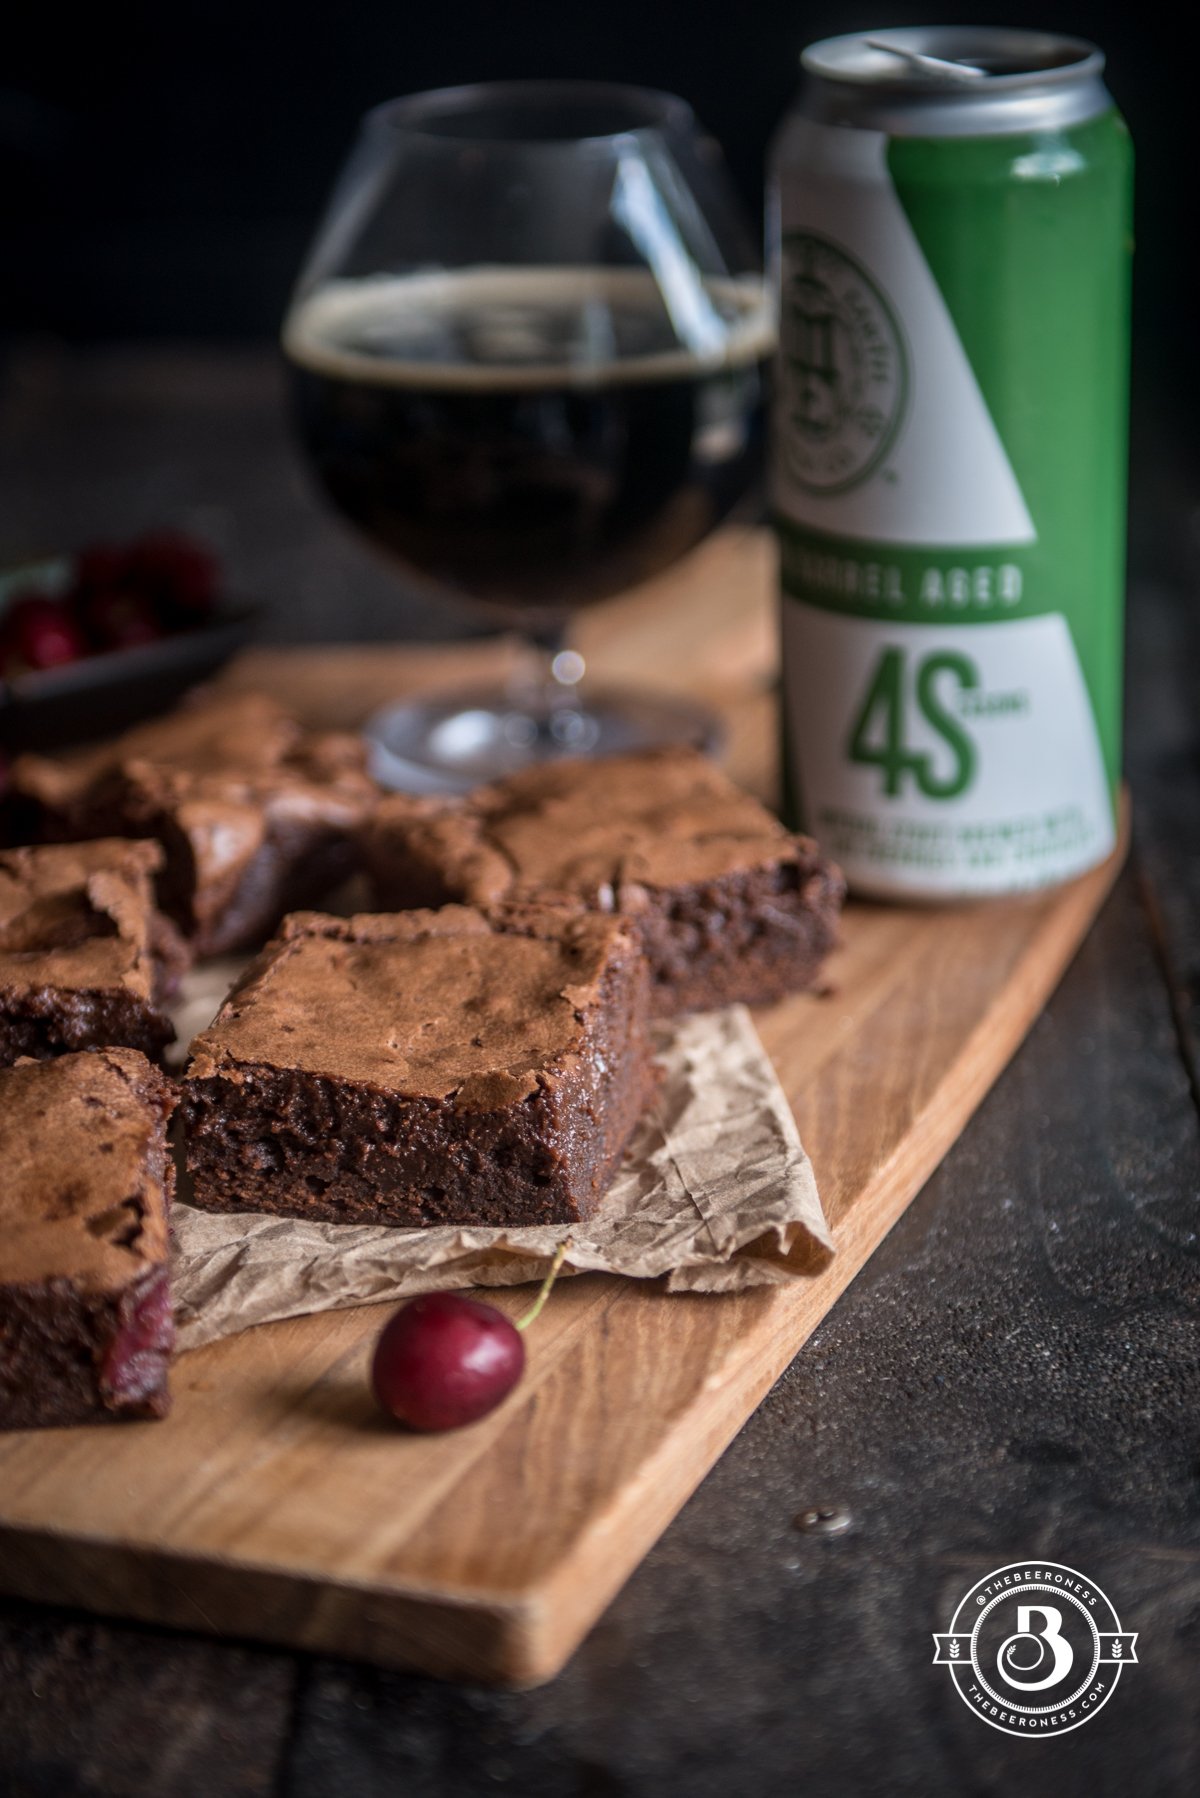
So, there I was with a nice little haul of Pacific Northwest Cherries, and then a beer showed up on my doorstep (that’s what happens when you have a weird job like this one, beer just shows up on your doorstep) and it’s a beer that’s made with cherries and cocoa, and it tastes like making out with your crush. 4 Seasons Imperial Stout from Mother Earth Brewing is an 11% monster that you shouldn’t consumer without a spotter and some carbs because it goes down far too easy for that much of a punch.
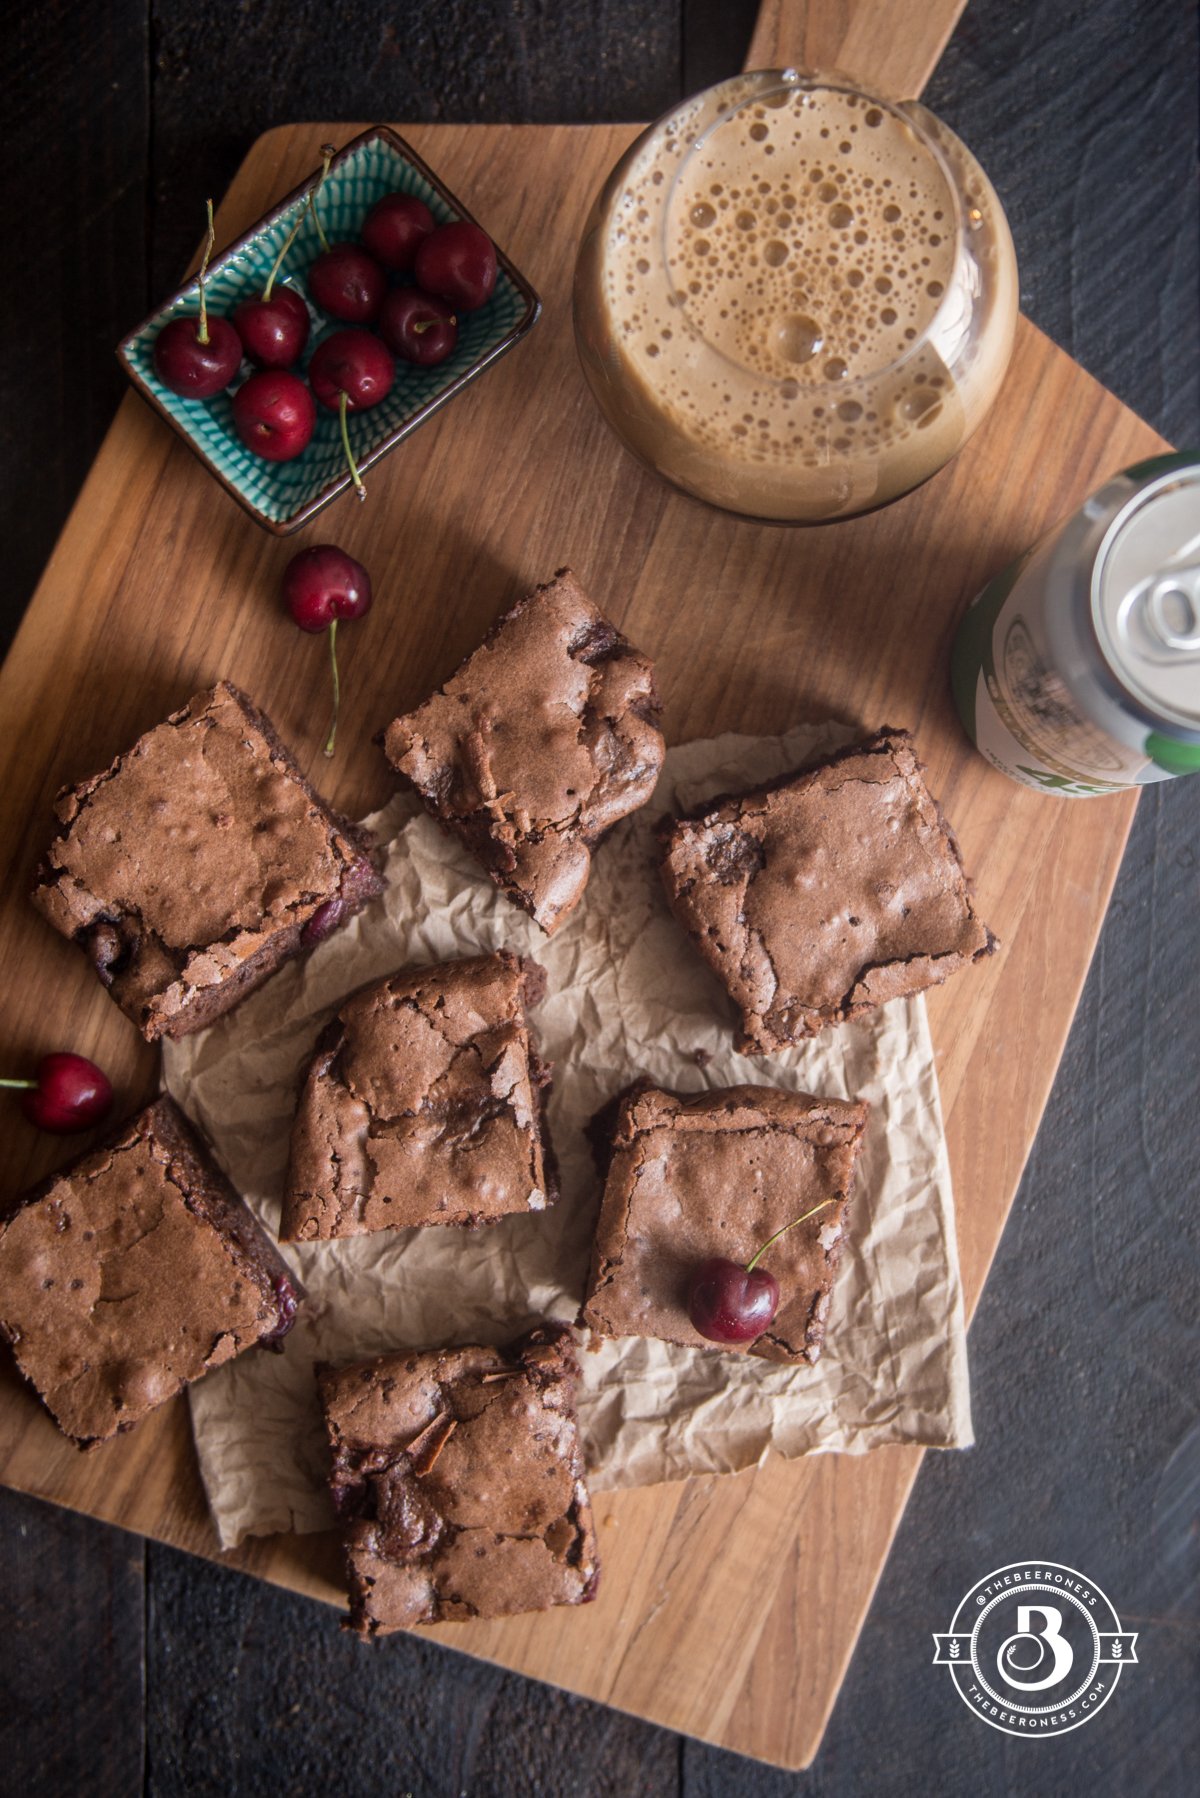
When you have an imperial stout made with cherries AND cocoa, you have to make brownies studded with cherries as a consumable echo to that beer. Also, it’s nice to have some carbs to share with your spotter, obviously.
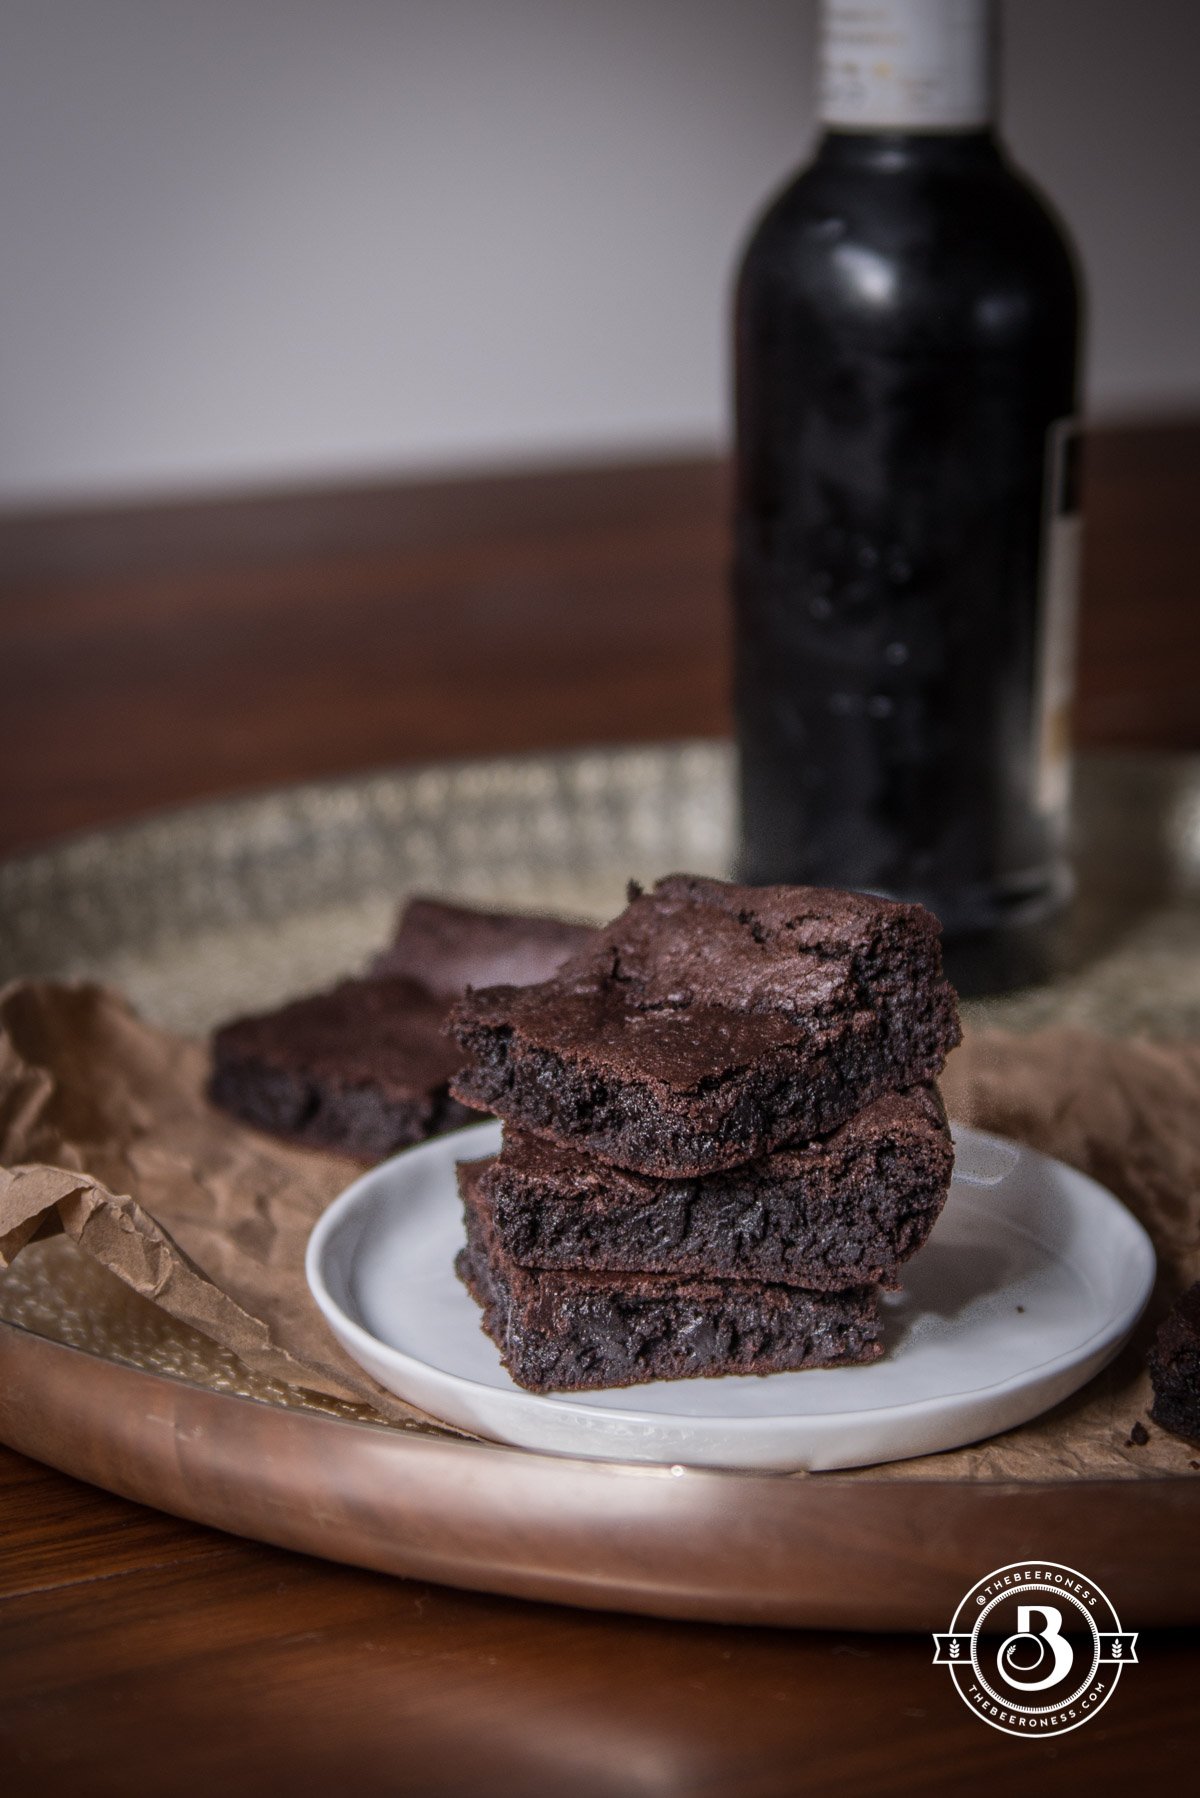
Cherry Stout Beer Brownies
Ingredients
- ½ cup (114g) melted butter
- 1 ½ cups (300g) granulated sugar
- 1/3 cup (75g) stout beer
- 3 large eggs
- 6 weight ounce dark chocolate chips melted
- 1 cup (120g) all-purpose flour
- ½ teaspoon (6g) salt
- ¼ cup (25g) unsweetened cocoa powder
- 1 cup (130g) halved and pitted dark sweet cherries (like Bing cherries)
- 1 tablespoon cornstarch
Instructions
- Preheat the oven to 350°F.
- Add the melted butter and sugar to a mixing bowl, mix until well combined.
- Stir in the beer and the eggs, mix until well combined.
- Stir in the melted chocolate.
- Sprinkle with flour, salt, and coco powder, mix until just combined.
- Toss the cherries with cornstarch. Stir into the batter.
- Pour into a pan lined with parchment paper.
- Bake for 40 minutes or until a toothpick in the center returns with a few crumbs attached but it’s covered in batter.
- Allow to cool and rest for one hour before removing from the pan and cutting into squares