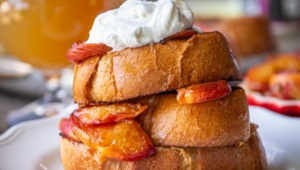
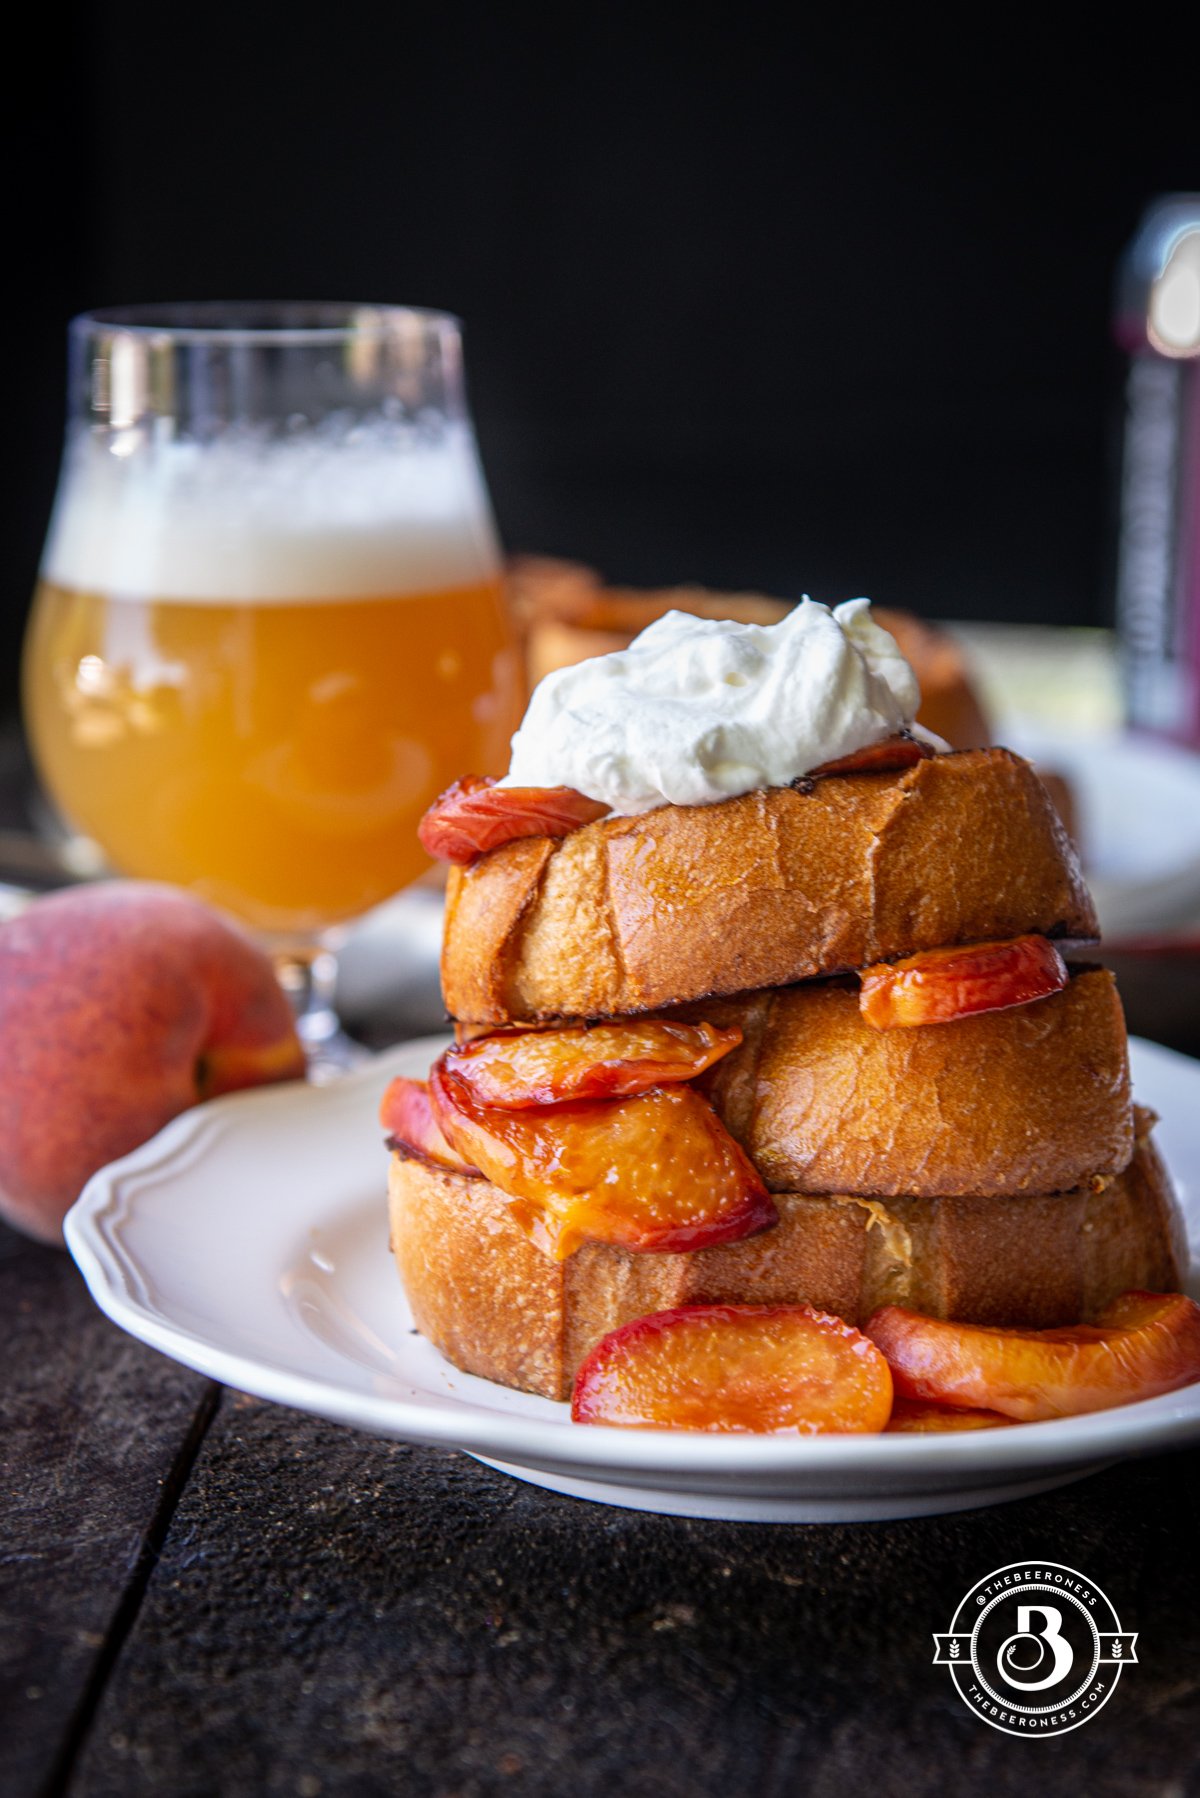
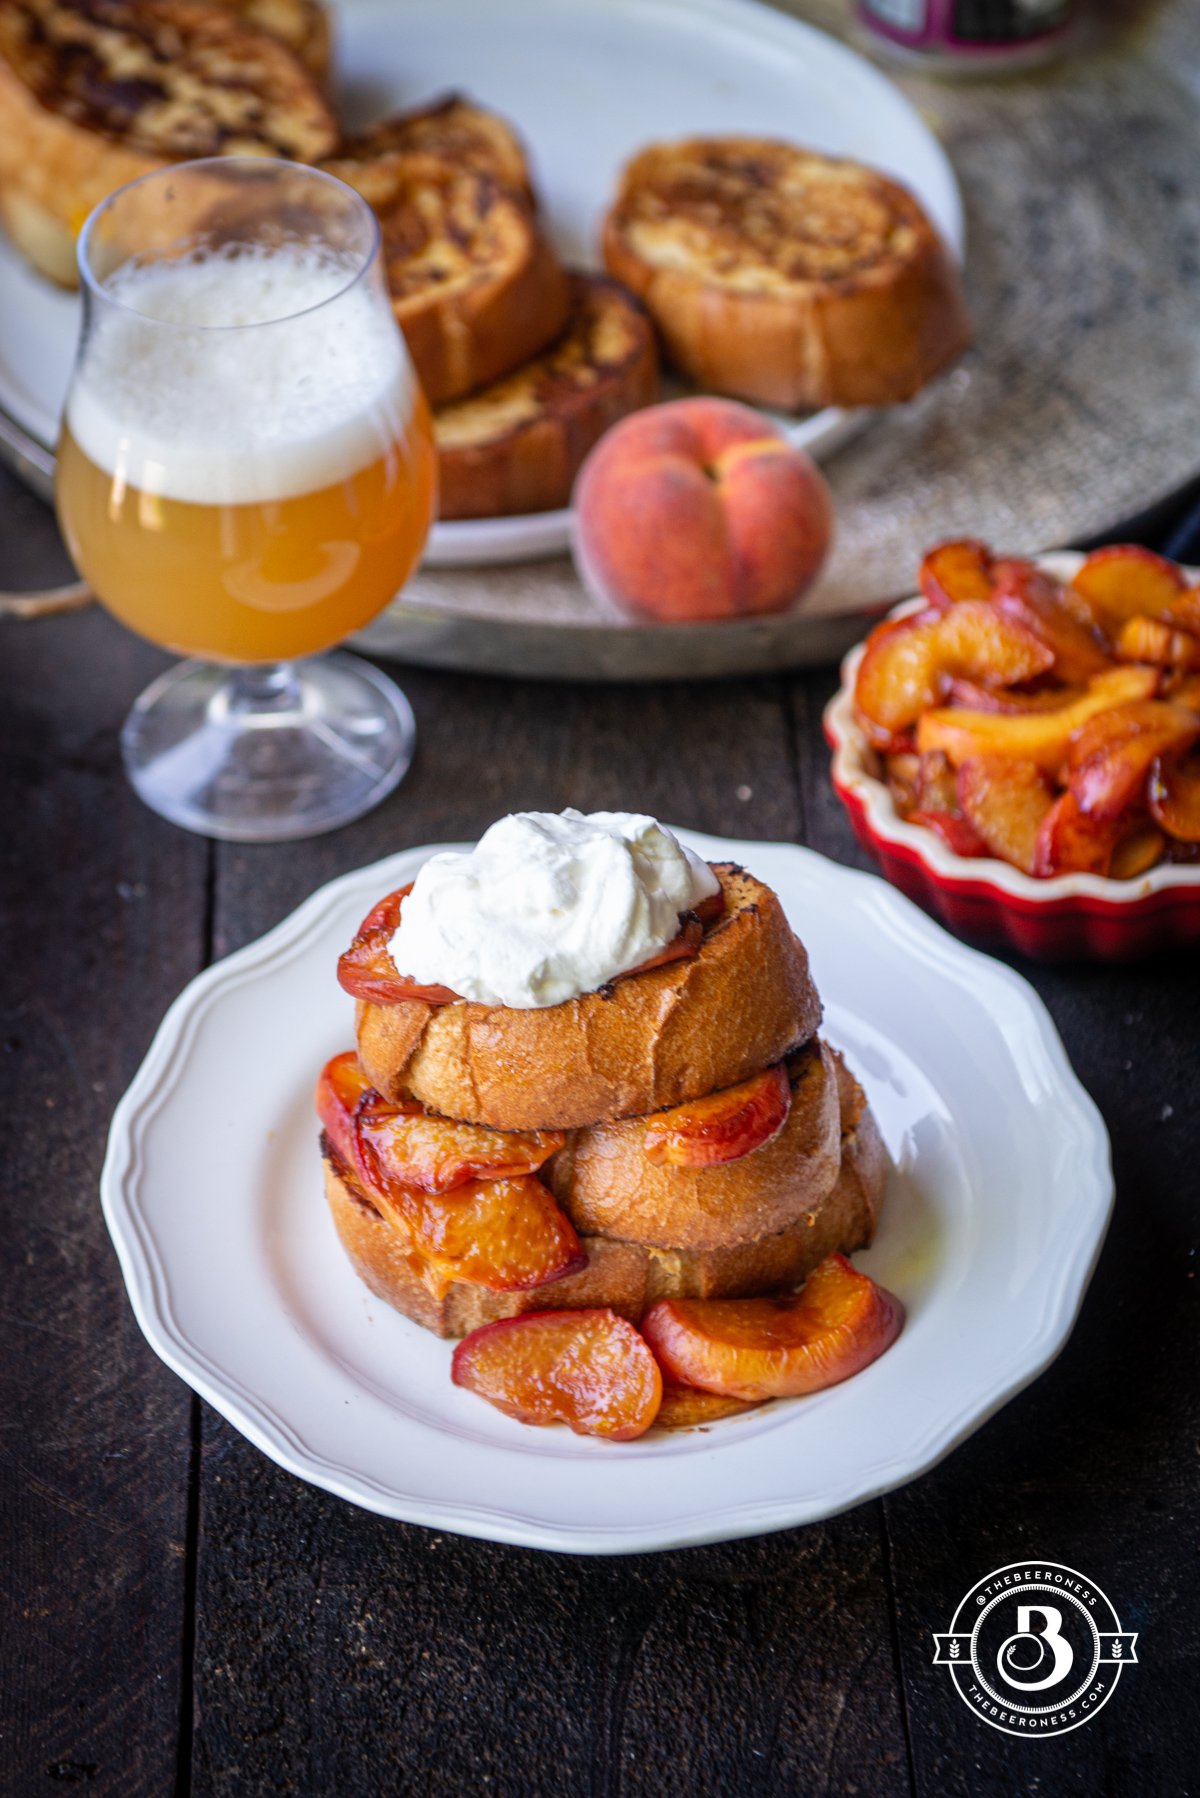
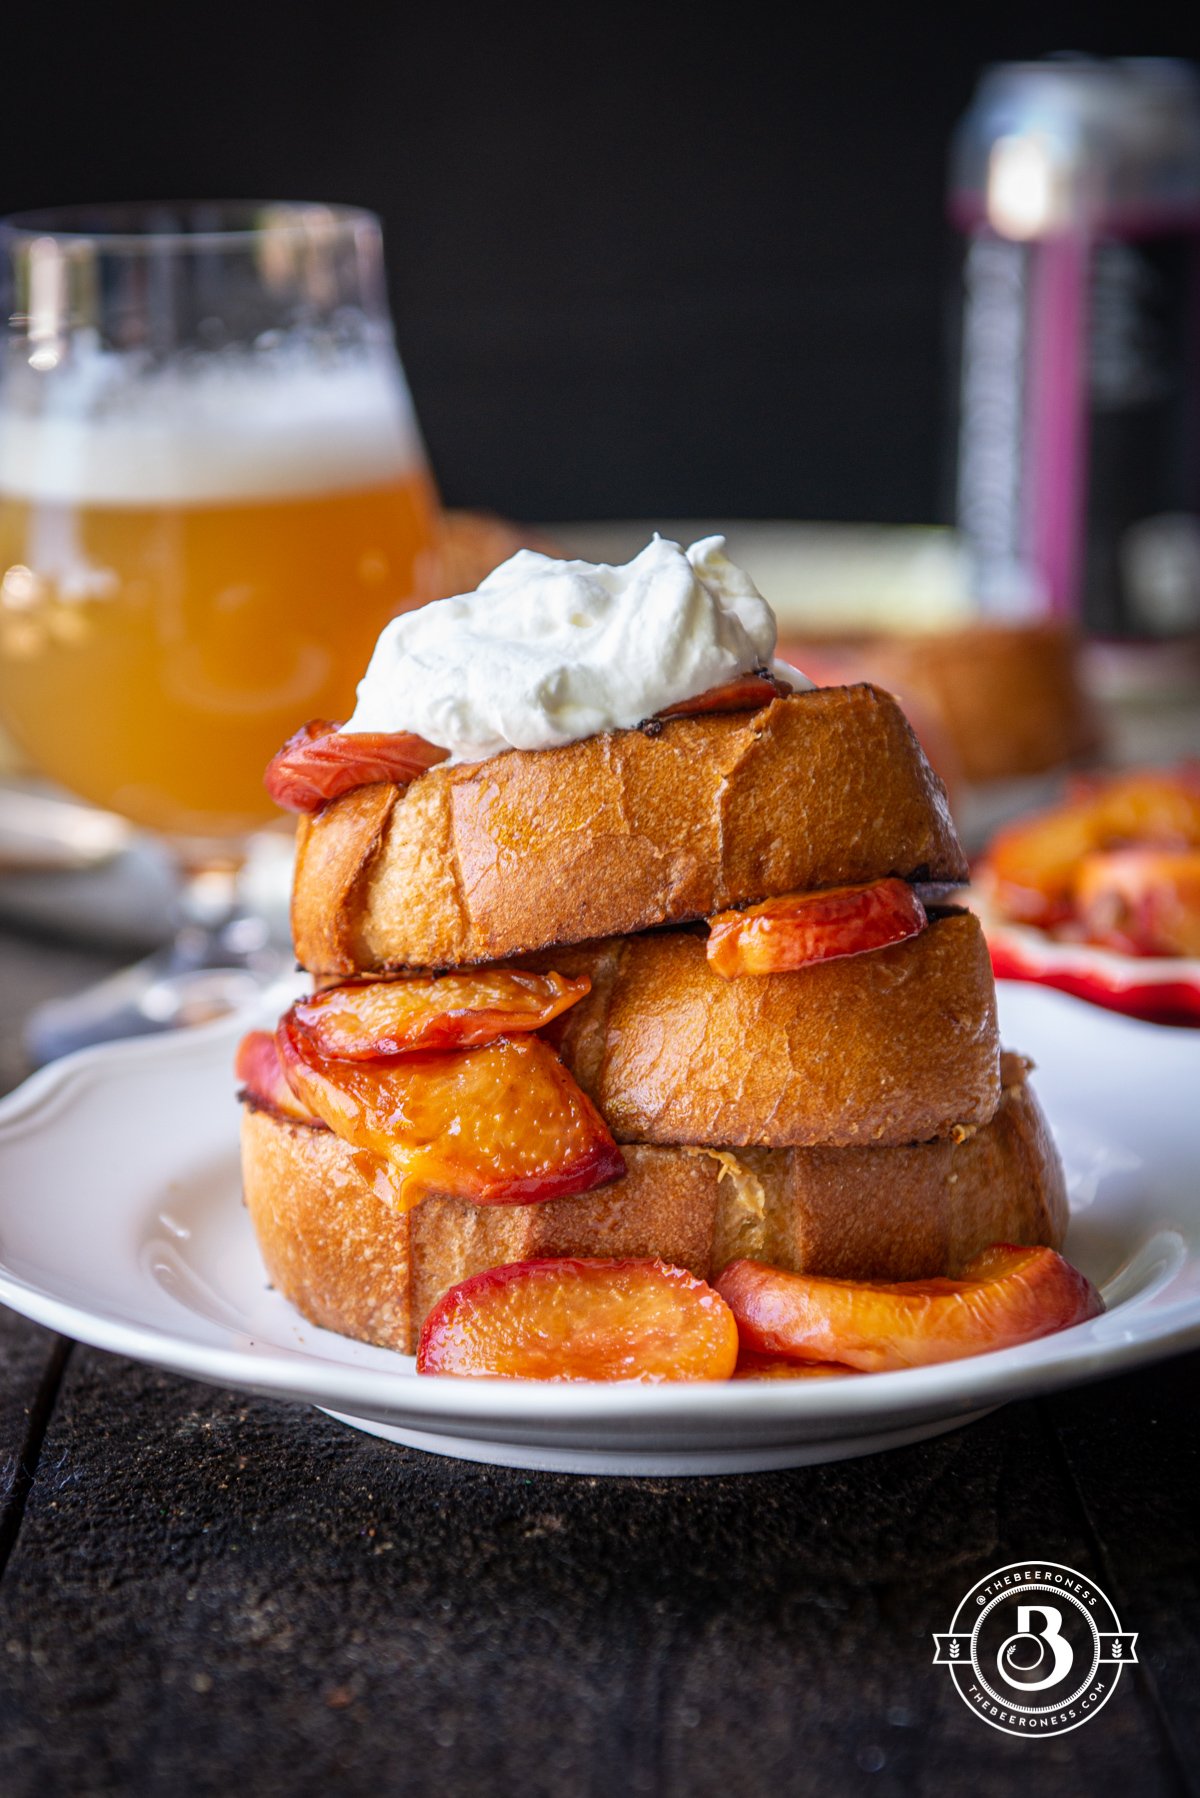
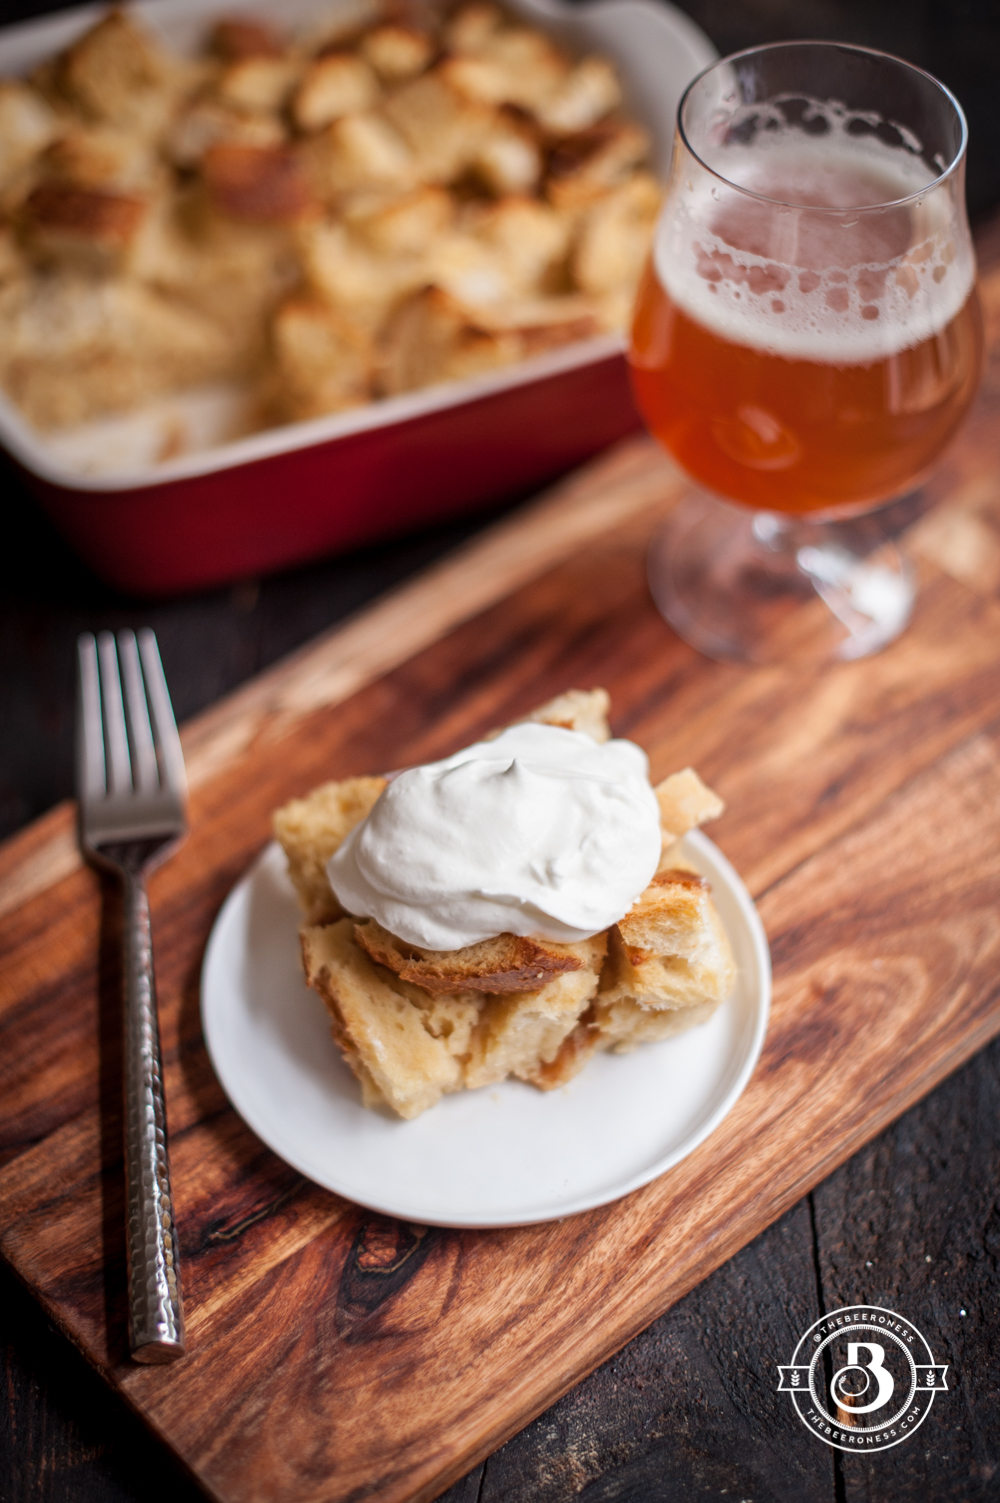
Brioche French Toast with Beer Caramelized Peaches
Breakfast is my favorite meal. Mostly because I get to make and eat it in my pajamas without judgment, but also because most of it is basically dessert we eat as an entree. We should do this with more meals, dinner cake should be a thing. Lunch brownies, too.
French toast has always been my favorite, and it should always be made with brioche. It’s really the best bread for French toasting and all other breads are vastly inferior. This is a fact. Challah will also work but don’t, even for a second, think you can make this with presliced bread and get away with it, I’ll know and I’ll be sad.
Just get yourself a loaf of brioche and slice it yourself, you’ll be glad you did. Because I certainly won’t judge you for drinking beer at breakfast but I won’t make the same promise if you break out the sandwich bread to make French Toast. Just trust me.
Brioche French Toast with Beer Caramelized Peaches
3tablespoonsbeerBelgian, wheat beer, pilsner, pale lager
For the French toast:
1large loaf Brioche(or Challah)
2eggs
½cup(120g) heavy cream
¾cup(180g) beerBelgian, wheat beer, pilsner, pale lager
1teaspoonvanilla
1/3 cup(66g) granulated sugar
½teaspoonsalt
3tablespoonsbutter
Whipped cream for serving
Instructions
Add the peaches, lemon juice, brown sugar, and salt to a bowl, toss to combine.
Add the butter to a large skillet over medium-high heat until melted, add the peaches and lower the heat to medium-low.
Pour in the beer and continue to cook, stirring occasionally, until the peaches have started to brown and caramelize, about 15 minutes.
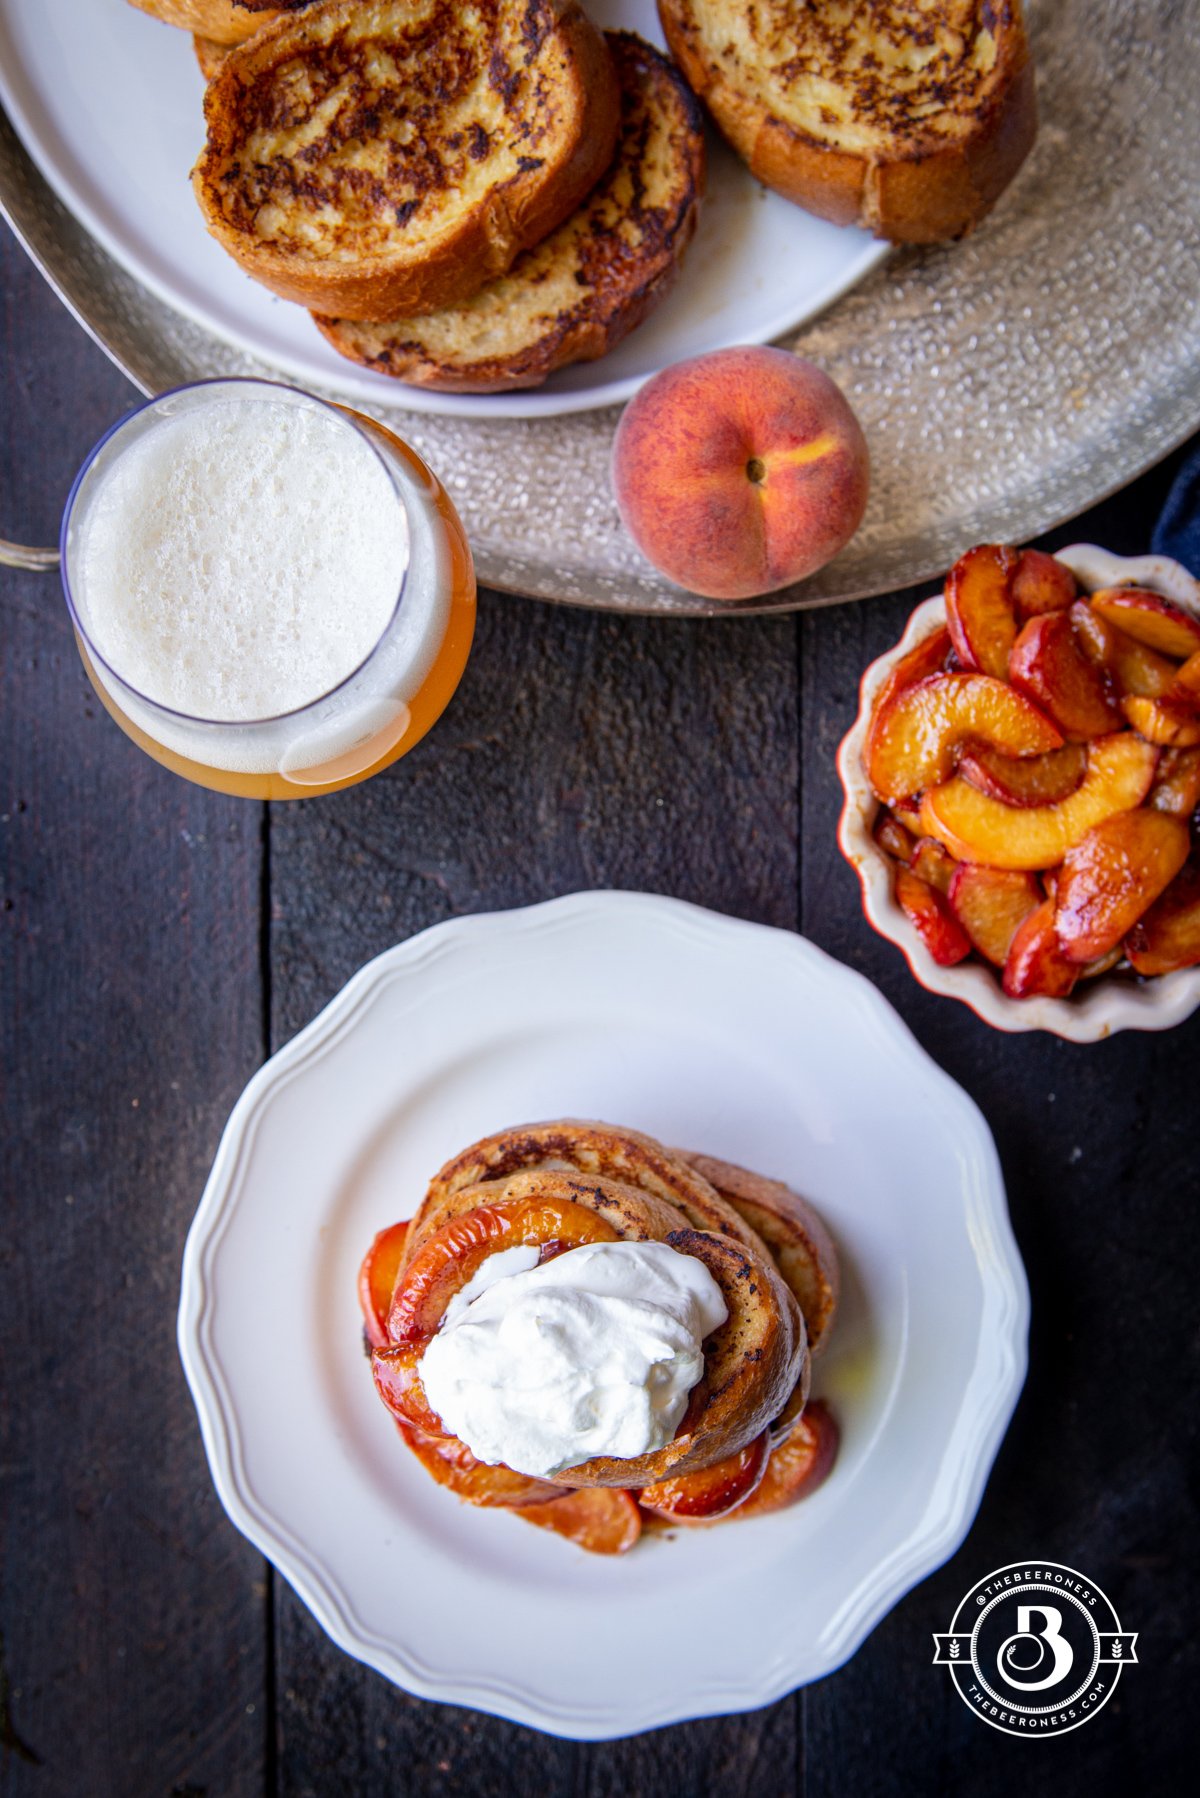
Slice the bread into thick slices about 1 to 2 inches in width.
In a bowl whisk together the eggs, cream, beer, vanilla, sugar, and salt until well combined.
Add the bread slices, a few at a time, allowing to soak for about a minute or until the bread is fully saturated.
Heat a skillet or griddle to medium-high, add the butter, allowing to melt and coat the surface. Add the slices of bread a few at a time, cooking on both sides until golden brown.
Add a few slices to a serving plate, top with peaches, and whipped cream.
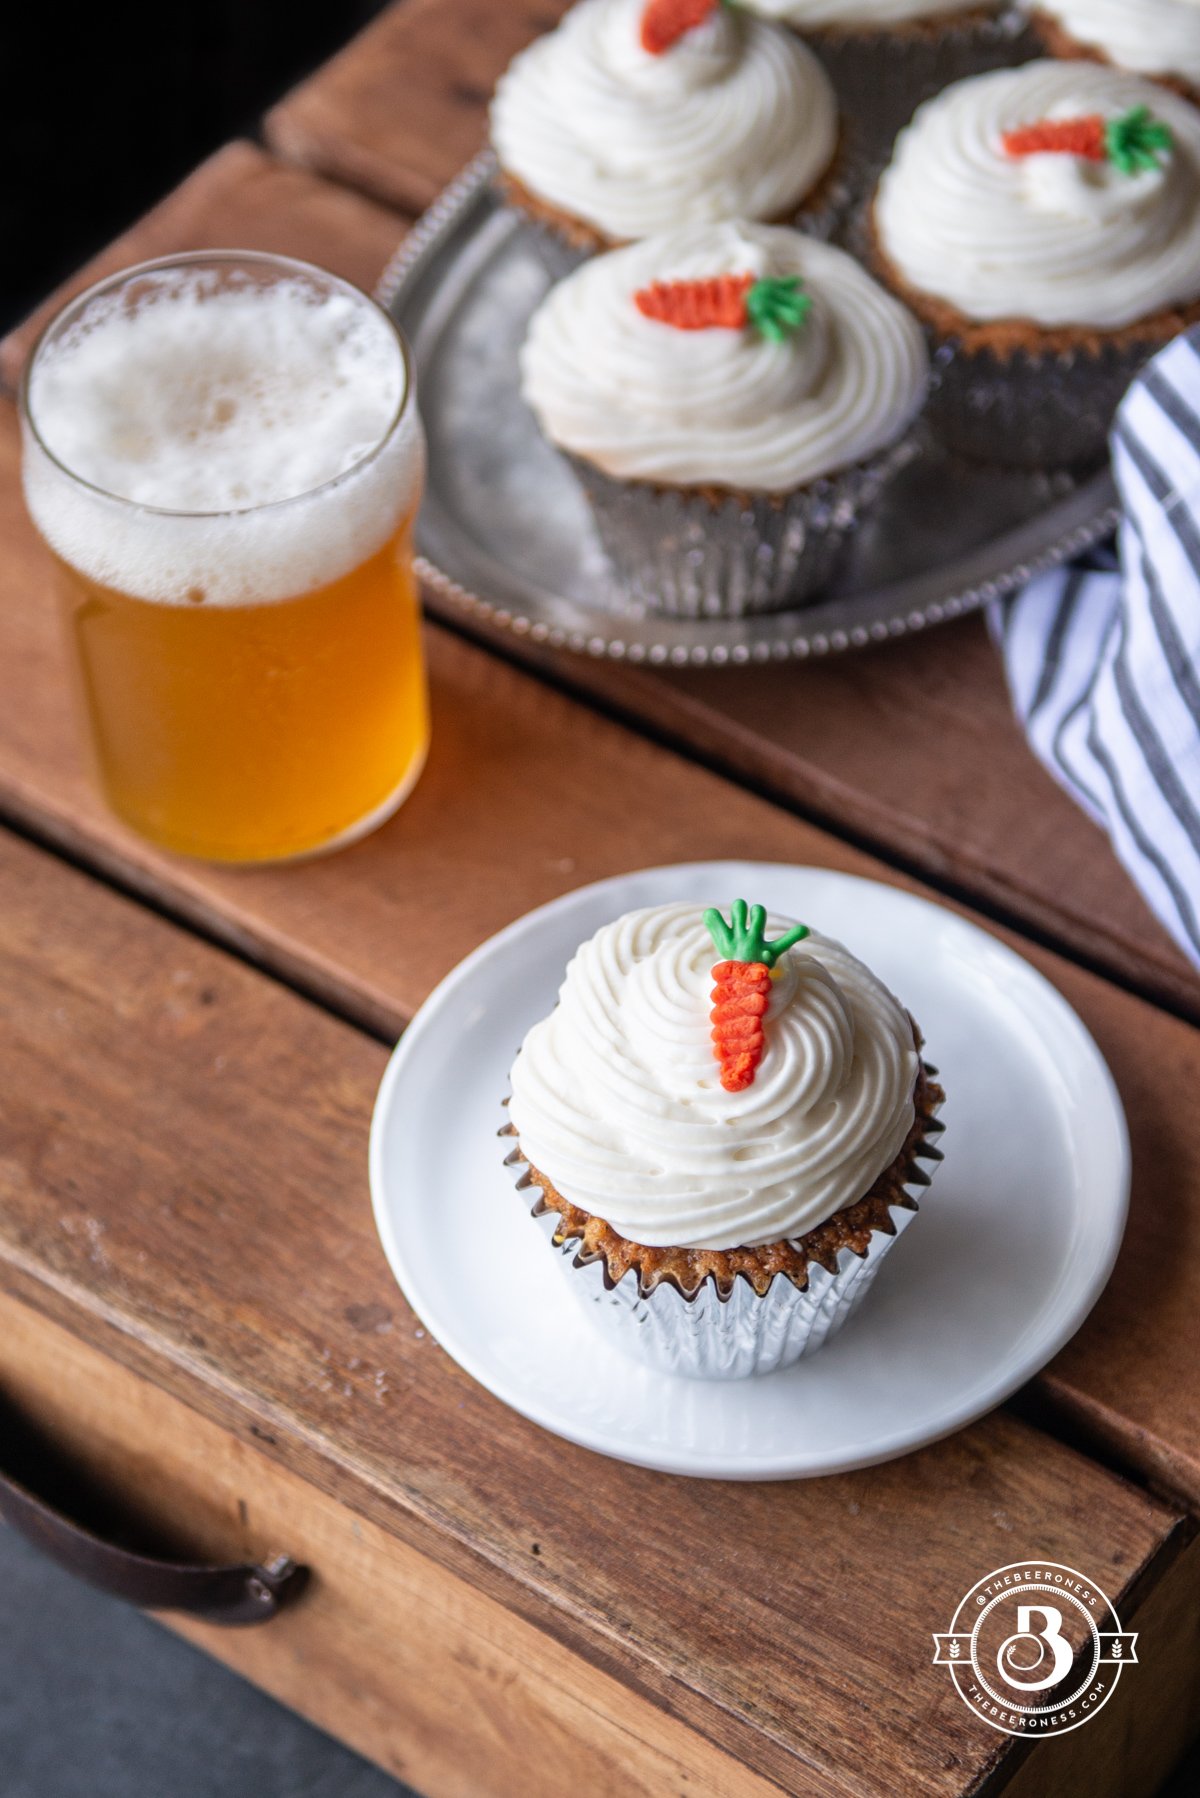
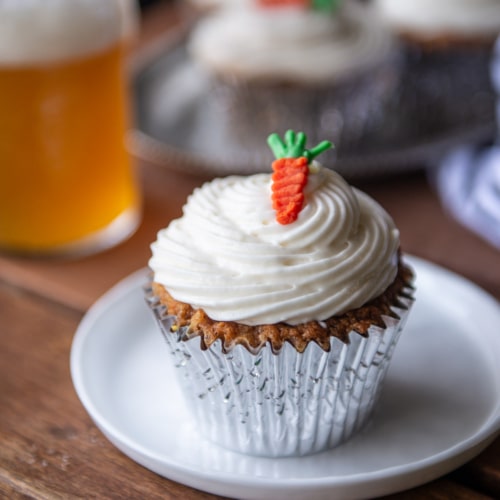
We have officially reached the "dozen cupcakes for dinner" portion of this pandemic. It’s good news, it means we are close to the end. Isn’t that how this works? I’m certain it is, but you should probably listen to actual health professionals about this stuff, rather than me.
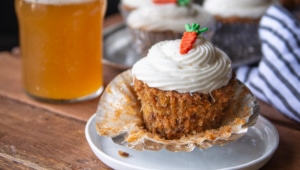
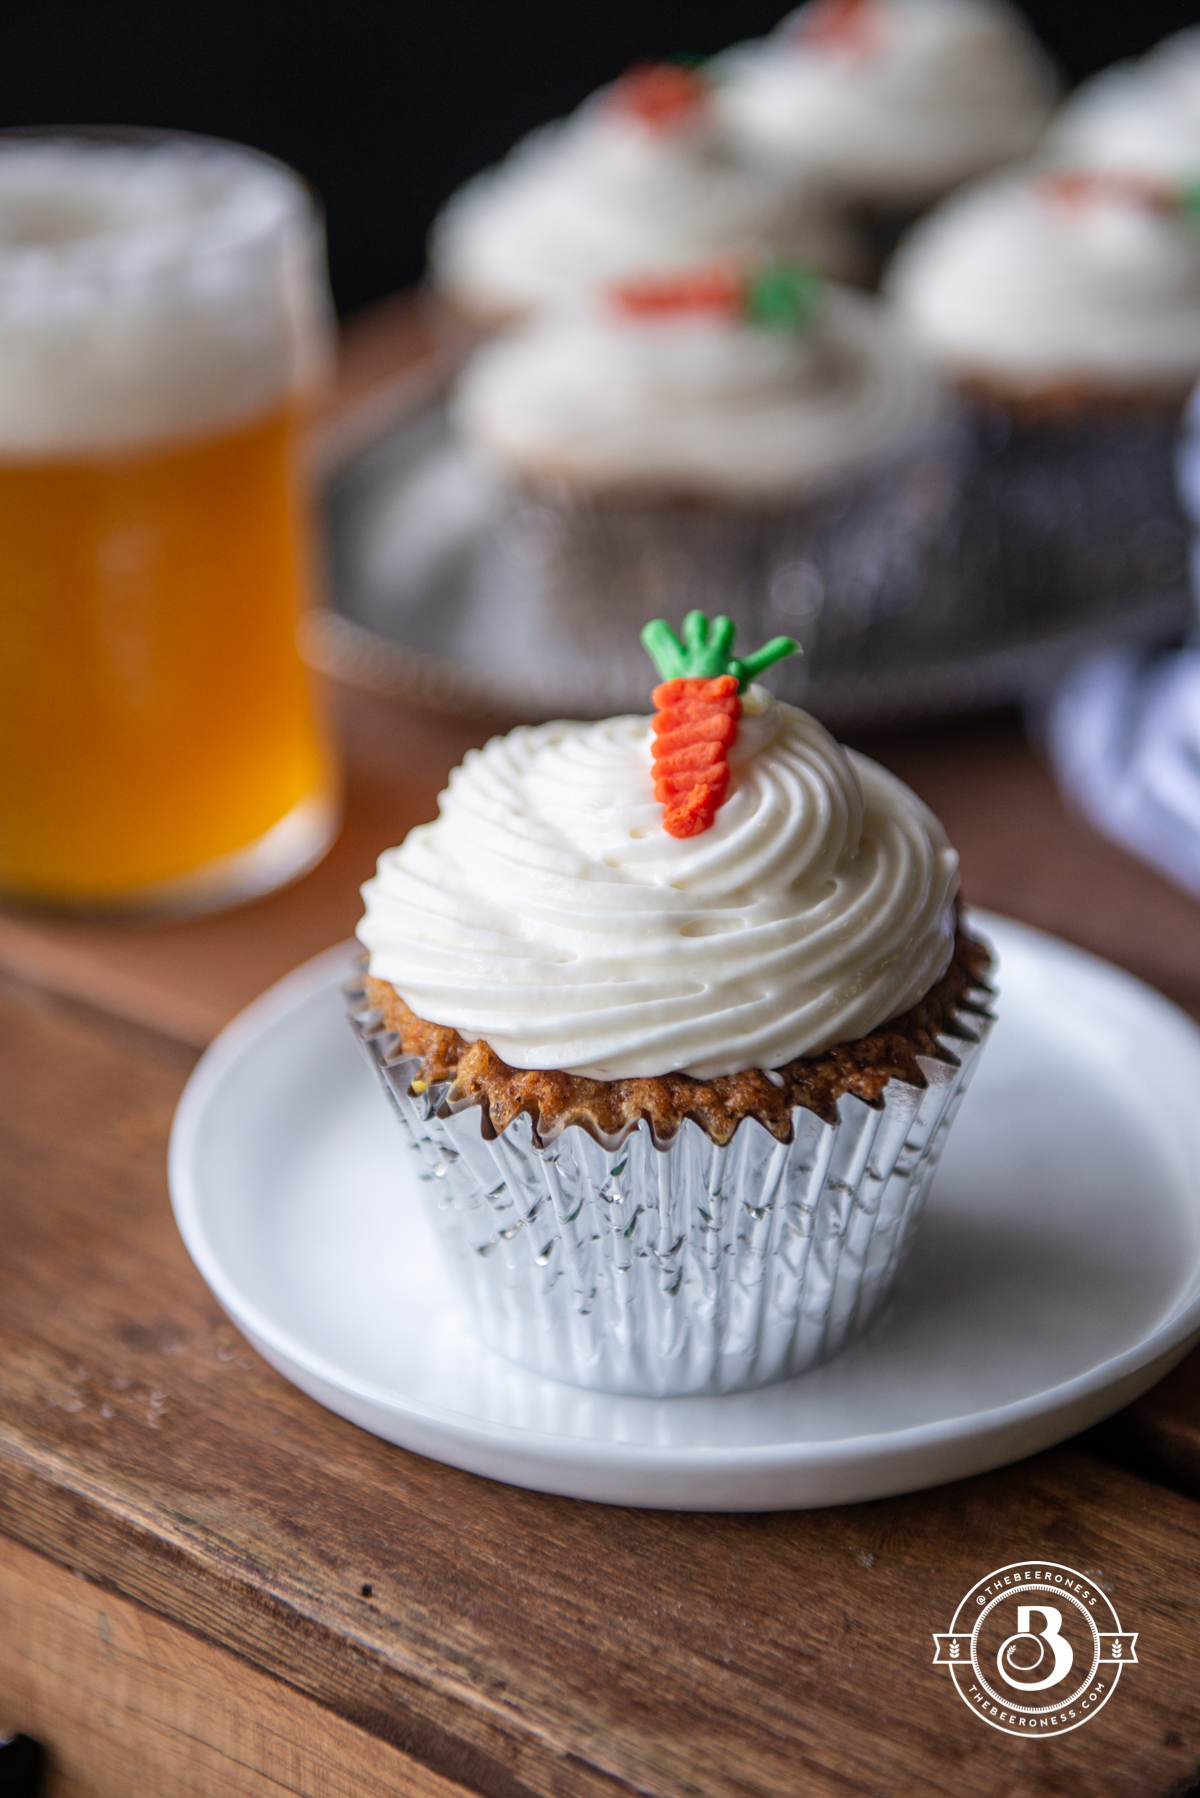
On the flip side, don’t listen to them about what to put into your cupcakes, listen to me, and I say beer and pineapples. It’s like a tropical vacation that doesn’t require social distancing, but for your mouth. It also necessitates opening a beer in the middle of the day, so it’s better than most cupcakes.
While I don’t require that you make this whilst wearing pajamas, I do highly recommend it. It might be a coincidence that the first batch I made of these I did so while wearing actual clothes, and they didn’t turn out as well as the second batch which I made wearing pajamas. It might be a coincidence, but I wouldn’t take any chances.
½teaspoonsfresh ginger grated with a Microplane (plus additional to taste)
1teaspooncoconut extract
Instructions
Preheat the oven to 350°F.
In a large bowl stir together the flour, baking soda, baking powder, salt, cinnamon, ginger, nutmeg, brown sugar, white sugar, pecans, and carrots.
Add the pineapple, vegetable oil, beer, egg, and vanilla, stir until just combined.
Line a muffin tin with cupcake papers, add the batter to the cupcake papers until about ¾ full.
Bake for 20-24 minutes or until the tops spring back when lightly touched.
Add the butter and cream cheese to the bowl of a stand mixer beat until well combined (if your butter is still cold, beat it on its own until creamy before beating in the cream cheese).
Add the remaining ingredients, beat until well combined, light and creamy.
Pipe the frosting onto the cupcakes once the cupcakes are completely cool. Refrigerate until ready to serve.
Notes
*if the pineapple isn’t drained your cupcakes will have too much moisture
Is it just me or are we all hypochondriacs right now? Was that sneeze allergies or a deadly virus? Is the house too hot or do I have a deadly virus? Did I eat something weird or do I have a deadly virus? It’s nonstop.
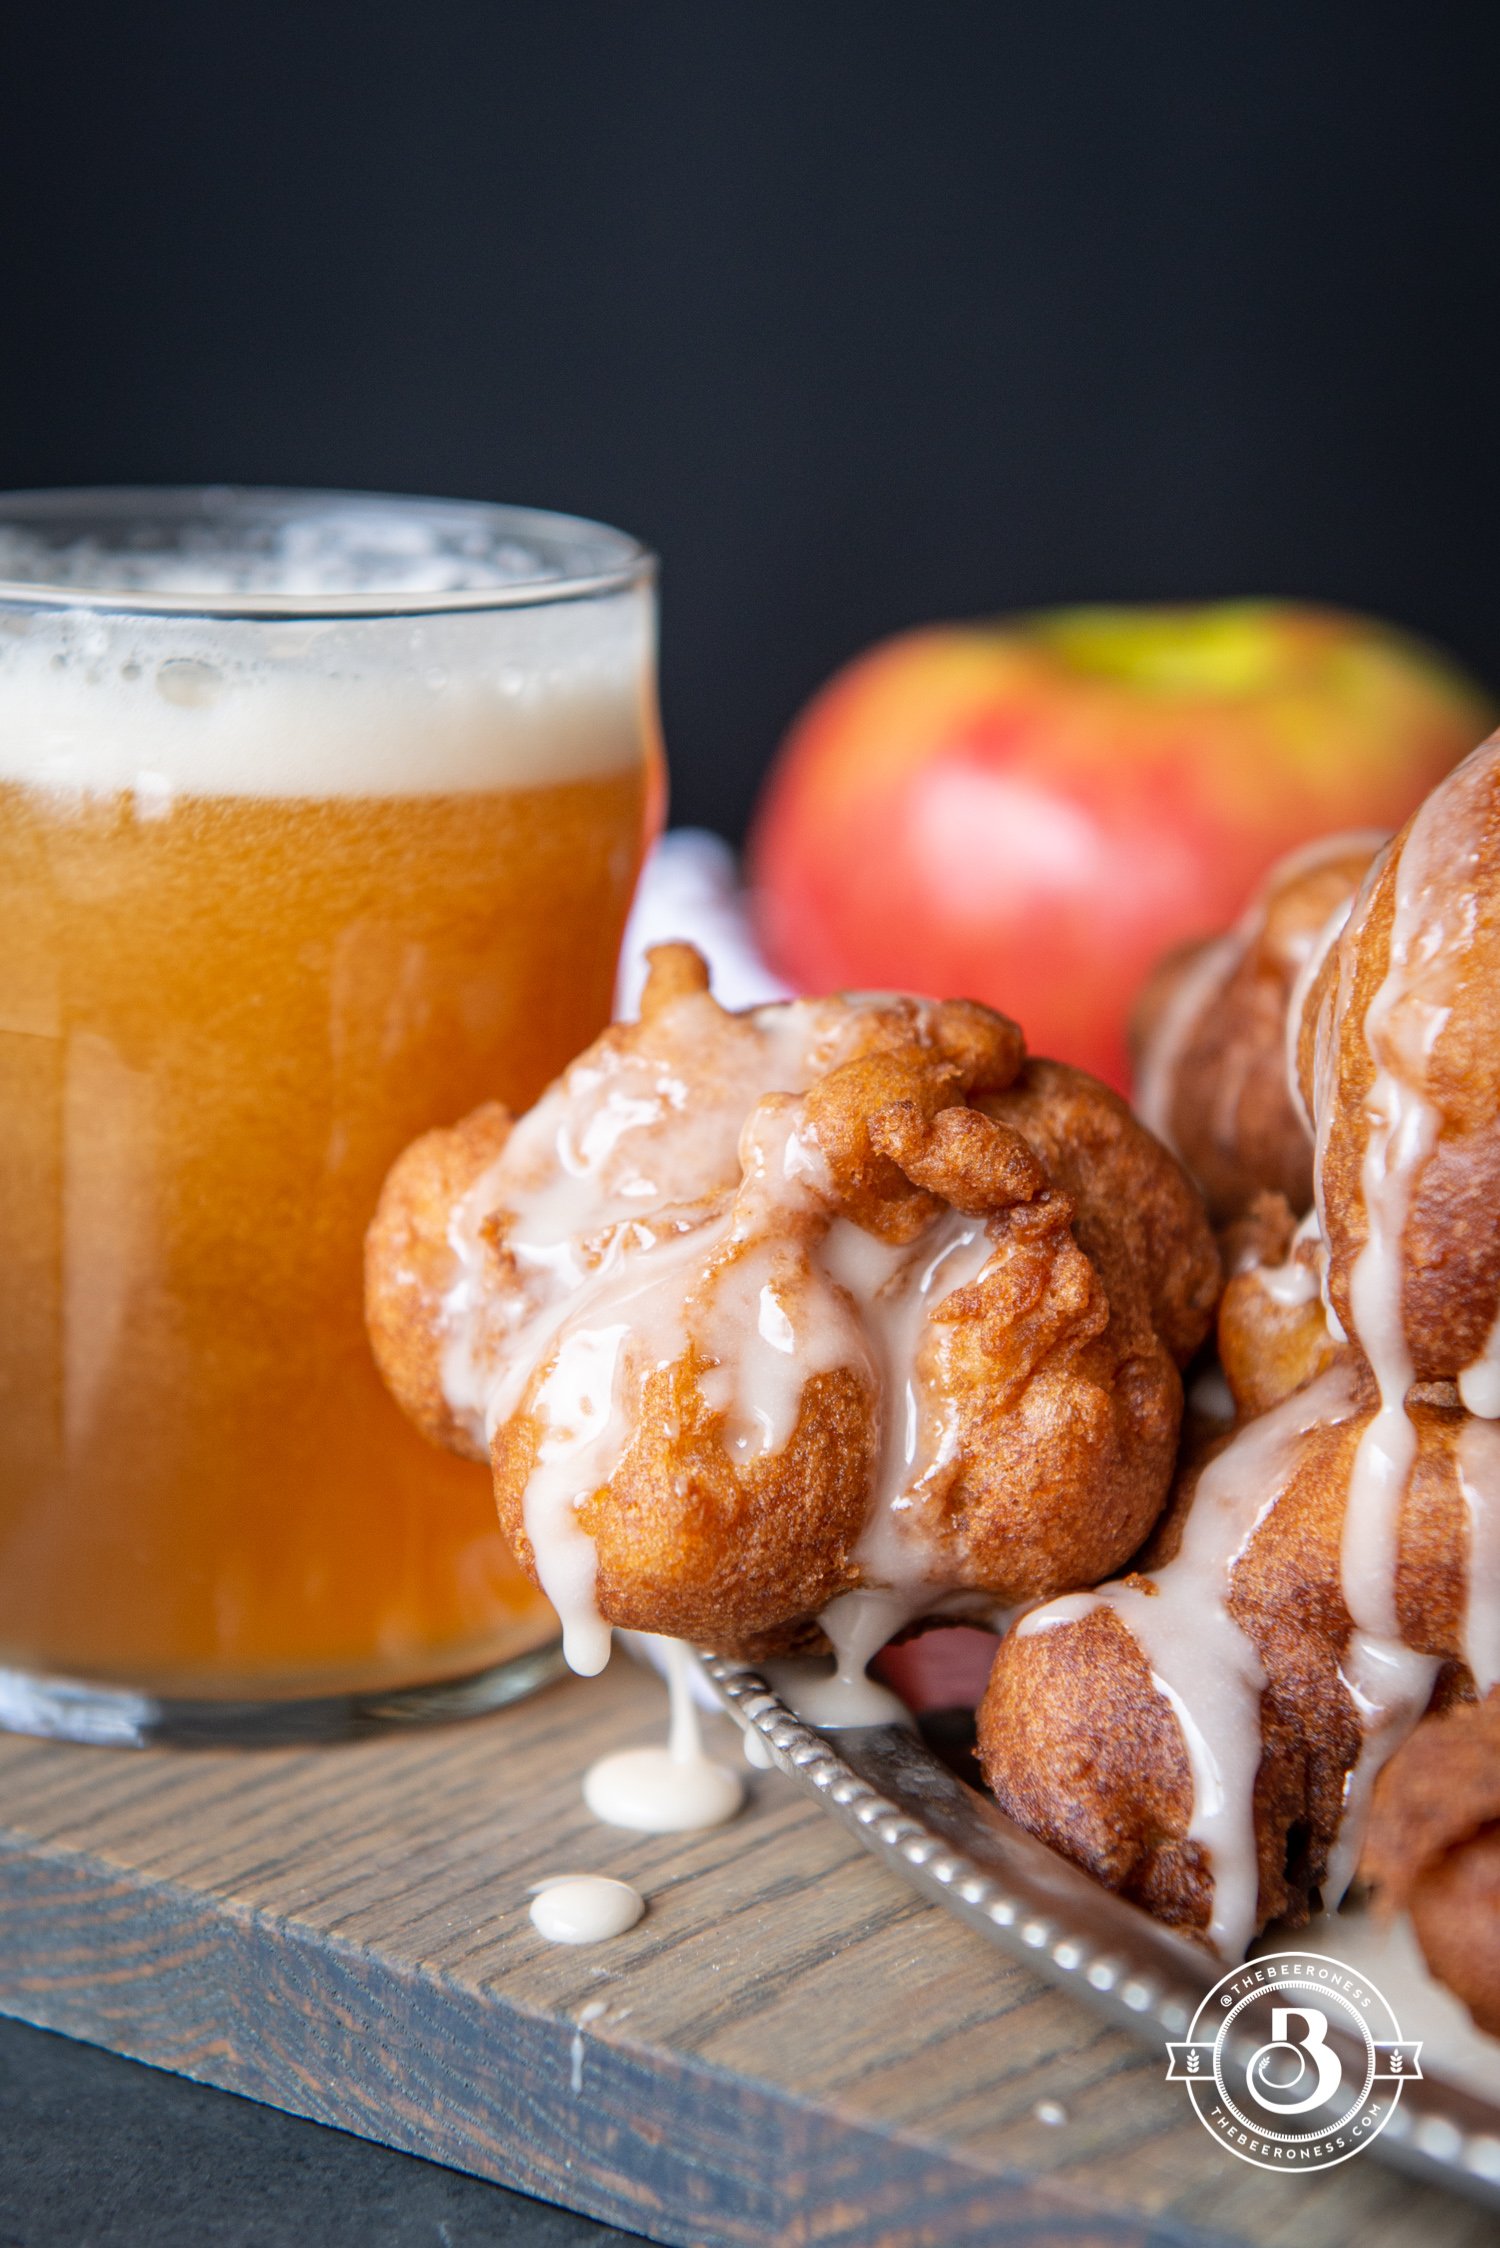
But on the upside, pajamas all day and making doughnuts for no reason are perfectly acceptable. As is eating them by yourself in the kitchen while taking a Buzzfeed quiz about which Tiger King character you are. It’s Saff, by the way.
We’ve lost all of our manners and basic social skills, but at least we’ve done it together. Once we reemerge we will all be slightly chubby toddlers who have to re-learn how to interact. I’m very excited for the day when I have the ability to lick your face again. Not that I’ll do, but I’m looking forward for the day when it’s no longer seen as a terrorist act.
1large Fuji or Honey Crisp applepeeled, cored and diced
2large eggsroom temperature
3tablespoonolive oil
¼cup(2oz) beerpilsner, pale ale, wheat beer
Vegetable or canola oil(for frying)
For the Glaze:
1 ¼cups(150g) powdered sugar
½teaspoonvanilla
3tablespoonsmaple syrup
1 to 3tablespoonscold water
Instructions
Stir together the flour, baking powder, baking soda, cinnamon, salt, brown sugar, and white sugar.
Add the apples, eggs, oil, and beer, stir until combined.
Heat the oil in a pot over medium-high heat. Clip a deep-fry thermometer on the side, adjust the heat to maintain 350°F.
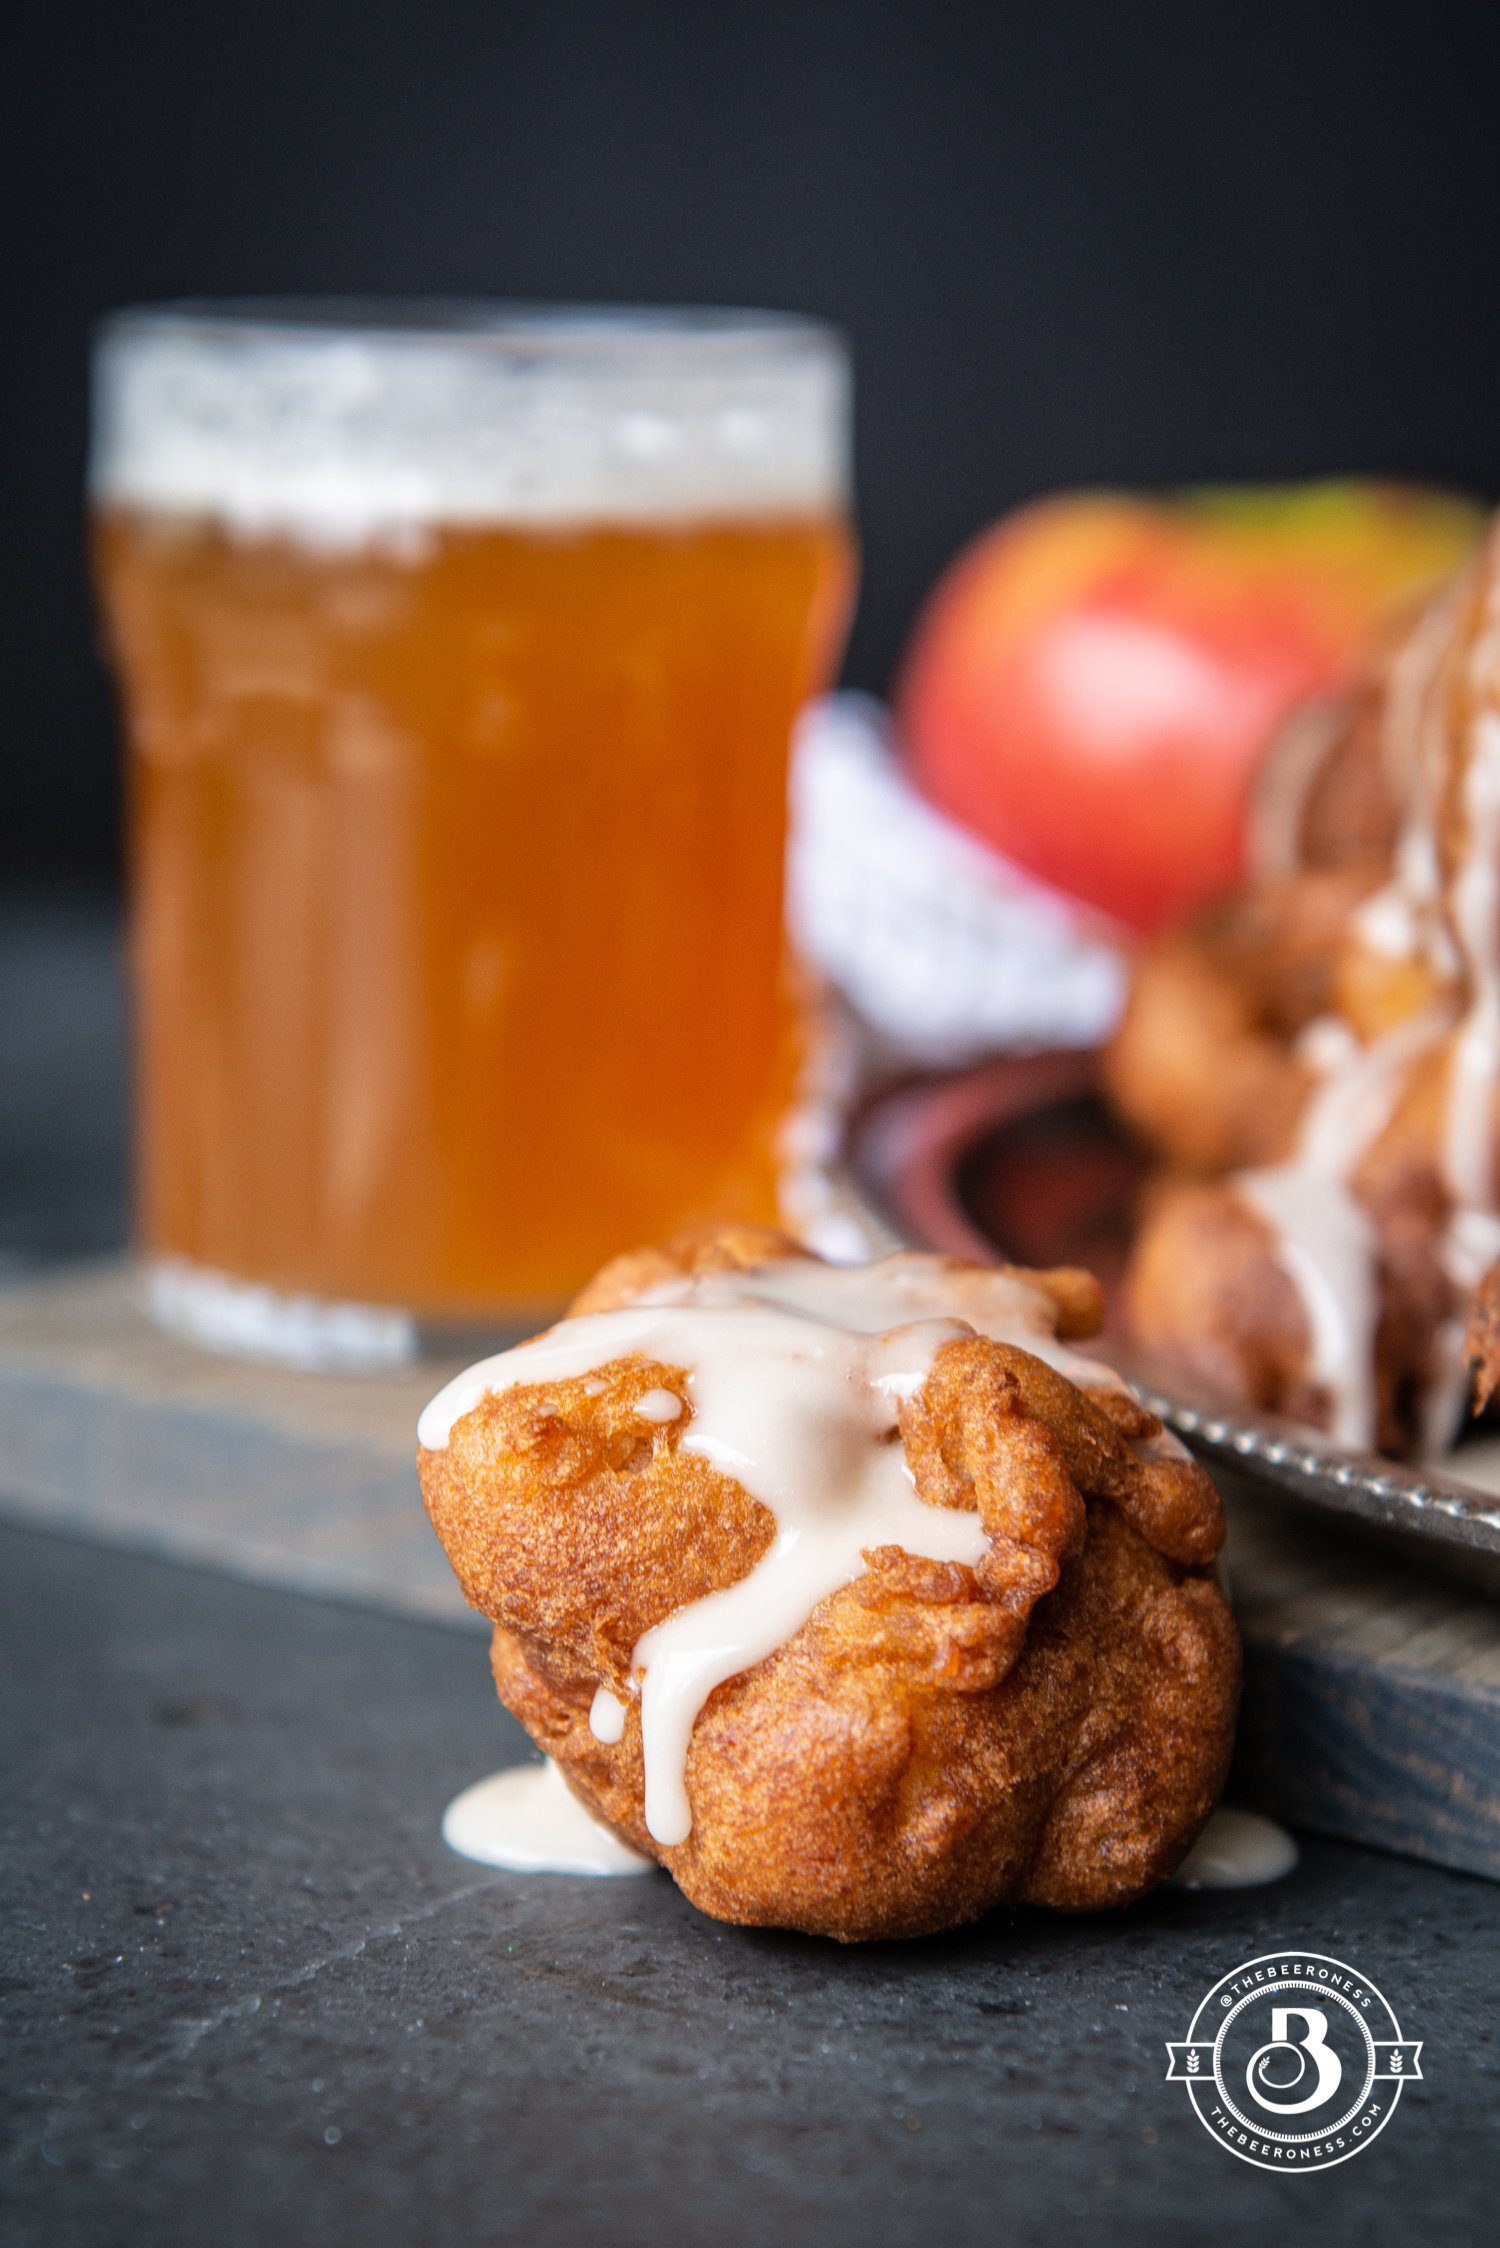
Drop a spoonful of dough into the hot oil. Cook on both sides until golden brown and cooked through. About 2 minutes per side. Remove with a metal slotted spoon.
Allow to drain and dry on a stack of paper towels.
Stir together the glaze ingredients, thin with water until desired consistency.
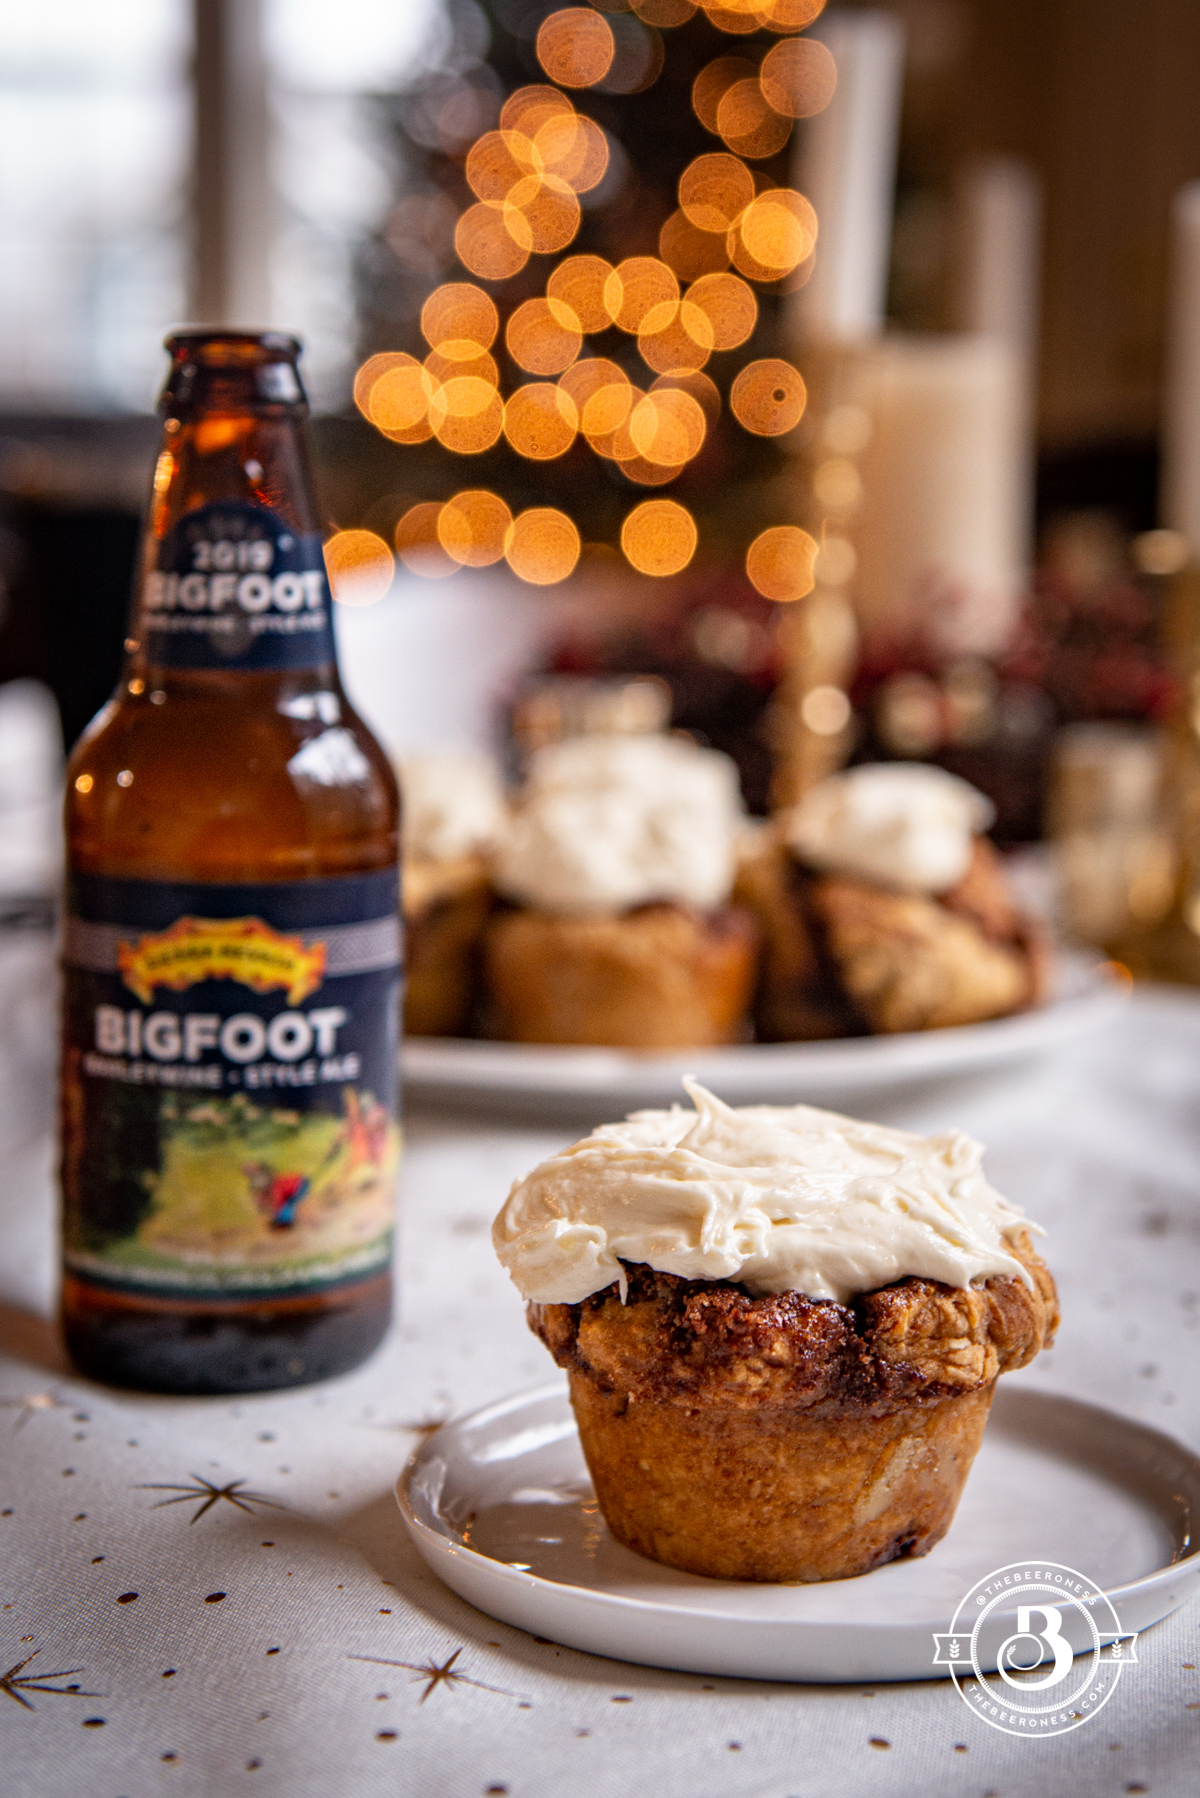
Beer Bread Cinnamon Roll Muffins, just twenty minutes to get these in your oven!
Do you get really uncomfortable when you have to open gifts in front of the gifter or is it just me? Should I smile more? Am I appropriately excited or should I be louder? Was "wow" enough or should it have been an "oh my god!" what was the expectation?!
The last time I hosted a baby shower for a friend my only rule was "don’t make her open presents, it’s so uncomfortable!" Does that make me almost the worst or just sort of a little terrible? Because I sorta hate it.
I would literally (no, not figuratively actual literally) rather cook you breakfast than open a gift you gave me. Even if I love it. Especially if I love it. So these are the "Instead of opening presents, can I make you breakfast? Quick way to get yourself out of opening gifts in front of people" dish.
Also, you need to know that you have to un-think these. It’s batter, not dough. it will not behave like dough. It will not stretch. You have to pat it into shape, slowly roll (or pile it) and then cut. If you need to scoop the rolls into the muffin tin, that is FINE. they will taste great. And then your friend will be the one wondering if WOW is enough or if maybe these called for an OH, MY GOD.
Preheat the oven to 350°F. In a large bowl stir together the flour, baking soda, baking powder, sugar, salt, and beer until a ball of dough forms.
Add to a very well-floured surface. Gently press or roll into a large rectangle. It won’t be like regular dough, it will be soft. Just push it into shape. (Don’t overwork the dough, it’s OK if it has to be pushed into shape)
In a small bowl stir together the butter, cinnamon, nutmeg, brown and white sugar until a paste forms.
Spread the paste in an even layer on top of the dough rectangle. Gently roll along the long edge to form a long log, it won’t be perfect, that’s OK.
Cut into 10-12 rings. Place cut side up in a muffin tin that has been lightly greased or sprayed.
Bake for 25 minutes or until the tops are golden brown.
In a small bowl beat together the butter and cream cheese until well combined. Add the powdered sugar, vanilla and milk, beat until well combined.
Pour the icing over the cinnamon rolls in an even layer, serve immediately.
Notes
The beer can make a big impact in this recipe. For a big beer flavor use a barleywine, holiday ale, or winter ale. Stay away from super hoppy beers. For a lower beer flavor use a pale lager, Mexican lager, pilsner or wheat beer.
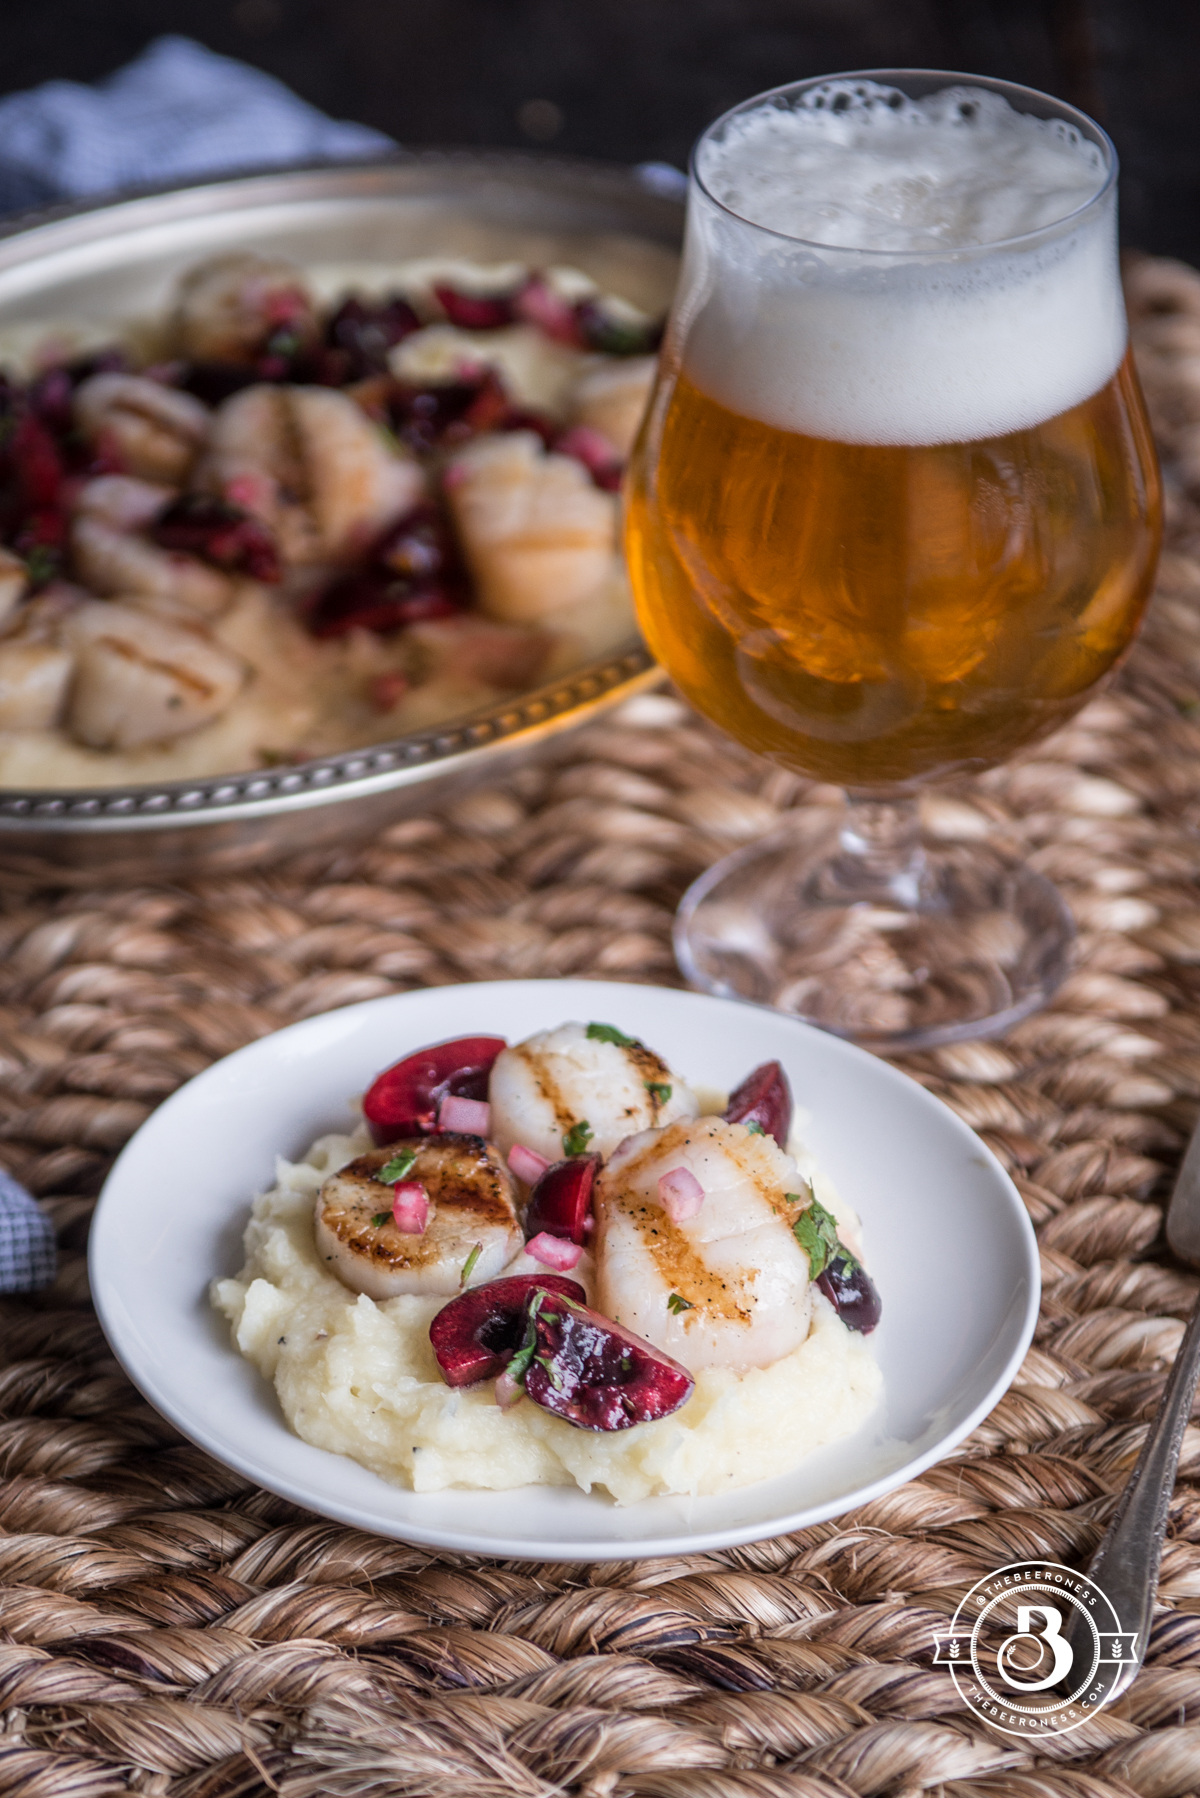
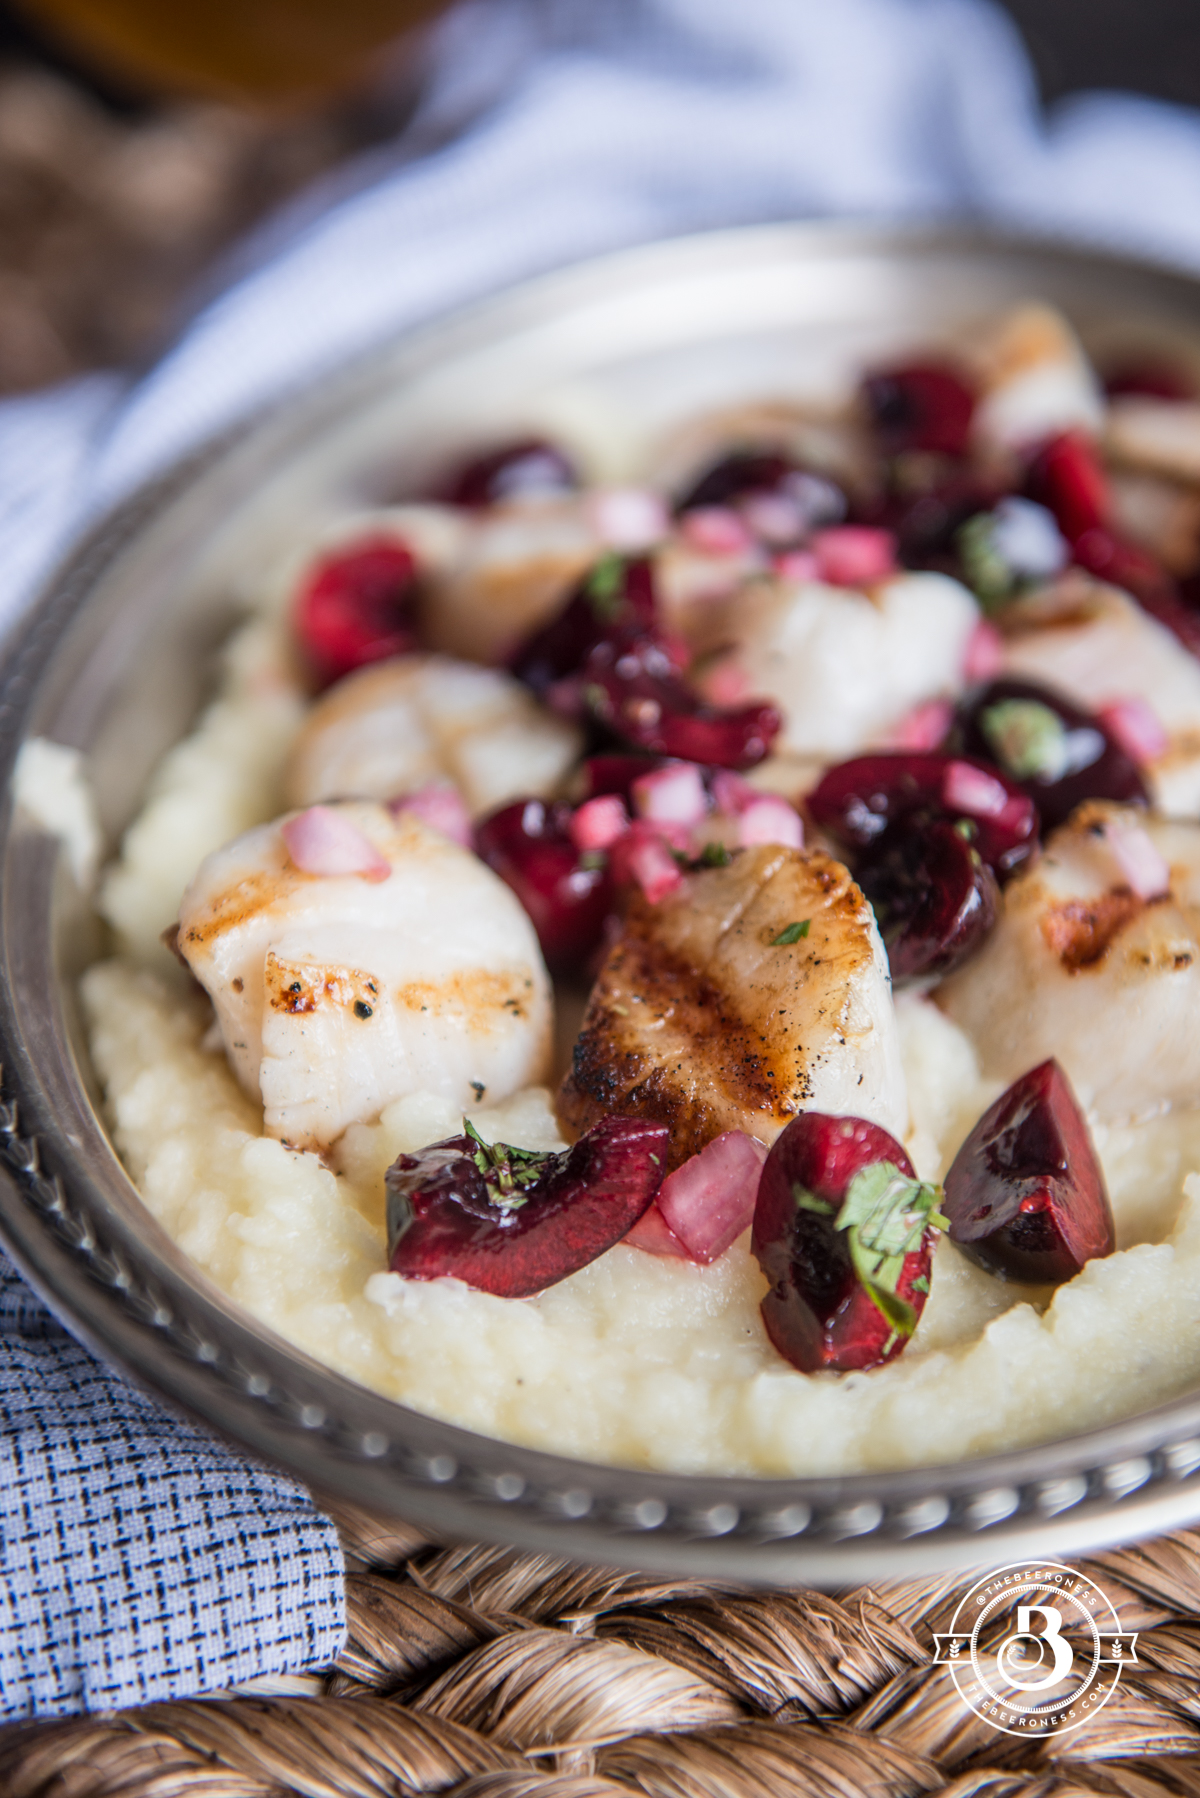
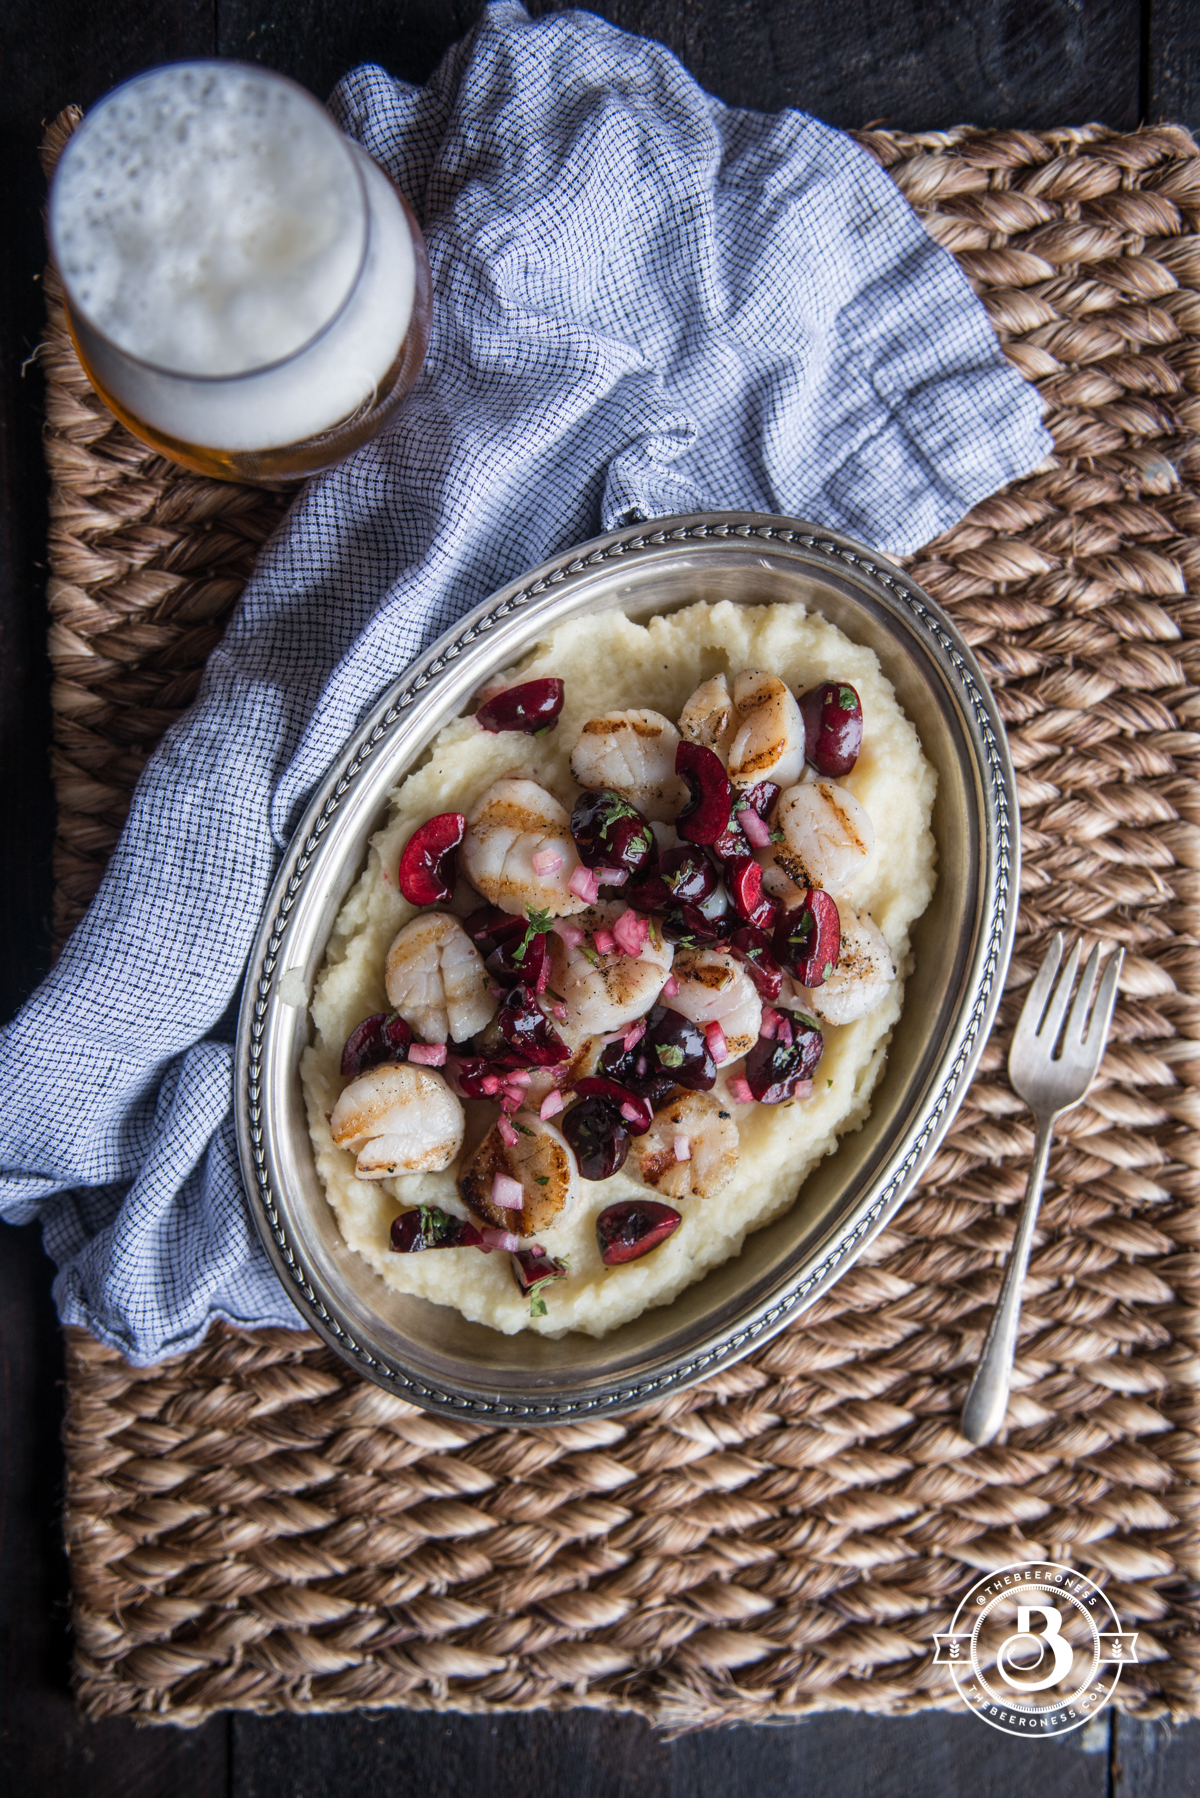
Grilled Beer Butter Scallops with Cherry Salsa, with a grill or a grill pan!
Let’s talk scallops for a second. I know, I’ve given you this lecture before but it’s been a while. And I can’t just go around assuming you remember everything I say, I forget half of what I say on a daily basis.
I know the reason your home-cooked scallops don’t taste as good as the ones you buy at a restaurant, and it’s a really easy fix. There are two ways to buy scallops: “wet” and “dry.” A wet scallop with be soaked in a phosphate solution to preserve it. This makes it taste soapy and gives it a bit of a rubbery texture. Unfortunately, the vast majority of scallops sold in US markets are wet. Dry scallops are more expensive, harder to come by, but infinitely tastier.
If you can’t find dry scallops, the best way to treat a wet scallops is a quick brine. If you aren’t sure if your scallops are wet or dry (or your fish guy gives you a vacant stare when you ask) they’re probably wet. Just assume they’re wet unless you know for sure they aren’t.
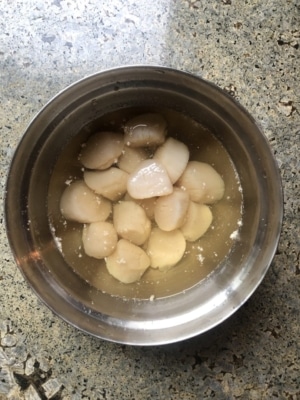
Have you ever been cooking scallops, just minding your own business, and they start weeping out a milky liquid like they hate you? That’s the phosphate solution we need to get rid of, the extra step is well worth it.
You don’t even have to tell anyone that you know the secret. You can just cook the best scallops they’ve ever had and just pretend like it’s your magic shellfish touch. I won’t tell.
In a large bowl add the scallops. Fill with water, drain. Repeat until the water is no longer milky. Drain the water off, leave the scallops in the bowl.
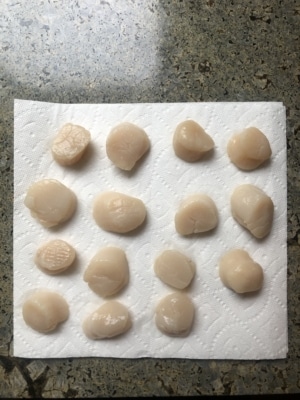
Sprinkle with salt and cover with beer. Refrigerate for 2 to 12 hours. Rinse and drain. Add to a stack of paper towels to fully dry the scallops.
Combine all the salsa ingredients in a bowl, chill until ready to use.
Preheat a grill (or grill pan) to medium high.
Stir together the butter and the beer. Brush the scallops liberally.
Place on the grill (or grill pan), brush again with butter. Flip when grill marks appear, cook on the other side until grill marks appear.
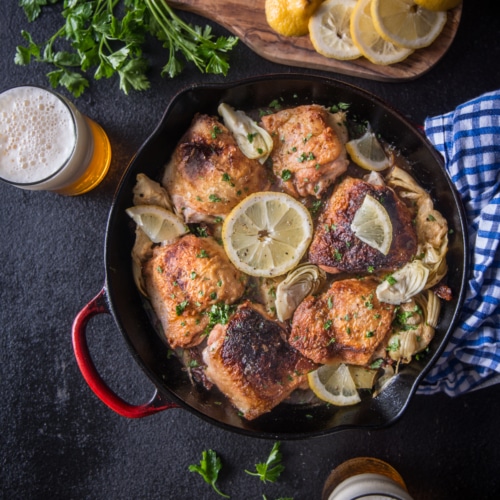
Life is too short for soggy chicken skin, this is a fact. Crispy chicken skin is the only way to live life, and I have the secret. It’s a cold pan. Not a "put in the fridge" cold, but now that you say that, I do want to try that. It’s "cold" as in: not on a heat source. That’s the secret, and once you trust me and cook your chicken in a cold-not-cold pan, you won’t turn back.
Letting the chicken skin cook as the pan heats up slowly renders the fat and allows the skin to slowly crisp and turn golden (I like a DARK golden, but feel free to aim for the medium gold) and this will rid your life of that gross, chewy, gummy skin with pieces of fat that you pretend aren’t there in order to enjoy the rest of your meal.
After you begin with your cold pan, don’t rush it. Just let that sucker sit at medium heat (invest in a splatter guard if you don’t already have one. Trust!) until it’s ready, not letting it get too hot or the chicken will burn before it’s done crisping and rendering. It’s a job that it does all on its own while you are free to do other things, like make sauce, or a cocktail, or impulse buy sequin pants on Amazon. You know, whatever strikes your fancy.
Now that you are in on this crispy-skinned secret, it’s time to give it a try. You can even add your own favorite sauce or spice rub, or just eat it over the sink in your yoga pants while drinking your cocktail. It’s your world, and it now has crispy skin chicken for life.
Sprinkle the chicken on all sides with salt. Place in a skillet, off heat, skin side down.
Add to the stove over medium heat (if the heat is too high the skin will burn before it is able to render the fat, slower cooking will allow for crispier skin). Add a splatter guard if you have one.
Cook until the skin has browned, 15 to 20 minutes. Turn over, cooking on the other side until chicken is cooked through.
While the chicken cooks, make the sauce.
Add the chicken broth, beer and cornstarch to a large bowl, whisk to combine. Add the remaining ingredients (except the parsley and rice), stir to combine.
Remove the chicken thighs from the pan, pour off all the rendered fat. Return the pan to heat, raise the heat to medium high. Add the sauce, stir to remove the brown bits from the bottom of the pan. Stir until the sauce has thickened.
Add the chicken back to the pan, cooking until the chicken has warmed. Add to a serving plate, sprinkle with parsley, serve over rice or pasta.
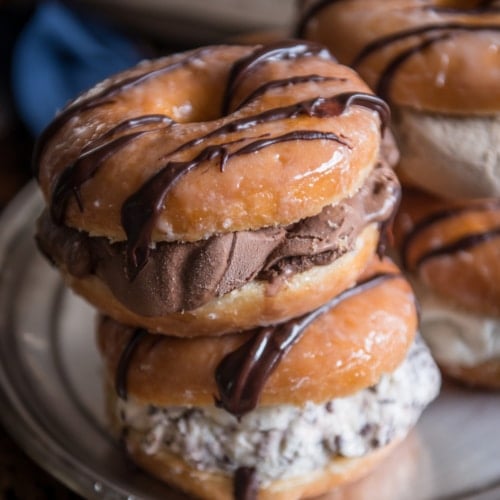
Have you ever been interviewed by a kid? It’s the best. They aren’t like grown-ups, they don’t care what your job is or where you went to college. They never ask you to detail the history of your current career trajectory, or how you plan to vote. They ask fun questions, like "what’s your favorite cursive letter?" or "If you could be any dinosaur what would you be?" and "would you rather be able to fly or be able to turn invisible?"
THESE are the important questions, the ones no one fights over. relationships are never lost over finding out your friend’s favorite cursive letter is Q and they would rather fly than be invisible. The other great thing about kid-interviewers is that they get really excited when your answers match theirs.
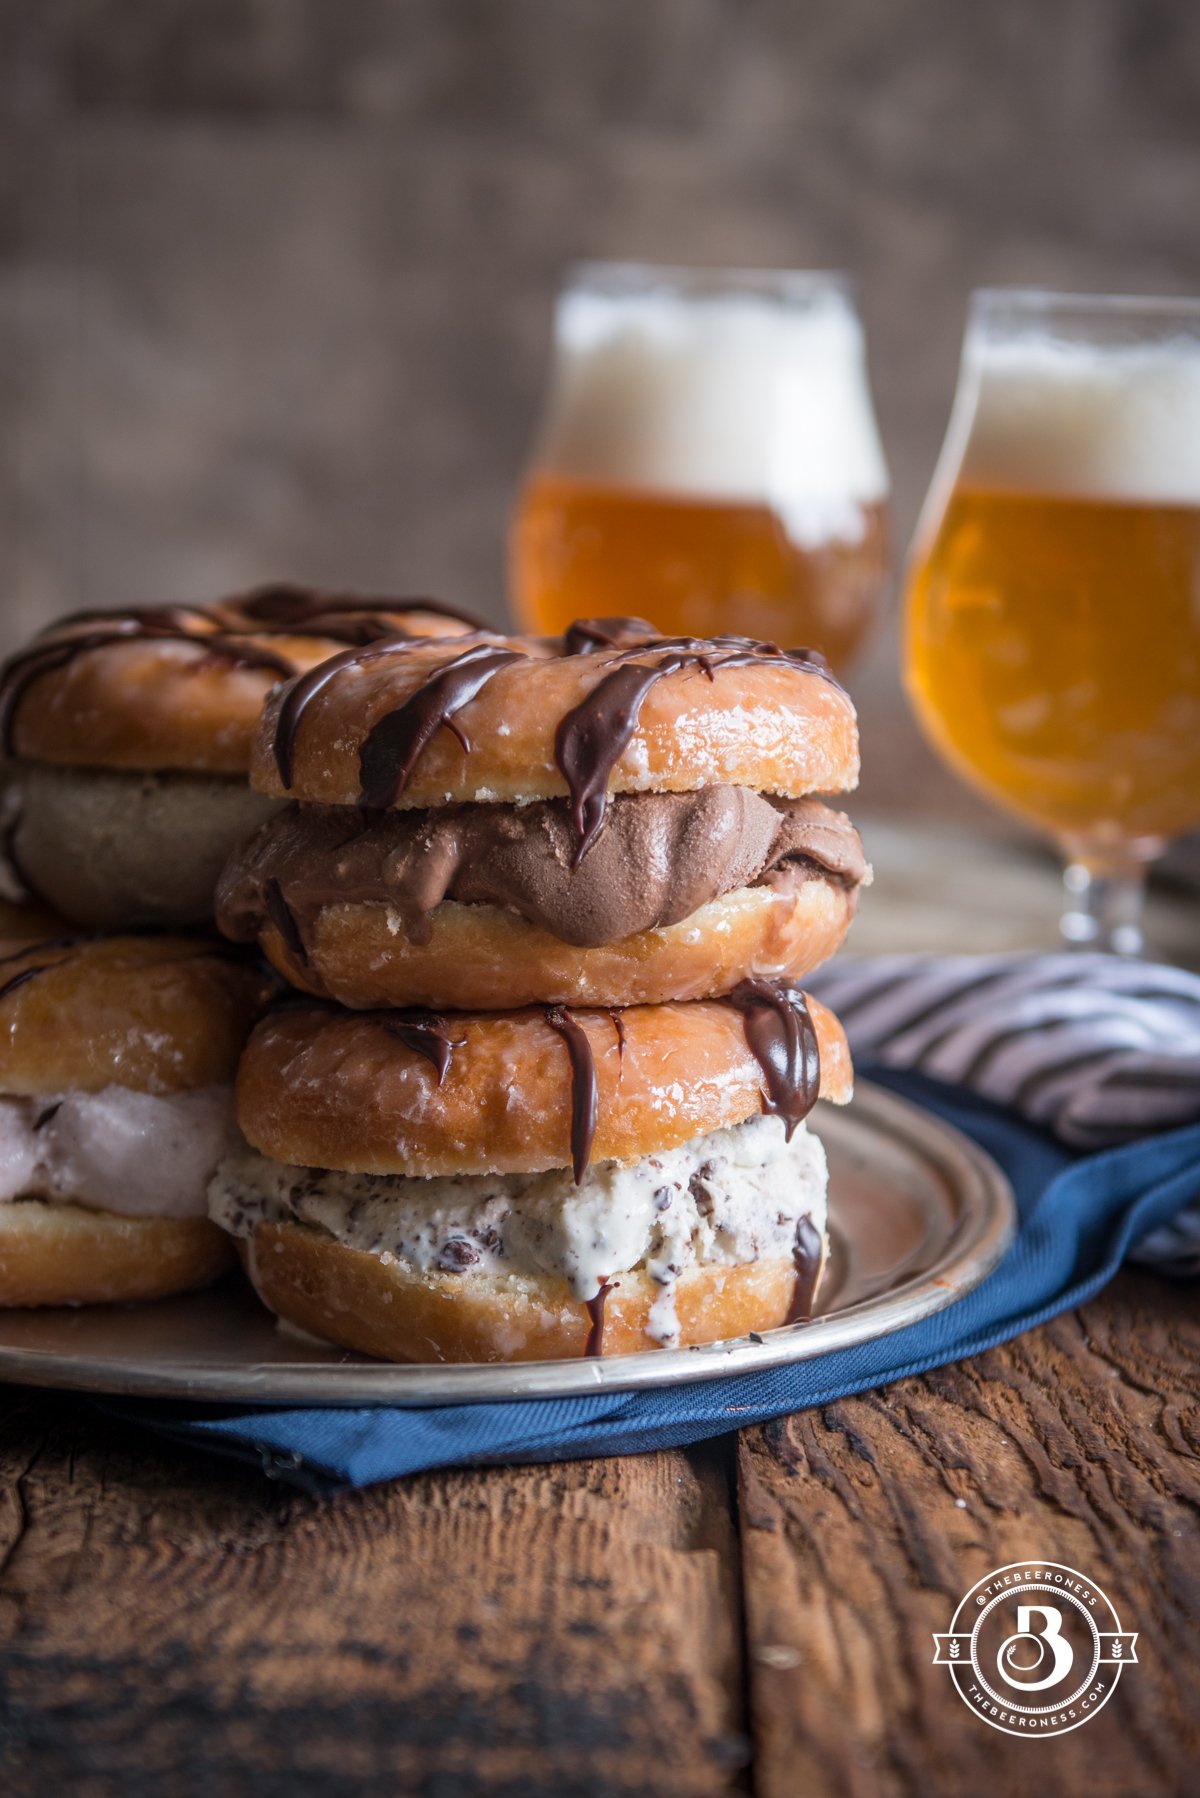
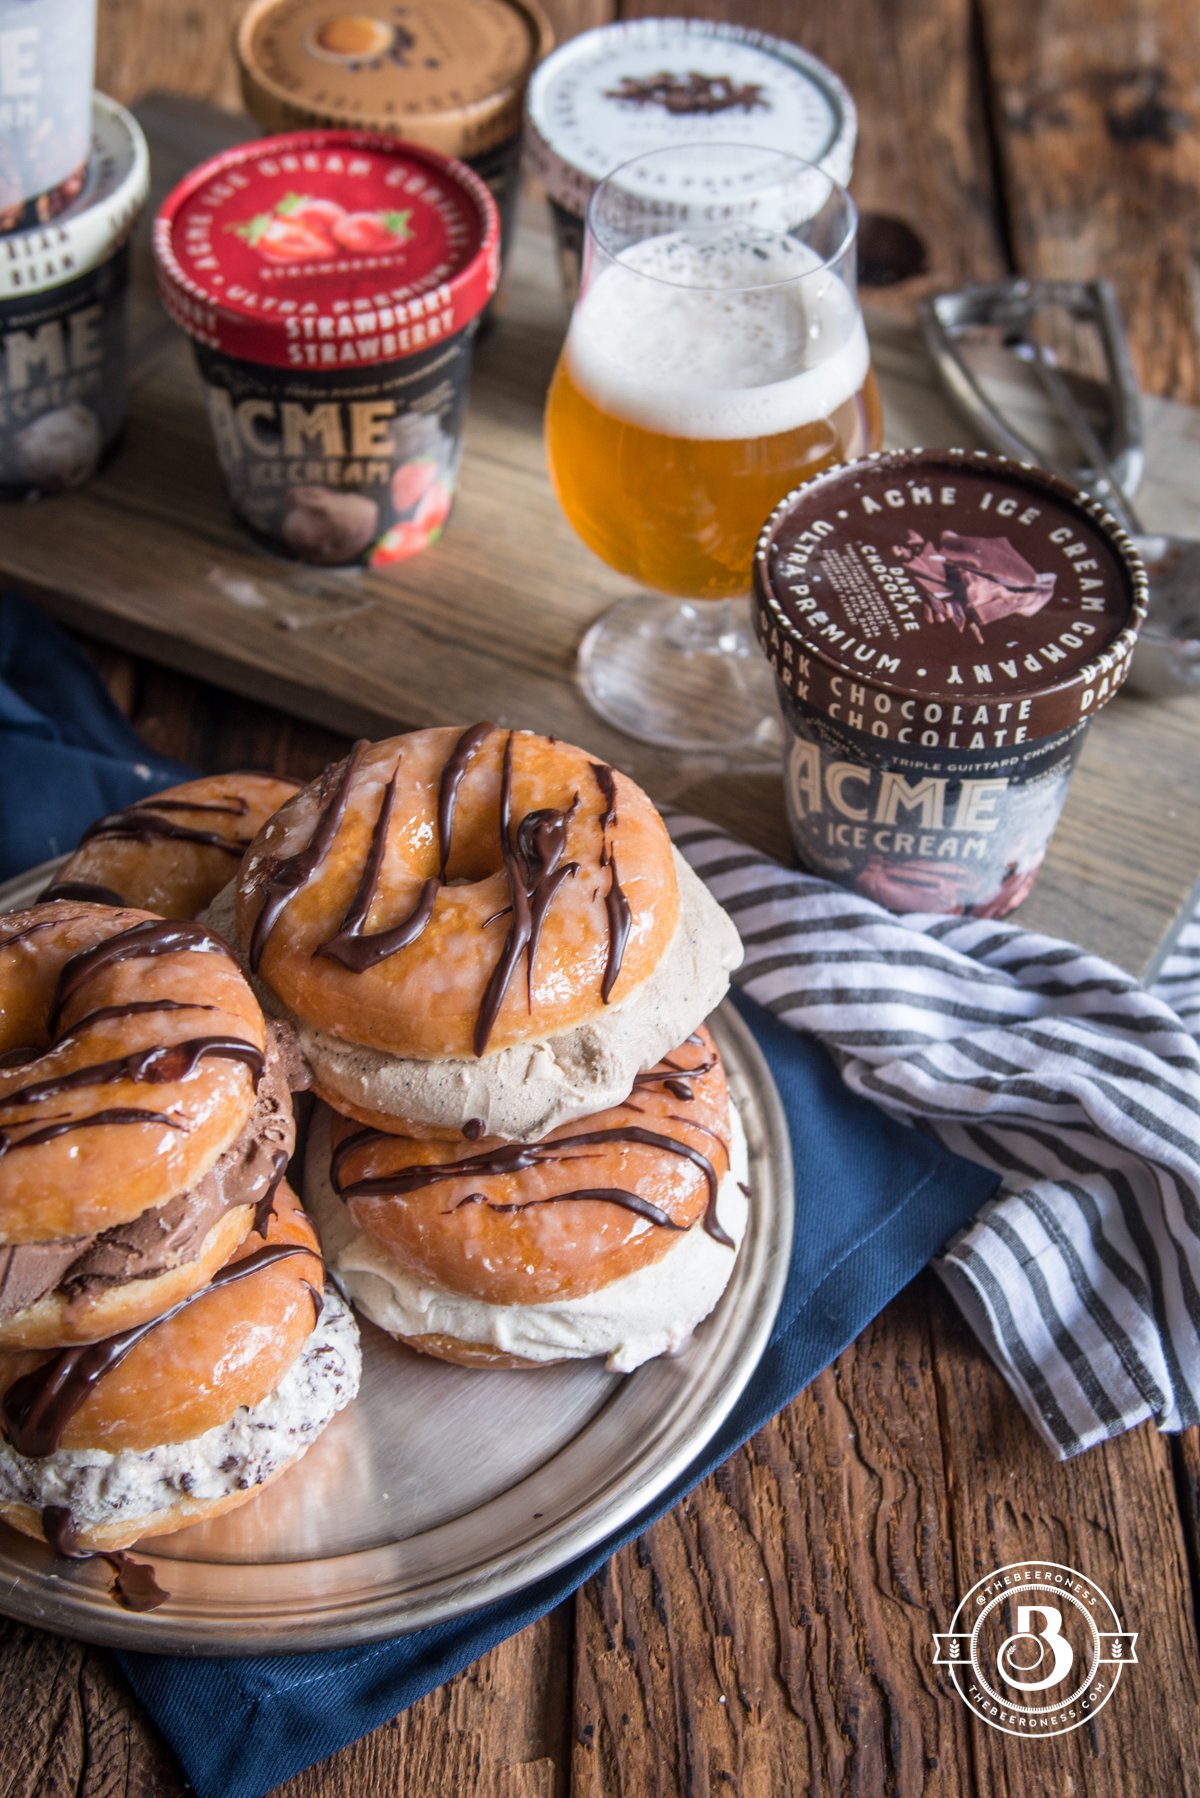
Recently I was fortunate enough to get to hang out with a room full of 3rd graders to teach an art lesson. After they interviewed me, asking all the aforementioned questions (answers: J, Triceratops, invisible) we all decided that the best food in the world is doughnuts, followed closely by ice cream.
They, of course, are way too young to understand why beer is also magical, but I’m sure in 13 years they will have realized the error of their ways. At which point they will surely understand that Beer Doughnut Ice Cream Sandwiches are superior to all other foods. Until then, these are all mine.
¾cup(6oz) wheat beer (pilsner or pale ale will also work)
1teaspoon(5g) vanilla
2large egg yolksroom temperature
¼cup(62mL) heavy cream (room temperature)
1teaspoon(6g) salt
1tablespoon(15g) heavy cream
oil for frying
For the glaze:
1 ½cups(180g) confectioners sugar
¼cup(2oz) beer
For the Sandwiches:
4-6cupsice creamslightly softened
1cup(185g) dark chocolate chips
2tablespoons(30g) beer
Instructions
In the bowl of a stand mixer fitted with a dough hook add the flour, sugar and yeast.
Add the beer to a microwave safe bowl, microwave on high for 30 seconds, test temperate and repeat until beer reaches between 120F and 130F.
Add the beer to the stand mixer, mix until most of the flour has been moistened.
Add the vanilla then the yolks, one at a time. Add the cream, and salt.
Building up speed, beat on high until the dough comes together and gathers around the blade.
The dough will be very soft.
Add dough to a lightly oiled bowl, cover and allow to sit at room temperature for 1 hour or until doubles in size.
Punch down the dough and knead lightly to remove any air bubbles.
Add the dough to a lightly floured surface. Pull into a large rectangle about ½ inch thick. Use a 3-inch round cutter to cut out 12 circles, cut smaller circles inside to make the doughnut hole (this is optional, but if you choose to do this a metal cocktail jigger works well).
Allow to rest until doubled in size, about 30 minutes.
Heat 4-inches of oil in a pot over high heat until the oil reaches 350° F on a deep fry thermometer. Adjust heat to maintain that temperature. A few at a time, fry the doughnuts until golden brown on both sides, about 2 minutes per side.
Remove and allow to cool on a wire rack. Allow to cool completely before proceeding.
In a wide but shallow bowl mix together the confectioners sugar and remaining beer until well combined. Dip each doughnut in the glaze and return to the wire rack.
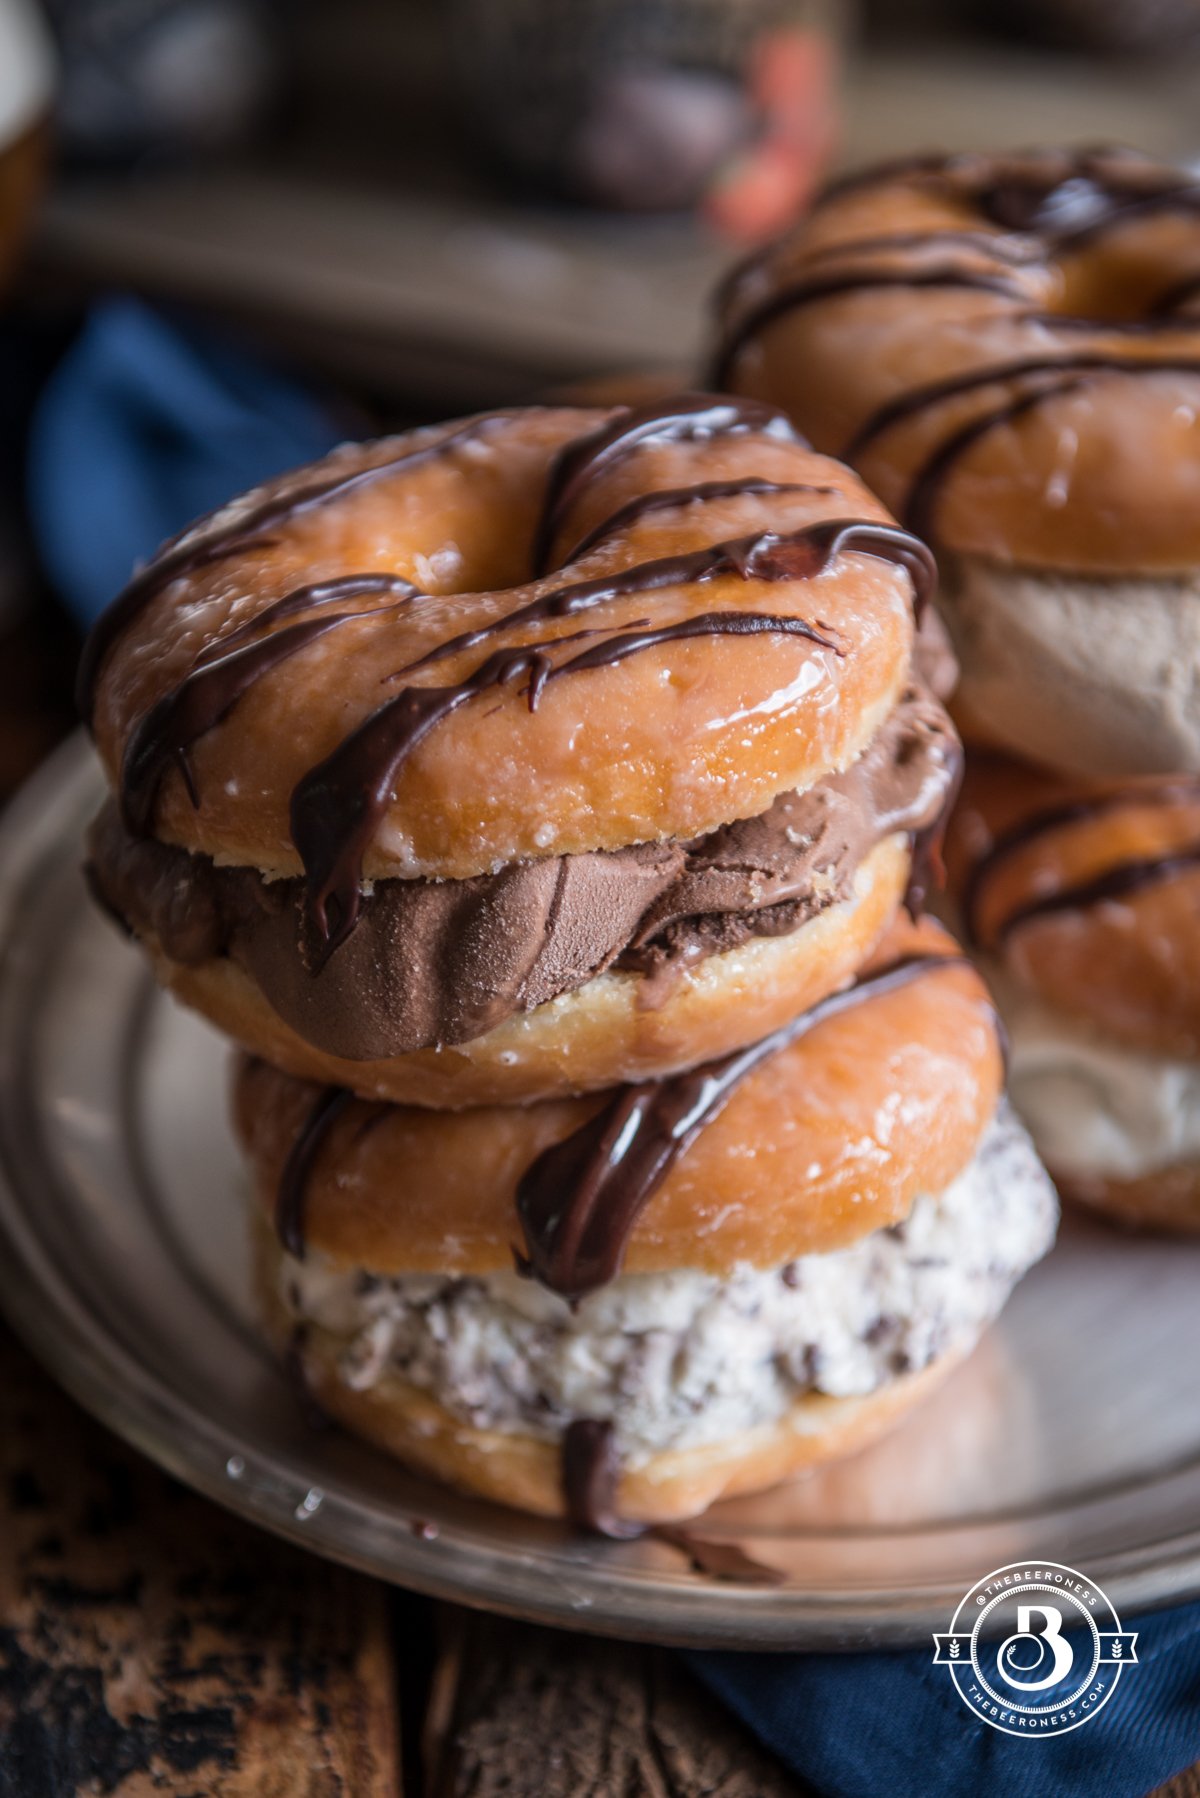
Slice the doughnuts in half lengthwise.
Spread desired amount of ice cream (between ¼ and ½ cup) inside each doughnut before replacing the top.
After assembling each sandwich, store in the freezer while you continue to prepare the remaining doughnut ice cream sandwiches.
Add the chocolate chips, beer and heavy cream to a microwave safe bowl. Microwave on high for 30 seconds, stir and repeat until the chocolate is melted.
Drizzle on the sandwiches prior to serving. Store in the freezer until ready to serve.
Notes
If preparing these ahead of time, make sure you allow 15 minutes for them to thaw before eating. Ideally served just after making, but if you need to make them in advance make sure they thaw enough for the doughnuts to be soft.
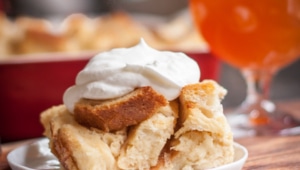
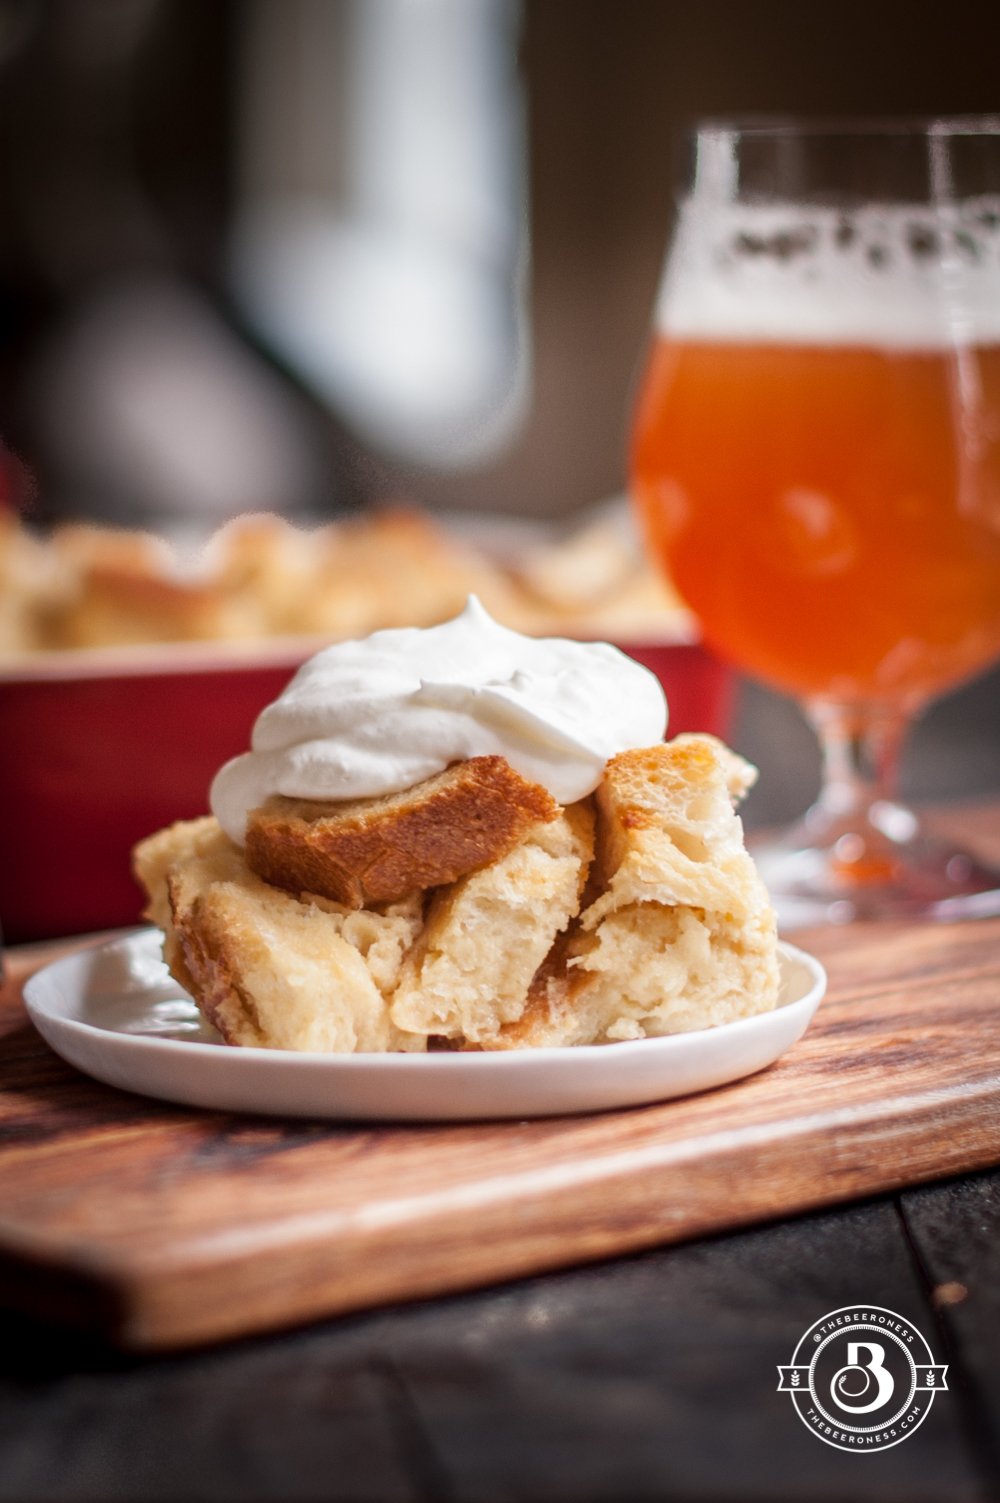
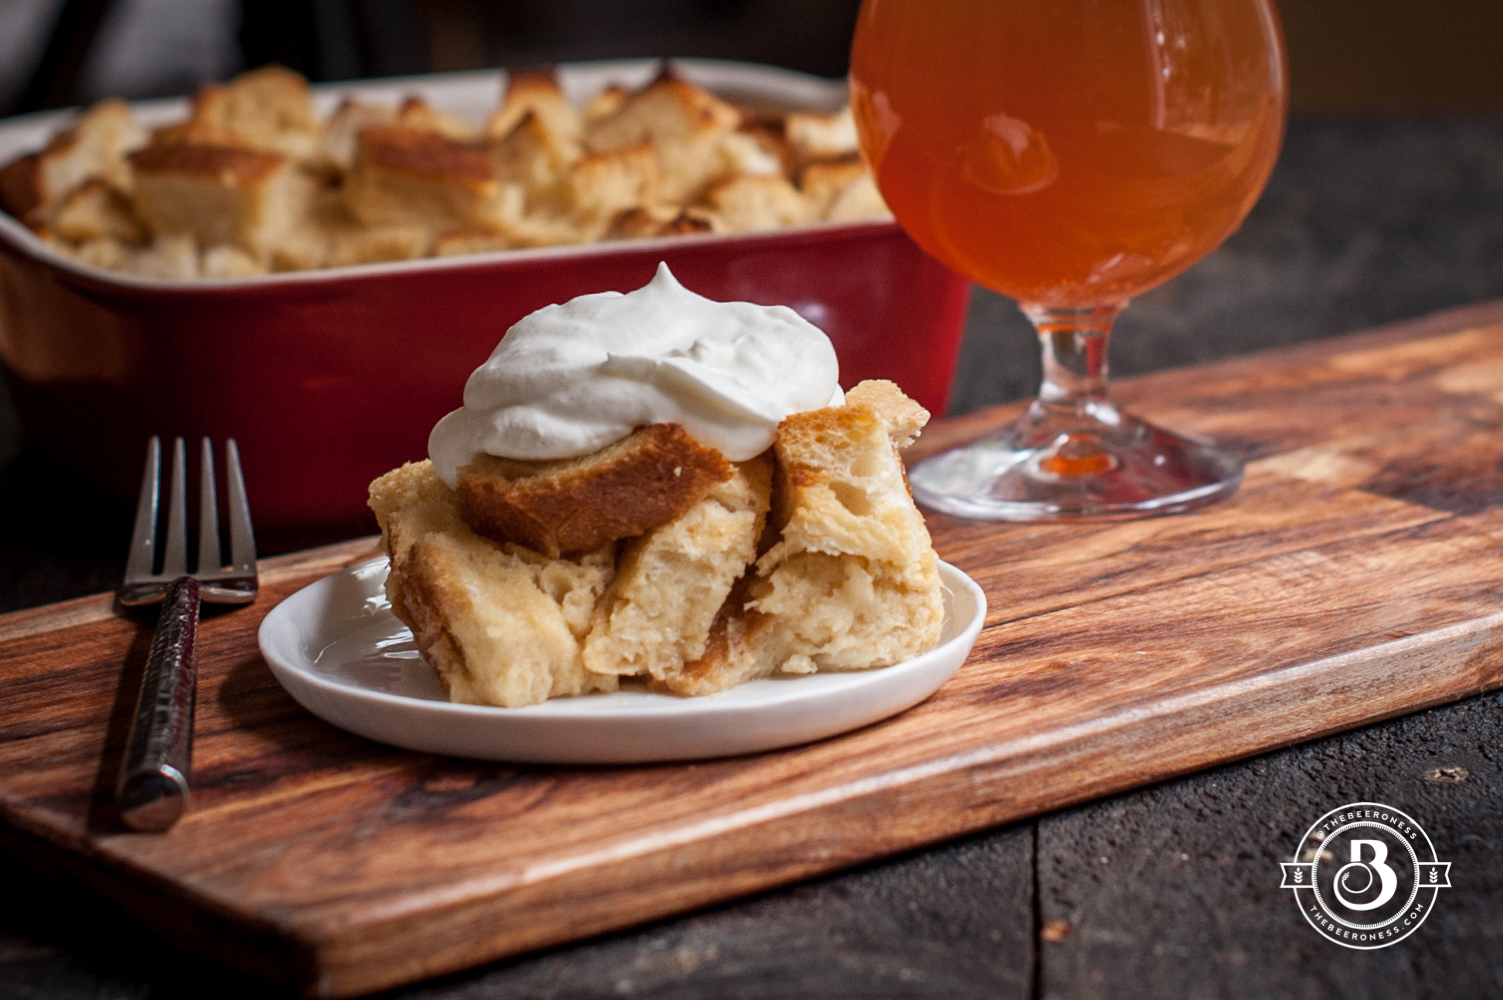
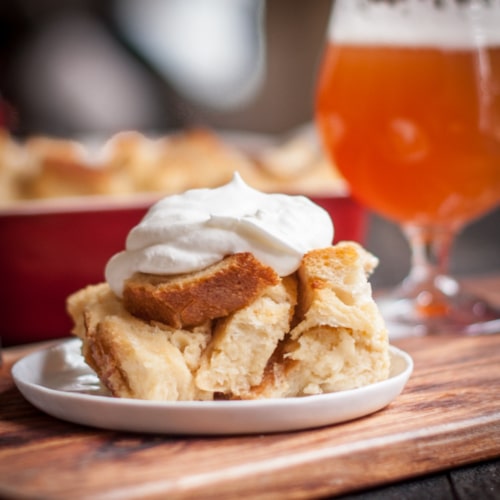
Pineapple Hefeweizen French Toast Bake with Rum Whipped Cream
This is how we lie to ourselves. And we’re really good at it, aren’t we? This is dessert, we know that. It carries all the hallmarks of a post-dinner treat, but we ignore them and call it breakfast. Because we don’t want to wait all day to actually eat it, we don’t have time for that. So we serve it with coffee in the pre-noon hours and call it breakfast. Or maybe we make ourselves a mimosa and call it brunch. Let’s brunch! It’s not an indulgence, it’s an activity!
That’s ok, we’re honest with ourselves about enough, we can afford this lie to make our morning just a wee bit better. Because that’s how we live our best life. We eat dessert first, open a beer before noon, maybe invite a friend over to be that bad influence we know we are.
Mostly because if we eat our dessertfast with a friend, it’s not a bad habit, it’s a social engagement. And that’s good. There’s no way to make this meal healthy, but we can share it with others who love us and call it "mental health food," which is what we all need right now, amiright?
Cut the bread into bite-sized pieces. Add to a greased 8X8 baking dish.
In a blender add the wheat beer, brown sugar, white sugar, pineapple, half and half, eggs, salt, and vanilla. Blend until smooth.
Pour the mixture over the bread, pressing to make sure all the bread cubes are submerged. Allow to sit at room temperature for 30 minutes to allow the bread to absorb the liquid, or cover and refrigerate overnight.
Preheat the oven to 350°F. Bake, uncovered, for 35-40 minutes or until the center has puffed and the bread has started to toast on the top. (you can also make in 6 individual ramekins, start checking for doneness after 18 minutes)
Add all the whipped cream ingredients to the bowl of a stand mixer, beat on high until soft peaks form. Serve the French toast topped with whipped cream.
Let’s talk unpopular opinions, shall we? We haven’t fought about anything in a while so let’s jump in. Starting with food-related topics that will most likely piss you off, but it’s your turn next, so just hang on.
Milk chocolate is not worth the calories, but dark chocolate deserves its own holiday.
Red velvet cake is an abomination because 1/4 cup of food dye is not a flavor.
Anything you make with mayonnaise is better if you make it with sour cream because mayo is the most disgusting man-made substance on the planet.
Bananas should not be eaten after childhood. It’s basically portable baby food and it makes me gag. Eat an apple like a grown-up who has teeth.
Boba tea. Didn’t we get over this in the early 2000’s? Is it a beverage? Is it food? Why is my drink chewy but it tastes like sadness?
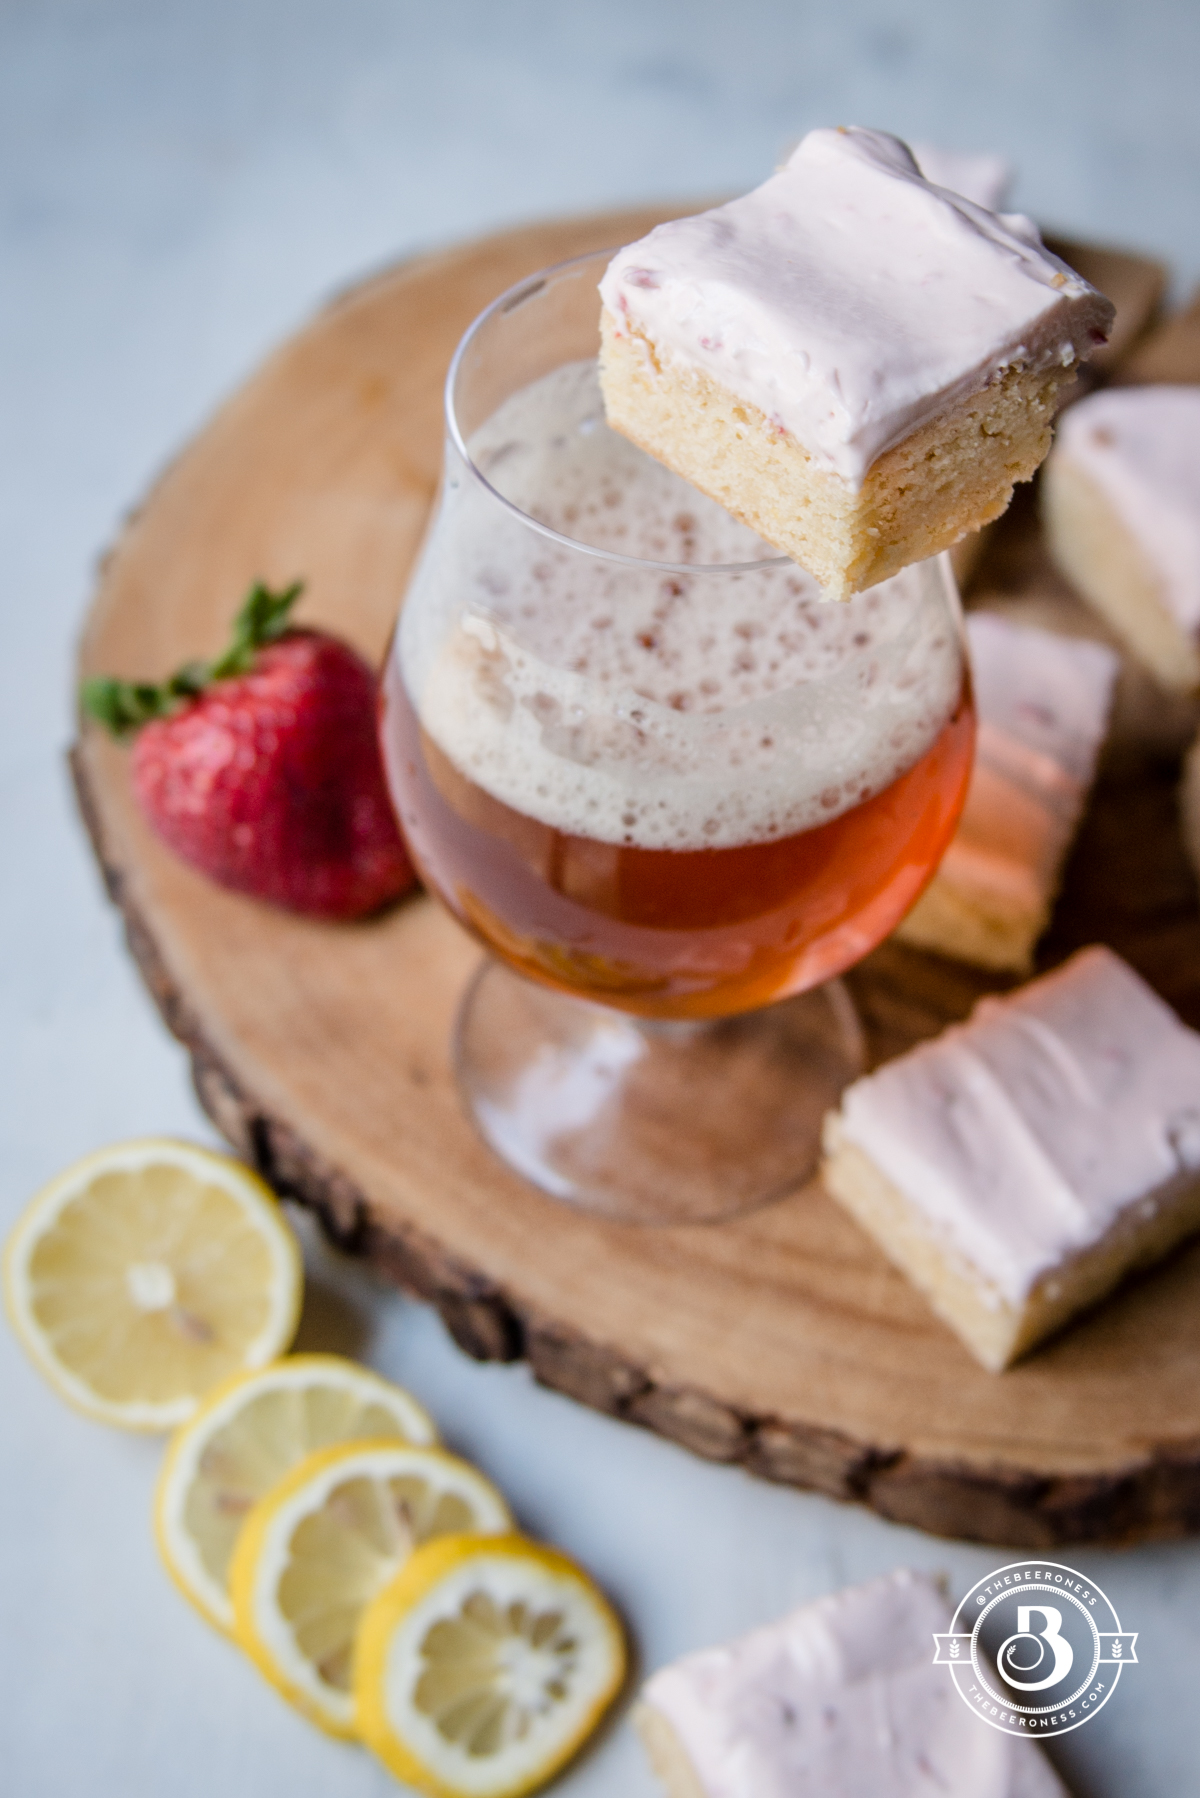
Cookie bars are always better with frosting.
Buttercream frosting is gross. Ok, ALMOST all buttercream is gross and tastes like slightly sweetened butter and coats your mouth in the most unappealing way. When it’s made with JUST butter, vanilla, and sugar it is a big pile of loser paste.
And cream cheese frosting is superior to all other types of frosting because it’s foolproof, quick and delicious.
Ok, there it is. My real, true feelings about the food you probably love and I just told you how much I hate it. But we can still be friends, right? Just don’t make me eat a banana to prove it.
What about you? It’s your turn!! Tell me your unpopular food opinions.
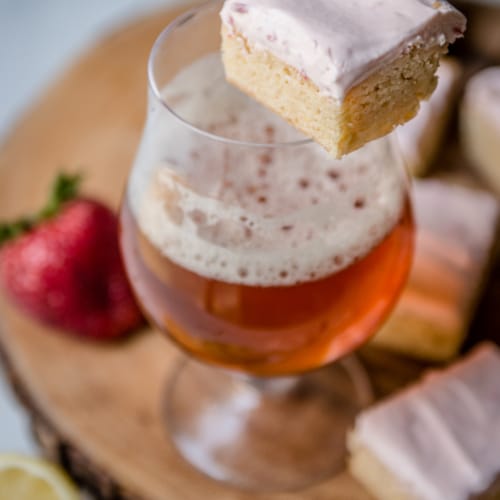
Preheat the oven to 350°F.Add the lemon zest, white and brown sugar, and butter to a stand mixer. Beat on medium-high until well combined and creamy.
Add the egg, beating until well combined and resembles frosting, about 3 minutes. Stir in the lemon juice, beer and lemon extract (if using). The mixture may look a little curdled, this is fine.
Stir in the flour, baking powder, and salt until just combined.
Line an 8x8 baking pan with parchment so that it comes up and over the sides (this makes for easy removal).
Spread the batter into the prepared pan in an even layer. Bake for 40-45 minutes or until the edges just start to turn golden brown (do not overbake, the bars will set as they cool). Allow to cool before removing from the pan.
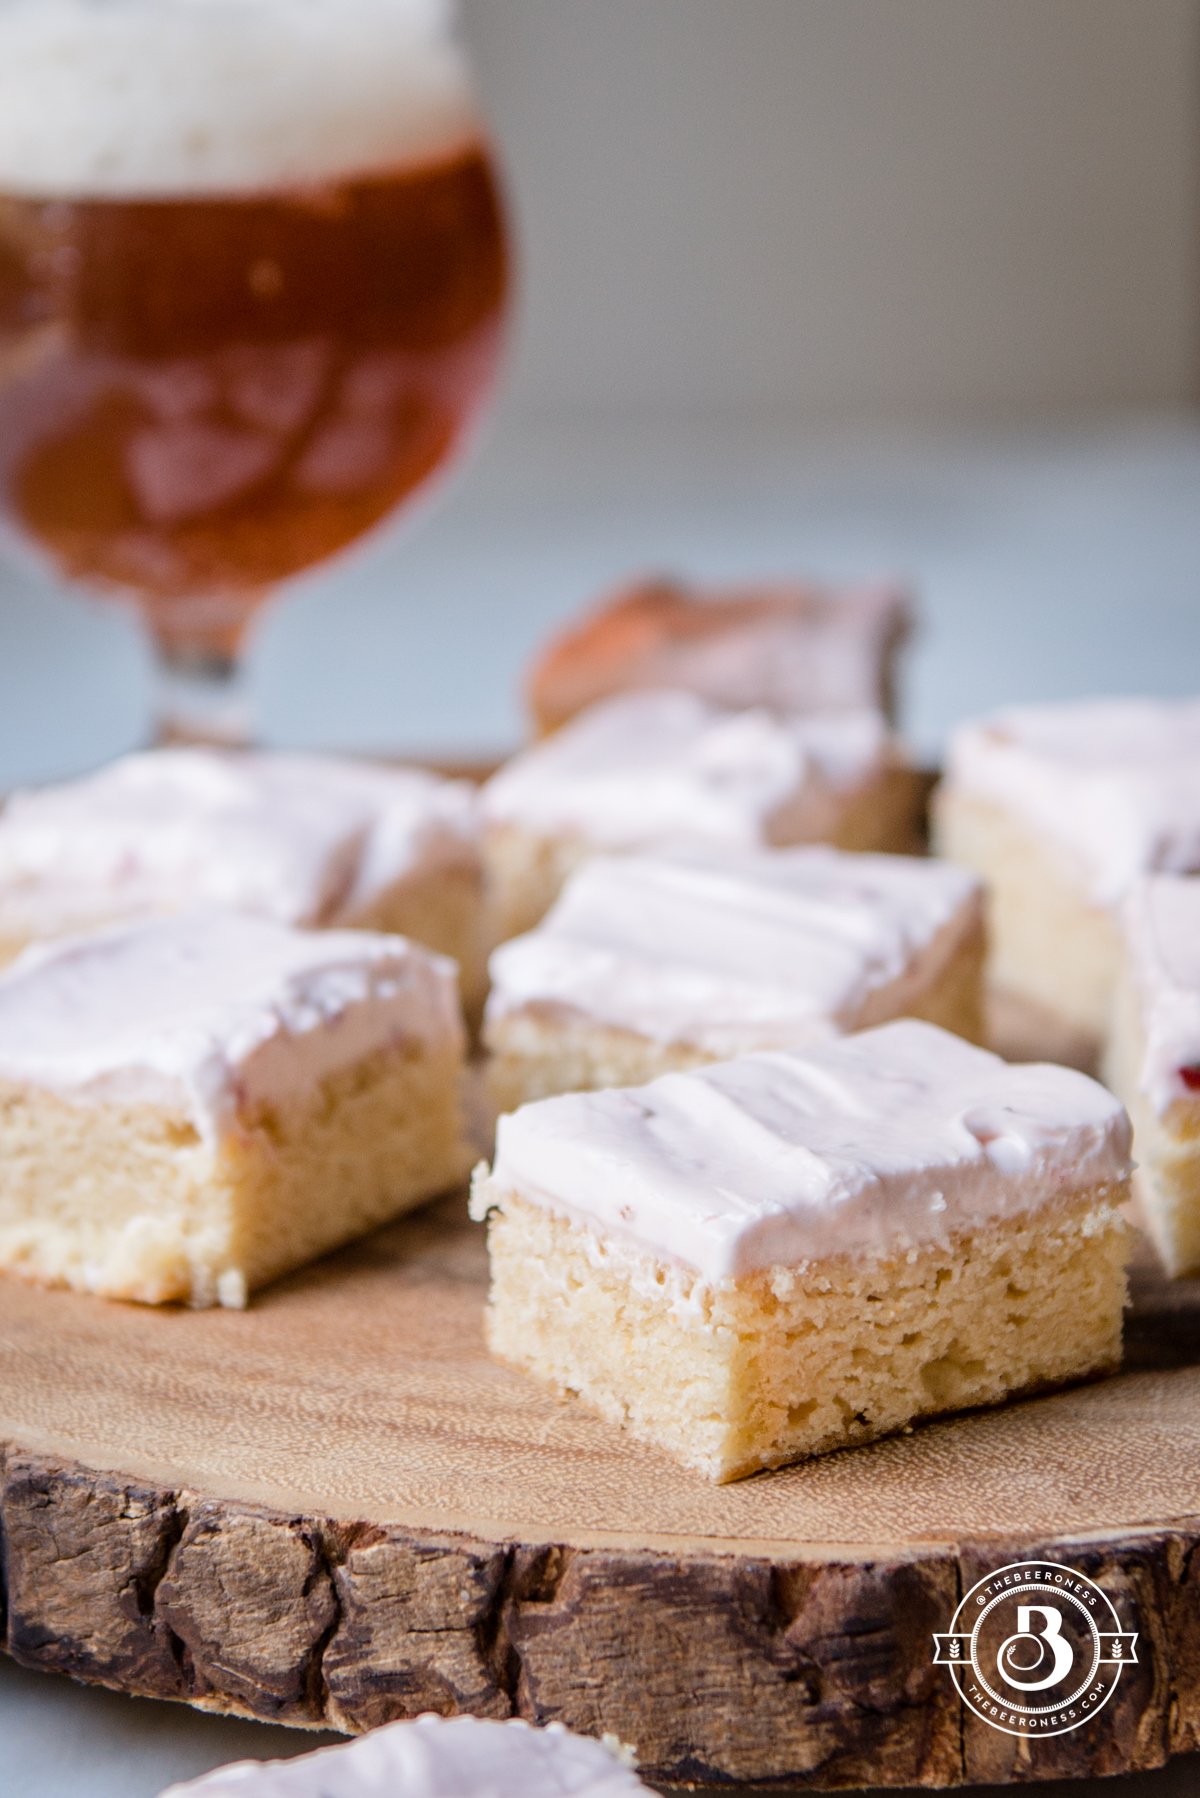
Add the cream cheese and strawberries to the bowl of a stand mixer. Beat on high until the strawberries are well combined with the cream cheese and mixture is light and fluffy. Stopping to scrape the sides of the bowl occasionally.
Add the cream, beating well to combine. Add the powdered sugar, stir until combined.
Frost the bars, cut into squares. Chill until ready to serve.
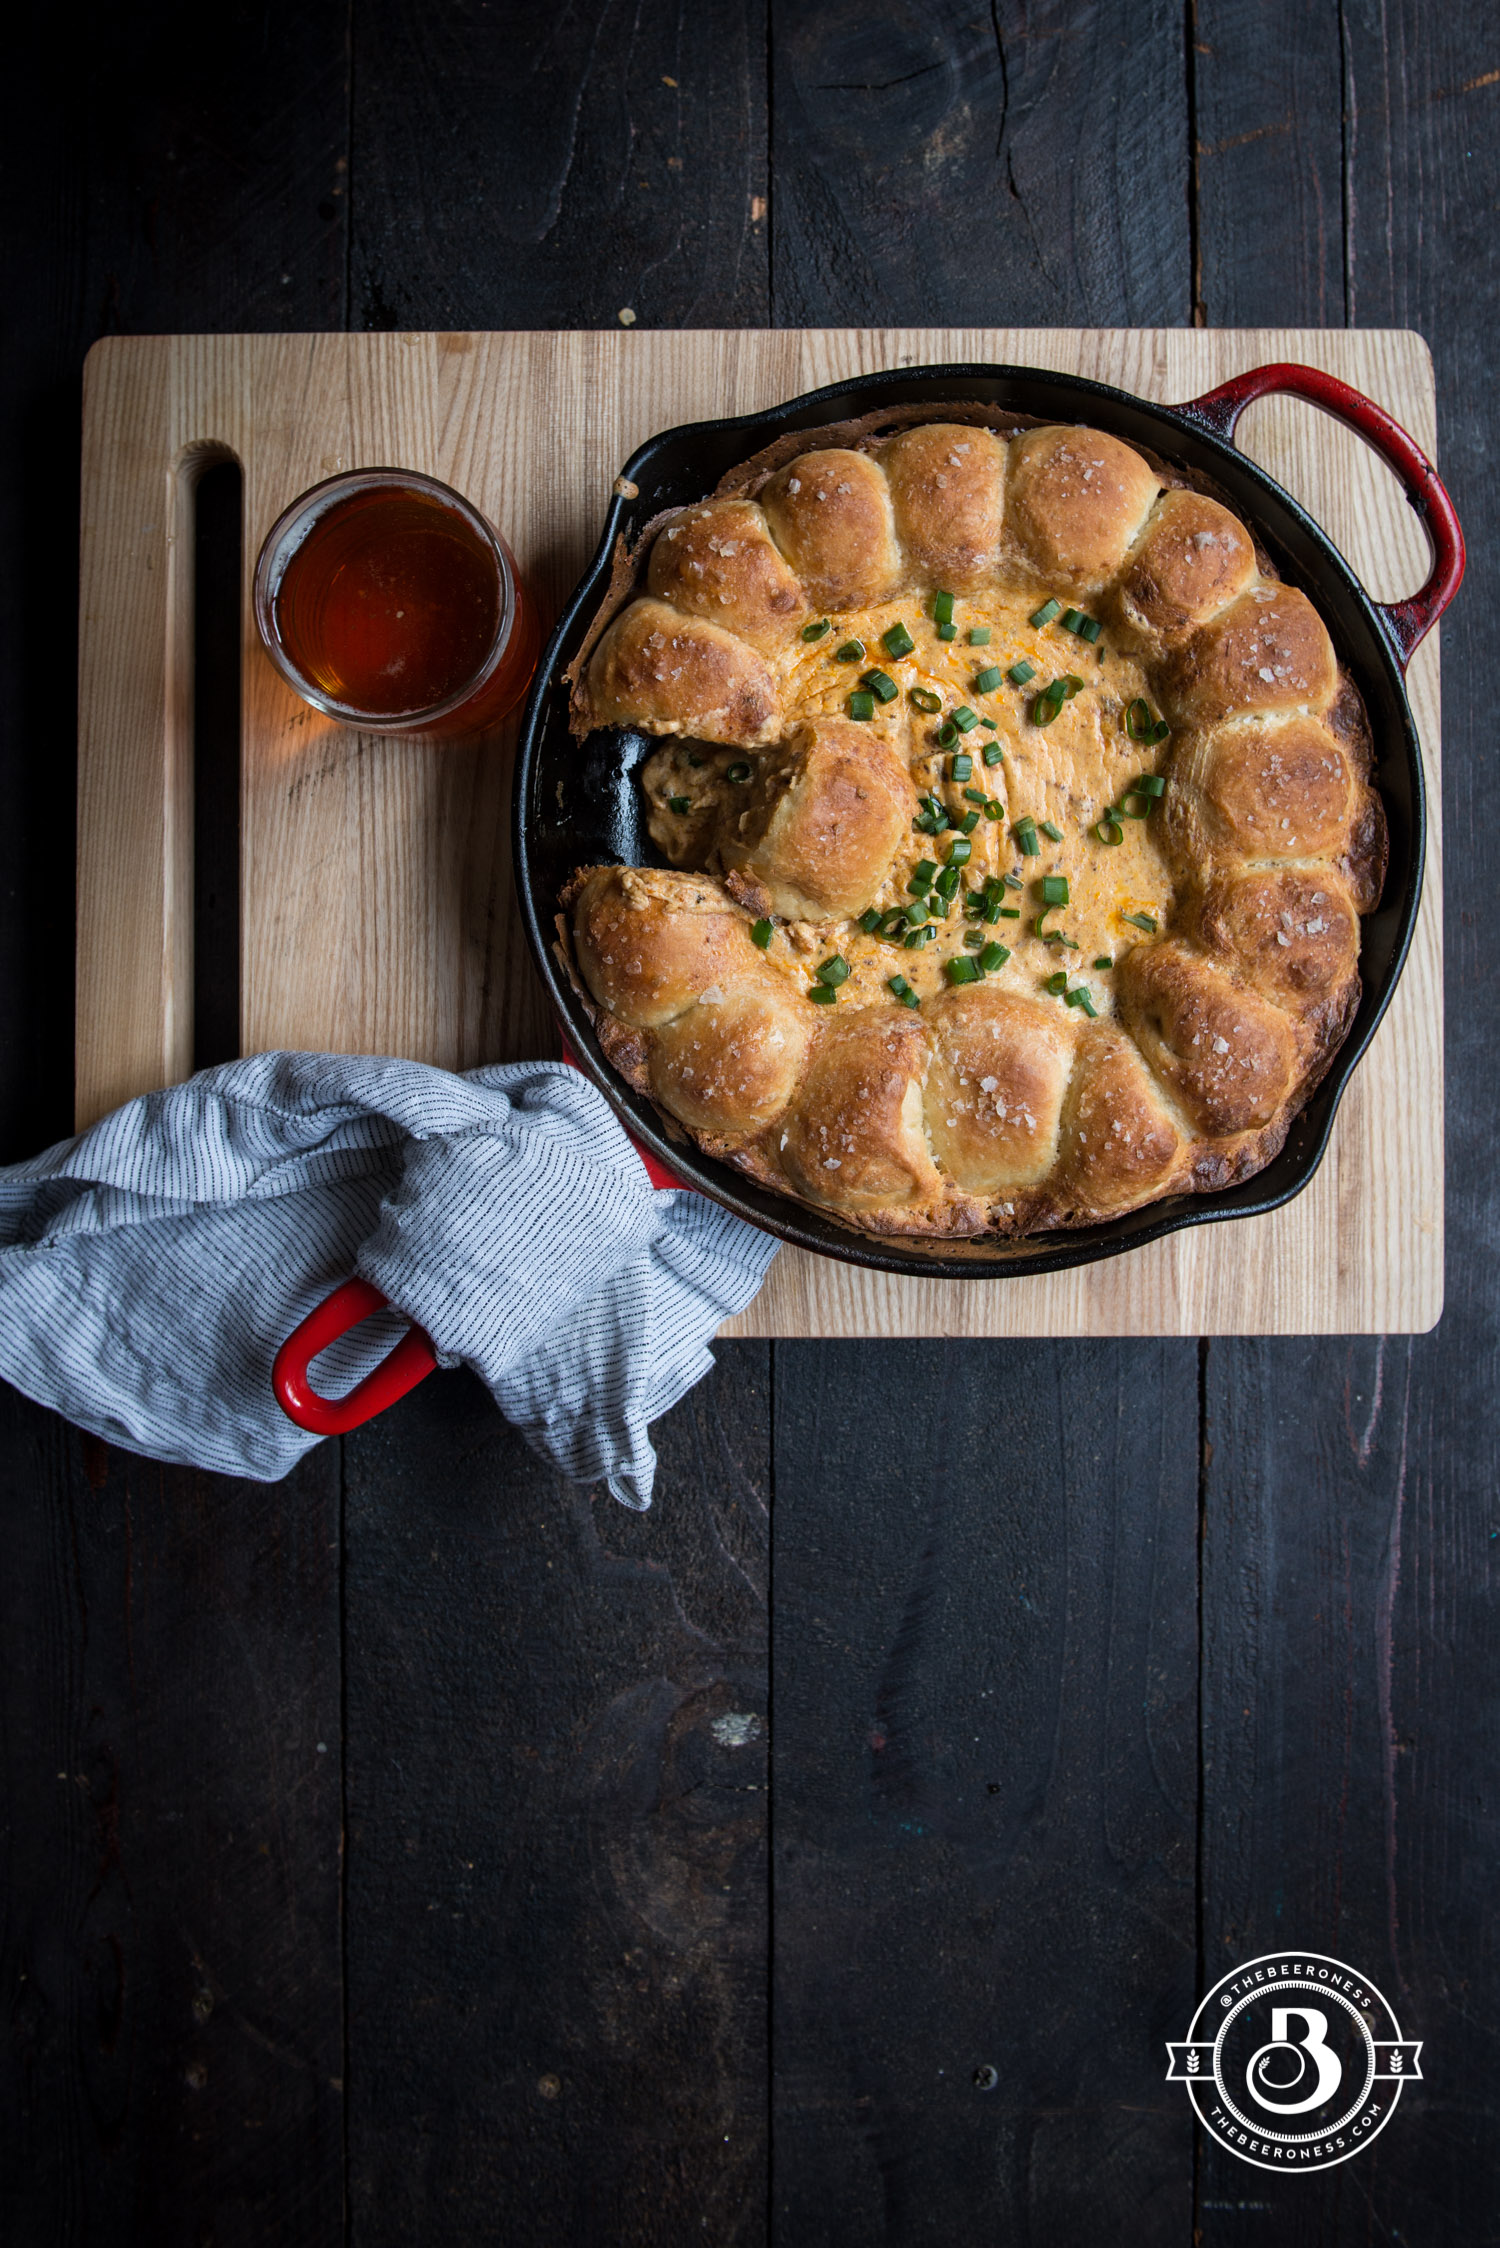
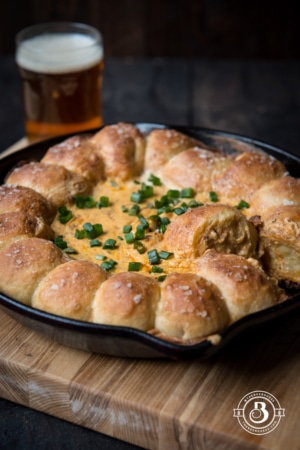
Skillet Chorizo Beer Cheese Dip in a Pizza Crust Ring
I’ve made a decision. I’m hosting a Super Bowl party, and as I do, I’ll probably make too much food. I do this as if we will all surely starve if we don’t have at least 17 tons of food per person to sustain us as we hang out for a few hours. If you grew up in a very large family, you understand this struggle.
I wanted to tell you what I’m making, because I want to know what you’re making, too. I’ll be making a few new dishes but I’ll also break out some of my favorites:
Two kinds of wings because wings need to be kicked up with some heat but some people are crazy and don’t like spicy things. I’ve decided on these Sriracha IPA wings, and Honey Porter Sticky wings, with accompanying sauces.
Dips, of course. This Skillet Chorizo Beer Cheese Dip in a Pizza Crust Ring must be there, but I’m also making Stout Caramelized onion dip.
Then I thought that maybe I should have sliders, too. Because tiny sandwiches are fun and easy to eat when one hand is already occupied by a beer. So I’m making these Carnitas Sliders, and I’m going to sliderify a Caprese salad.
But, of course, we need desserts. So I’m going to turn this cake into cupcakes and color the frosting to match the colors of the teams playing, because I like to be extra. And I’m making mini chocolate footballs, don’t hate me.
Yes, I know, this may take me the next two weeks to complete all these tasks but I don’t care. It’ll just give me more reasons not to leave my house.
4.5ounce Mexican pork Chorizo(½ of a 9 ounce package)
1lbspizza dough (store bought or homemade, link to my recipe above)
Olive oil for brushing
coarse salt
1cup(112g) shredded mozzarella cheese
4ozcream cheese(½ of an 8oz package)
1tablespooncornstarch
1/2 cup(4oz) evaporated milk
1/4cup(2oz) beer (IPA, pale ale, wheat beer)
Chopped green onion or cilantro (optional)
Instructions
1. Preheat the oven to 425°F.2. In a skillet over medium-high heat, cook the chorizo until cooked through, remove from the pan, set aside.3. Cut the pizza into 16 equal sized pieces, form each into tight balls.4. Place in a ring in the outermost part of the inside of a 10-inch cast iron skillet.5. Brush with oil, sprinkle with coarse salt. Bake for 10 minutes, remove from oven (bread will not be finished cooking)6. Add the mozzarella, cream cheese, cornstarch, evaporated milk and beer to a blender, blend on high until well combined. Stir in the chorizo.7. Pour the dip into the center of the skillet bread ring.8. Put back into the oven, bake until the cheese is warm and the pizza dough is golden brown 8-10 more minutes.9. Remove from oven, allow to cool enough to eat, sprinkle with green onions or cilantro.
Beer Ricotta Raviolo with Egg and Herb Butter Sauce, time to get fancy!
Plus a book giveaway!
It’s somewhere North of 3 am and we’re walking the winding back country roads of Big Bear, California. Thin dresses swishing in the cool August air as we try to walk back into town from the wedding Linda and I are in the mountains for.
Giggly and drunk on wine and still love-high from the touching vows we’d witnesses, we realize that we’re only "sort of" lost as we try to navigate the dusty walk back, void of any sidewalks or street lamps. Our ride had left hours before we did, and since this isn’t the sort of place that Uber inhabits, we decide that walking back down the mountain is our only option.
Grateful that one of the grooms insisted we wear flats—the more appropriate footwear choice for a mountain wedding over the heels we both reluctantly left in the hotel—we realize that running may be necessary when the only vehicle we’ve seen so far suddenly takes notice of us.
As the semi-truck pulls to a stop near us the driver climbs out of his cab to make his way towards us, and we bolt. In unison, we run towards town and around the bend in the road. Like a desert oasis, we see the hotel. Sprinting towards the doors, we finally stop to catch our breath once inside. We look at each other and burst out laughing. Not sure if we were in any real danger, or if the wine had turned a guy just checking on a flat tire into a sure-threat, we don’t care. We’re safe, slightly drunk, and happy.
Since that day Linda has steadily become one of the most important people in my life. Helping me in ways she can’t even understand through two of the most difficult points in my adult life. From frantic texts at midnight to long talks over bottles of wine, she’s the sort you always want to find solace in when the storm hits, or celebrate alongside when the moments are perfect. Although meeting her, years before the Big Bear wedding, I was immediately intimidated.
At a food conference in Los Angeles, she seemed to just appear in front of me. Tall, beautiful, wickedly smart, and incomprehensibly talented, she’s the sort you should be intimidated of. With a rapidly growing following and several TV shows and appearances under her belt, she’s the type that can pull of being pretentious and snobby. She could even get away with it, if she wanted. But the thing about her, possibly the most endearing part, is that there isn’t a trace of that in her, not one bit. She has a heart of gold, a passion for social justice, and she connects with damn near everyone. She won’t just remember you, she’ll remember the story you told her three years ago about your mom being in the hospital and she’ll ask you about it. She is just so likable. She’s also charmingly inappropriate, and wildly unpredictable. Which just makes you like her more.
She’s spent the better part of the past two years pouring herself and her immense knowledge of pasta into her new book, Pasta, Pretty Please, and it’s beautiful. If you don’t follow her on Instagram, you’re missing out, it’s the most impressive feed you’ll see.
I’m giving away a signed copy of the books that won’t just teach you how to make pasta, it will make you fall in love with it. You can enter on Instagram. Don’t have an Instagram? Share this post on Facebook (make sure it’s public so that I can see!) and post a link to your Facebook post in the comments below.
Linda has offered to sign the book for you, or Linda has also offered the option for her to sign your boobs, or both if you’re up for it.
Beer Ricotta Raviolo with Egg and Herb Butter Sauce
Adapted from Pasta, Pretty Please by Linda Miller Nicholson
3cupswhole milkdo not use Ultra-Pasterized, it won’t work
1cupheavy cream
½teaspoonsalt
1/3cupSaison beerPlus 2 tablespoons divided
3tablespoonsApple Cider Vinegaryou can also use lemon juice, or a combination of the two
For the Filling:
6large egg yolks
For the Sauce:
½cupunsalted butter
2clovesgarlicminced
2large leaves sageminced
Leavesfrom 1 sprig rosemarychopped
½cupchicken or vegetable broth
Salt to tastethe amount of salt you need will be dependent on the broth you use
¼cupfresh grated parmesan
Instructions
Make the ricotta:
In a pot over medium high heat (do not use an aluminum pan) add the milk, cream, salt and 1/3 cup beer.
Clip a cooking thermometer onto the side of the pan.
Bring the liquid to 190°F degrees, stirring occasionally to prevent the bottom from scorching. Keep a close eye on it, the liquid reaches and passes 190 very quickly and you don’t want it rising above 200.
Remove from heat, add the 2 tablespoons beer and then the vinegar (or lemon juice) and stir gently once or twice. It should curdle immediately. Allow to sit undisturbed for about 5 minutes.
Line a large strainer with 1 or 2 layers of cheesecloth; place the strainer in the sink over a large bowl.
Pour the ricotta into the strainer and allow to drain for 15 to 30 minutes and up to an hour (the longer it drains, the firmer the consistency)
Place in an air-tight container and store in the fridge, can be made up to 3 days in advance.
Make the green dough (skip if you aren't making the decorations):
In a large saucepan over high heat, bring the salt, baking soda and 8 cups water to a boil. Add the parsley and boil it for 15 seconds, remove it and place in a strainer, run under cold water to blanche. Drain and press out the water.
Add the parsley to a blender along with the eggs, blend first on low speed, then increase the speed and green liquid until smooth.
Strain the puree with a fine mesh strainer, reserving the green liquid and discarding the pulp.
In the bowl of a stand mixer fitted with a paddle attachment, combine the flour and puree. Mix on low speed until a ball of dough forms. Raise the speed to medium and continue to knead for 3 minutes (or by hand for 6-8 minutes) until the dough is smooth and elastic. Cover the ball of dough with plastic wrap and allow to rest at room temperature for 30 minutes (you can also refrigerate the well-wrapped dough for up to three days).
Make the red-orange dough:
In the bowl of a stand mixer fitted with a paddle attachment, combine the flour, eggs and tomato paste. Mix on low speed until a ball of dough forms. Raise the speed to medium and continue to knead for 3 minutes (or by hand for 6-8 minutes) until the dough is smooth and elastic. Cover the ball of dough with plastic wrap and allow to rest at room temperature for 30 minutes (you can also refrigerate the well-wrapped dough for up to three days).
*(skip to step 17 if you aren’t making a decoration) Cut the green dough into four equal sized pieces. Roll one piece out several times to make it thin enough to pass through your dough roller (wrap up the remaining pieces so they don’t dry out).
Pass through your dough roller on the widest setting, then again. Close the dough roller one more stop to make it thinner (one away from the widest setting), pass the dough through twice. Fold into thirds, like a letter going into an envelope. Pass through your dough roller again with the folded ends on the sides (this will make the sides of the dough sheet straight rather than jagged).
Continue to pass through the dough roller stopping down to a thinner setting every two passes until you reach halfway between the thinnest and thickest setting.
Using a cookie cutter, cut out 6 of your desired decoration shapes, set aside while you work on the rest of the Raviolo.
Cut the red-orange dough into four equal sized pieces. Roll one piece out several times to make it thin enough to pass through your dough roller (wrap up the remaining pieces so they don’t dry out).
Pass through your dough roller on the widest setting, then again. Close the dough roller one more stop to make it thinner (one away from the widest setting), pass the dough through twice. Fold into thirds, like a letter going into an envelope. Pass through your dough roller again with the folded ends on the sides (this will make the sides of the dough sheet straight rather than jagged).
Continue to pass through the dough roller stopping down to a thinner setting every two passes until you reach two stops away from the thinnest setting.
Repeat for one more piece of red-orange dough.
Make the Raviolo:
Lay the pasta sheets on a flat surface lightly dusted with flour.
If using a decoration, brush the top of one sheet of pasta with water. Brush the bottom side of the green pasta decoration with water. Place the decorations evenly spaced every 6-8 inches on the sheet of dough. Gently roll with a rolling pin to press together and adhere.
Add the ricotta to a piping bag or a Ziplock bag with the corner cut off.
Make circles of ricotta (a ricotta “nest”) on the blank pasta sheet evenly spaced every 6-8 inches. Nests should be about 3 inches across with a well big enough to just nestle an egg yolk into.
Place one unbroken yolk into each nest. Brush the pasta with water around each nest.
Carefully move the sheet of pasta with the green decorations on top of the sheet with the ricotta nests. Line the sheet up so that the green decorations are directly above the egg yolks.
Press firmly to adhere the top sheet of pasta to the bottom, taking care to remove all the air and seal the dough together.
Cut each Raviolo between each nest making 6 individual Raviolo. Allow to dry for about 15 minutes, flip over and allow the bottom to dry for about another 10 minutes.
Prepare a large pot of salted boiling water.
In a large saucepan melt the butter over medium heat. Stir in the garlic, sage and rosemary, cook for about 5 minutes.
Stir in the broth, cooking until warmed, salt to taste. Allow the sauce to simmer gently but not boil.
One at a time gently add the Raviolo to the boiling water, boil for 2 minutes. Using a large slotted spoon or a Spider, gently remove and allow all the water to drain off. Add to the sauce, cooking for an additional 3 minutes in the sauce while gently spooning the hot butter on top of the Raviolo.
Add to a plate with a spoonful of sauce, top with a sprinkle of parmesan cheese, serve immediately.
Notes
The green pasta decoration is optional. I used a hop flower cookie cutter, but any cookie cutter will do. Feel free to skip this step, it's mostly asthetic and skipping it will not diminish the overall flavor of the dish.
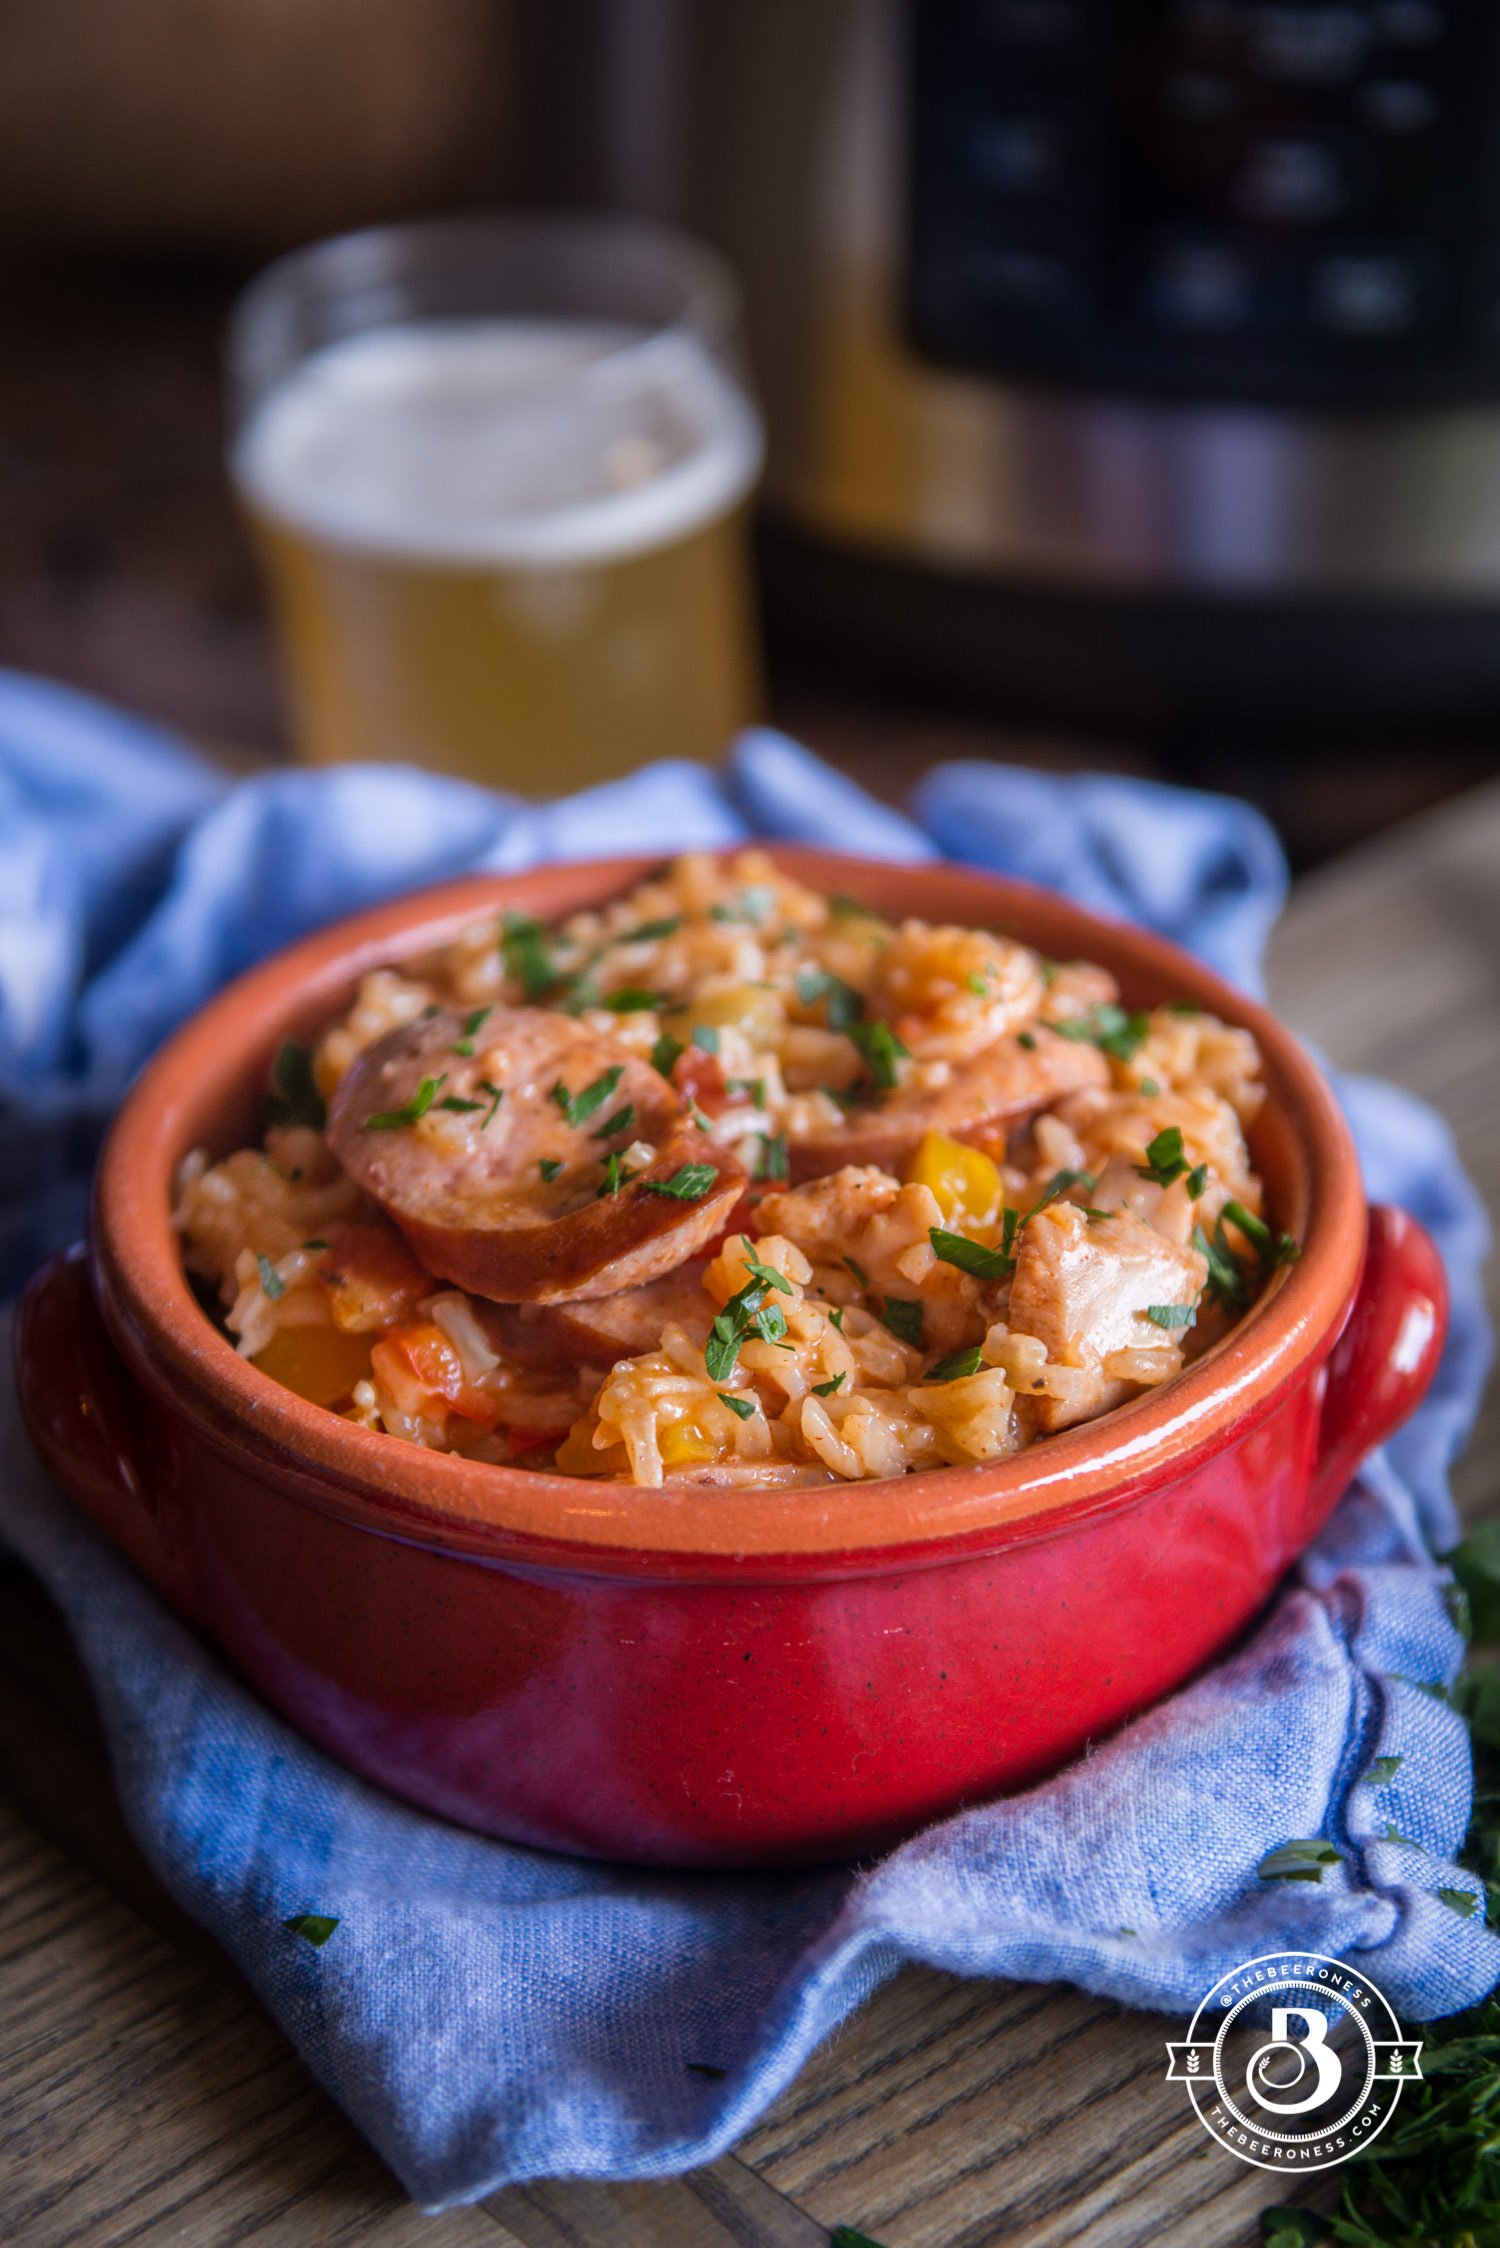
This post was sponsored by the Crock-Pot brand. Partnerships with The Beeroness and outside companies only occur when the company’s products are ones I use and enjoy myself. All ideas and opinions are my own.
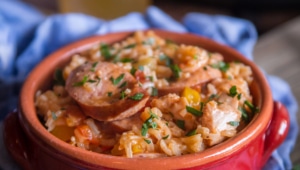
The reason I made this two days in a row is the same reason I love this little machine so much. I had every intention of this being a slow-cooker recipe, and that’s what I did. I slow cooked a jambalaya with all the meat, spices and rice that I wanted to cram into one bowl.
I liked it, I did. It was a super easy and satisfying way to eat a big ‘ol bowl of comfort food. But I couldn’t stop wondering how it would taste pressure cooked, and since the Crock-Pot Express Crock Multi-Cooker can do both, that’s just what I did. It was perfect, even better than the slow cooked version. Since the rice setting was built into the pressure cook mode (one of the hardest things to slow cook and get right is rice), it was simple.
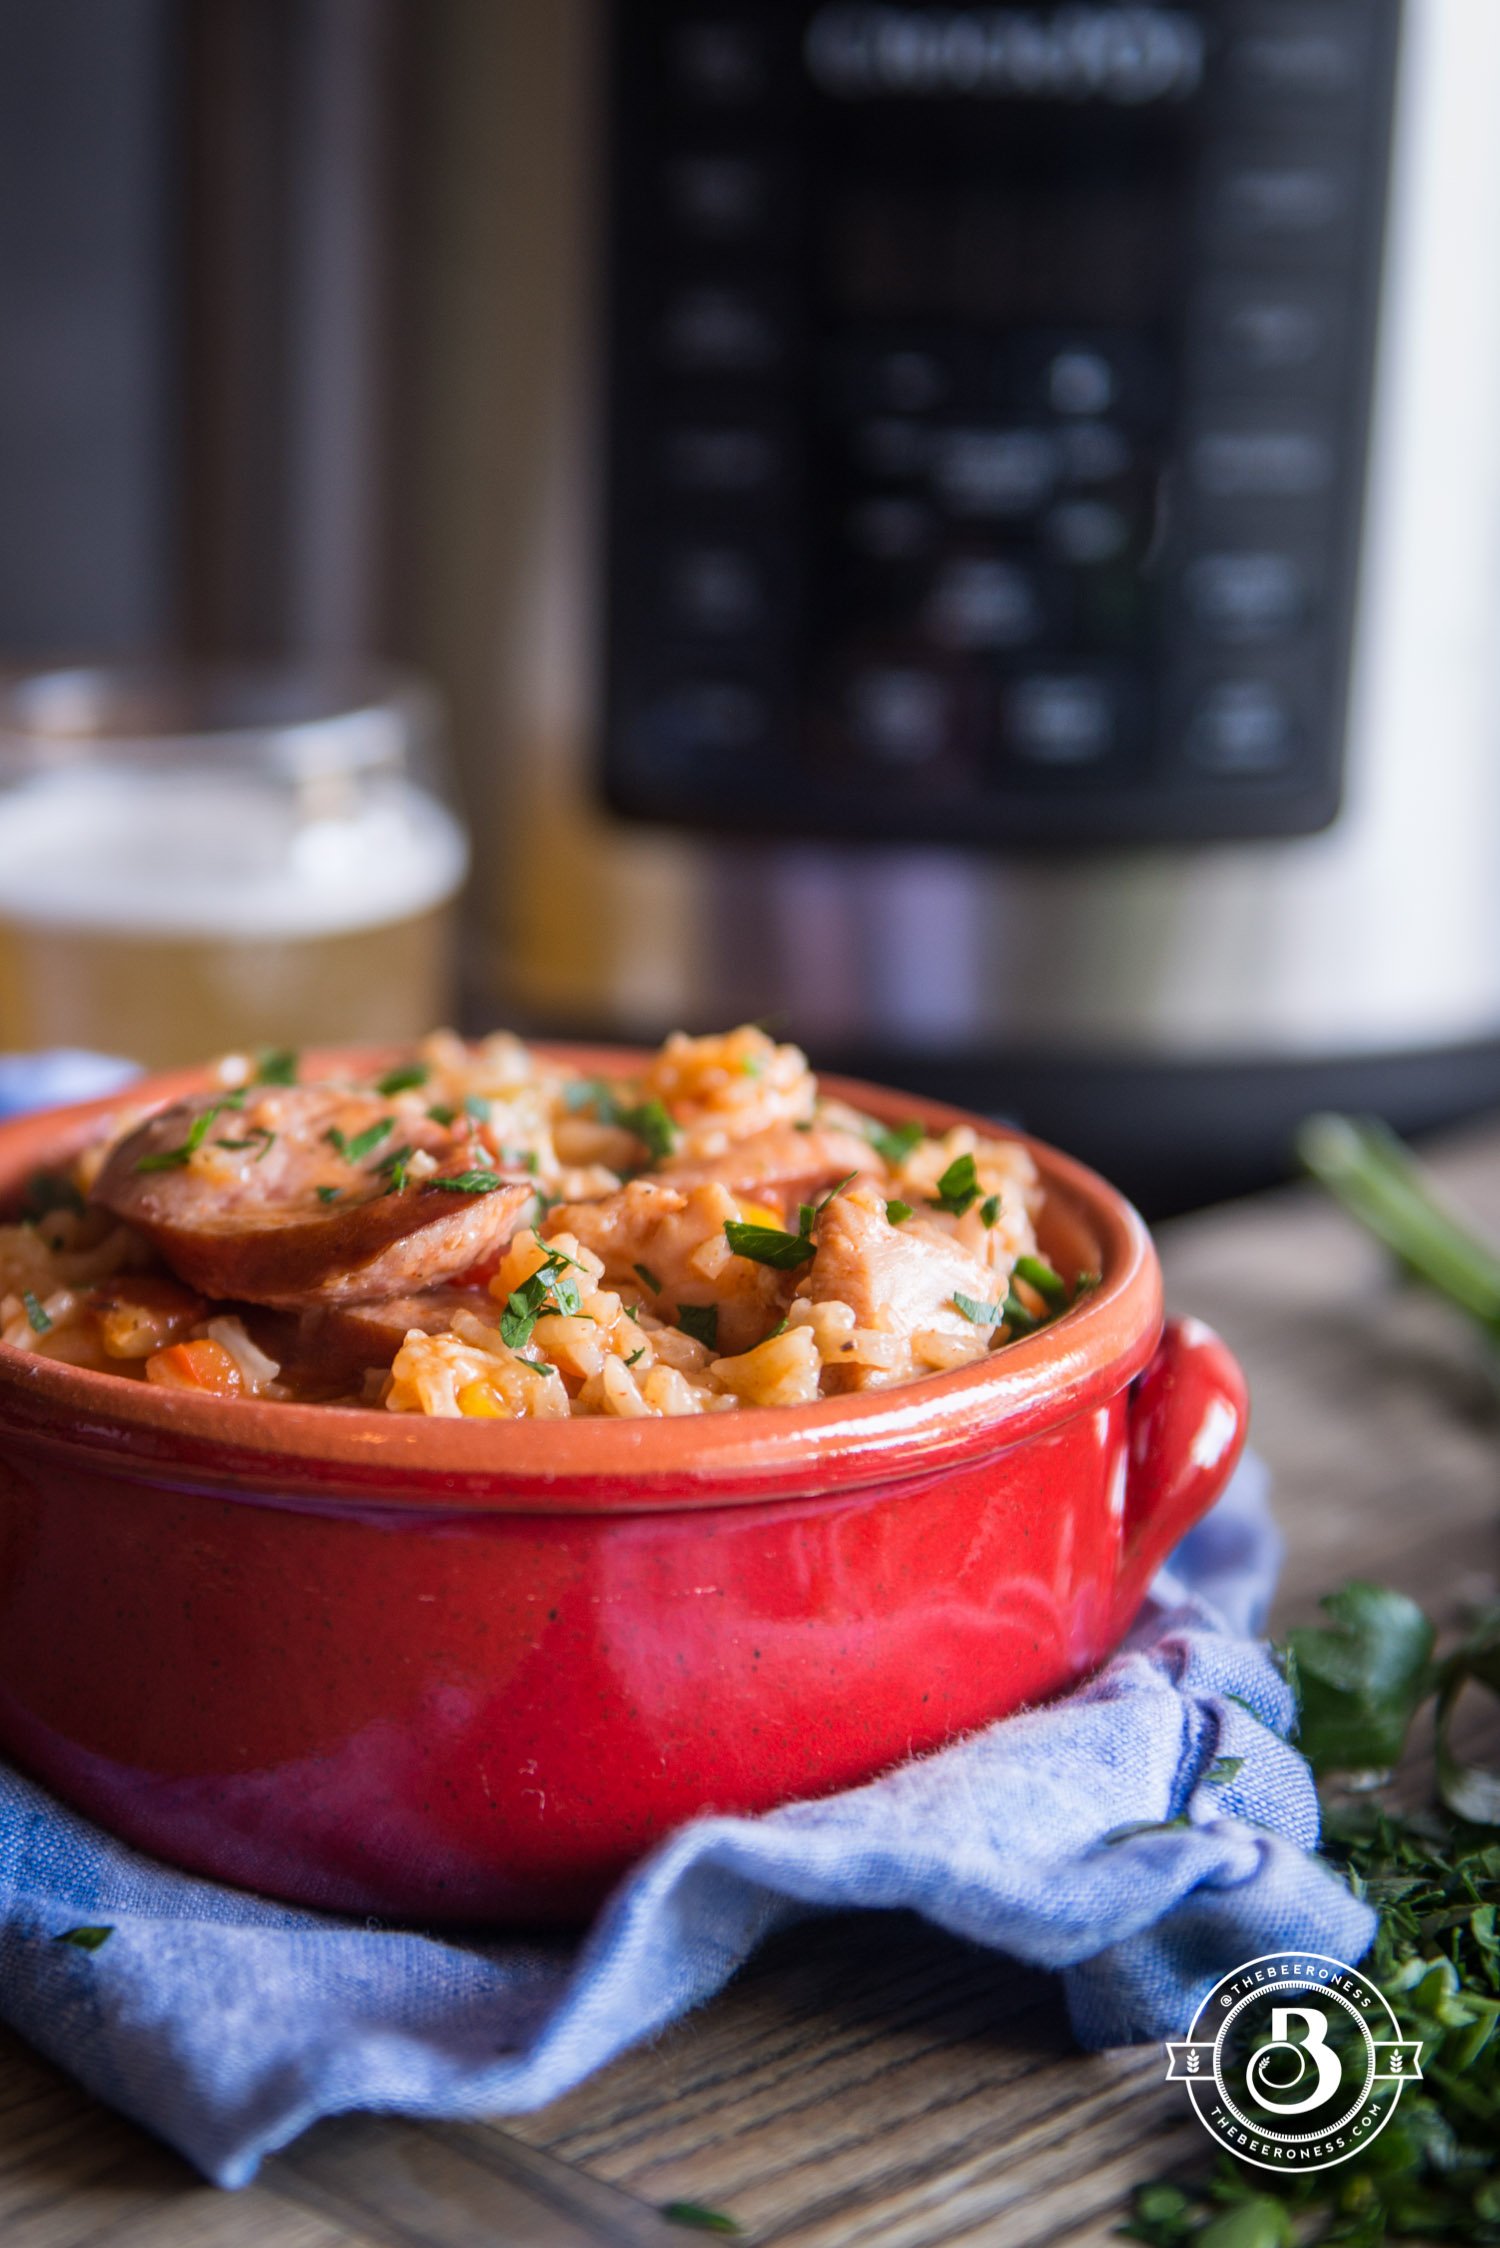
The rice was perfectly cooked, the chicken was fall-apart-tender and the flavor tasted like it had slow cooked all day. THIS is how I’ll make jambalaya going forward, it was much better than I even hoped. I hope you like it as much as I do, this may be a staple in my house from now on.
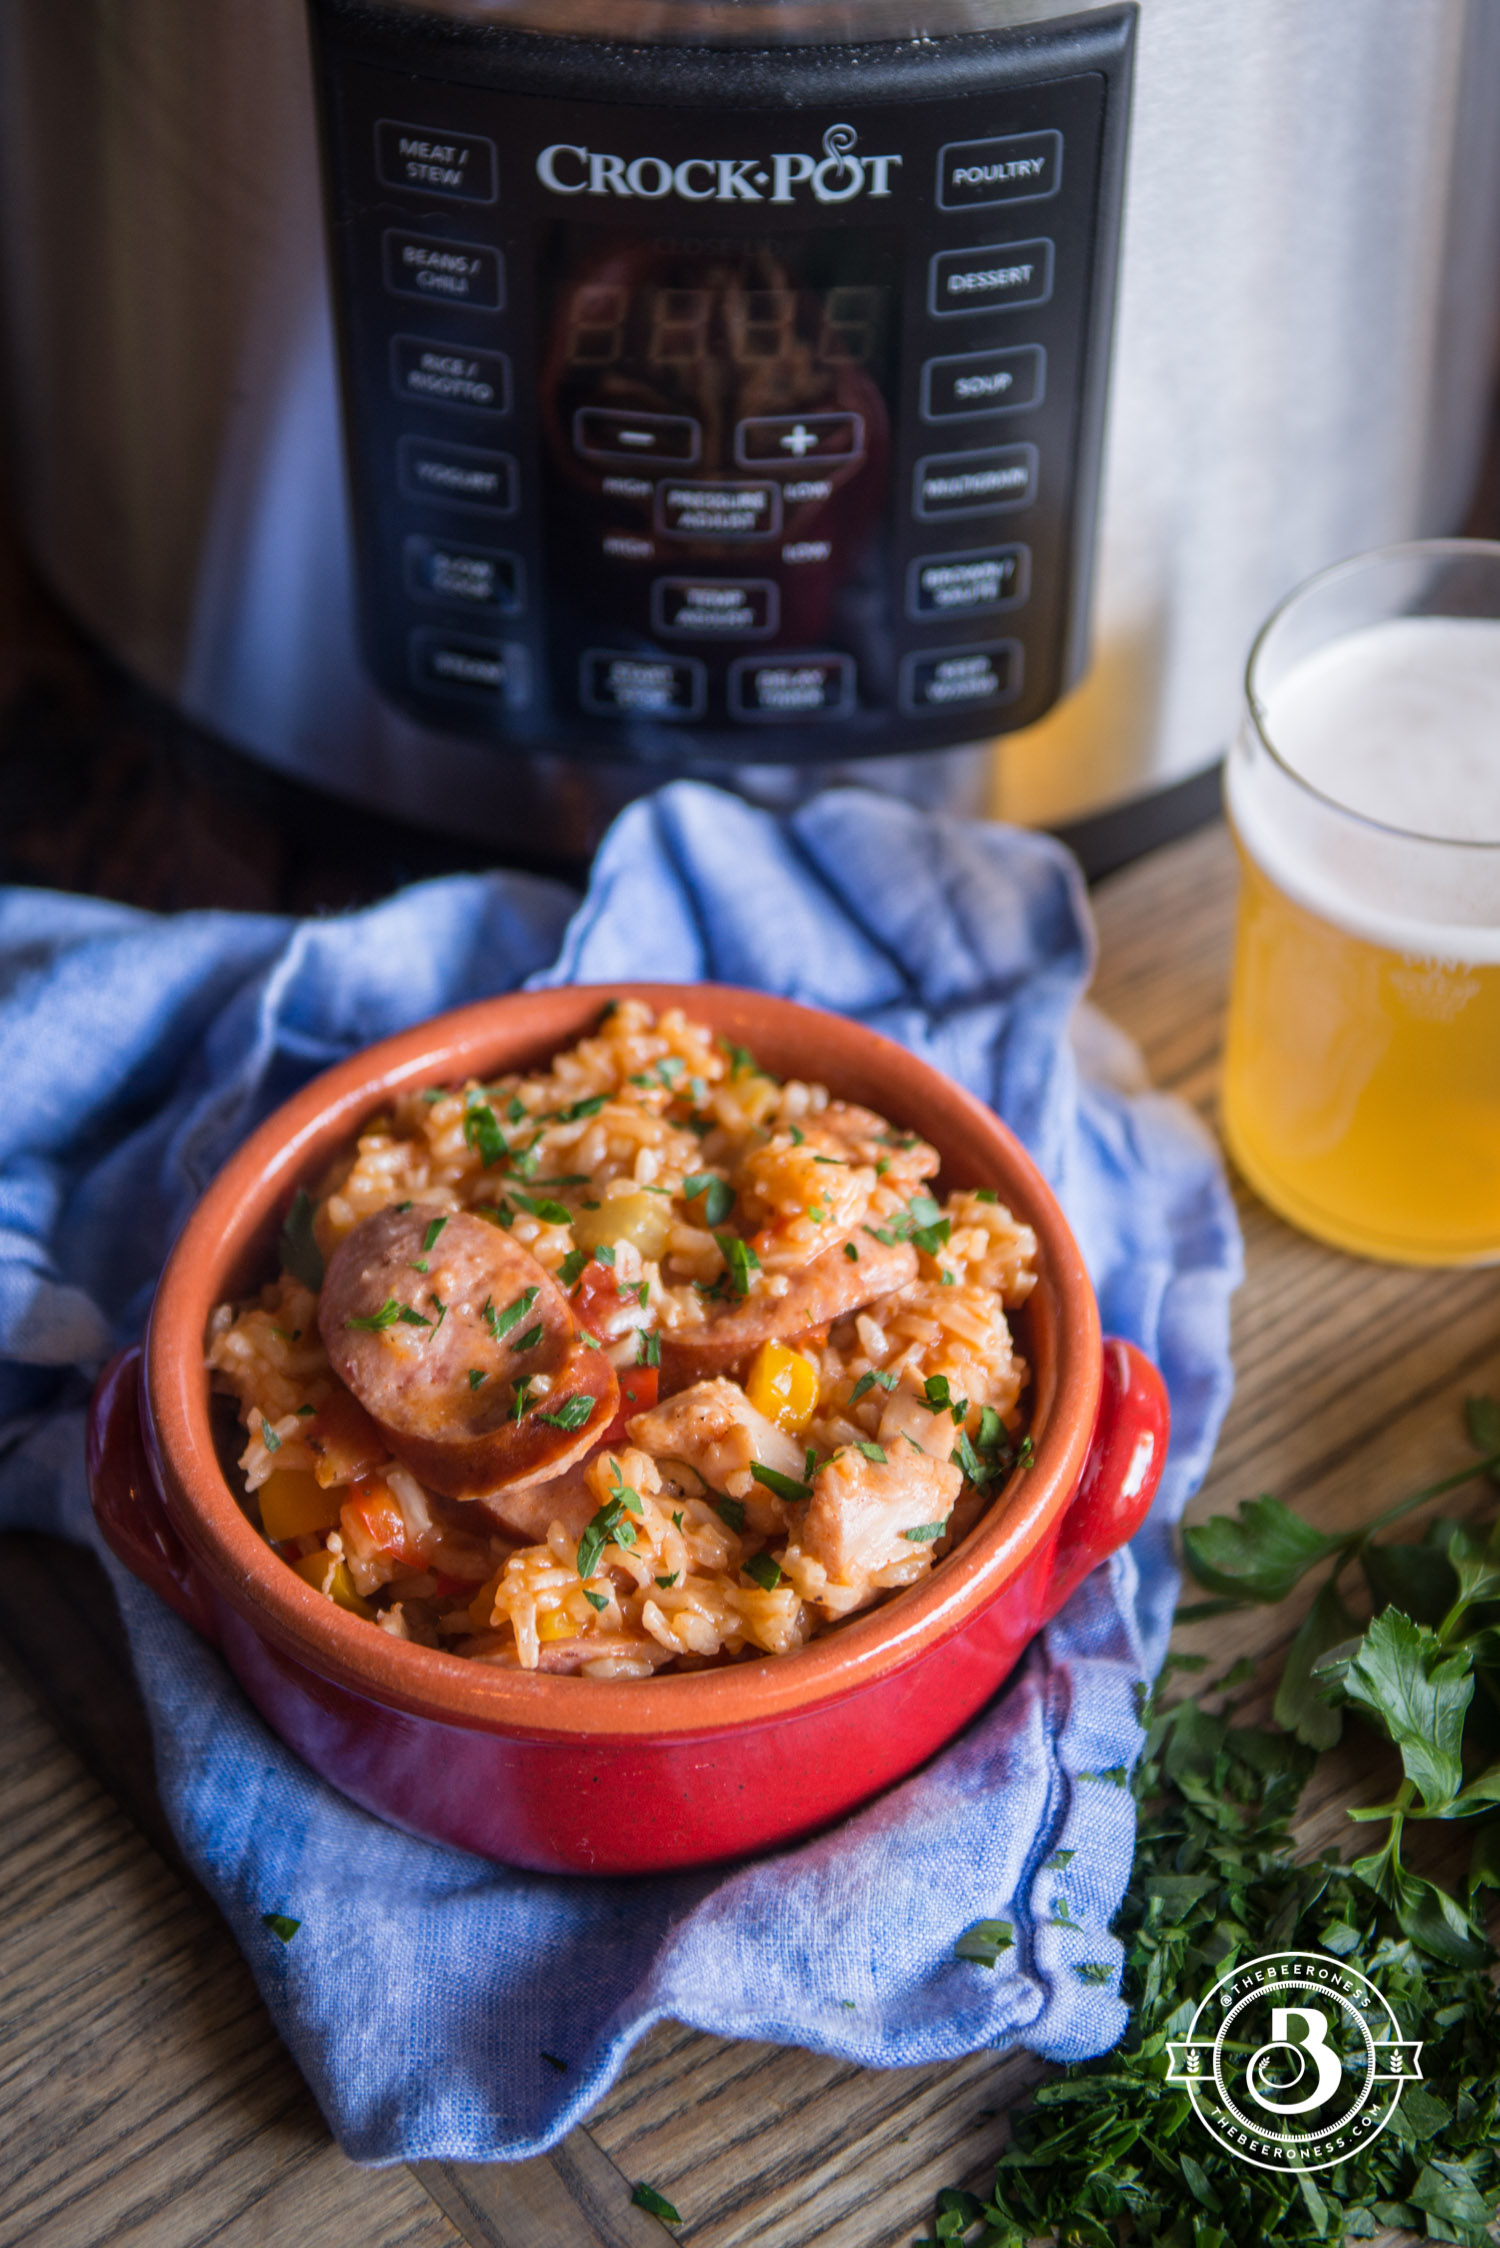
The new Crock-Pot Express Crock Multi-Cookeris a game changer. It has eight different functions that encompass all the functions you would achieve from using multiple different kitchen appliances from slow cooking to pressure cooking and sautéing to searing. The Crock-Pot Express Crock Multi-Cooker is also available in NEW 4-Quart and 8-Quart Models.
12ouncesbeerpale ale, pilsner, pale lager, or wheat beer
114.5-ounce can diced tomatoes
1tablespoonsCajun seasoning blend
¼ to ½teaspooncayenne peppermore for spicier
2teaspoonspaprika
1teaspoongarlic powder
½teaspoonsalta full teaspoon if your Cajun spice mix is low or sodium free
1teaspoonblack pepper
1 ½cupsuncooked long grain white rice
¼cupchopped parsley for garnish
Instructions
Set the Express Crock to sauté on high. Add the oil, allowing to get hot before adding the bell peppers, onions, and celery. Cook until the vegetables have softened.
Stir in the sausage and chicken, cooking until the chicken has turned white on the outside. Stir in the remaining ingredients (reserving the parsley for garnish).
Add the lid, turning to the locked position. Make sure the steam release value is set to sealed.
Turn the rice/risotto setting to high for 8 minutes. The Express Crock will take about 10 minutes to heat up and build pressure, during this time the display will say “HEAt” (yes, with a lowercase “t”). Once the 8 minutes have finished, turn the steam release valve to open (careful, the steam is hot!). Allow the steam to release before opening the Express Crock.
This was really born out of necessity, at least the first time I made it. I’m not very organized, open any of my cabinets and you’ll see it (you’ll be horrified). My house is more or less clean but my life is messy. Anything that I can put in a closet, out of site, gets the shove allowing me to continue to pretend like my house is clean.
This quality extends far past my pantry and into all parts of my grown-up life where it becomes startlingly apparent that I’m not very good at adulting. And even though I go to the grocery store nearly every day, I still found myself without eggs, bread, and any other breakfast-related items early one morning. I need breakfast, this isn’t negotiable.
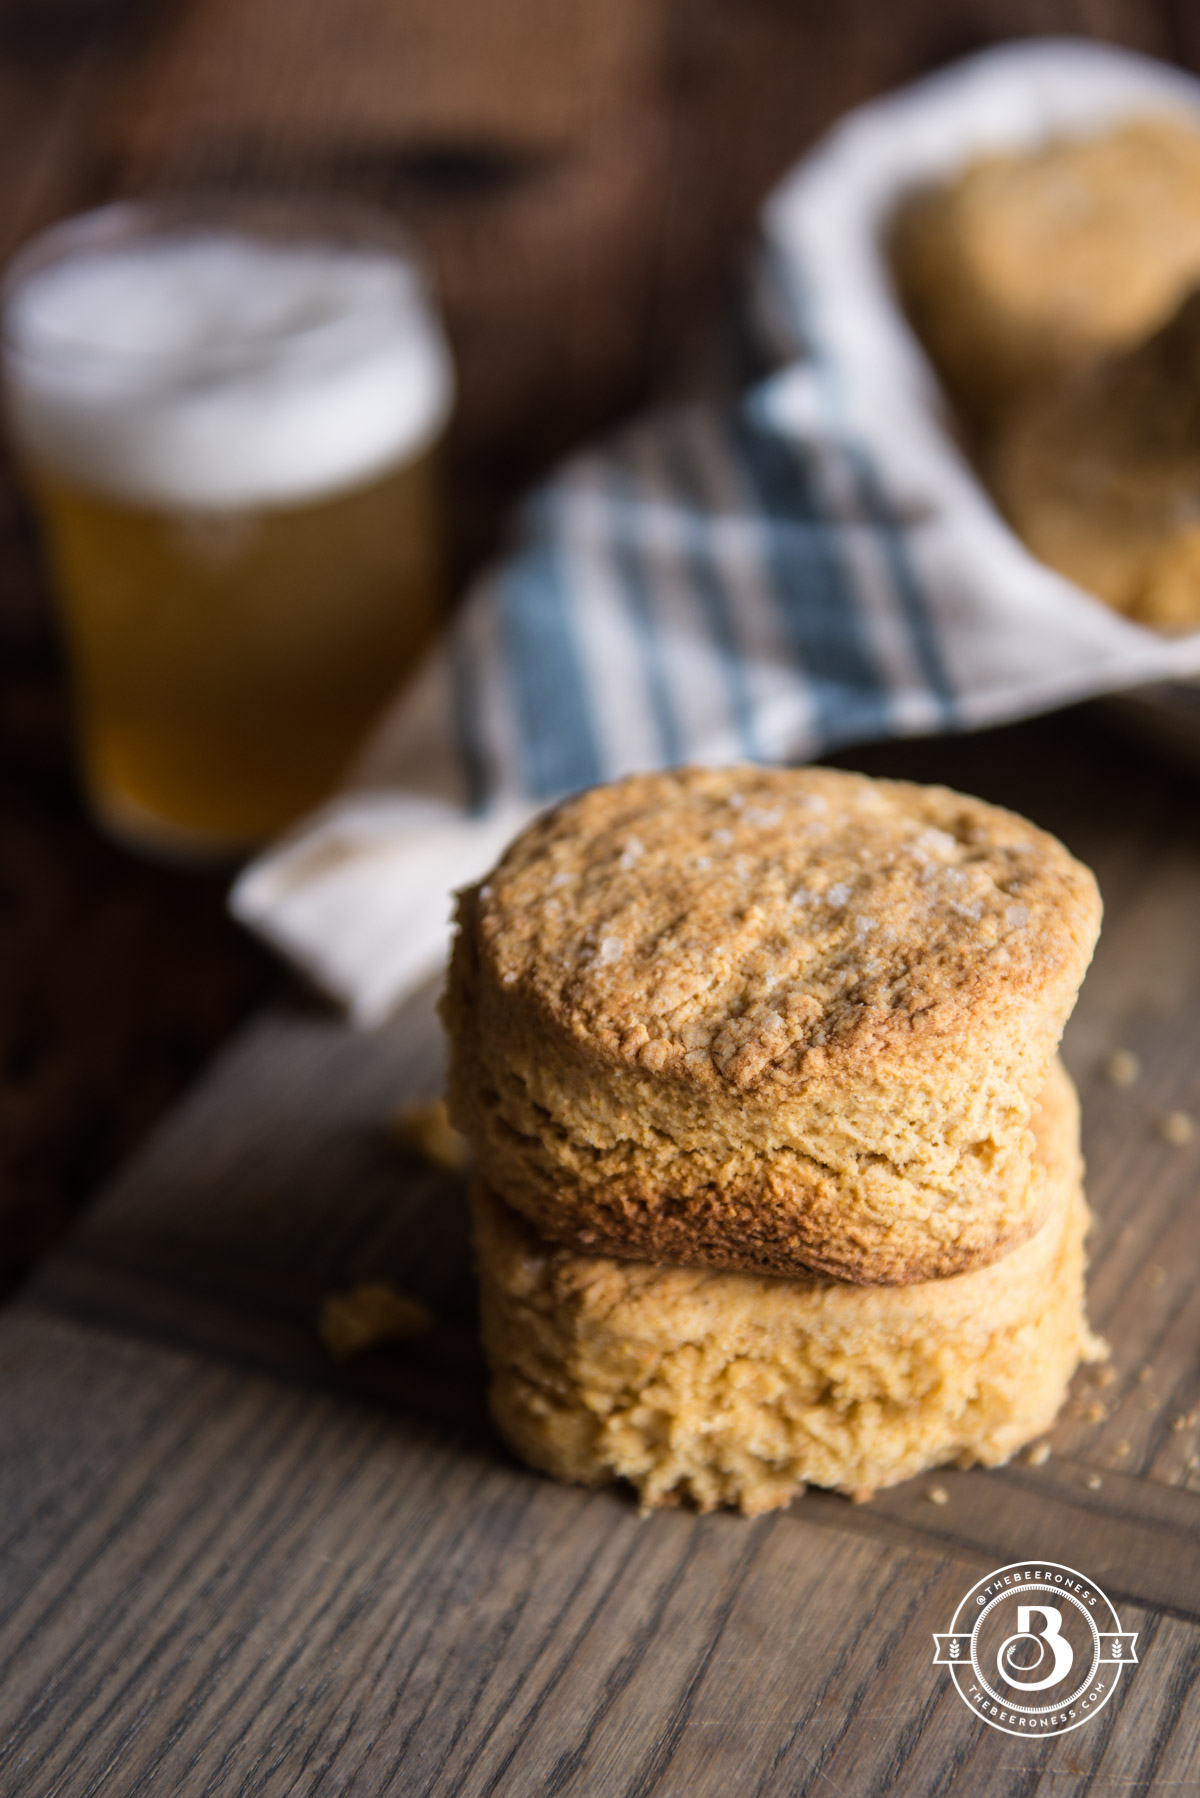
Instead of just going to the store I decided to make biscuits. It was just easier to write a recipe than it was to get out of my pajamas and head to the store. I’m not a "pajamas at the store" kind of girl, I can’t look as messy as I feel. I like to put on a good show, and trick people into believing that I’ve got my shit together. Spoiler alert: I don’t.
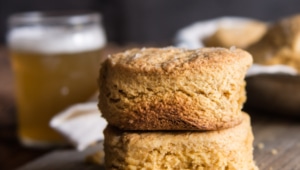
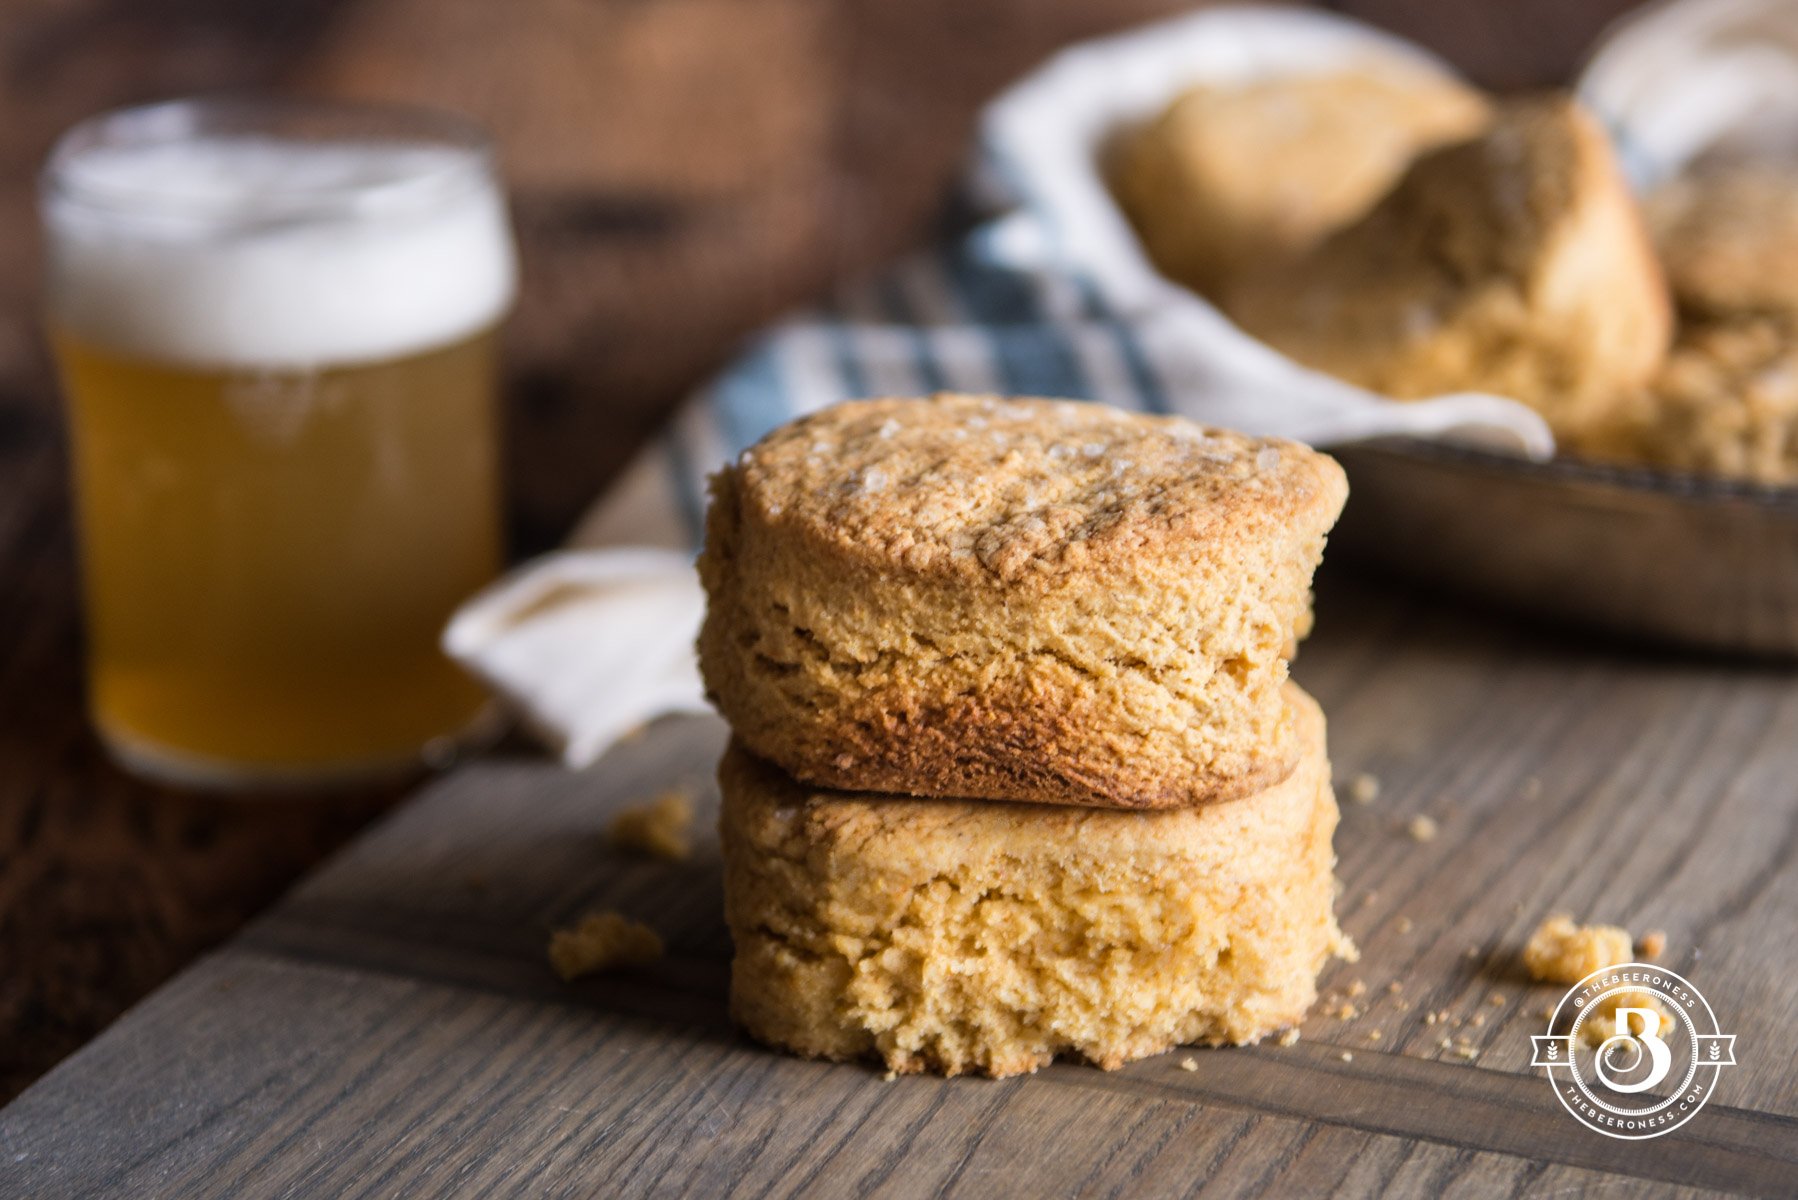
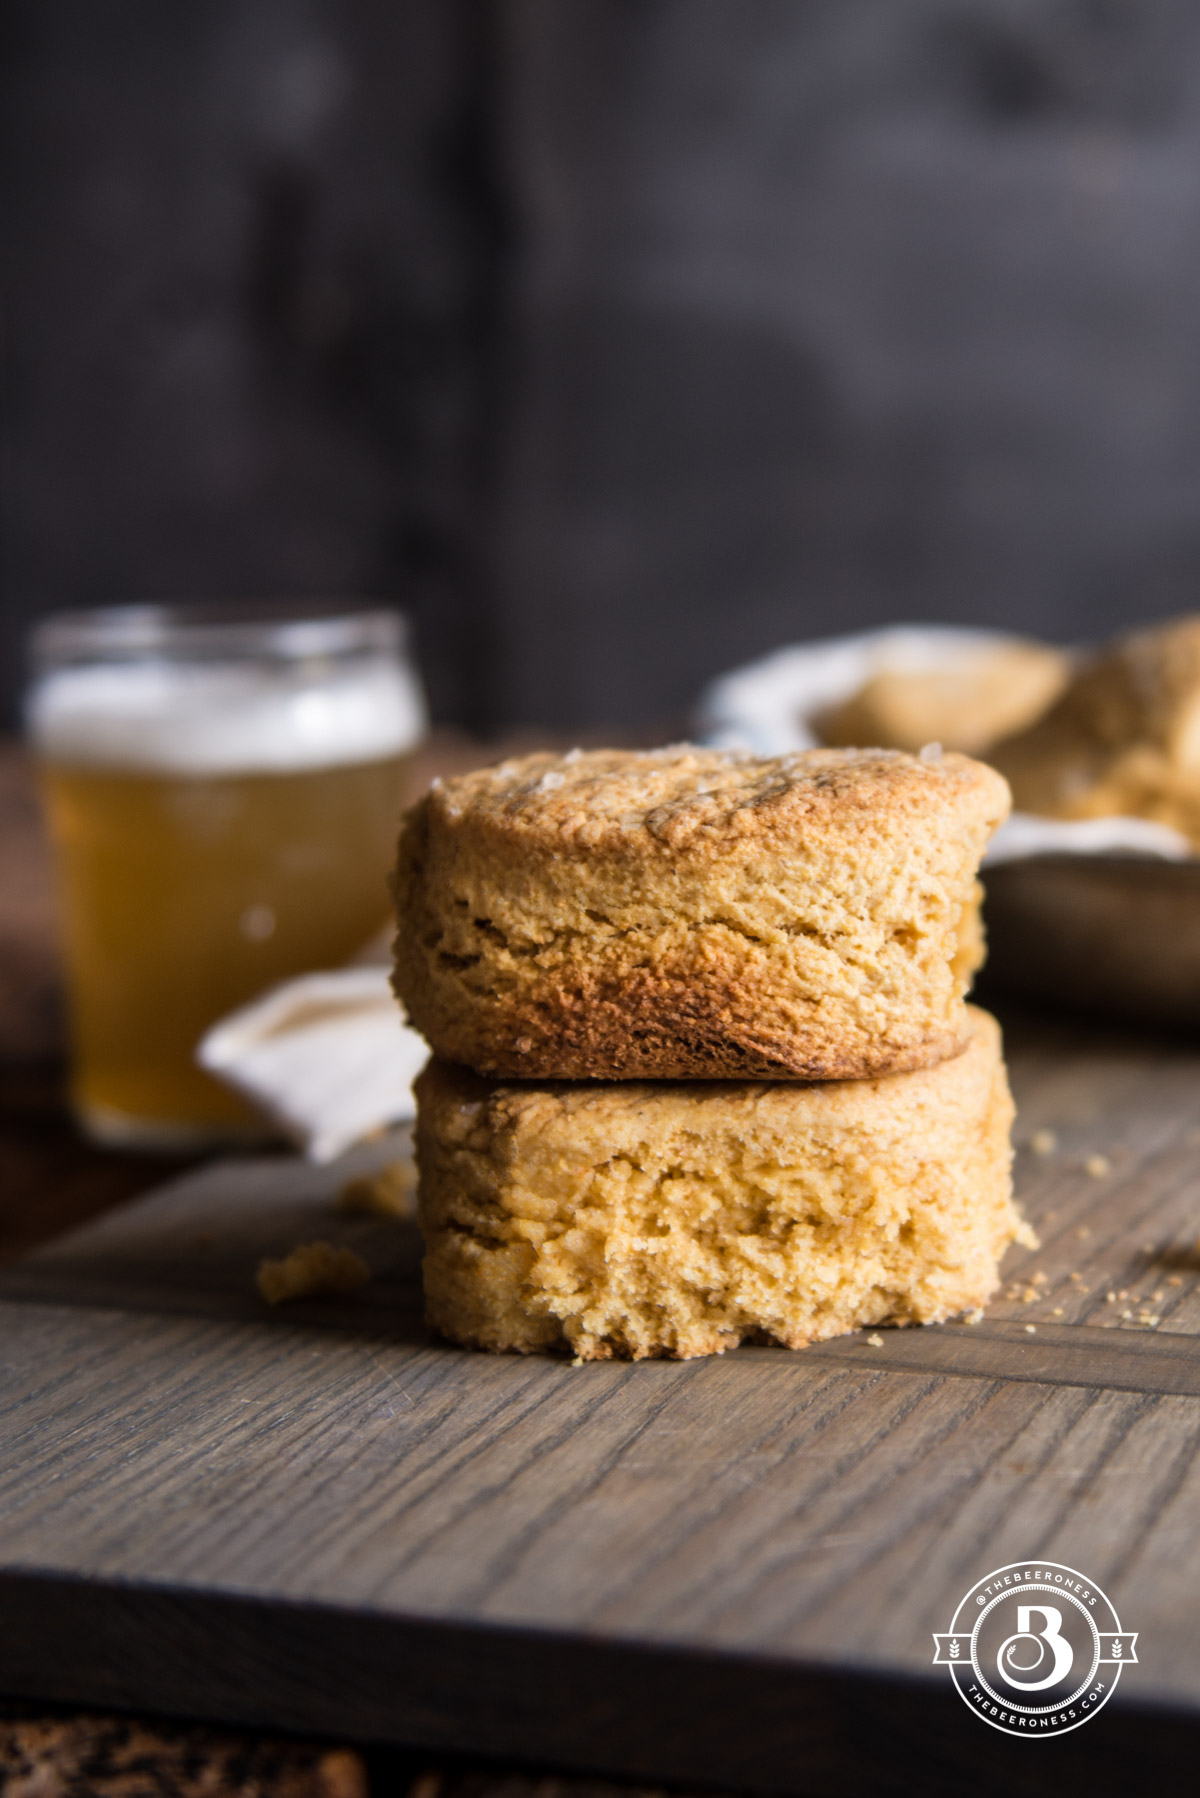
This hatched my Beer Cornbread Biscuits recipe, so tender and melt-in-your-mouth I obviously had to make them again, and then share it with you.
I also think I need to make them one more time, but add some cheddar cheese. And maybe some bacon.
10tablespoons142g cup butter cut into 1-inch pieces
2/3cup160 heavy cream
½cup116g beer (pale ale, pilsner, wheat beer)
1tablespoon14g melted butter
½teaspoonflaky sea salt
Instructions
Preheat oven to 425°F.
Add the flour, cornstarch, brown sugar, cornmeal, baking powder, baking soda and salt to a large bowl, stir to combine.
Add about half of the mixture to a food processor along with the butter, process until the butter is well combined with the dry mixture. Return the mixture to the mixing bowl, stir into the remaining dry ingredients.
Add the heavy cream and beer, mix with a fork until just combined.
Add to a lightly floured surface, press into a rectangle about 1 inch thick.
Cut into 6-8 circles with a biscuit cutter.
Add to a baking dish that has been sprayed with cooking spray.
Brush with melted butter, sprinkle with sea salt.
Bake until the tops are golden brown, 18-20 minutes.
Allow to cool before removing from the baking dish.
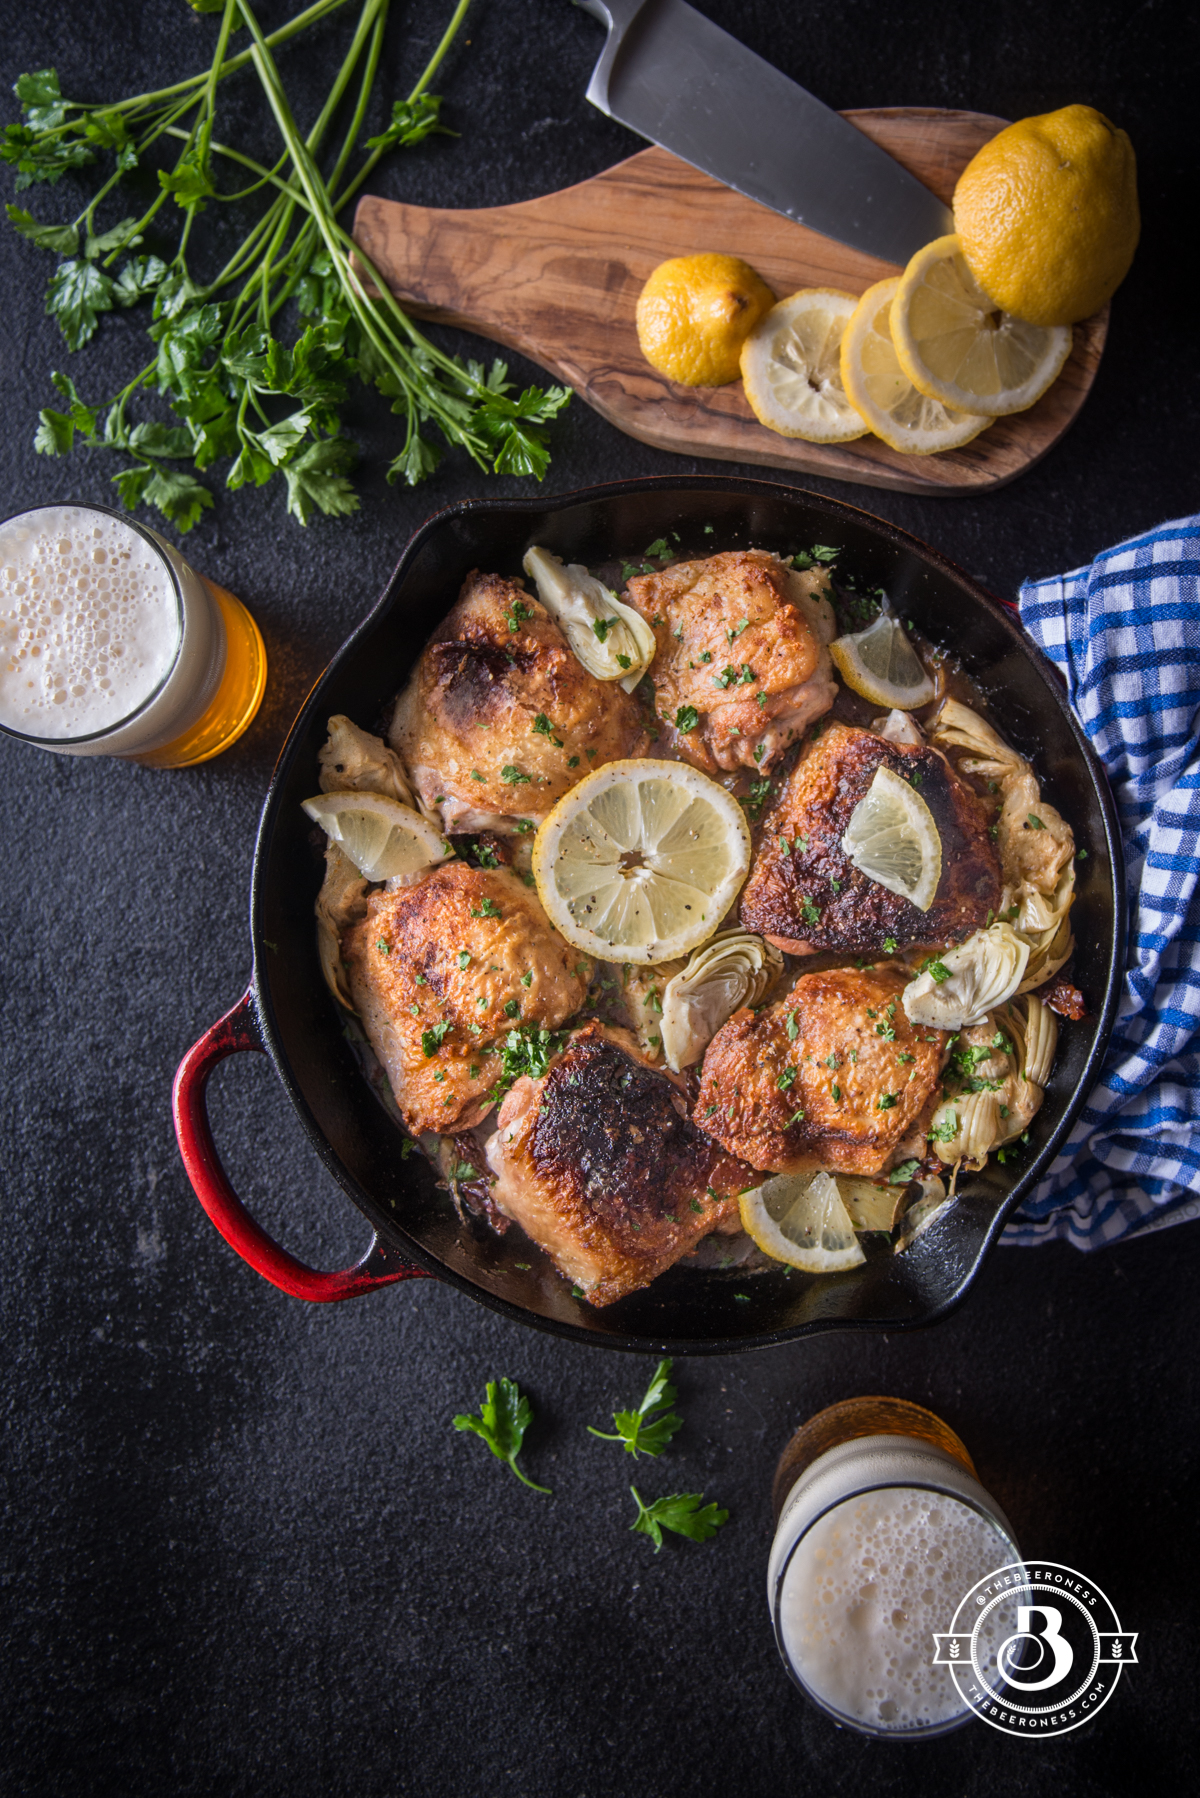
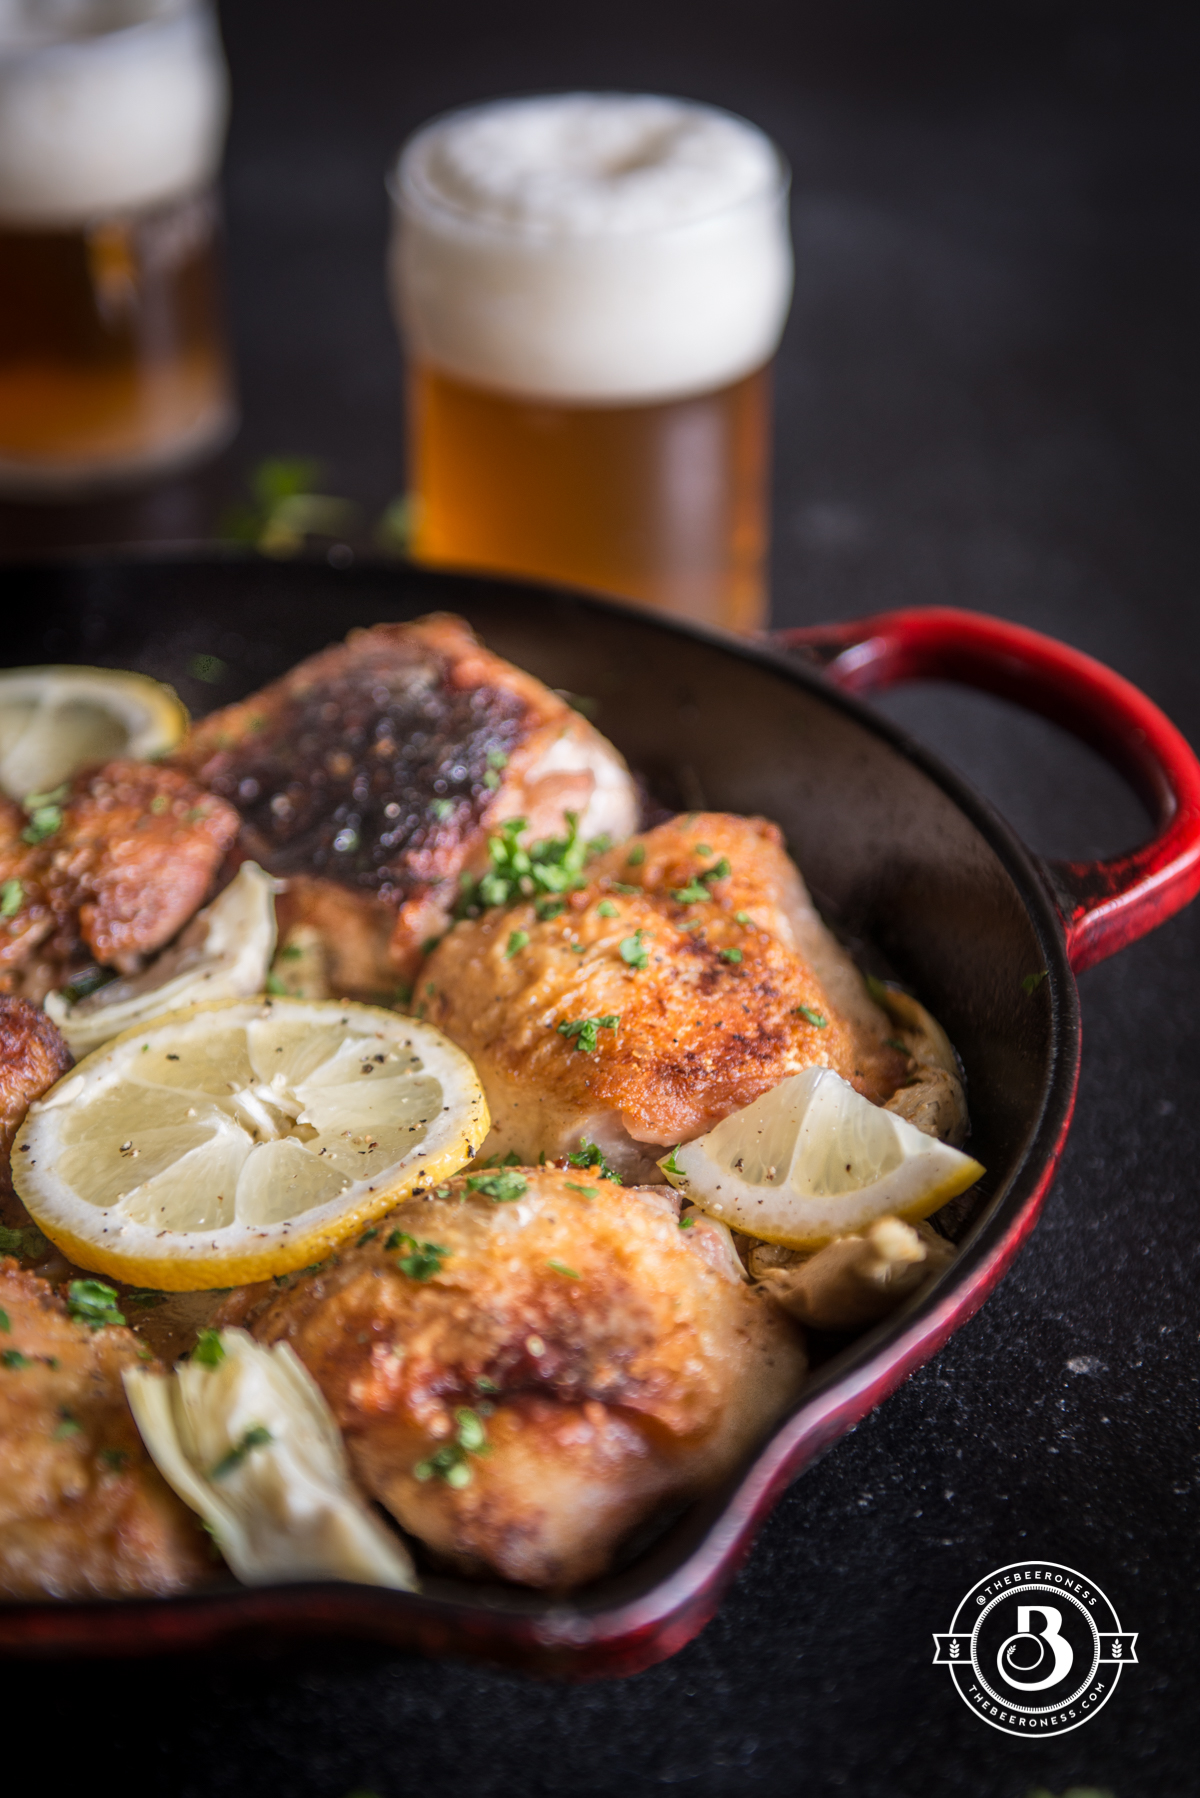
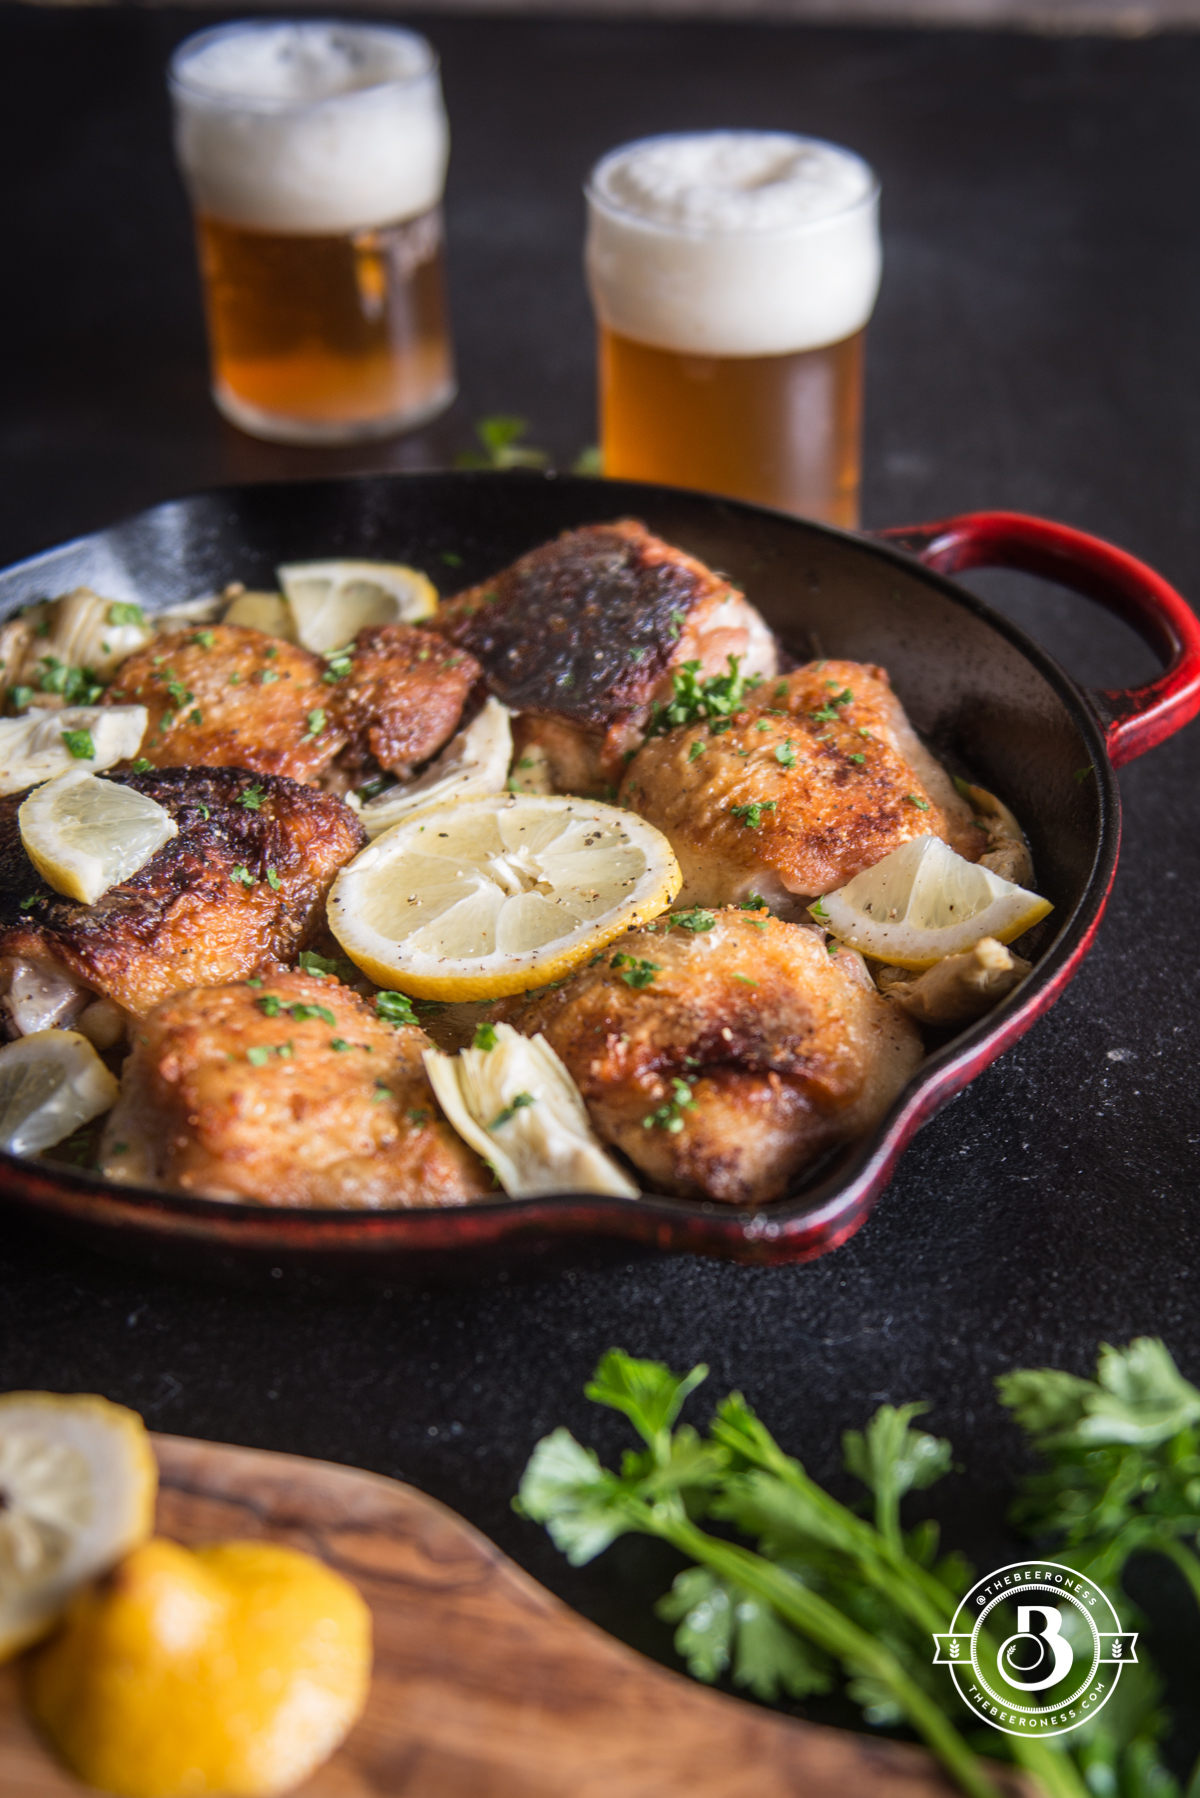
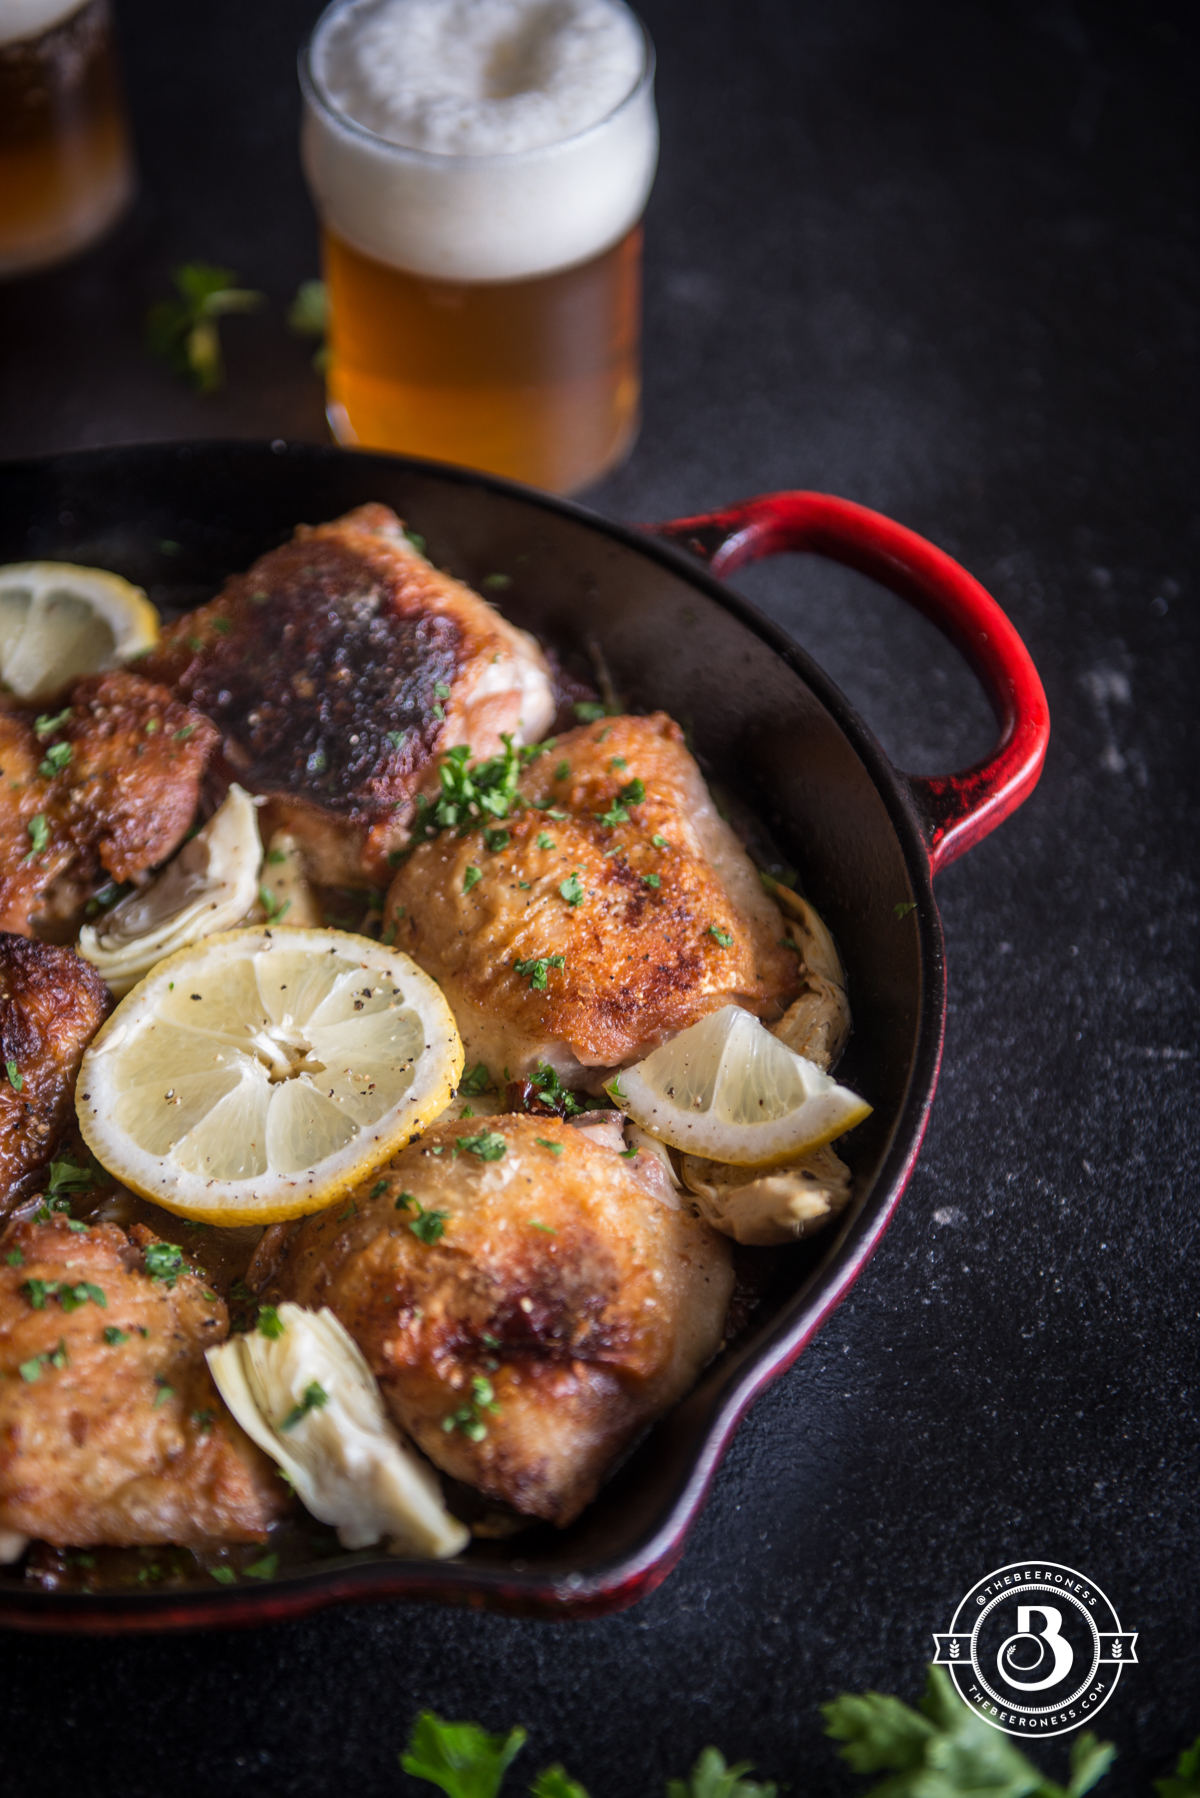
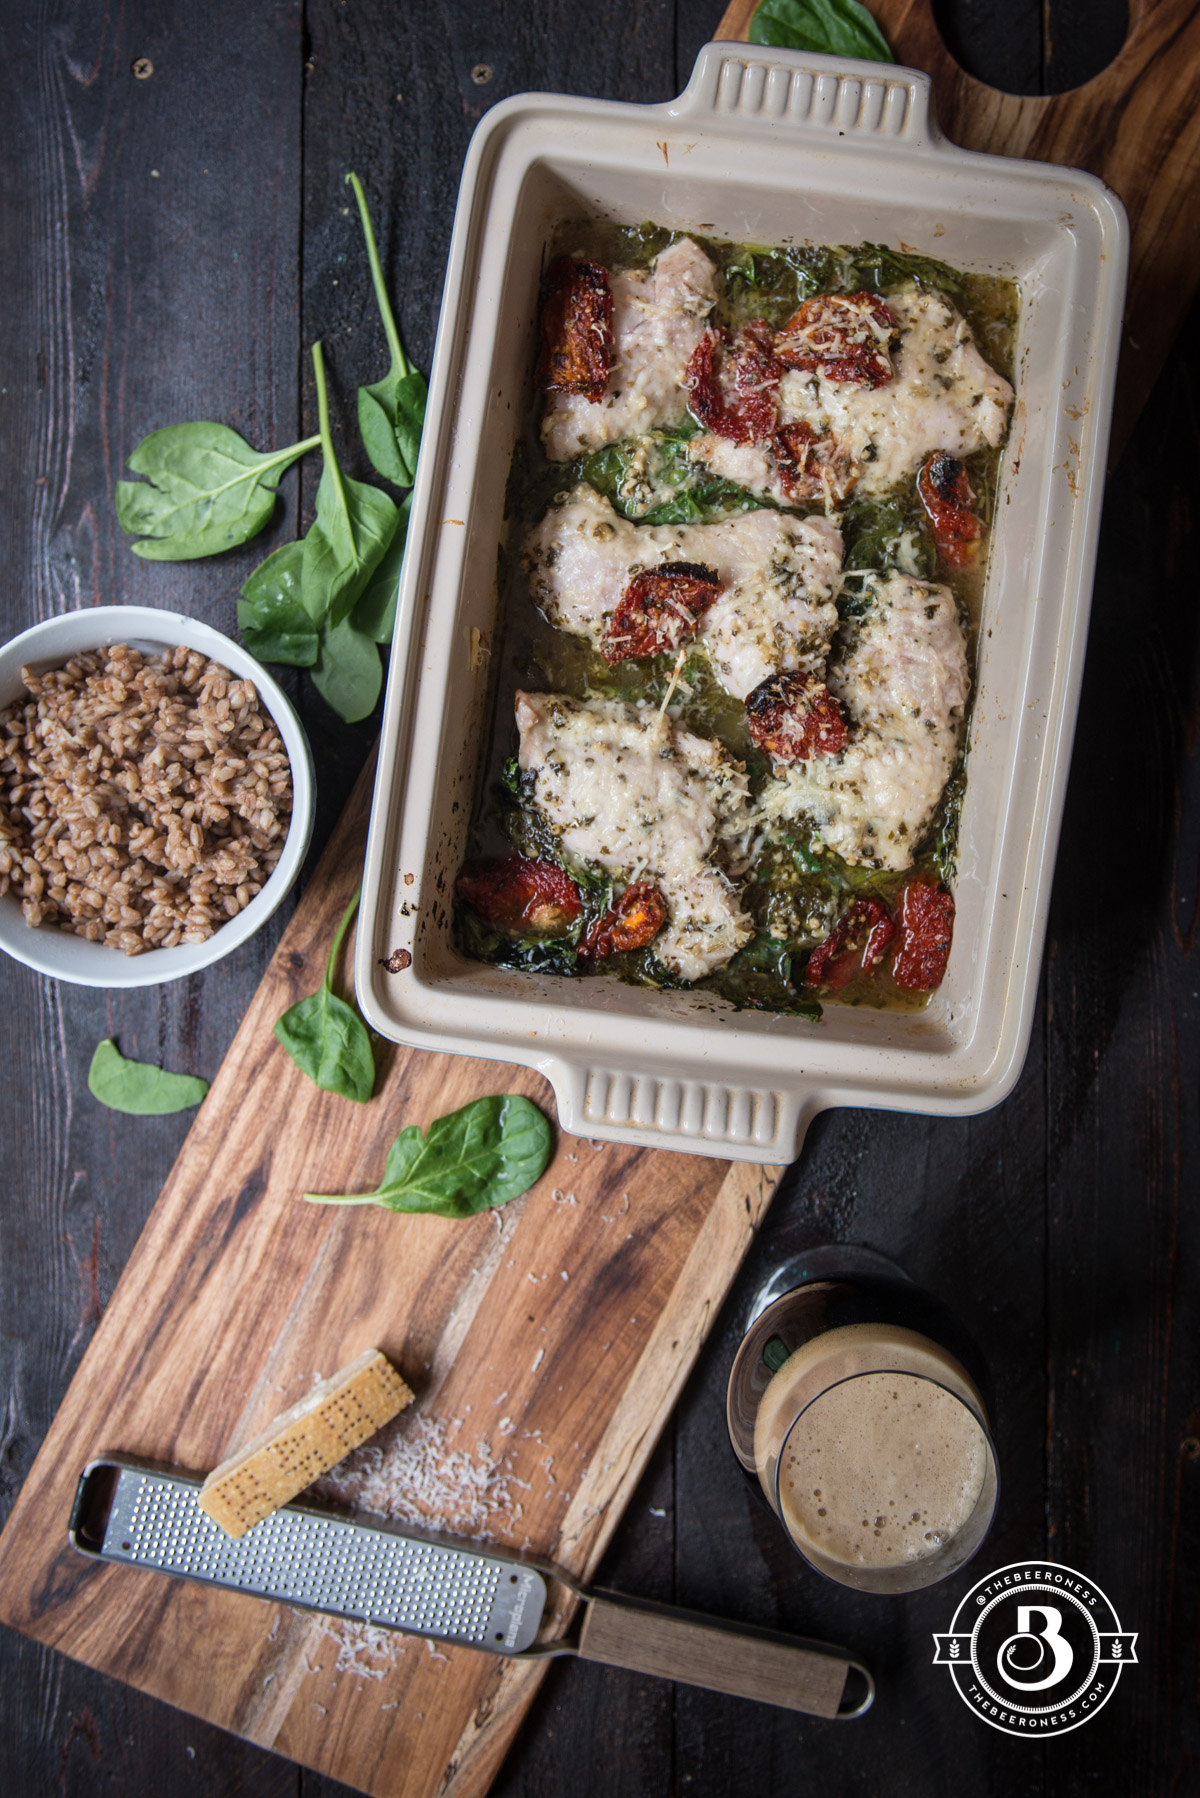
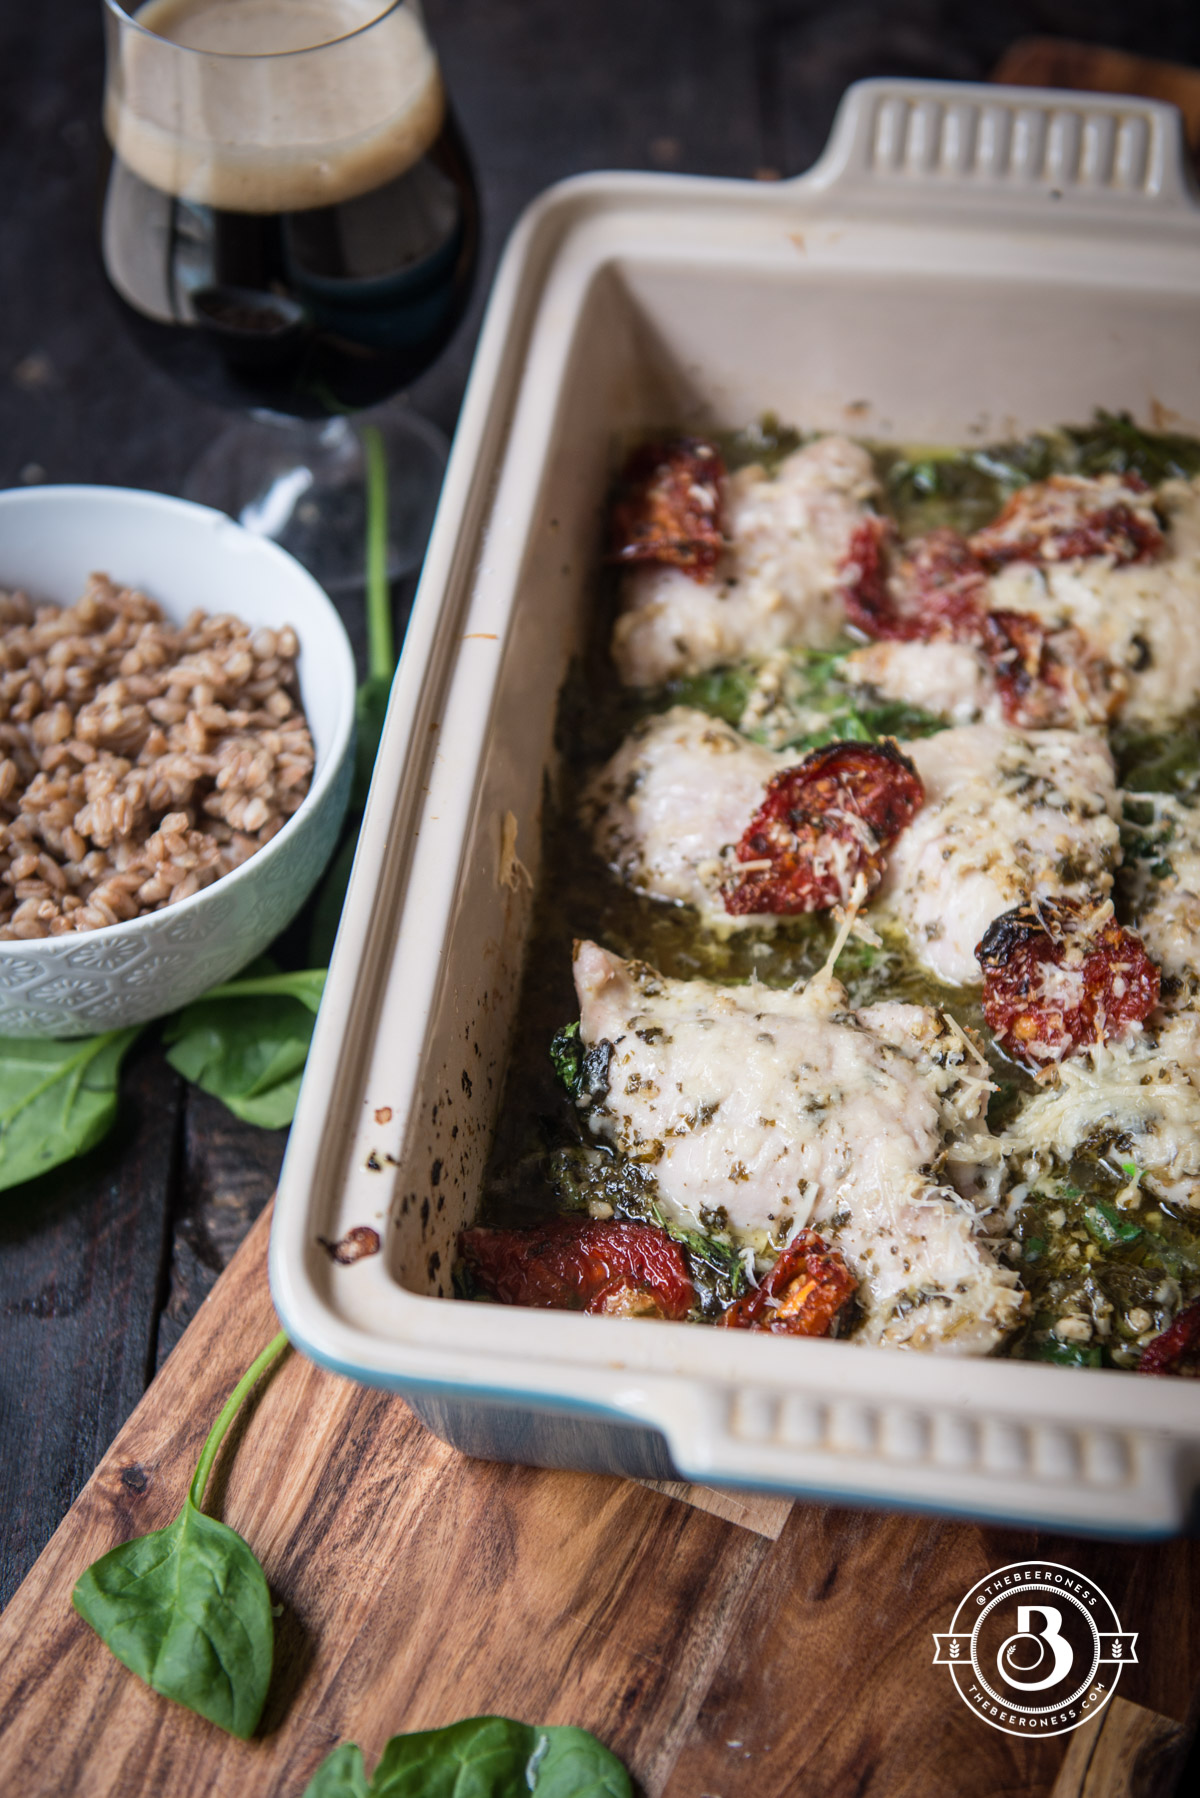
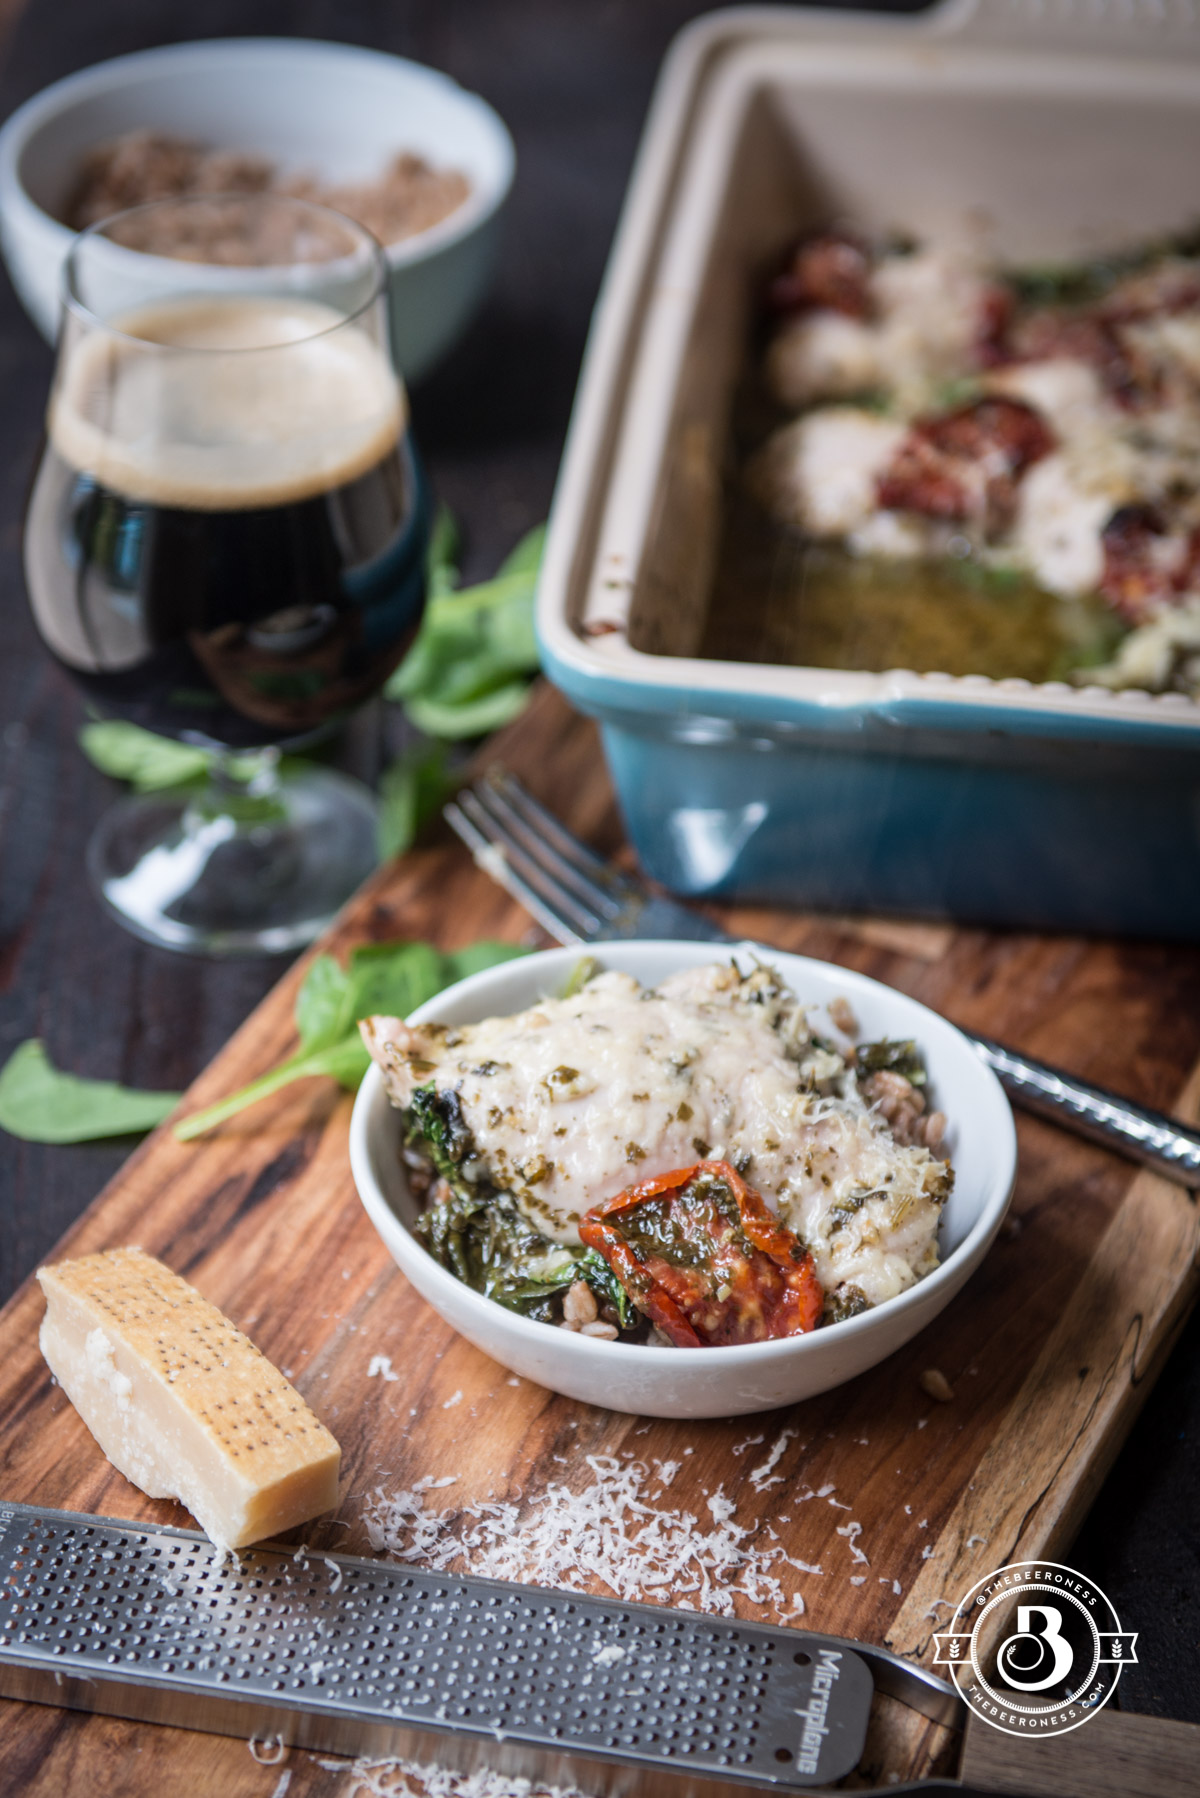
Lazy Chicken: Dump, Bake, Done. A super delicious meal with just 5 minutes of active time.
We all need this right now, don’t we? Something easy and uncomplicated to pair with the rest of our messy complicated lives. I’ve been making some version of this for a while, some version of baked-chicken-with-stuff-on-it when the weather shifts and the darkness of the day make it harder for me to dig creativity out of my brain.
I don’t do much measuring when I’m just making it for my own consumption (for you, I meticulously weigh and measure to make sure I give it to you the way it’s intended). Sometimes I just add what I have, sometimes I throw some rice or farro in the bottom and hope it cooks enough to eat.
This one I like. I like the sauce, I like the garlicky pesto, I like the way the broiler browns the cheese just a little bit. I hope you like it too and I hope it makes things just a little less complicated for you this week.
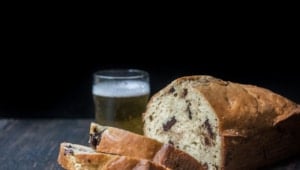
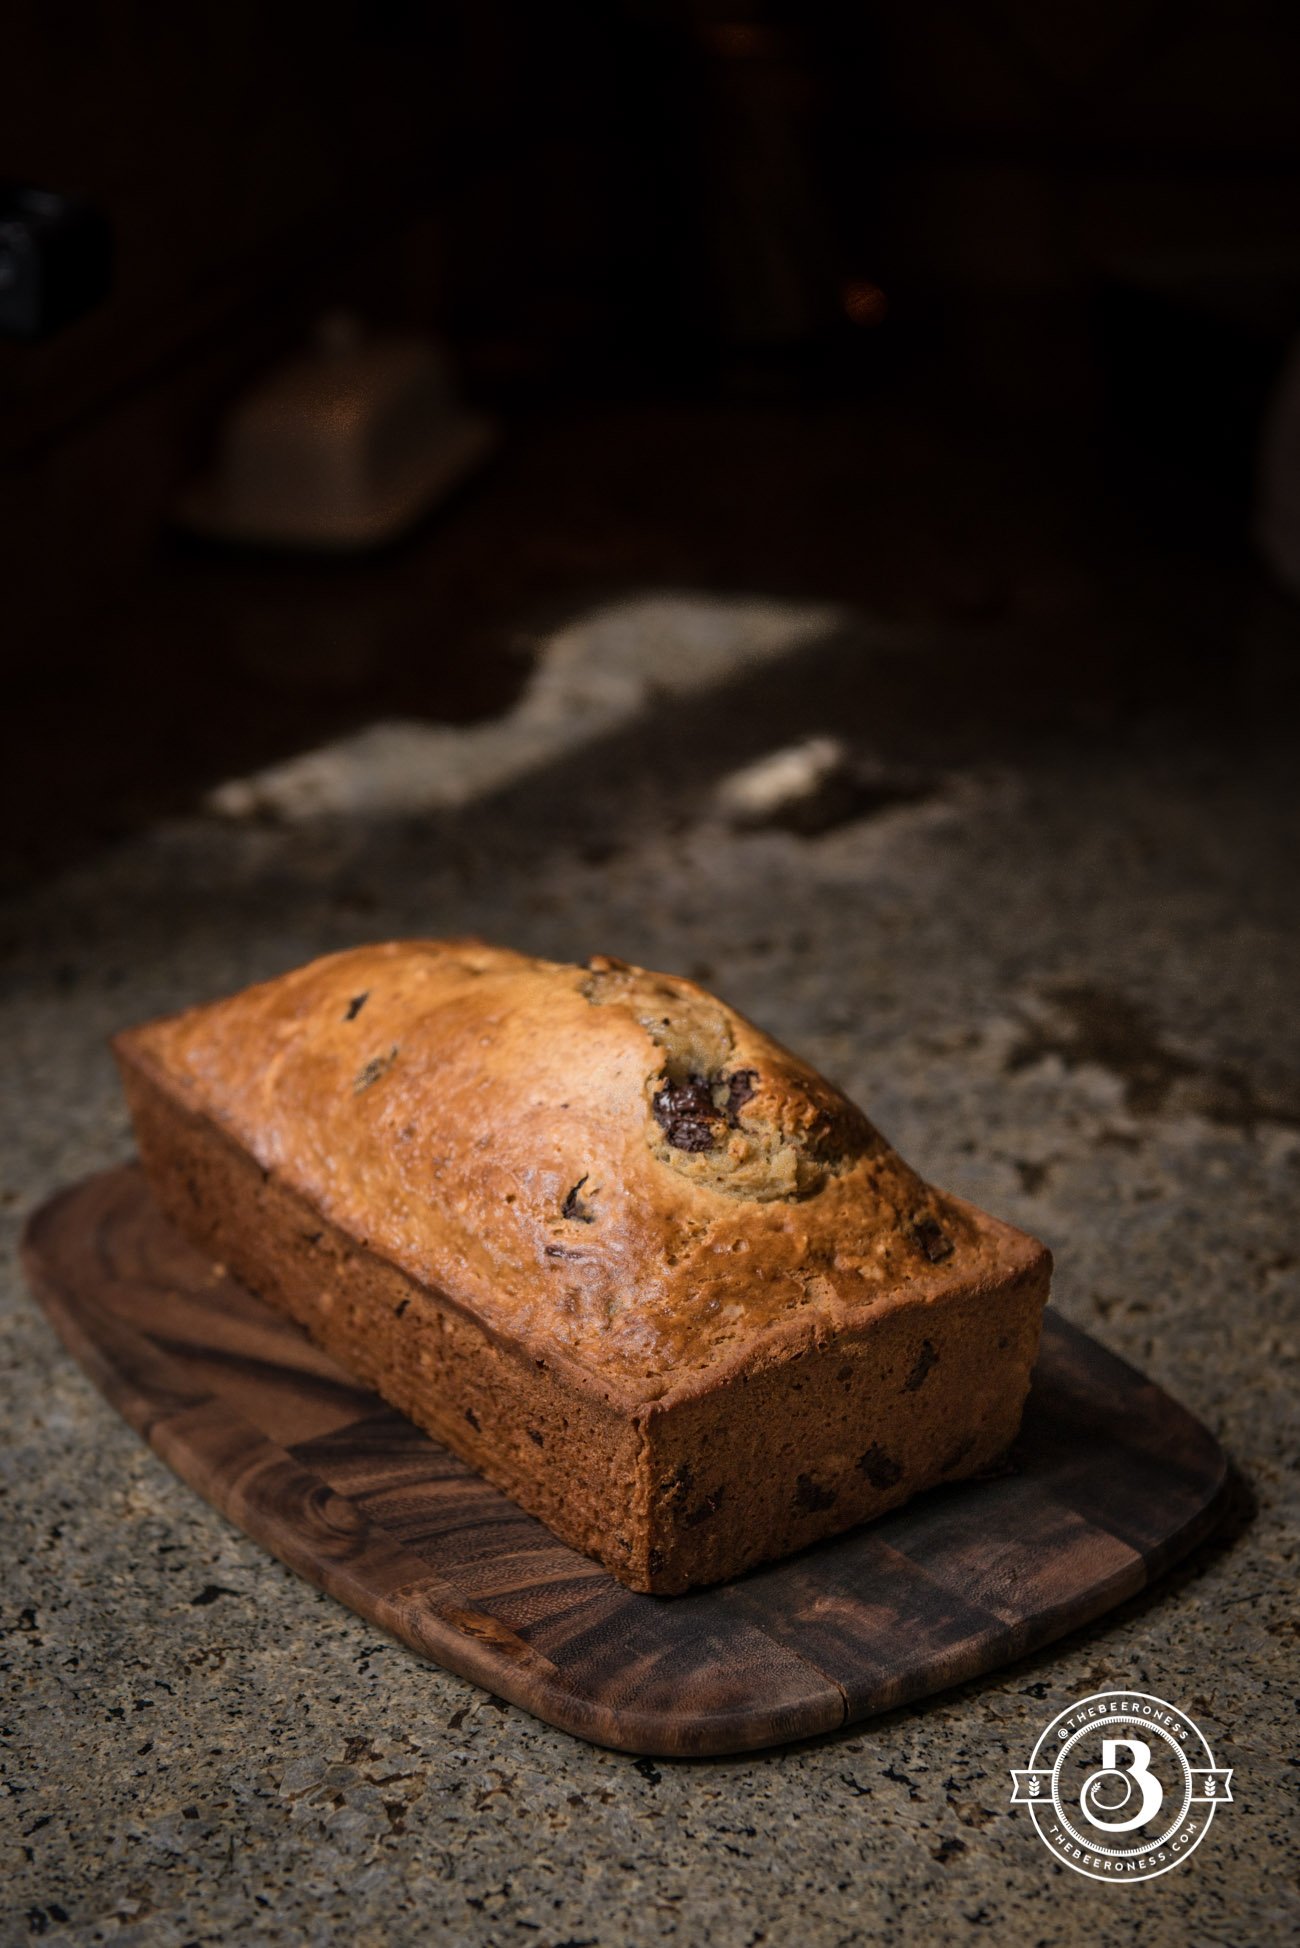
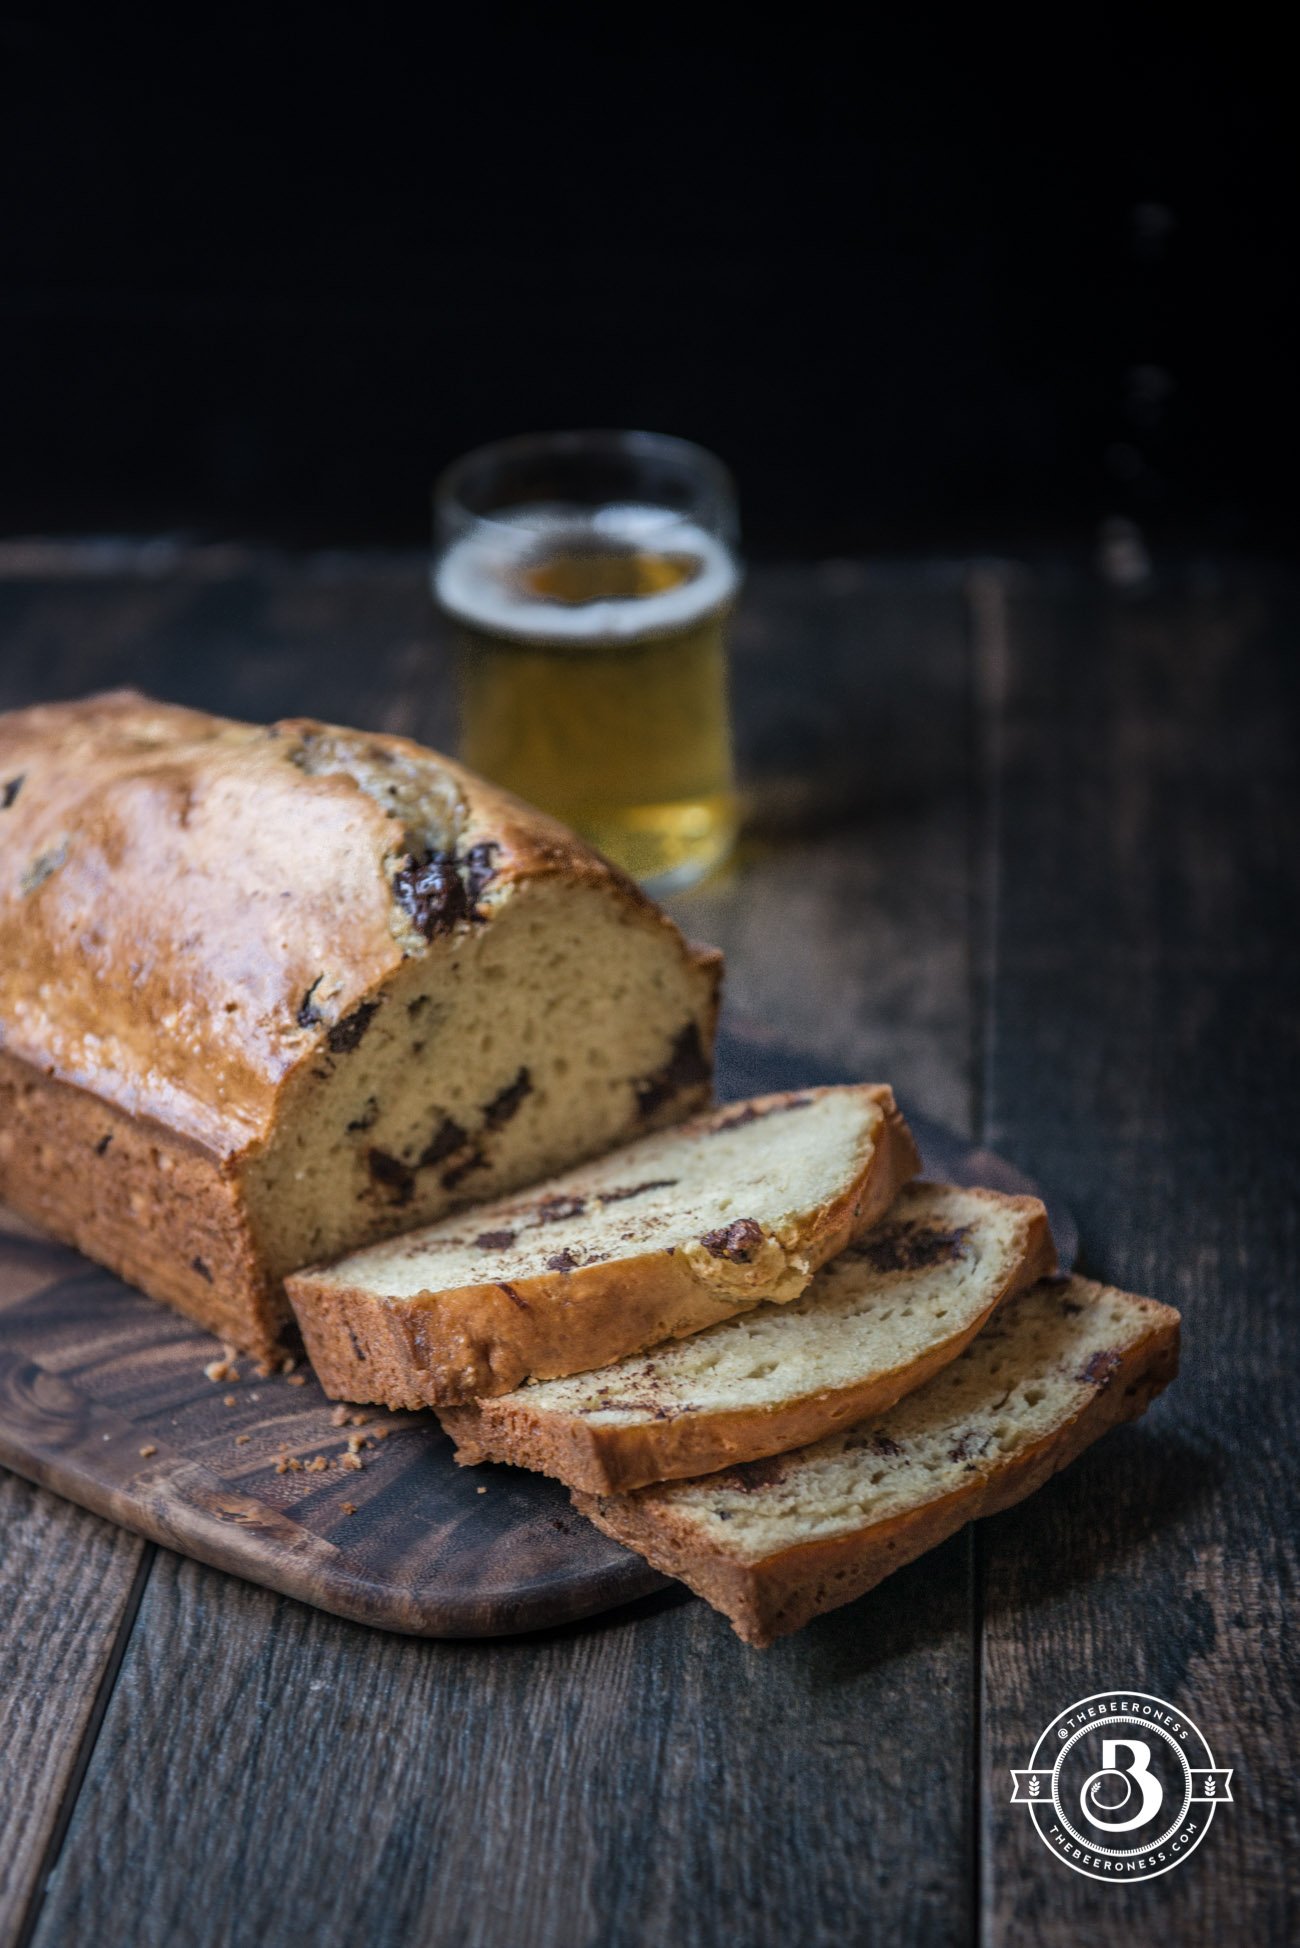
One Bowl Chocolate Chip Beer Bread, in your oven in five minutes, in your face in one hour!
Fall baking isn’t as much about the food as it is about the fact that we can turn the oven on again. Just days ago, it seems, we were all googling "no-cook dinners" and hoping the triple-digit heat would pass soon.
Then, as if overnight, the weather calmed, we awoke to rain on a garden that still held the last gasps of summer produce, and we’re again free to wear sweaters and pull on the wellies.
Let us bake again, slow down for a second as out lives orient to the pulse of this part of the year. Just slow down, take a day away from the obligation we force on ourselves and just be.
Just a reminder that the world will still be there when you rejoin, that it’ll be fine without you for a bit, and making something just because you want to has a way of healing the chips that the daily grind works into your soul.
A day in the kitchen, an audiobook and the smell of things baking in the oven has a way of calming a storm inside us, bringing calmer waters and even has the added bonus of warm baked goods to give as a peace offering to those in our lives that love us even when we’re difficult.
It’s really time for me to stop pretending as if my tomatoes will redden before the first frost. Every morning, trudging out my back door in flip flops with a still sleep-fogged brain, I hope to find one or two showing a shade of ripening, and it’s just not happening.
There are tricks, I know. I’ve read about bringing them inside, or wrapping them in newsprint, or boxing them up with (gag) ripe bananas. But I can’t wait. I want to use them now.
I’m impatient like a child sometimes, and the tomatoes are gorgeous even in their grassy hue, and I want to pick them. I wanted to give you a green tomato recipe. So I did. Sure, I thought about fried green tomatoes, but I know you won’t actually make those right now. It’s September, you’re busy, you have so much going on right now, you really don’t want to babysit a slab of battered tomato as it splatters hot oil on your arms. Me either. Not this month.
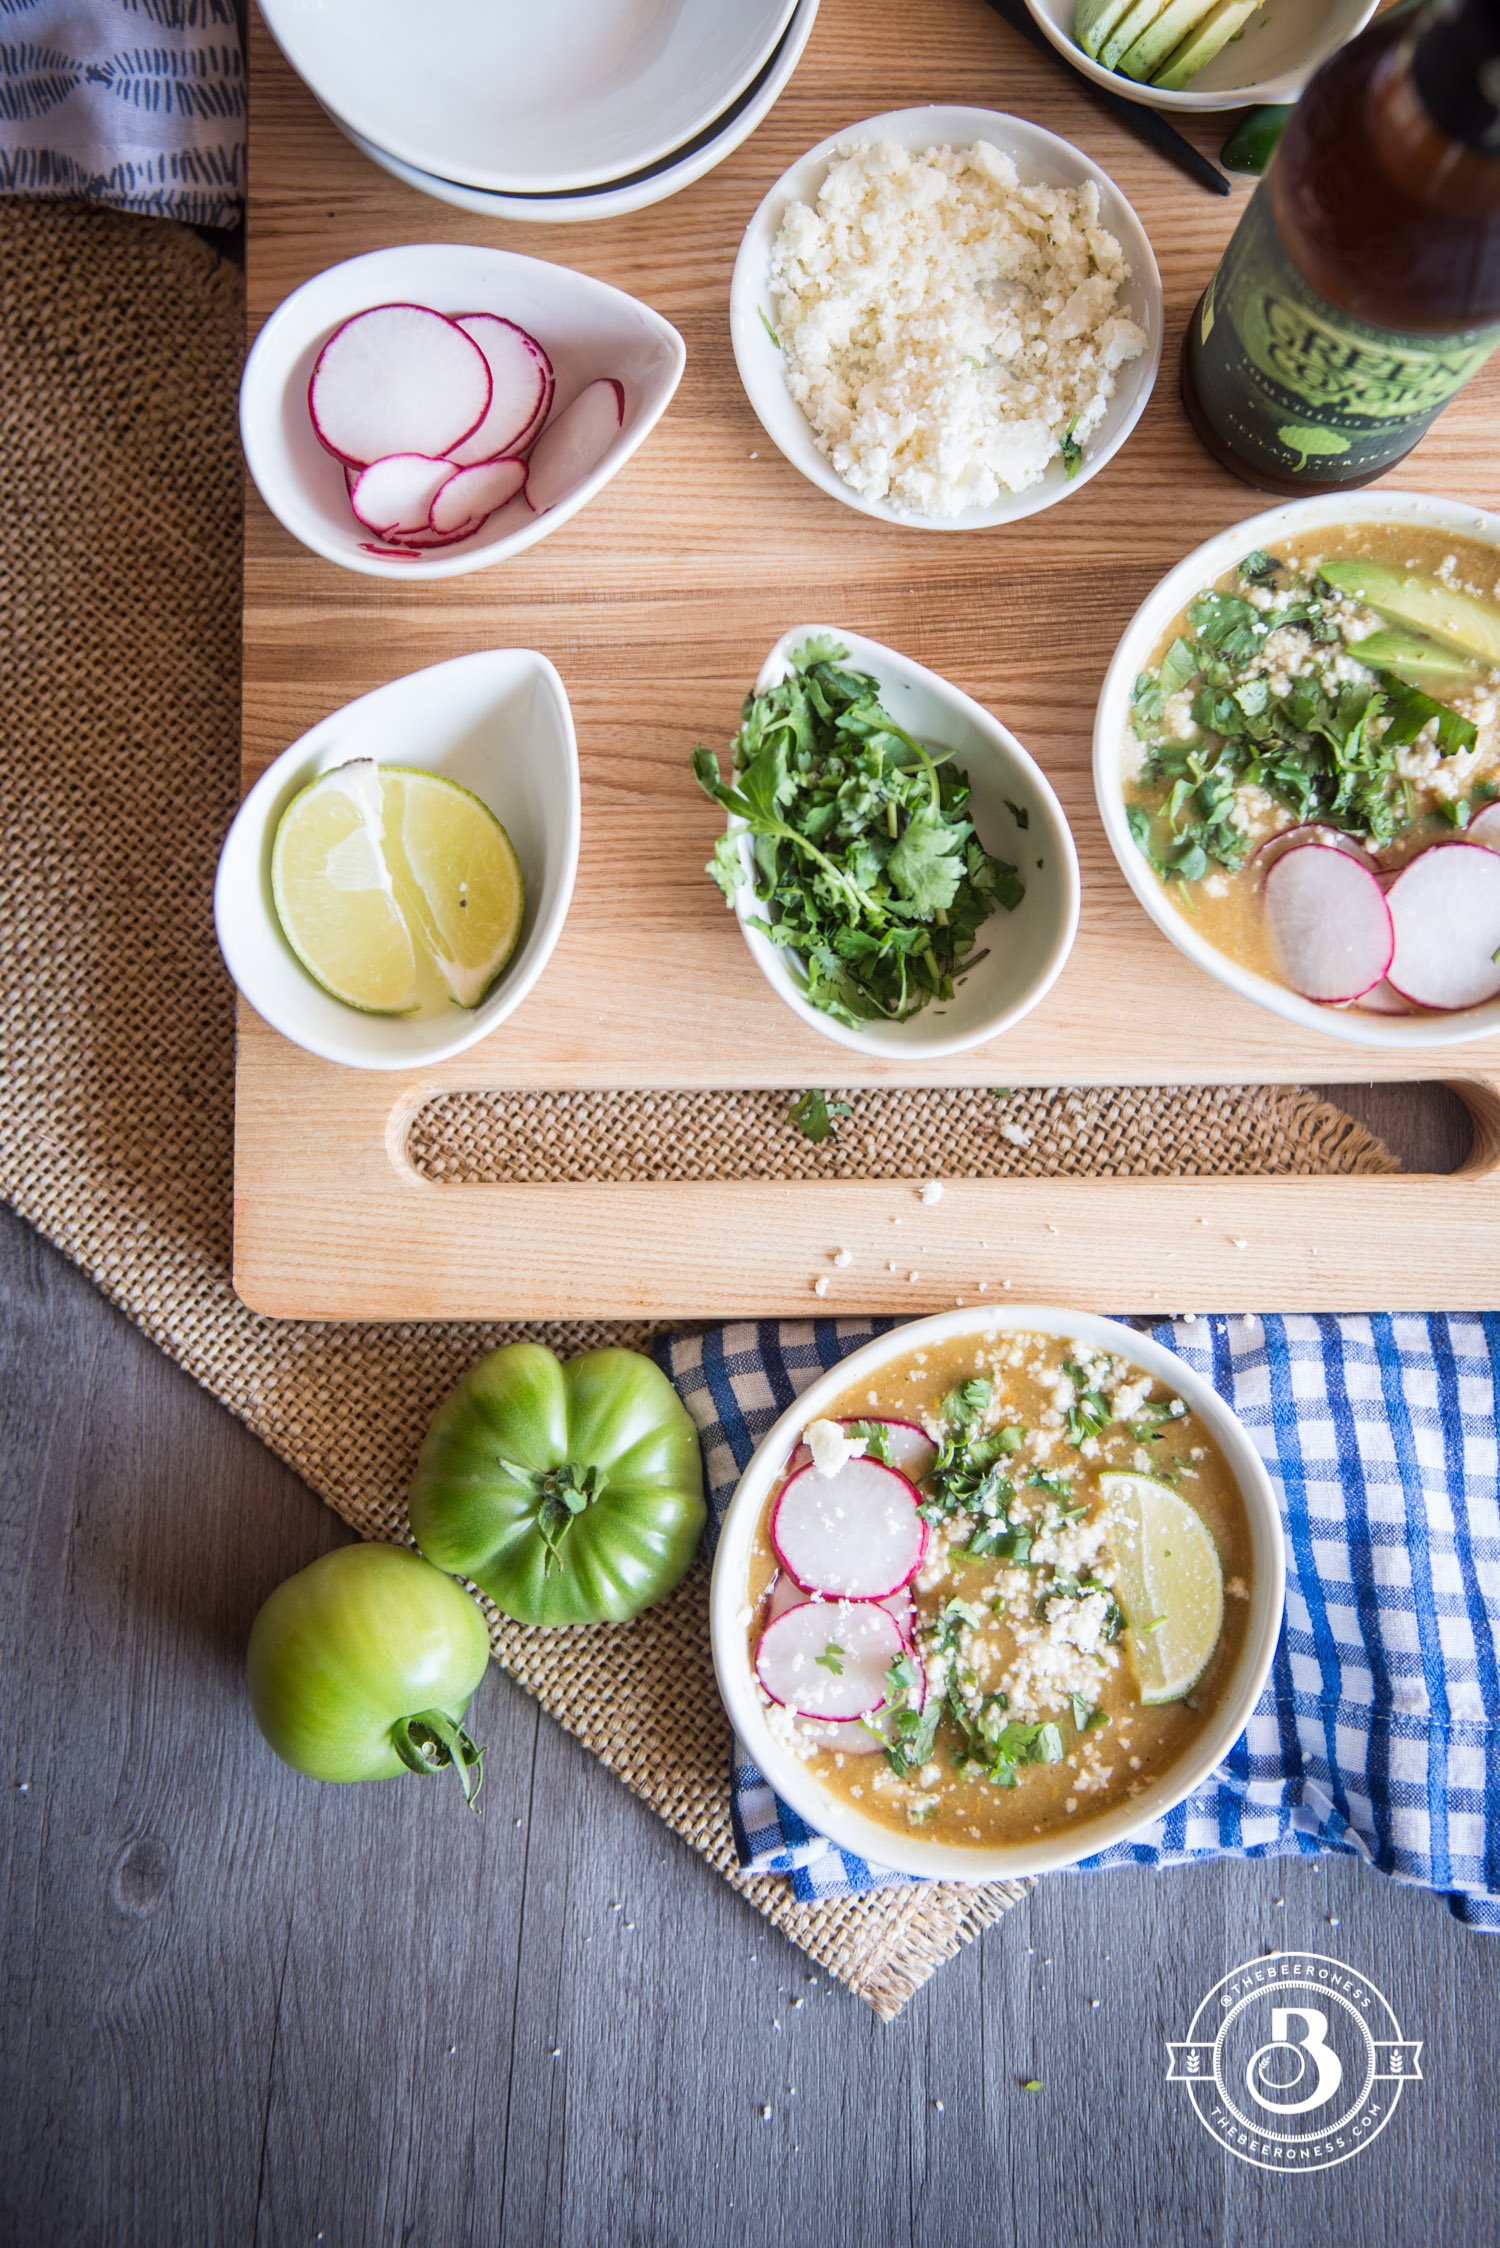
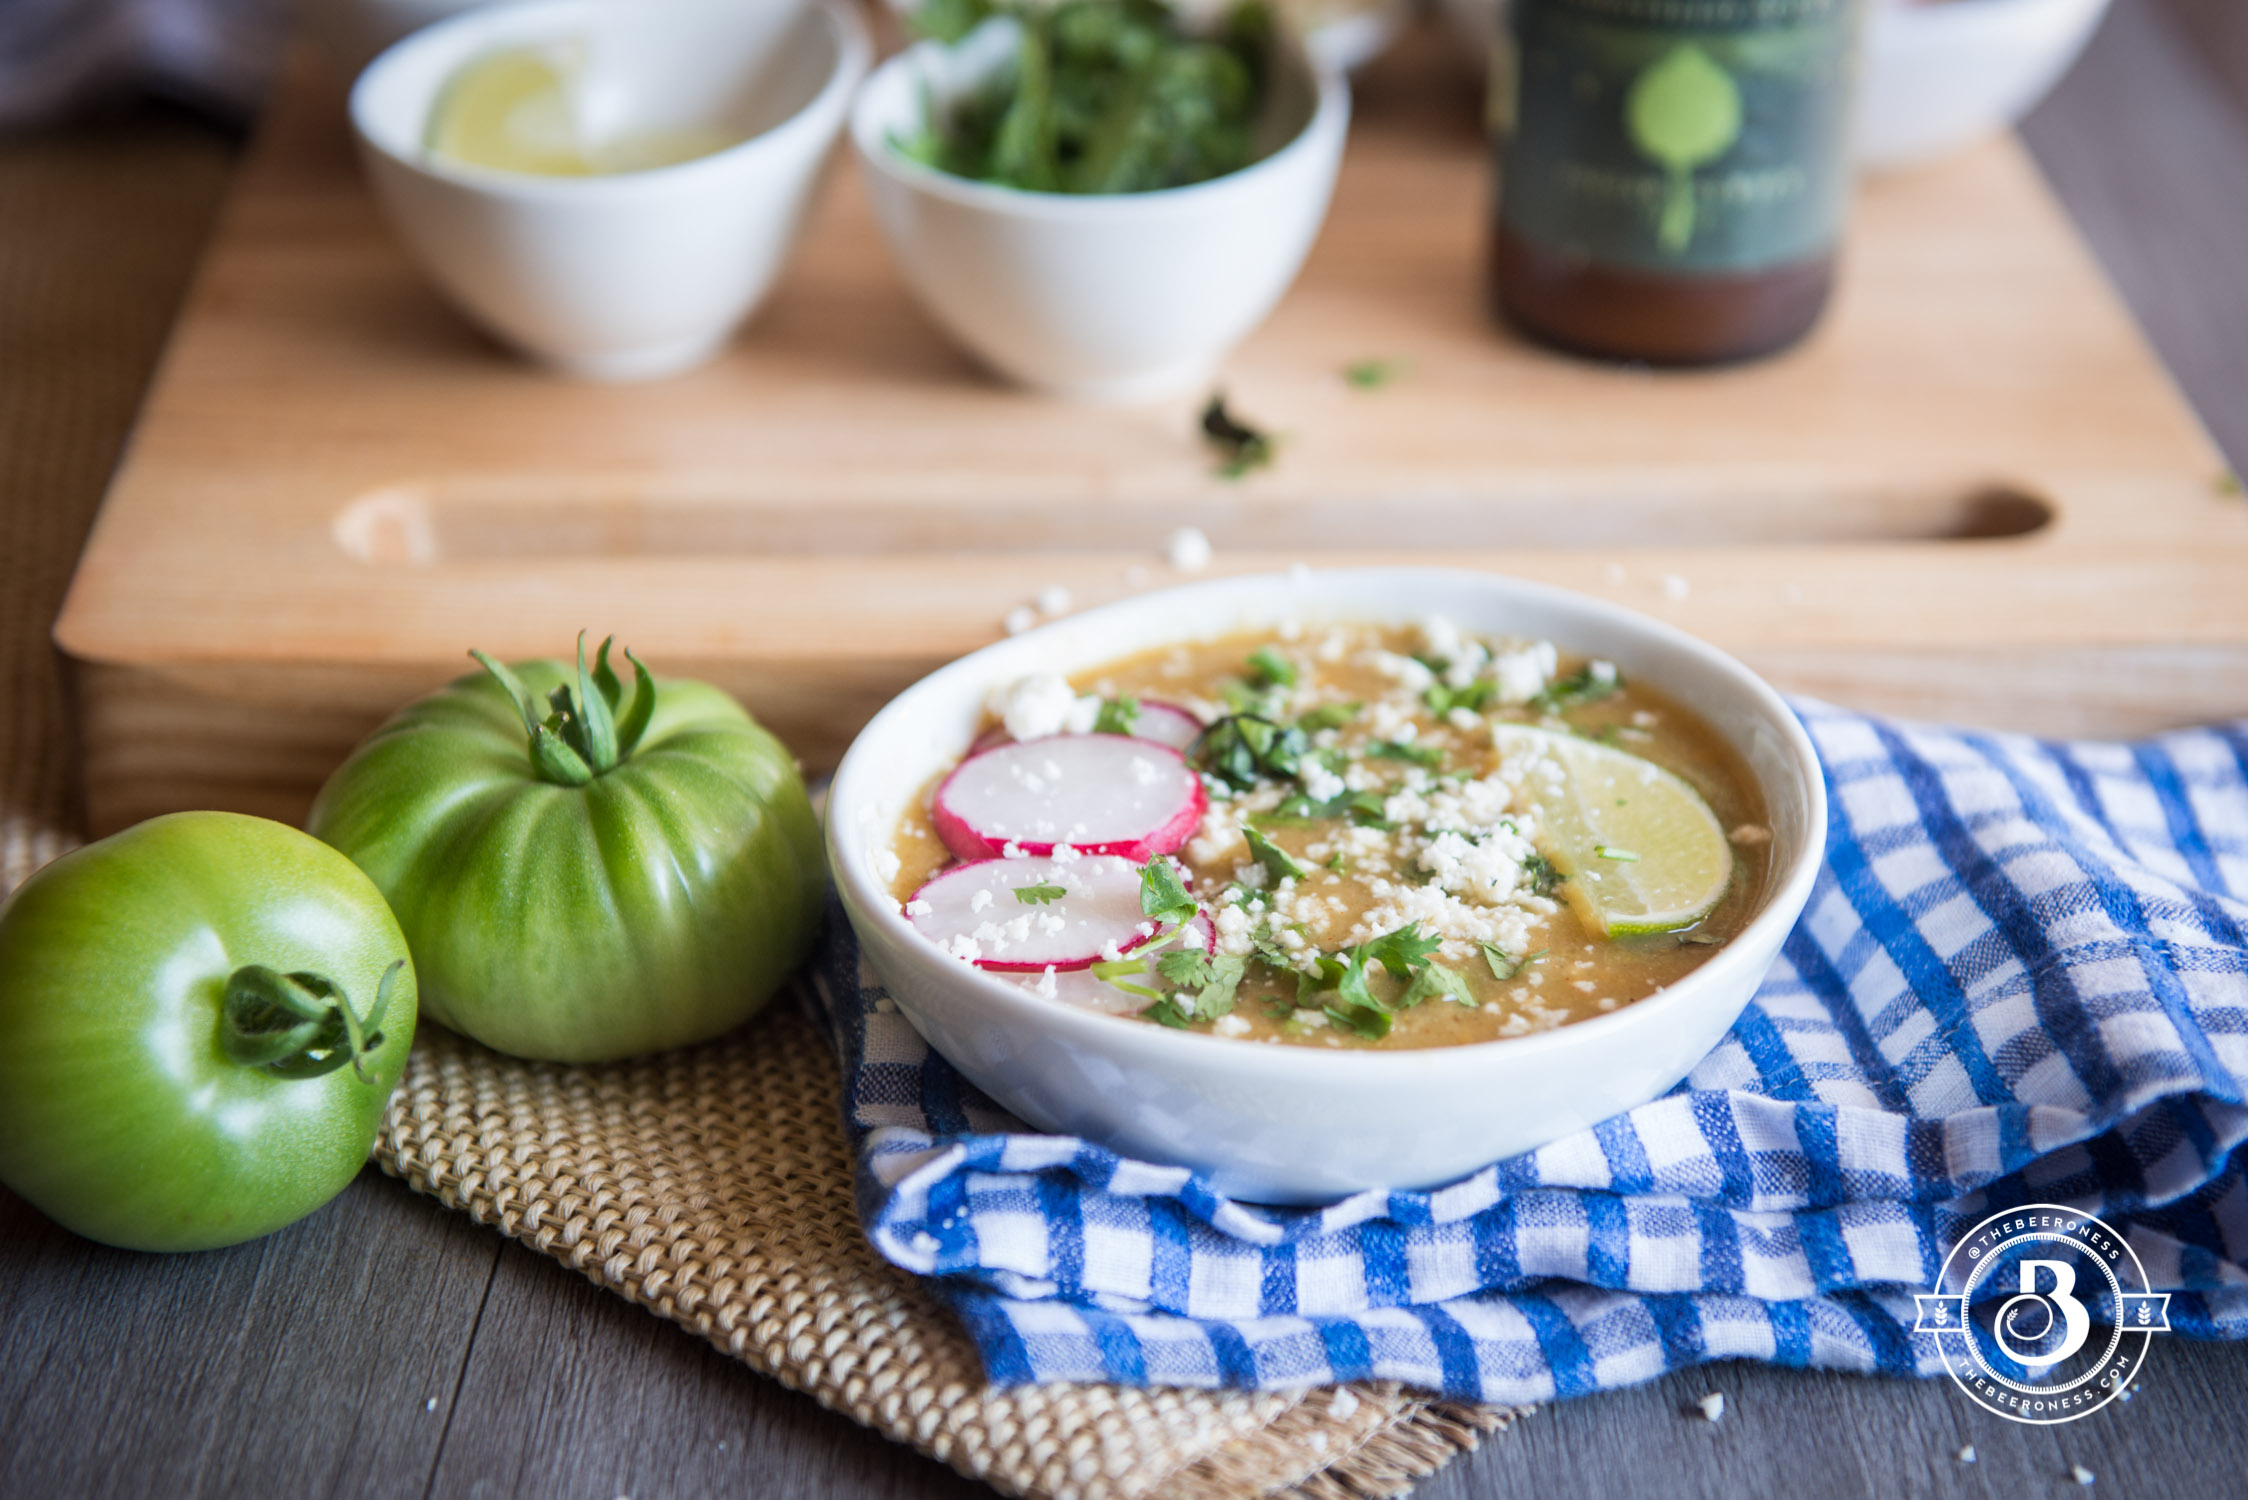
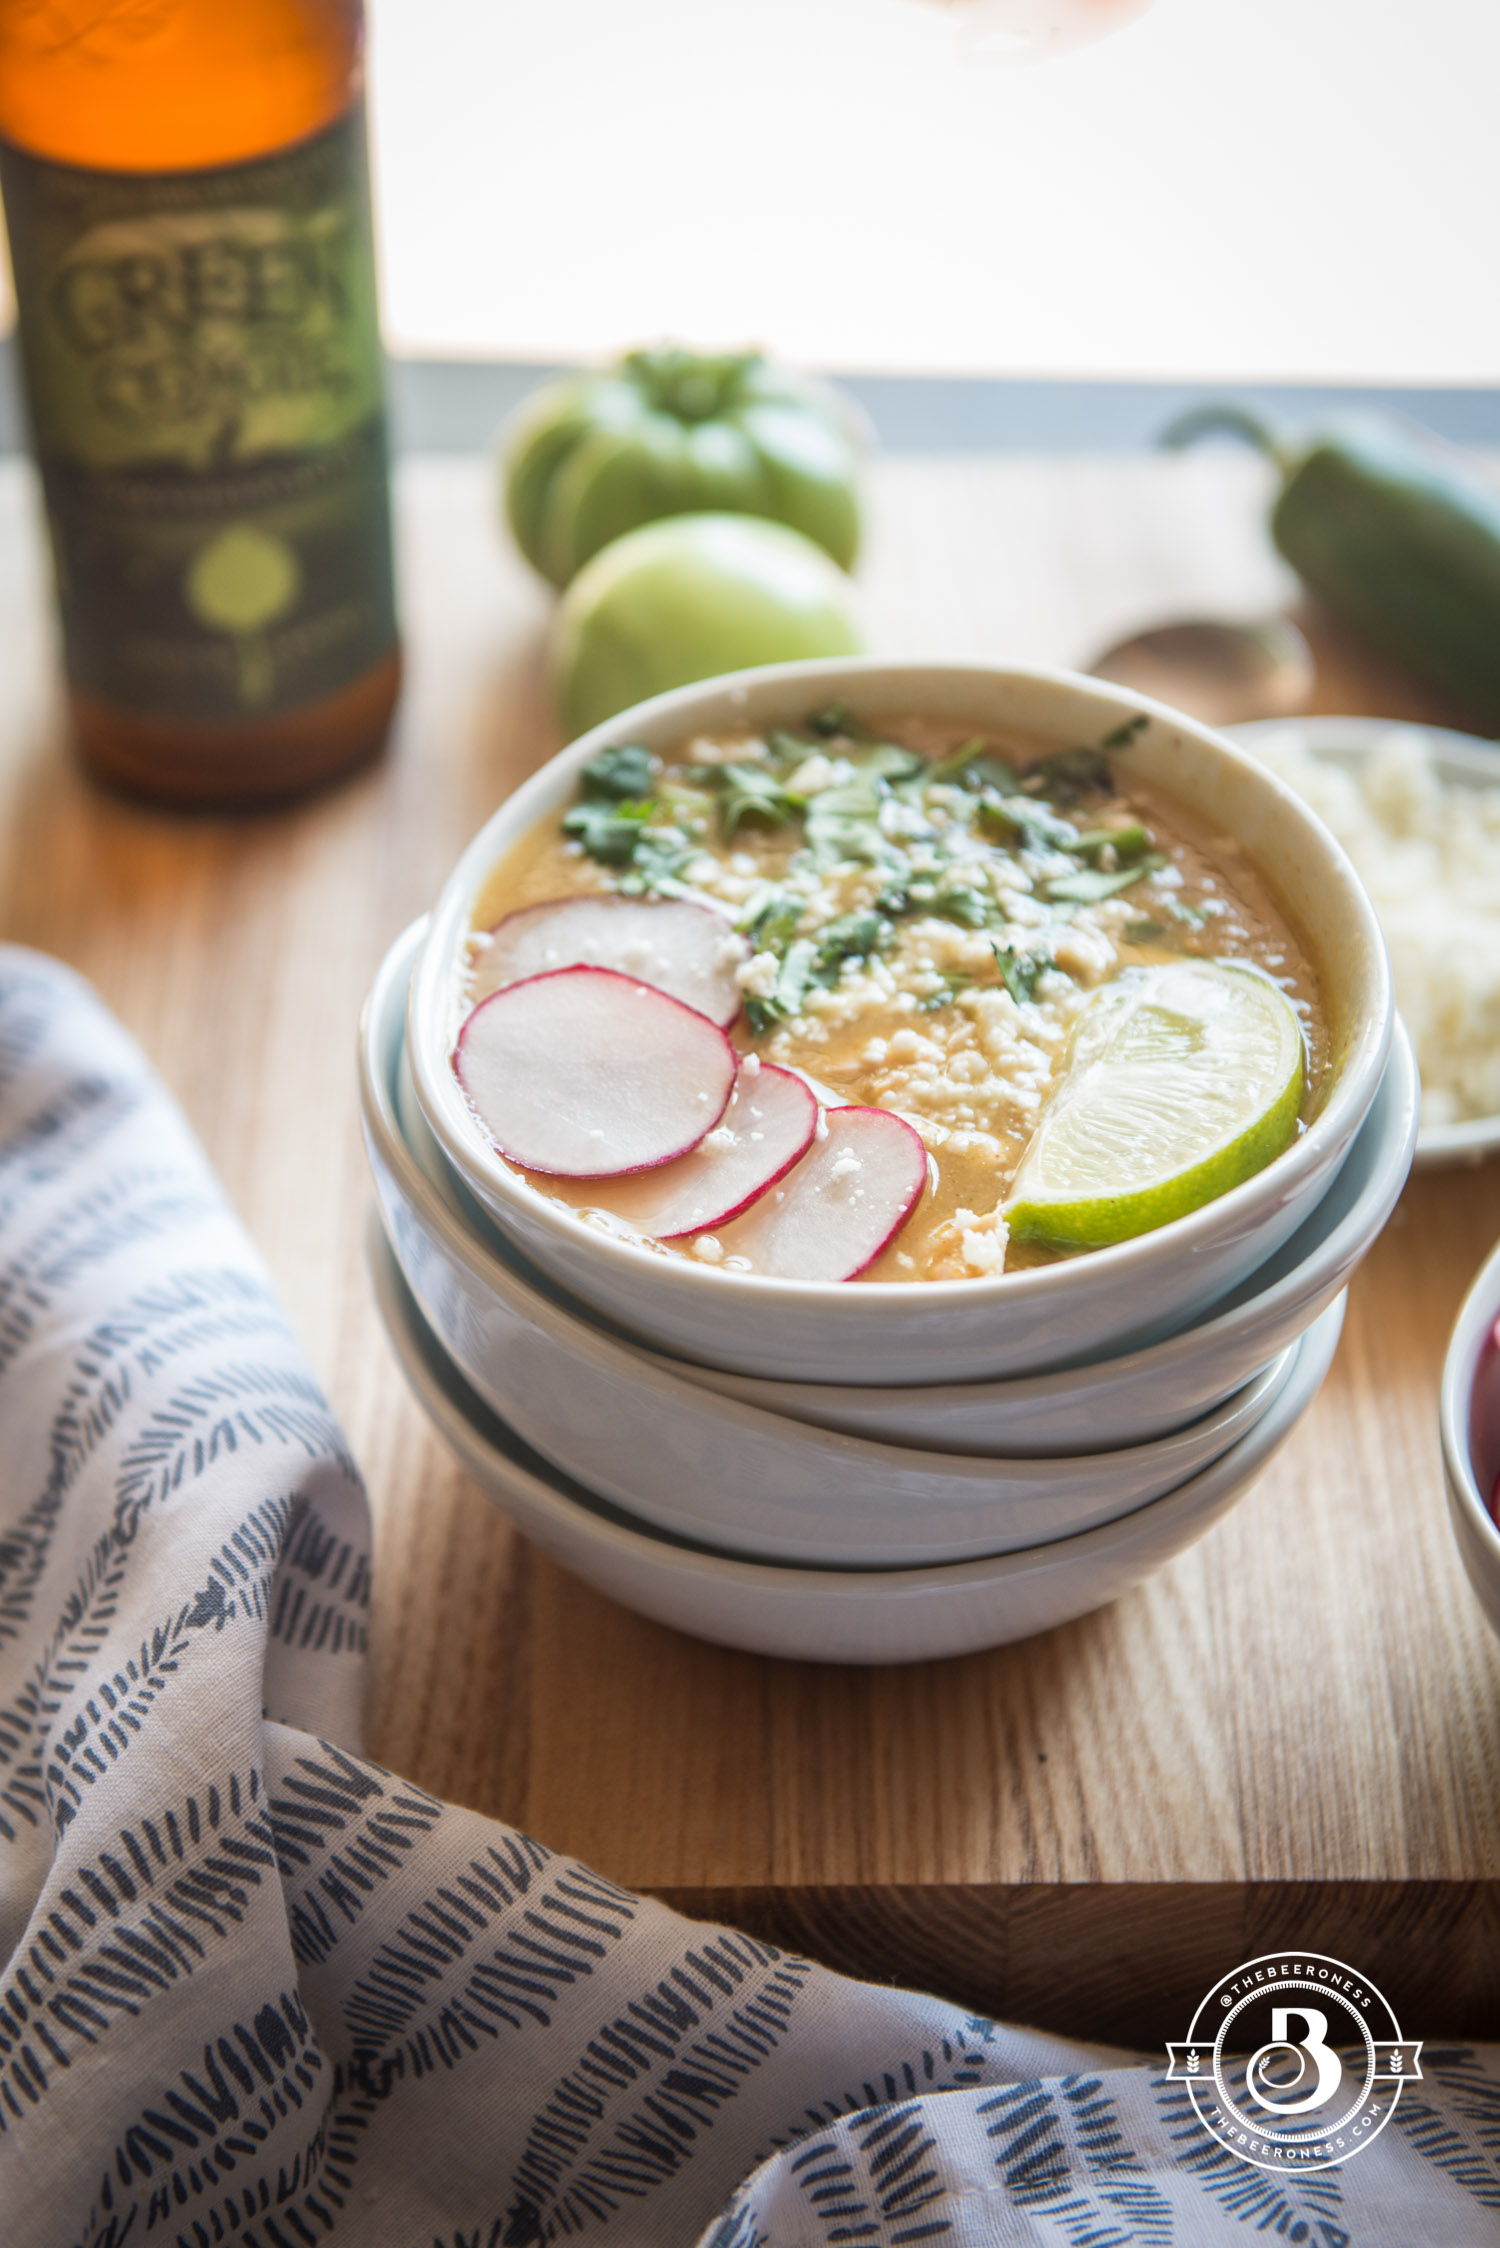
But soup, soup I’ll make. I think you will too. It’s the perfect month for Posole. All of the garden ingredients that you need for this spicy pot of goodness are still in season, but the weather isn’t nearly as hot as it was a few weeks ago. It still tastes like summer but it feels like fall.
Really, it’s my way to give those green tomatoes a purpose before the fall claims them and I miss out.
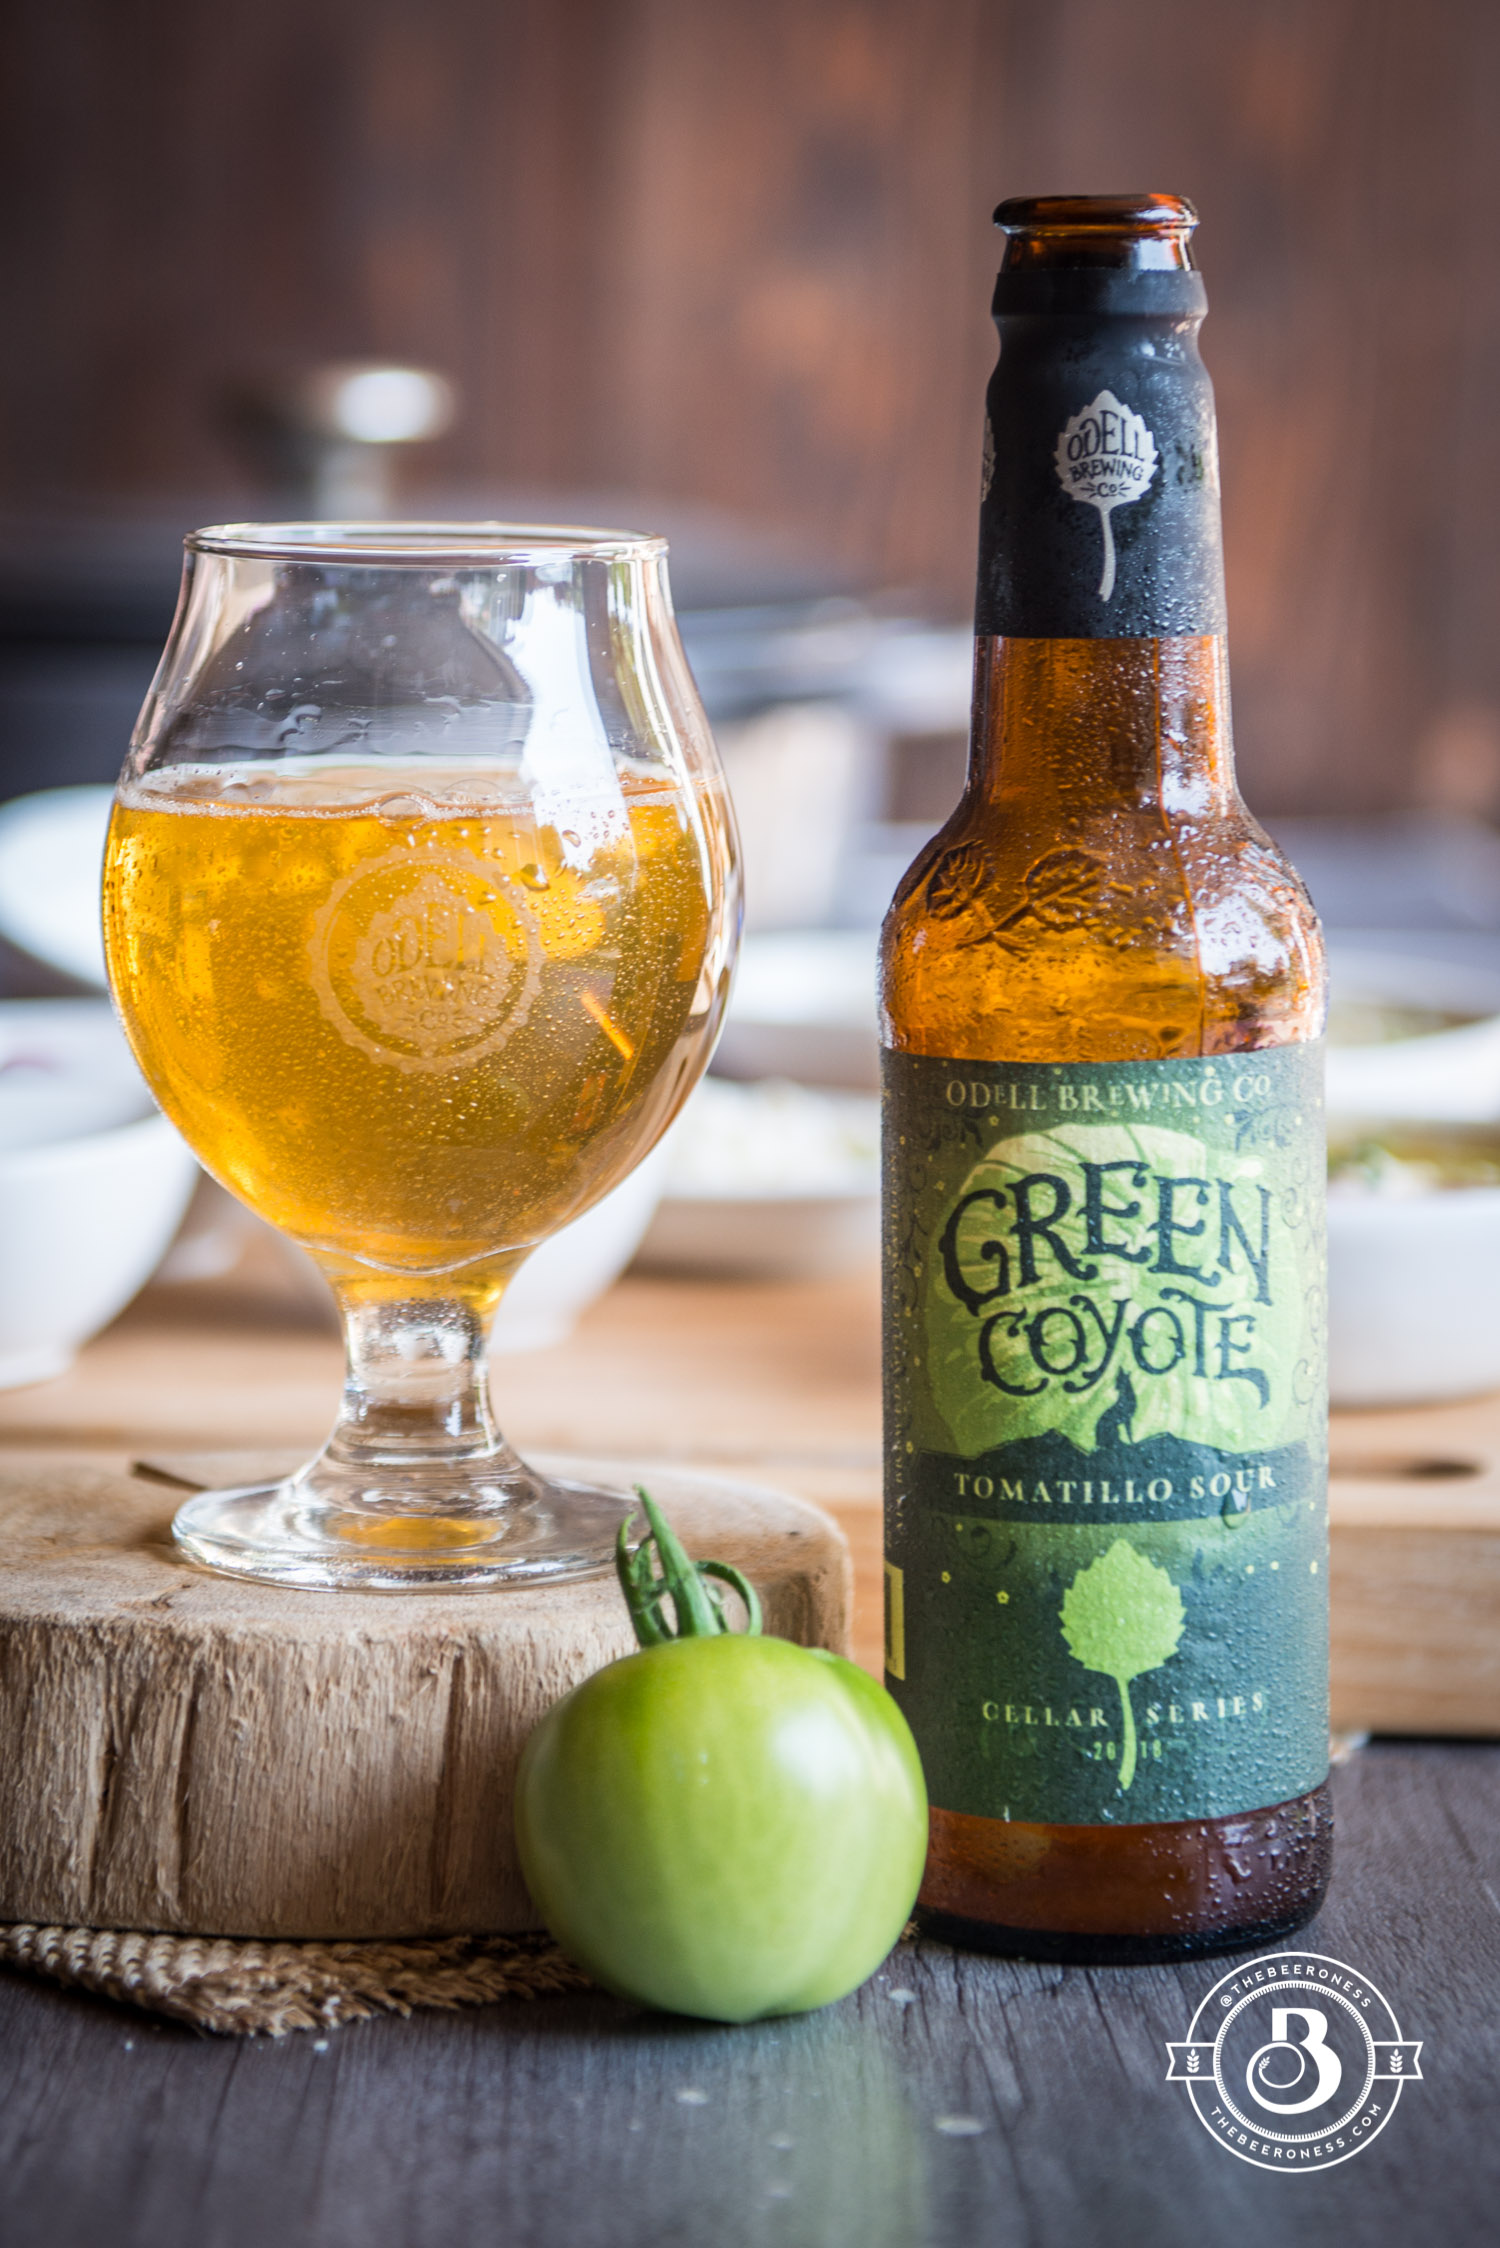
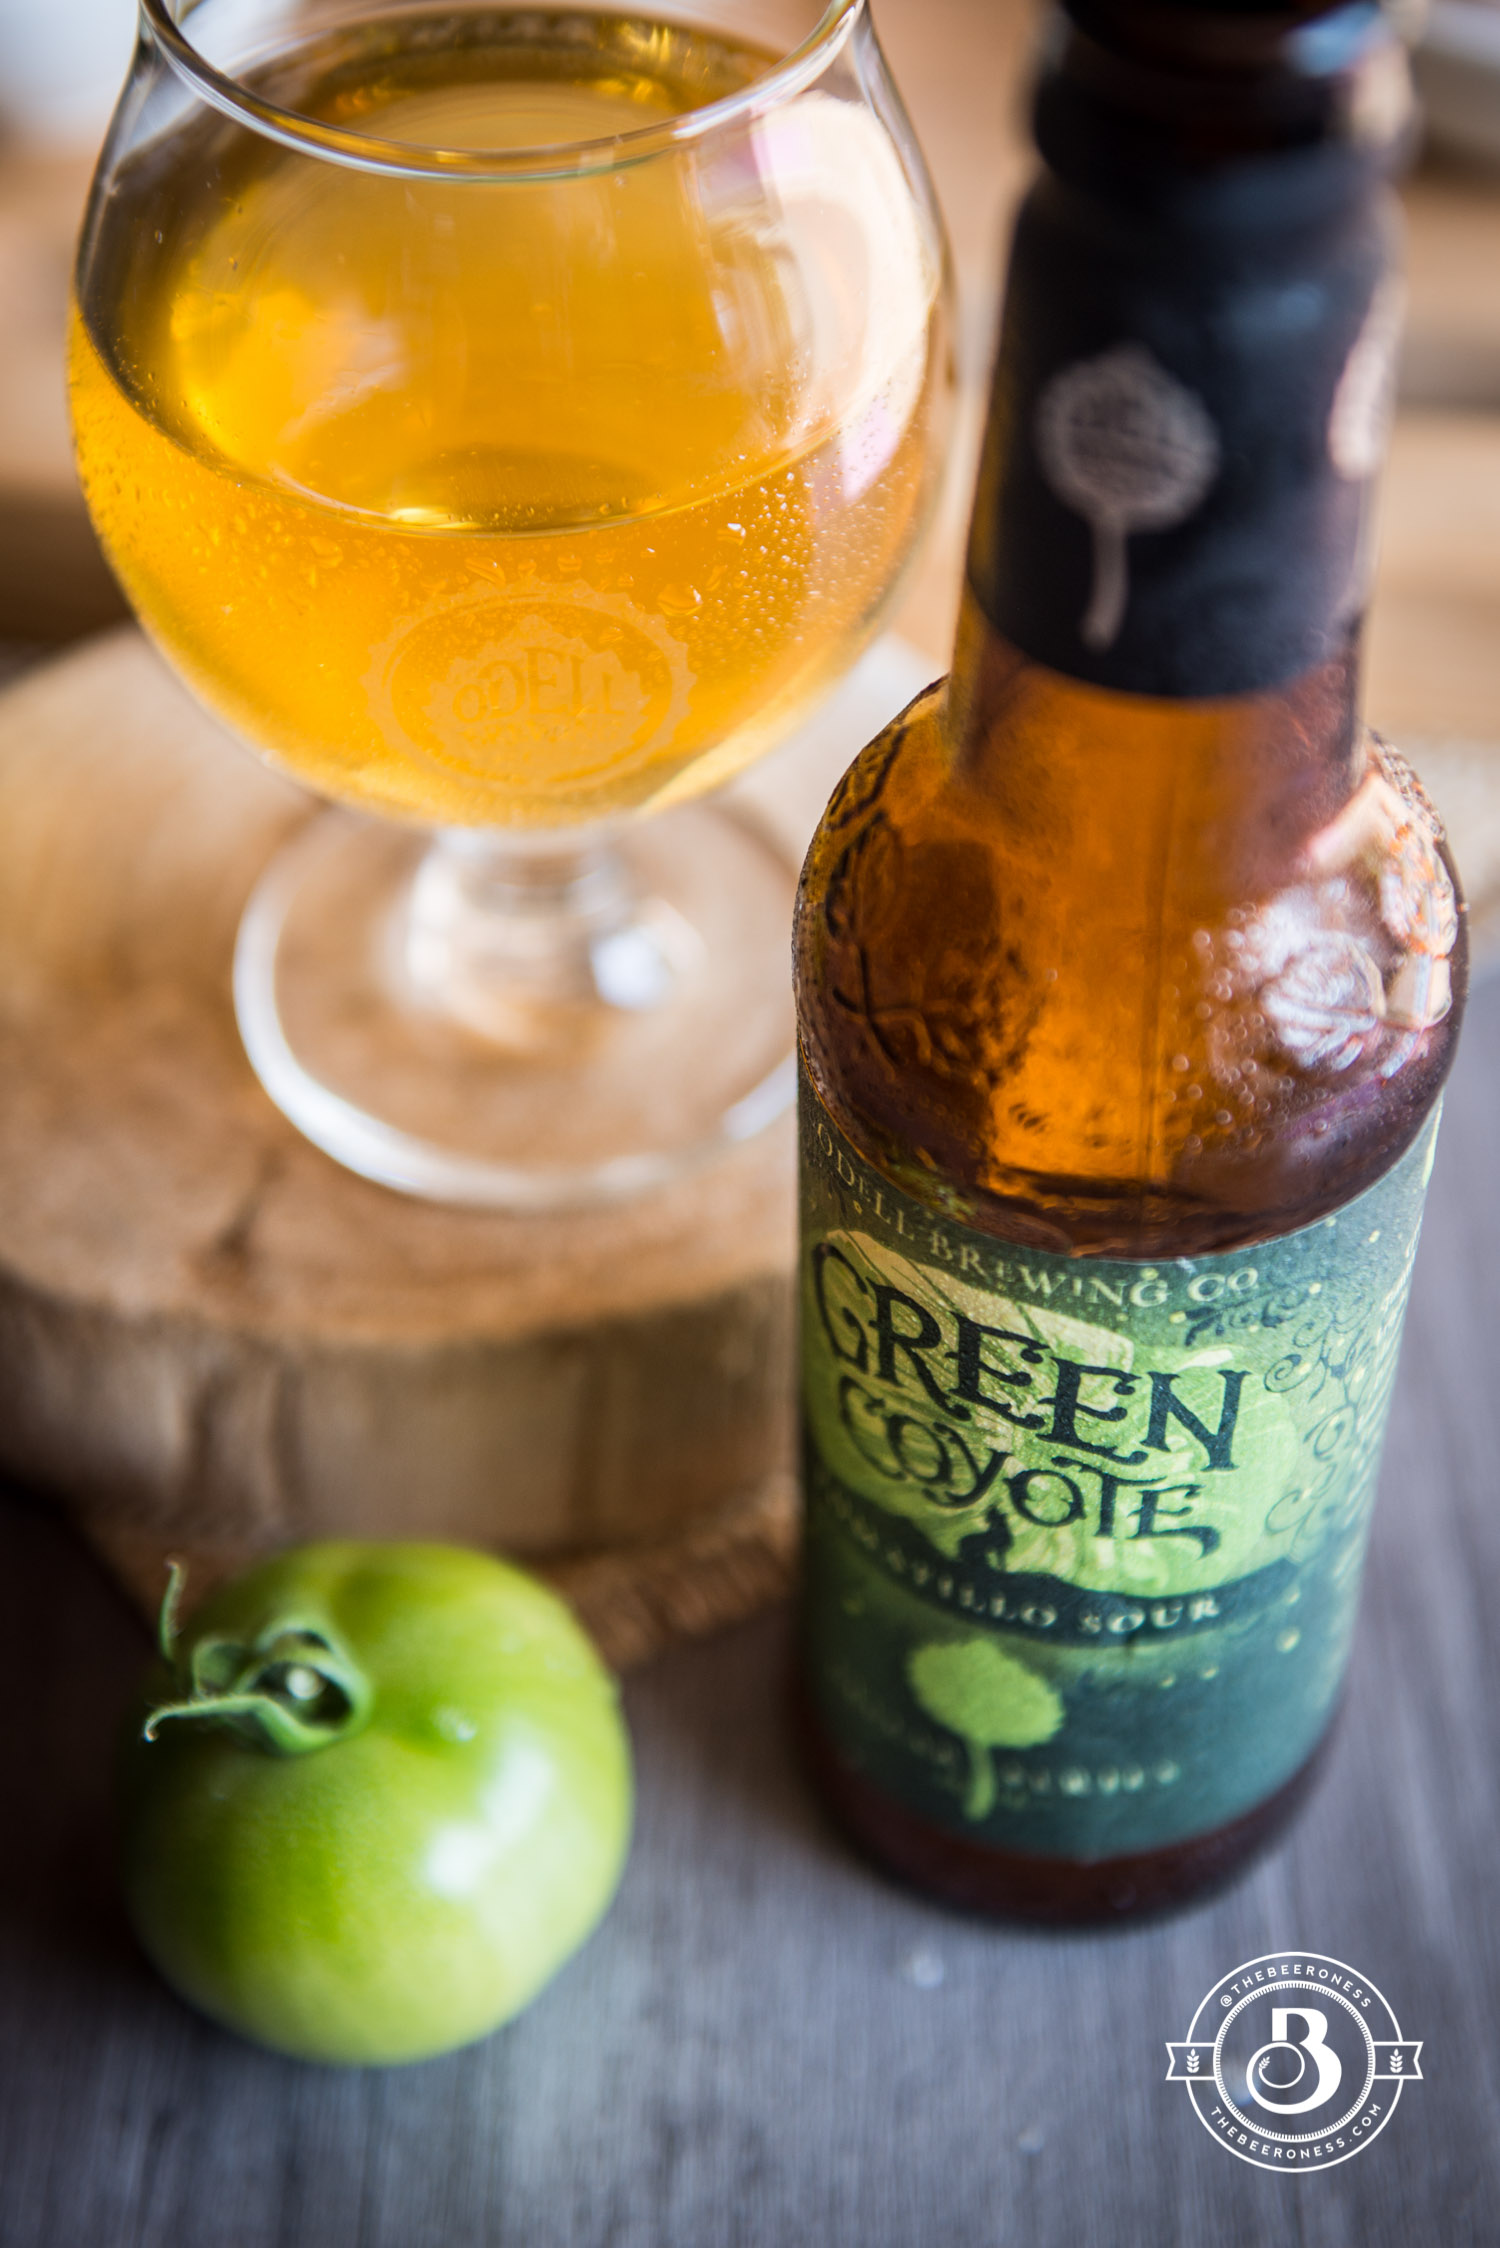
Usually, I tell you about the beer I used IN the recipe, this time I’m telling about the I had WITH the recipe. This gorgeous Green Coyote Tomatillo Sour from Odell Brewing was perfect. It uses tomatillos usually seen in Posole Verde, but in a deliciously tart beer that pairs beautifully with a slightly spicy soup.
Heat the olive oil in a large Dutch oven over medium-high heat. Add the onions and peppers, cooking until softened, about 8 minutes.
Stir in the garlic, cook for about 30 seconds. Pour in the beer, scraping to deglaze the pan. Add about half the broth (it does not need to be exact), tomatoes, lime juice and about half the hominy. Simmer until the tomatoes have softened.
Transfer to a blender, blend until smooth, return to pot.
Add the remaining broth, remaining hominy, the spices and the raw chicken.
Simmer until the chicken has cooked through.
Remove chicken from the pot, shred using two forks, return to pot. Adjust spices to taste.
Serve warm, allowing guest to garnish as they choose.
Notes
*if you don't have green tomatoes:
remove the green tomatoes and the lime juice from the recipe, replace with 1 lbs tomatillos, husked and quartered.
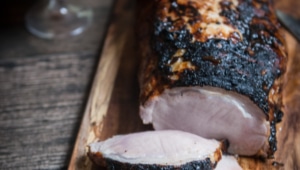
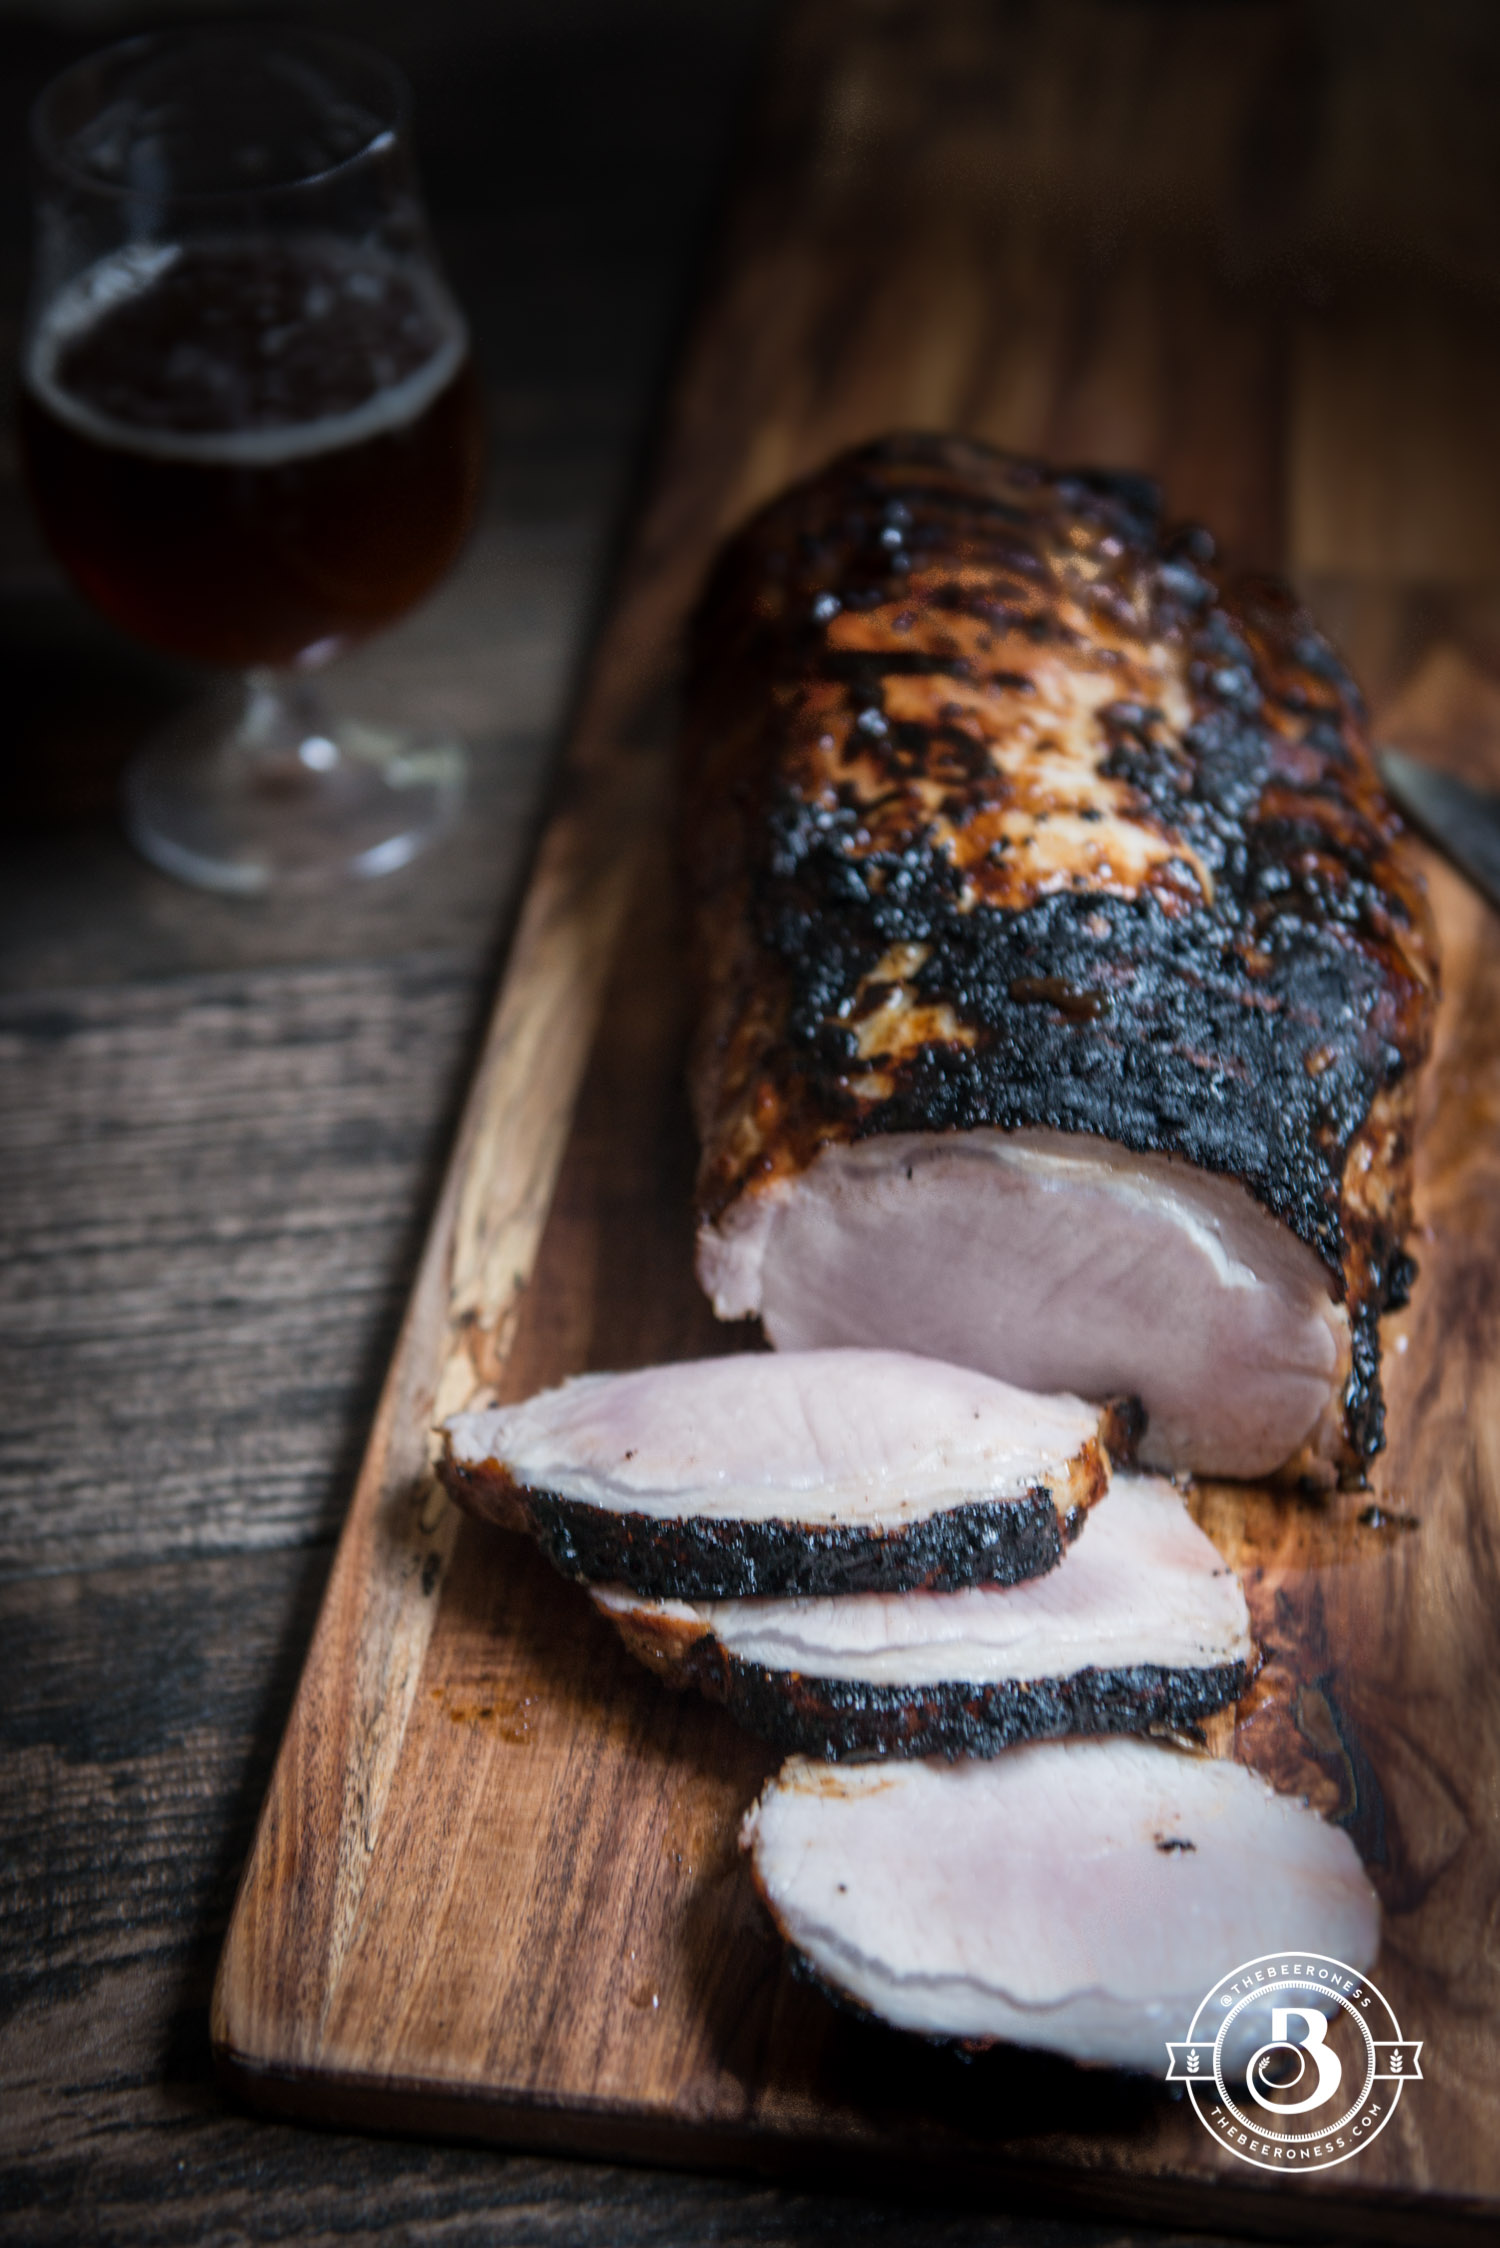
Super Juicy Grilled Pork Tenderloin (only 4 ingredients!)
Grilled Pork Tenderloin with Hoisin Glazed and Beer Brine. Just 4 ingredients to a perfectly juicy pork tenderloin!
This is for you. All of you who’ve ever avoided pork tenderloin because it’d dry. I feel you, I was you. In the wrong hands and with too much heat, these long and lean cuts of meat can do you wrong.
But it doesn’t have to be that way. Getting a tender, juicy, flavorful hunk of pork comes down to this: get it drunk. Not you, the meat. Or both, it’s your life.
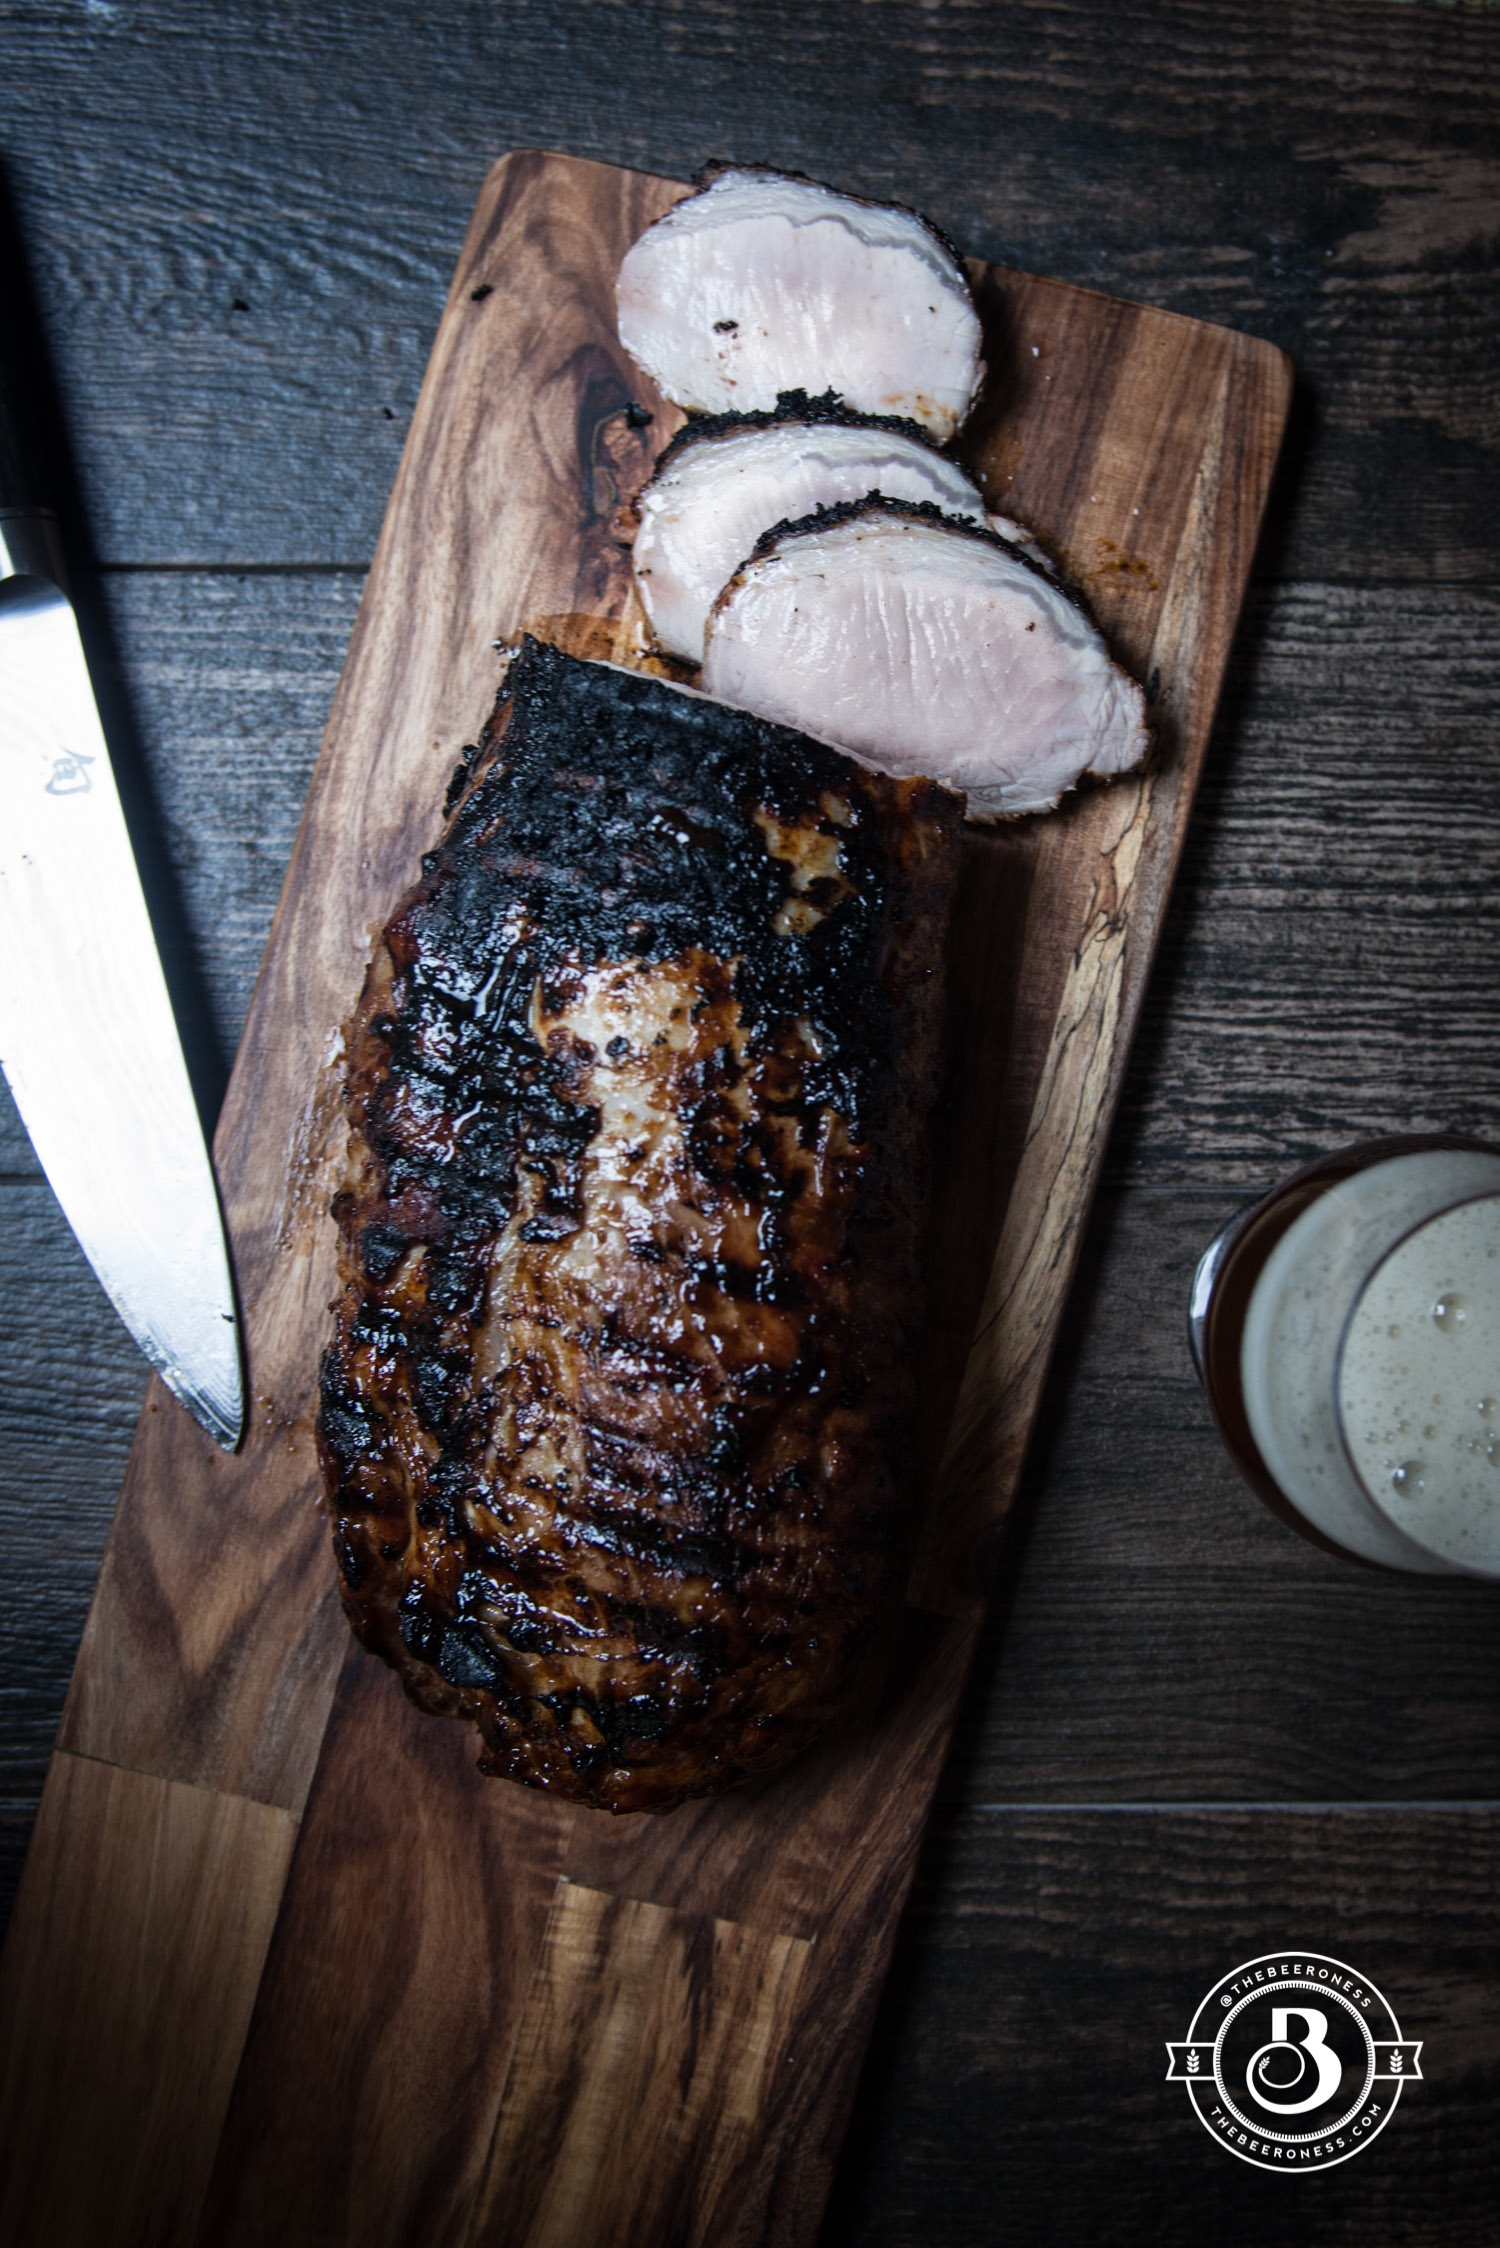
Any lean white meat (I’m looking at you, chicken breasts) needs a good long soak in salt and beer. It’ll tenderize and falvorize (that’s totally a word, I swear) your meat in a way that cooking it right out of the package never can.
Don’t be shy with the brine, let that sucker sit in there for days! As soon as you get it home from the market, put it away in a salty soak and it’ll be ready when you are. poultry really only has about 24 hours in a brine before it starts to get mushy and mealy, but pork is tougher and can stay in a brine for days without issue.
Hoisin is the perfect glaze. It’s got the rich umami flavor as well as a great sweetness that caramelizes well on the grill. Not a hoisin fan? Feel free to glaze with your fav. Barbeque sauce works well, want to try it with this Stout Beer Barbecue sauce? You should. Let me know how it goes, tag me on Instagram, (it totally makes my day).
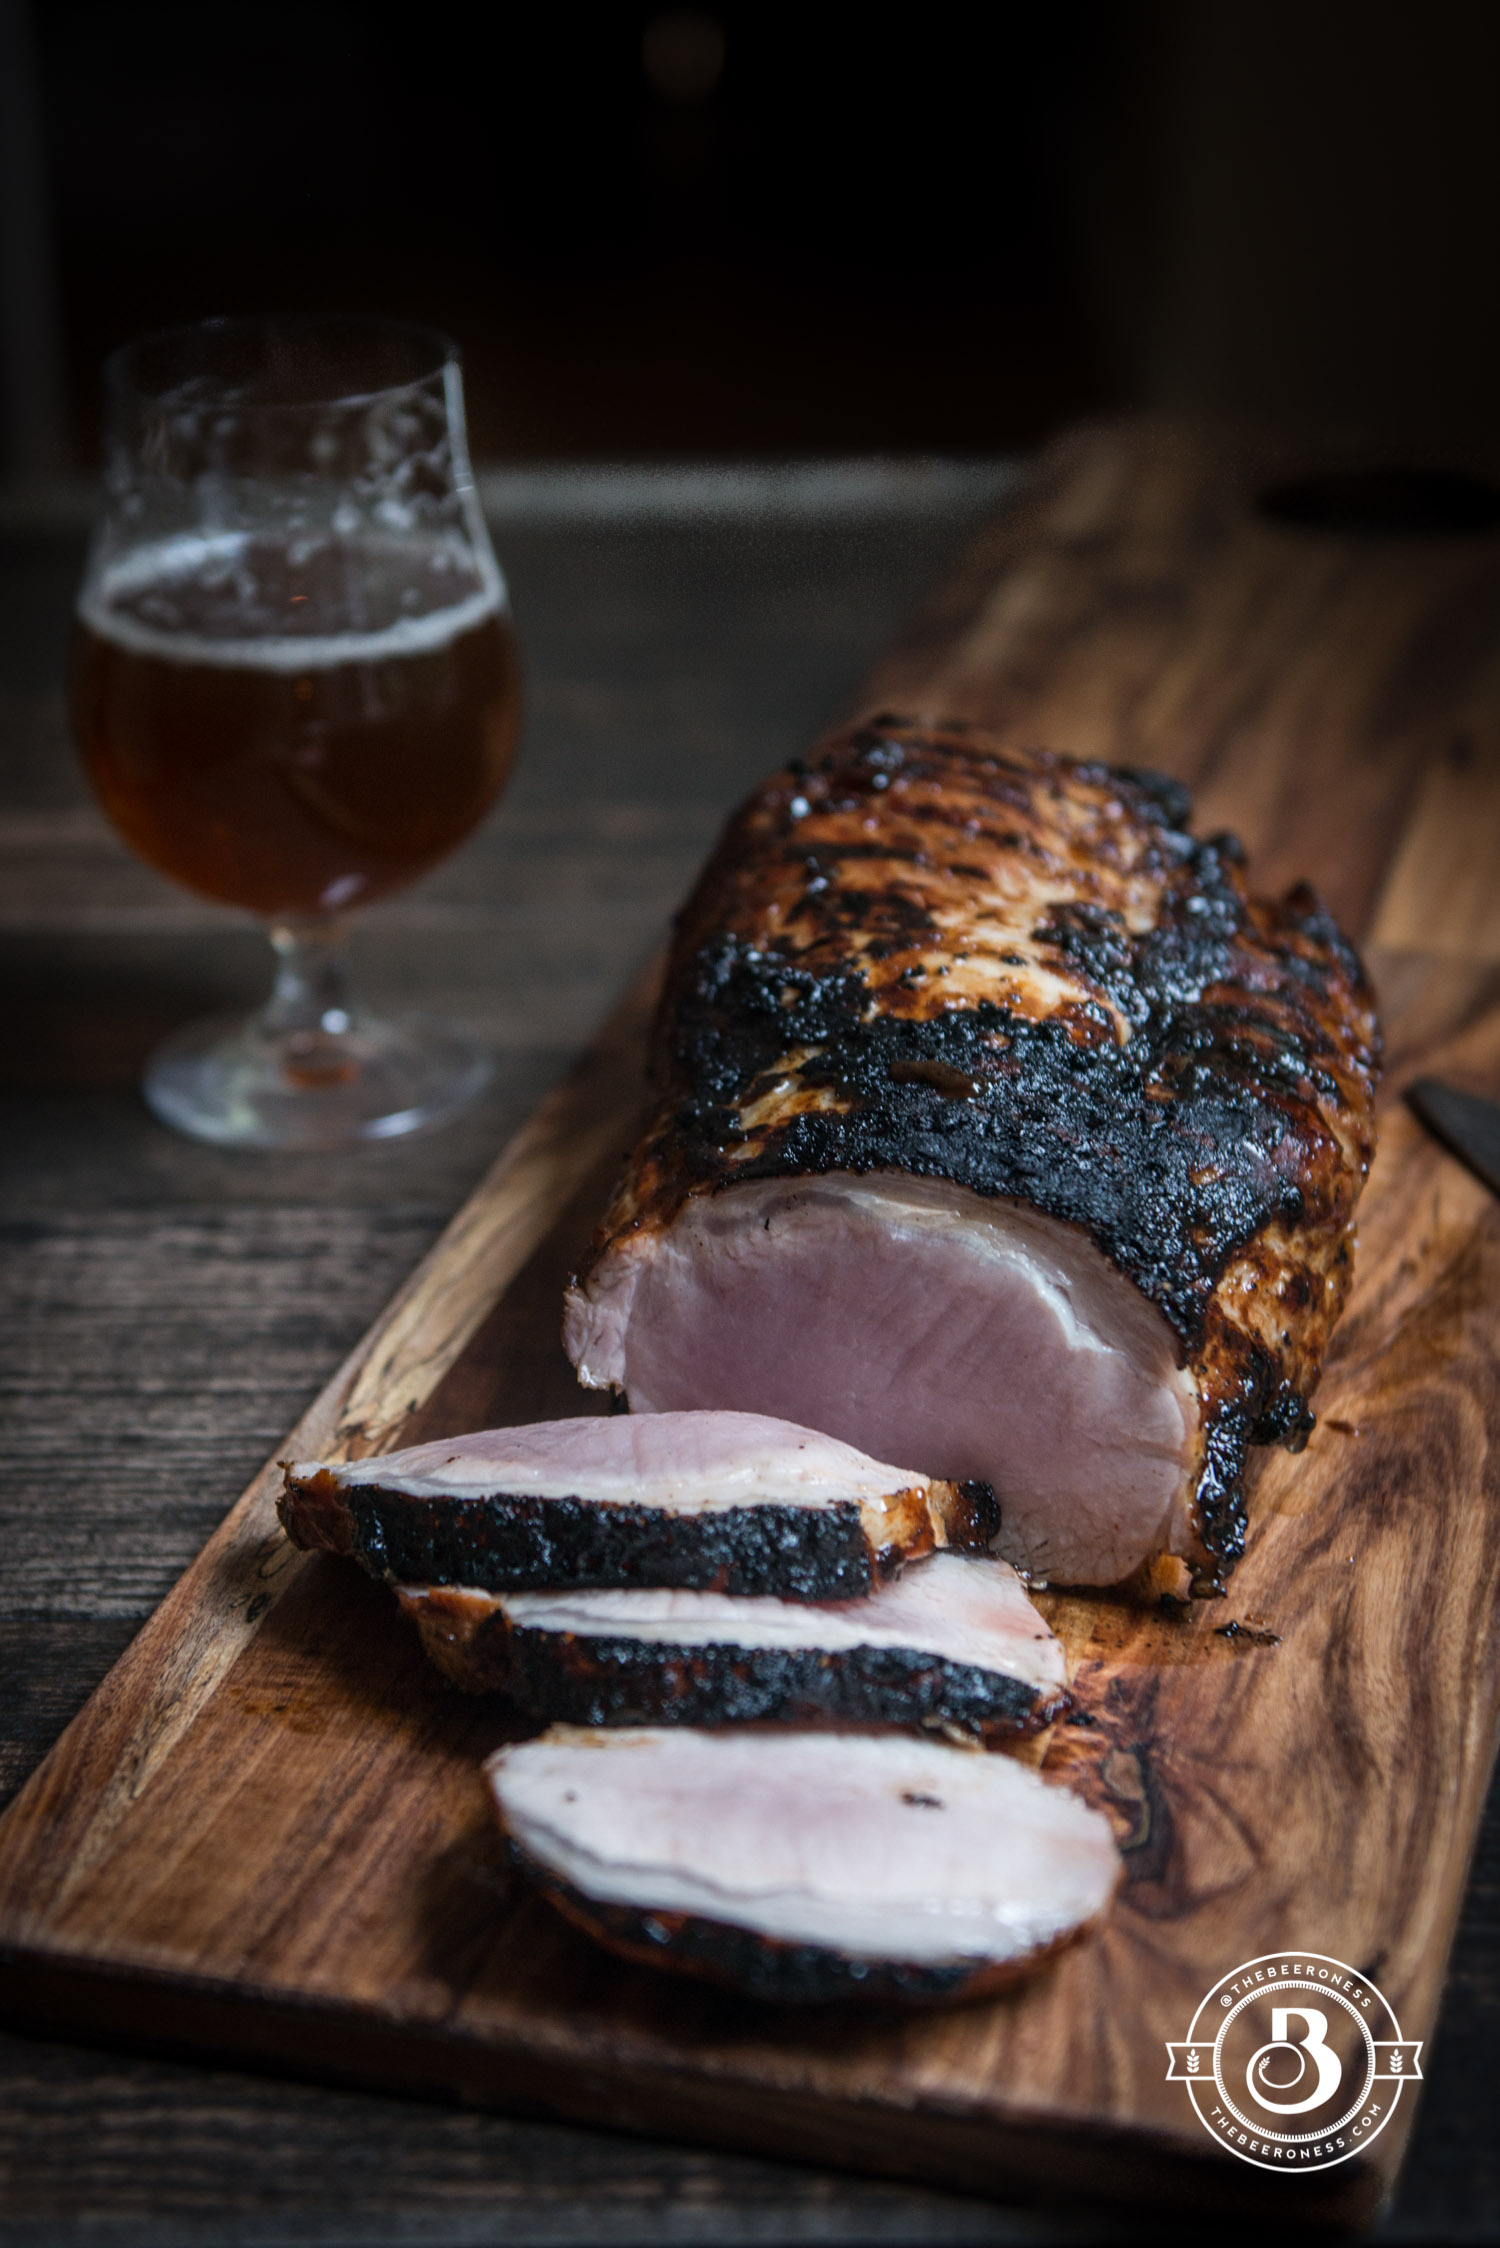
Grilled Pork Tenderloin with Hoisin Glazed and Beer Brine
Sprinkle the pork on all sides with salt. Add to a shallow dish or a large Ziploc bag. Pour the beer over the pork. Remove as much air as possible before sealing the bag (or cover dish with plastic wrap).
Brine for 24 hours and up to 3 days.
Remove from the brine, rinse well, pat dry.
Heat the grill to 500°F.
Brush the pork on all sides with hoisin, add to the grill. Grill on all sides until the internal temperature reads 145°F.
Remove from grill, allow to rest for 5 minutes. Slice and serve.
Notes
Don't over cook! The FDA recently lowered it's reccomended cooking temp for pork from 165°F to 145° probably because they were sick of their moms dry, overcooked ham.
You stil want a slight hint of pink in the center, not pure white and fiberous.
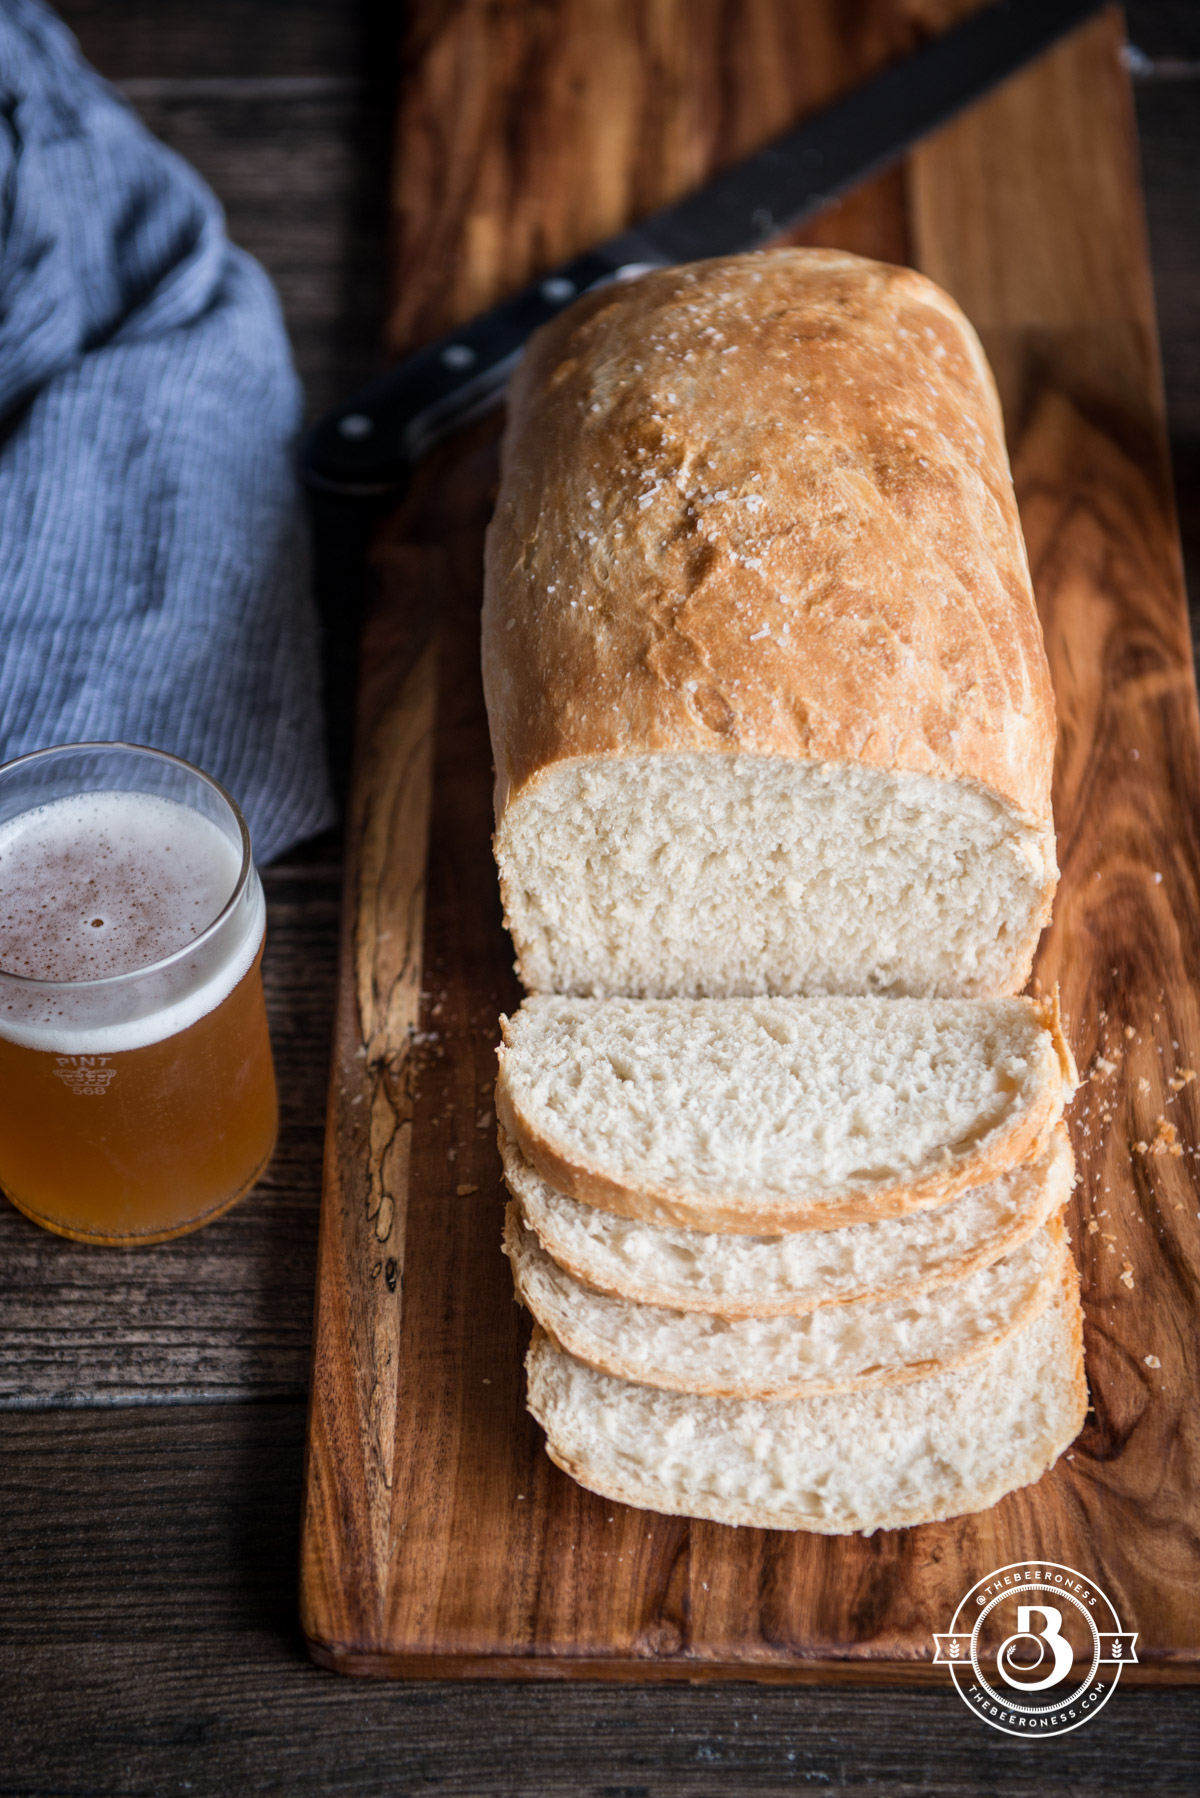
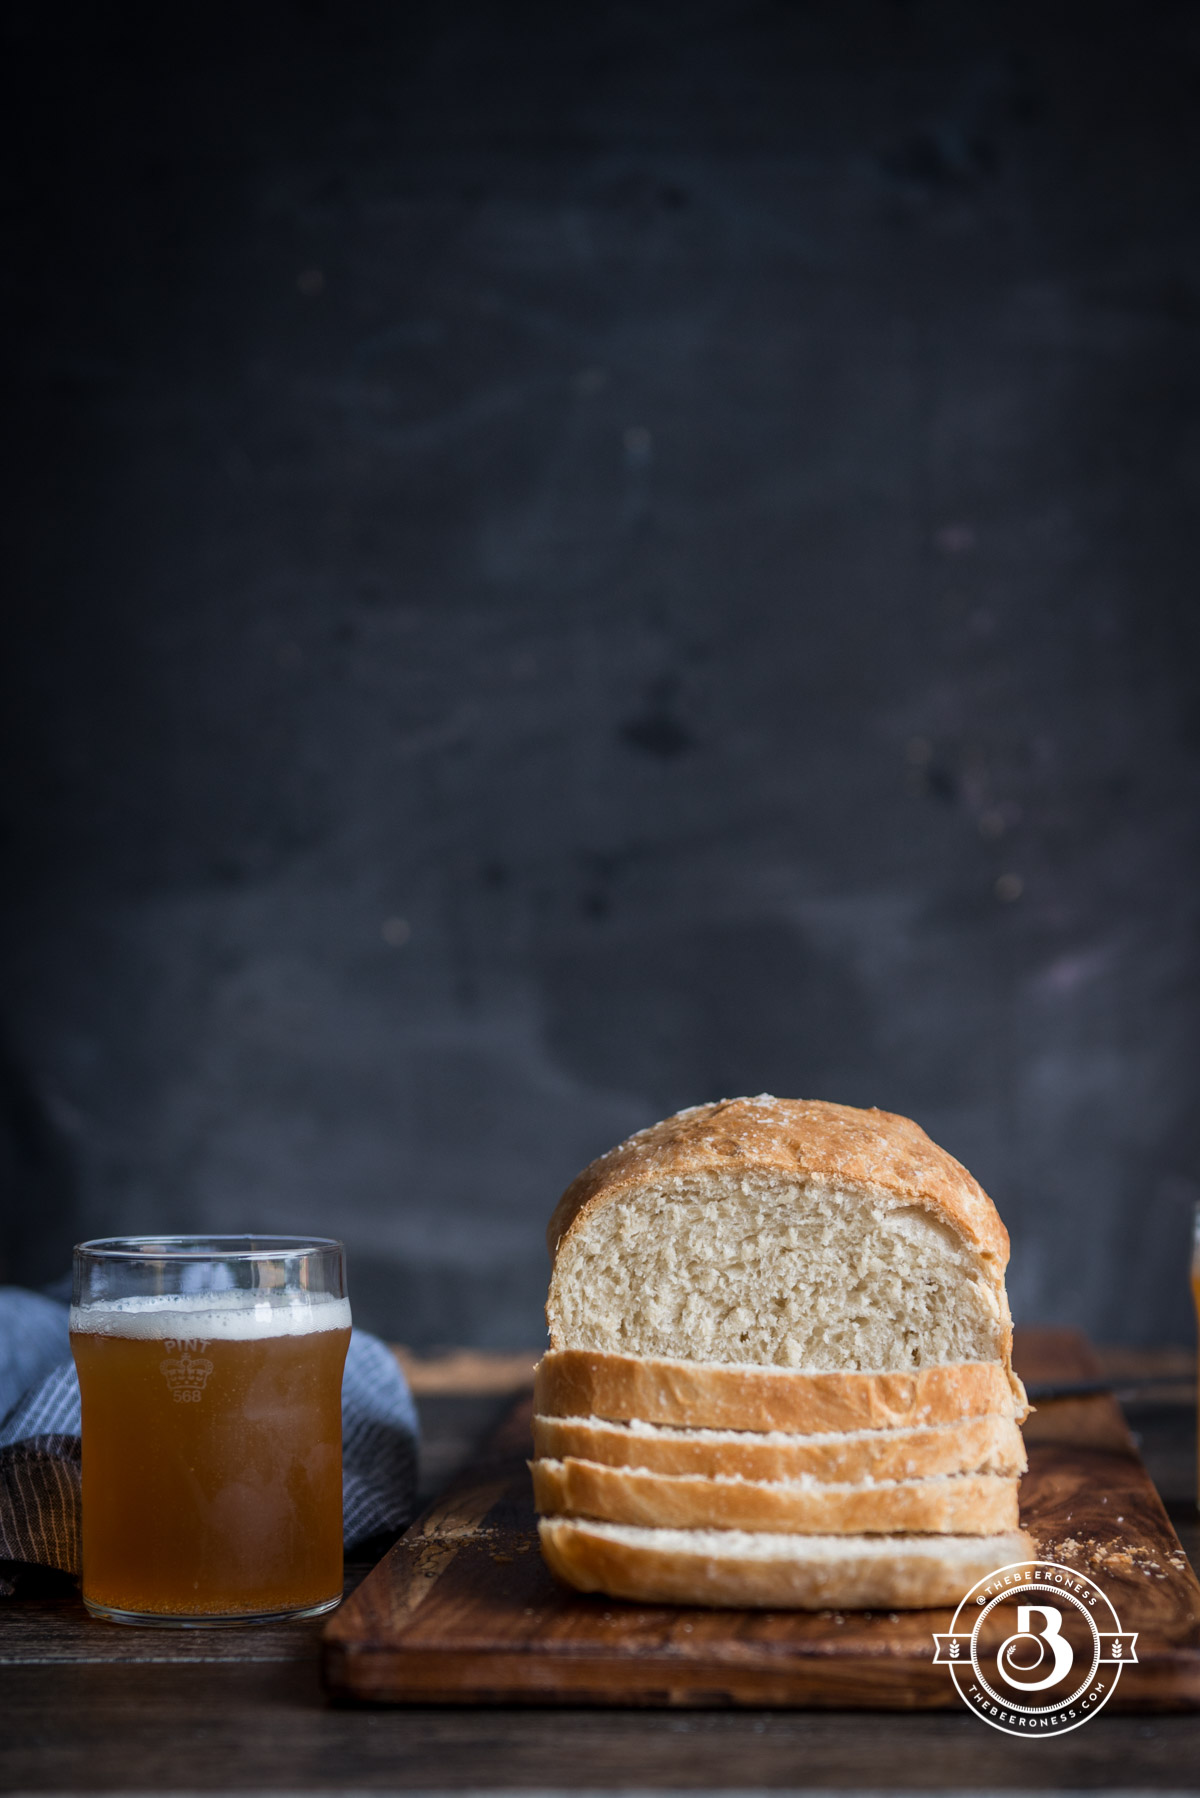
The first time I tried to make bread I cried. Not in a "wow, this is so glorious and I’m moved to tears by its beauty," sort of way. I cried real tears of frustration and disappointment.
I felt like the yeast was mocking me, refusing to rise, nope-ing all over my plans for a beautiful loaf of sandwich bread. I decided that yeast hated me, and I couldn’t do. It was a science experiment that had failed, and I walked away.
A few years later I decided that I was going to win, gawddamn it, yeast! I was going to figure it out and I was going to win at bread making. That yeast was going to be my bitch this time, not the other way around.
So I read. And then read some more. Then watched some videos. I figure out that it wasn’t the yeast that was the problem, it was the liquid. I was using the wrong temperature. It was that simple.
After that, bread baking became a regular occurrence in my kitchen. Even though it took me years to not be slightly surprised when I saw the yeast start to rise, secretly convinced that I would fail again.
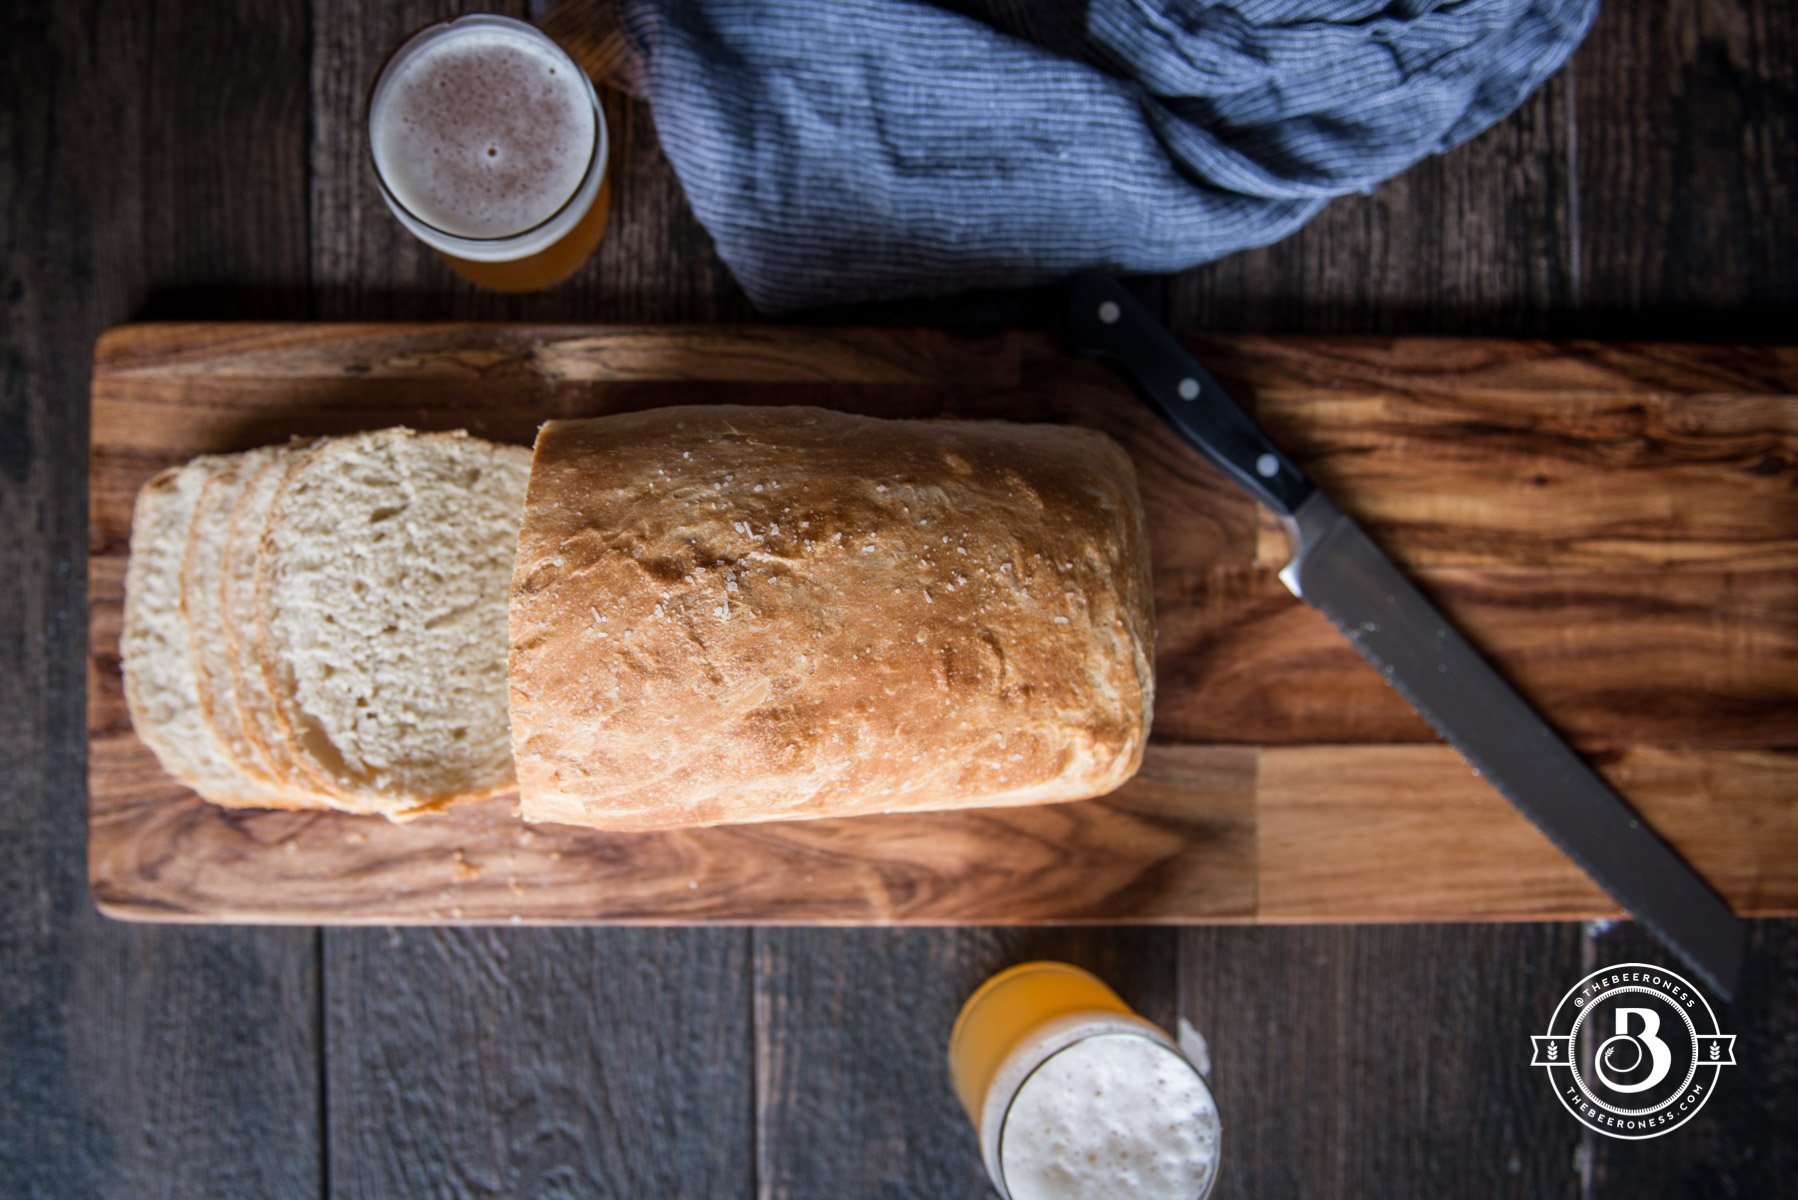
This loaf of sandwich bread came into my kitchen because I was too lazy to go to the store. It was easier for me to bake some bread than it was for me to get in my car and go buy some. Which reminds me of how far I’ve come in my yeast taming abilities. Even though I still think of it as some sort of magic when it does start to work the way I’ve politely asked it to.
½cup4oz wheat beer, pilsner, pale lager (no high hop beers)
¾cup6oz milk
4 ½cups540g All-Purpose Flour
3tablespoon63g honey
2 ¼teaspoonsrapid rise yeast
1teaspoons6g salt
3tablespoons42g soft butter
1tablespoon14g melted butter
Instructions
Combine the beer and milk, heat to 120°F (always defer to the liquid temperature listed on the package of yeast, regardless of what the recipe says. Your yeast package says 105°F? Heat the liquid to that temperature.)
In a stand mixer stir together the flour, honey and yeast.
Add the warmed liquid, mix until combined, Stir in the butter and salt. mix with a dough hook for 6 to 8 minutes or until the dough comes together and starts to gather around the blade (dough will still be soft and slightly sticky).
Oil a large bowl, add the dough to the bowl (this works best with wet or oiled hands). Cover the bowl and allow the dough to rise in a warm place until doubled in size, about 1 hour.
Spray a large (10x5) loaf pan with cooking spray. Shape the dough into a log, transfer to the prepared pan.
Cover the pan, and let the dough rise for 60 to 90 minutes, or until it starts to rise just over the top of the pan. Towards the end of the rising time, preheat the oven to 350°F.
Brush the top with melted butter.
Bake for 35-40 minutes or until the top is golden brown. Allow to cool on a wire rack.