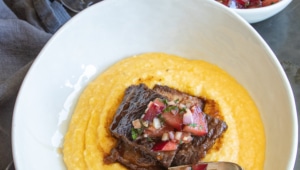
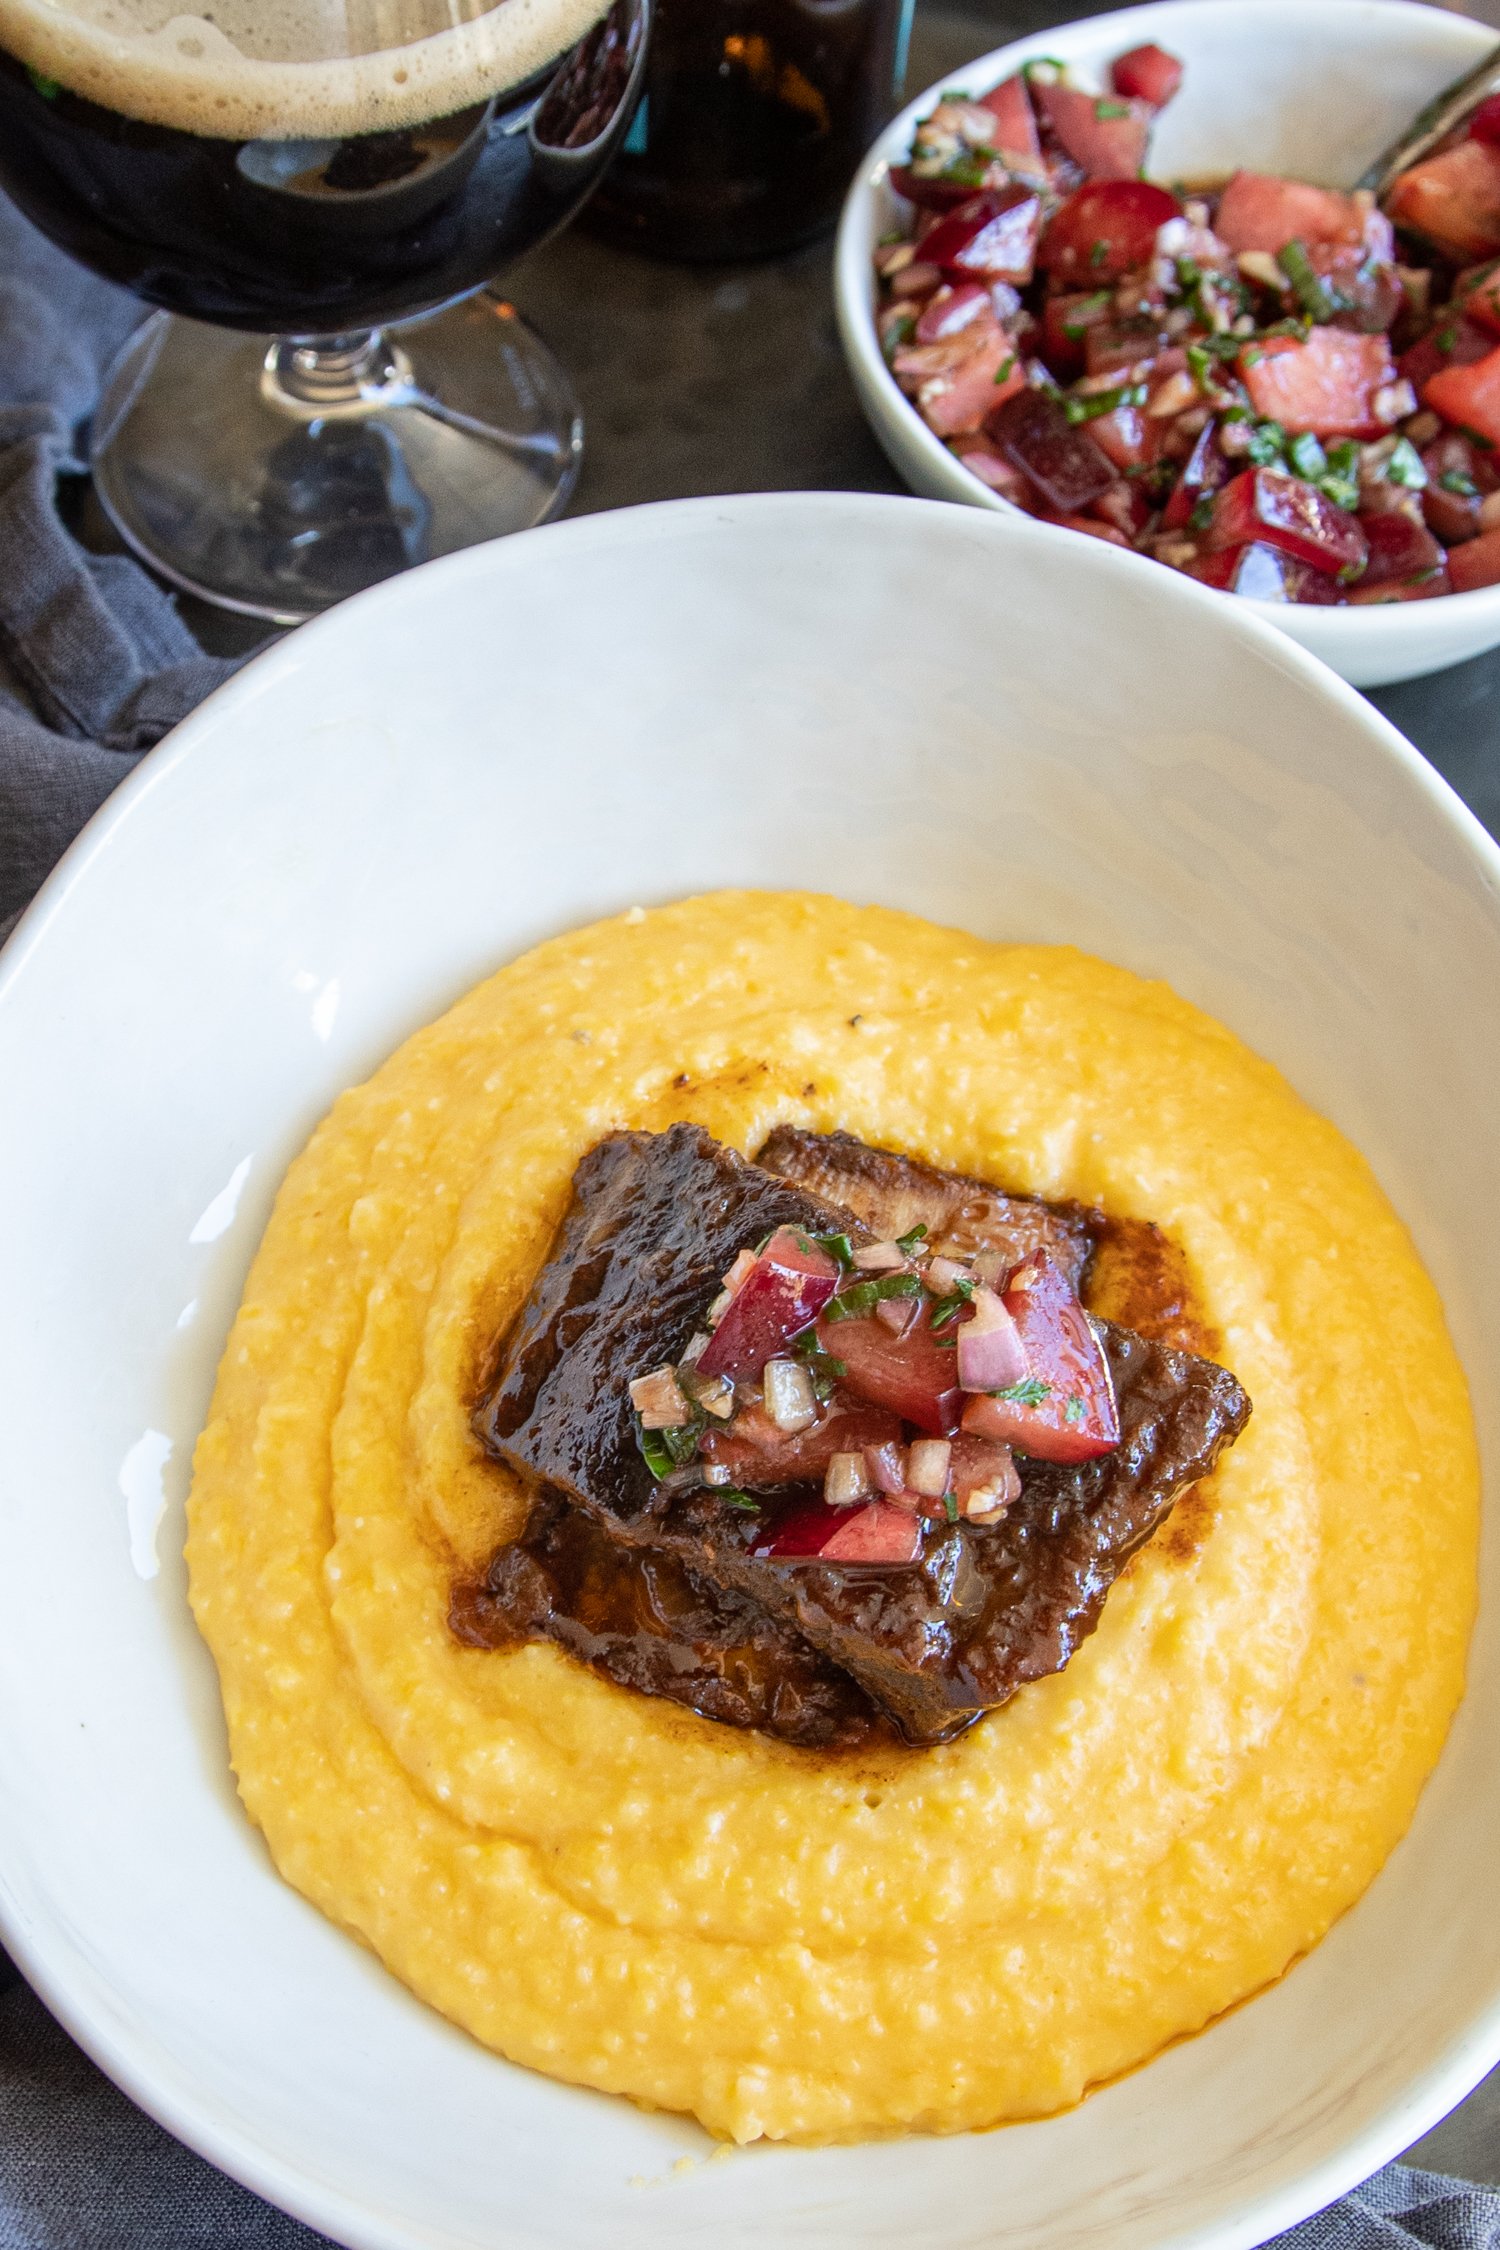
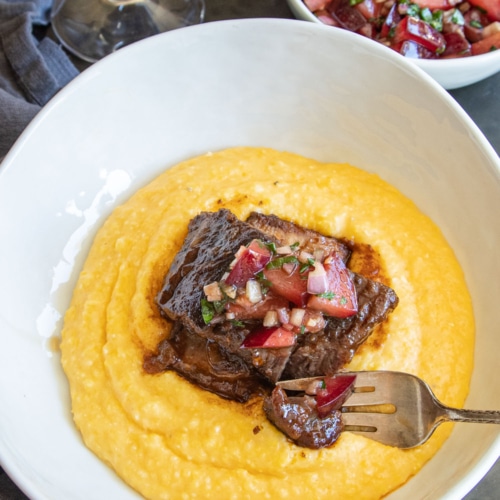
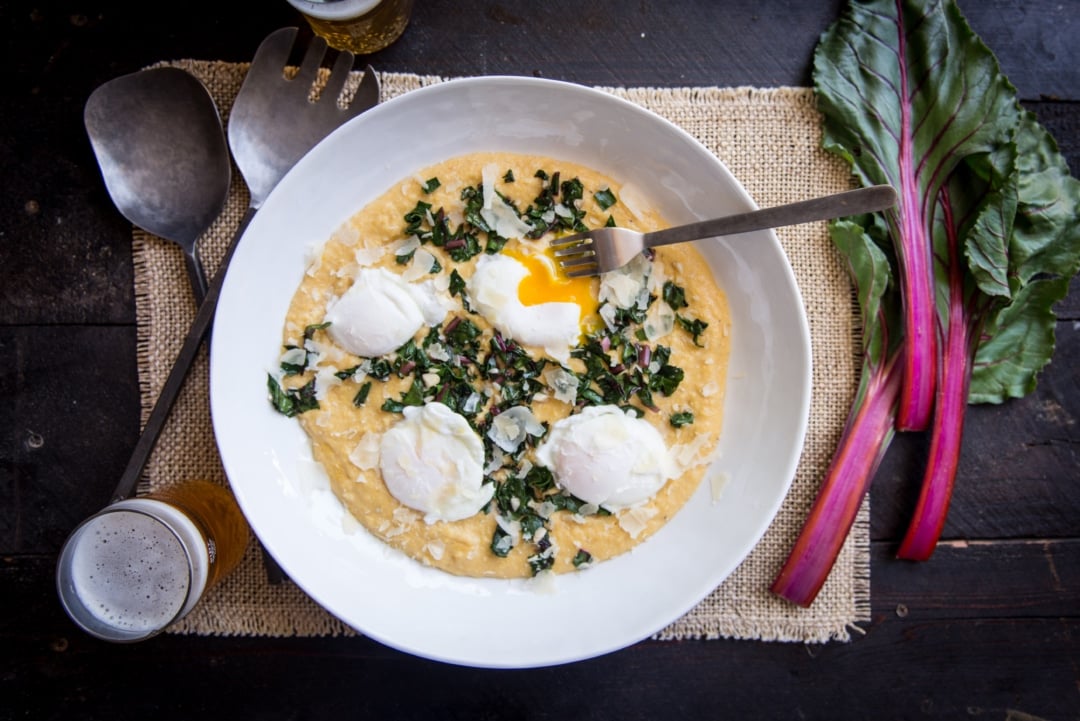
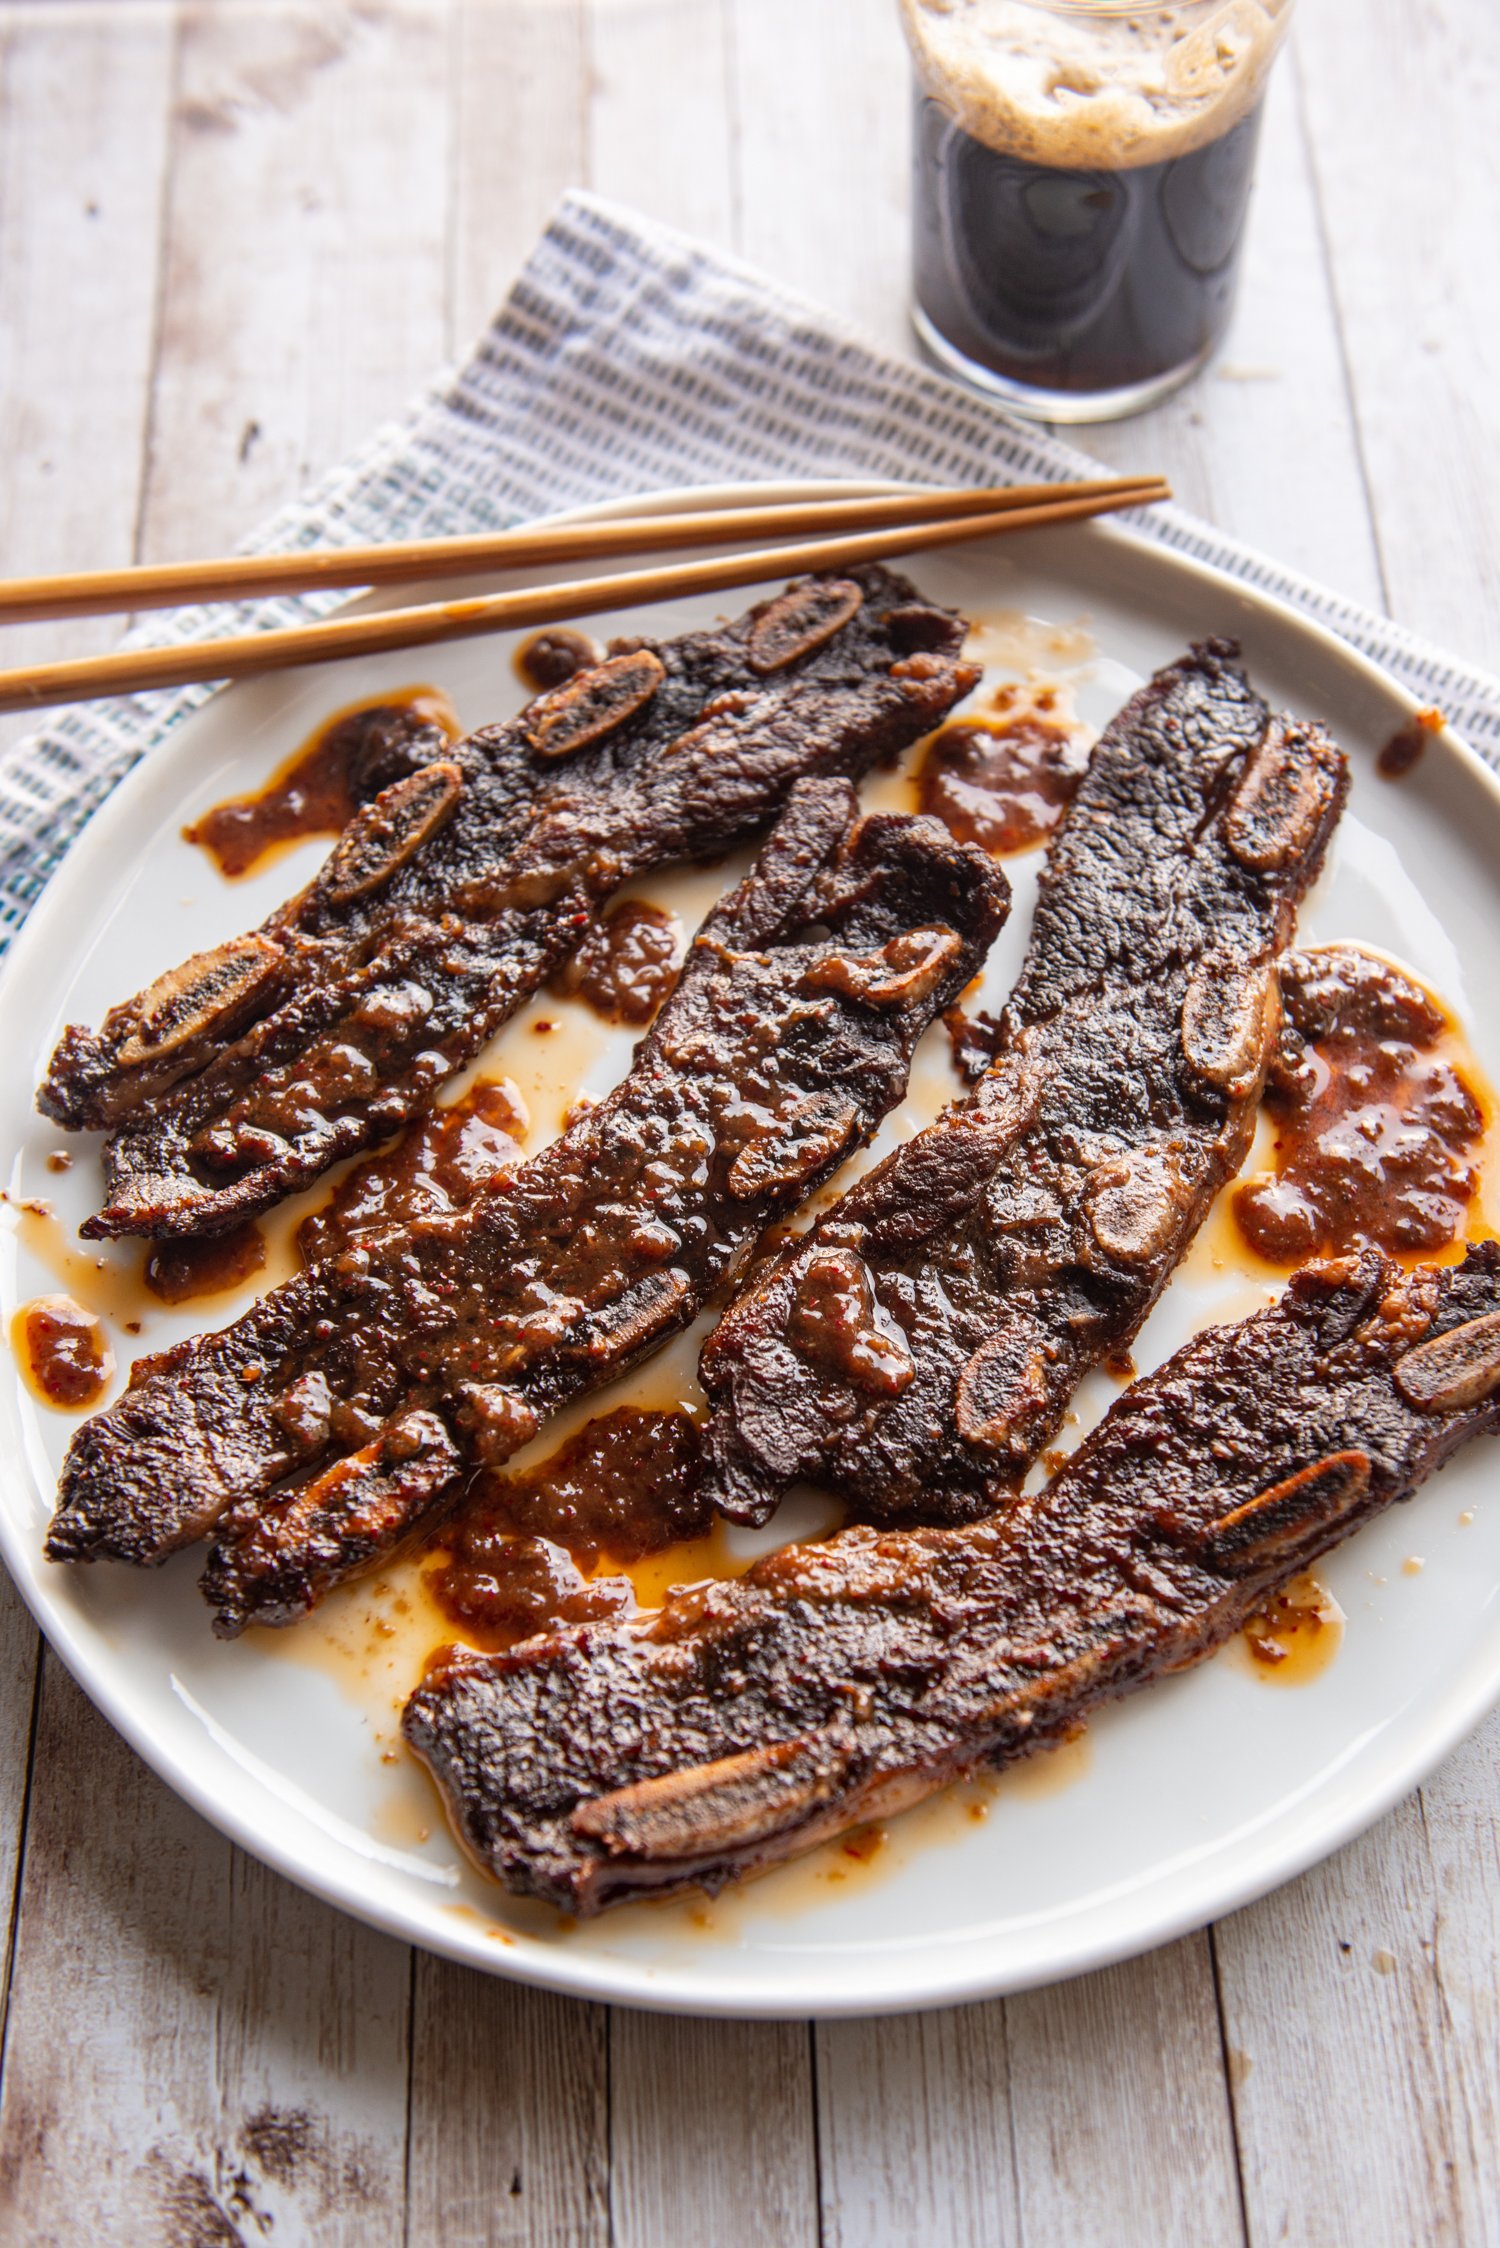
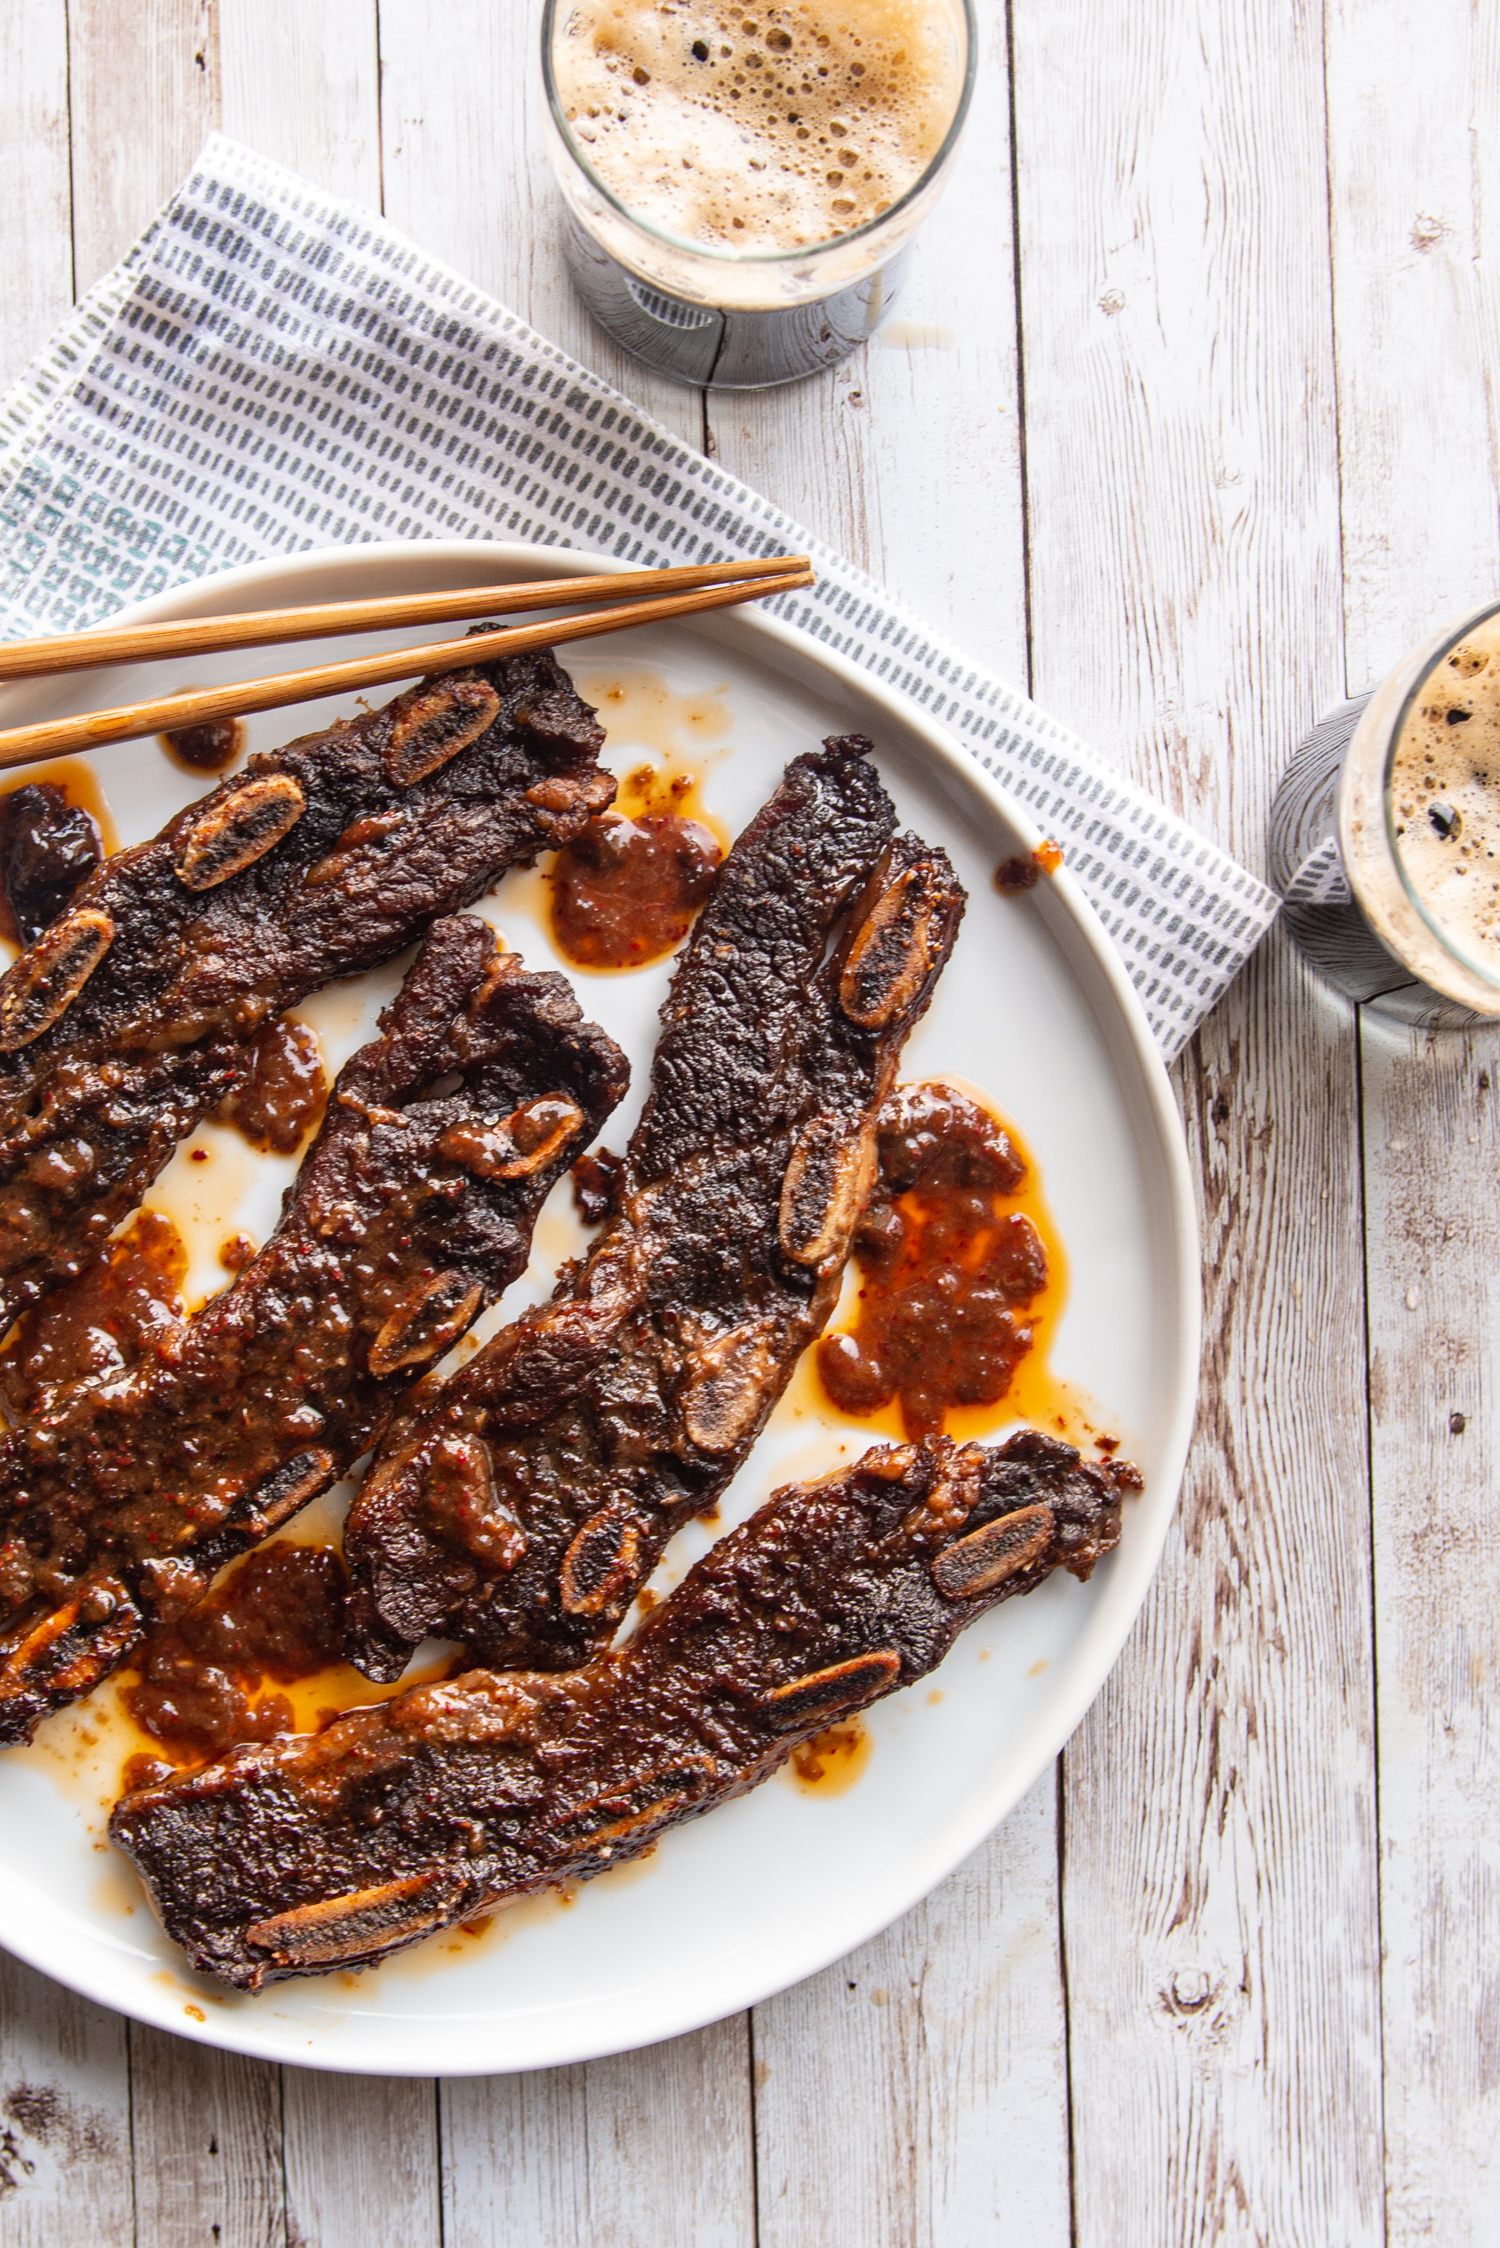
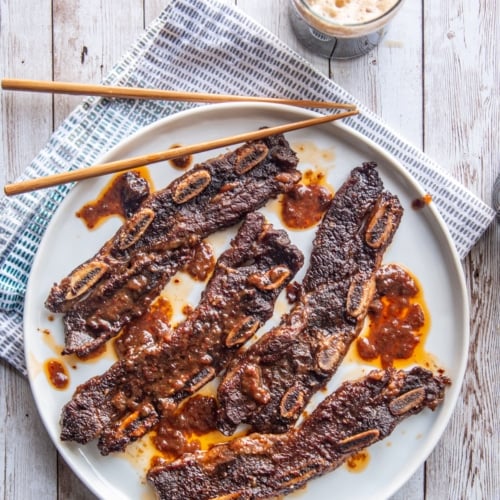
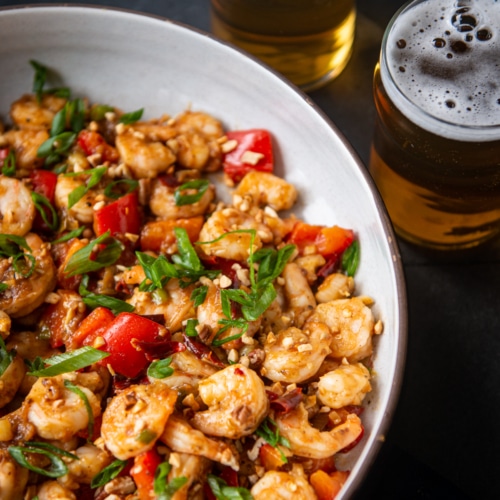
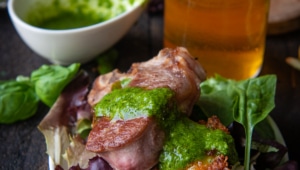
Beer Braised Chinese Five Spice Short Ribs over Mimolette Polenta with Red Plum Chimichurri
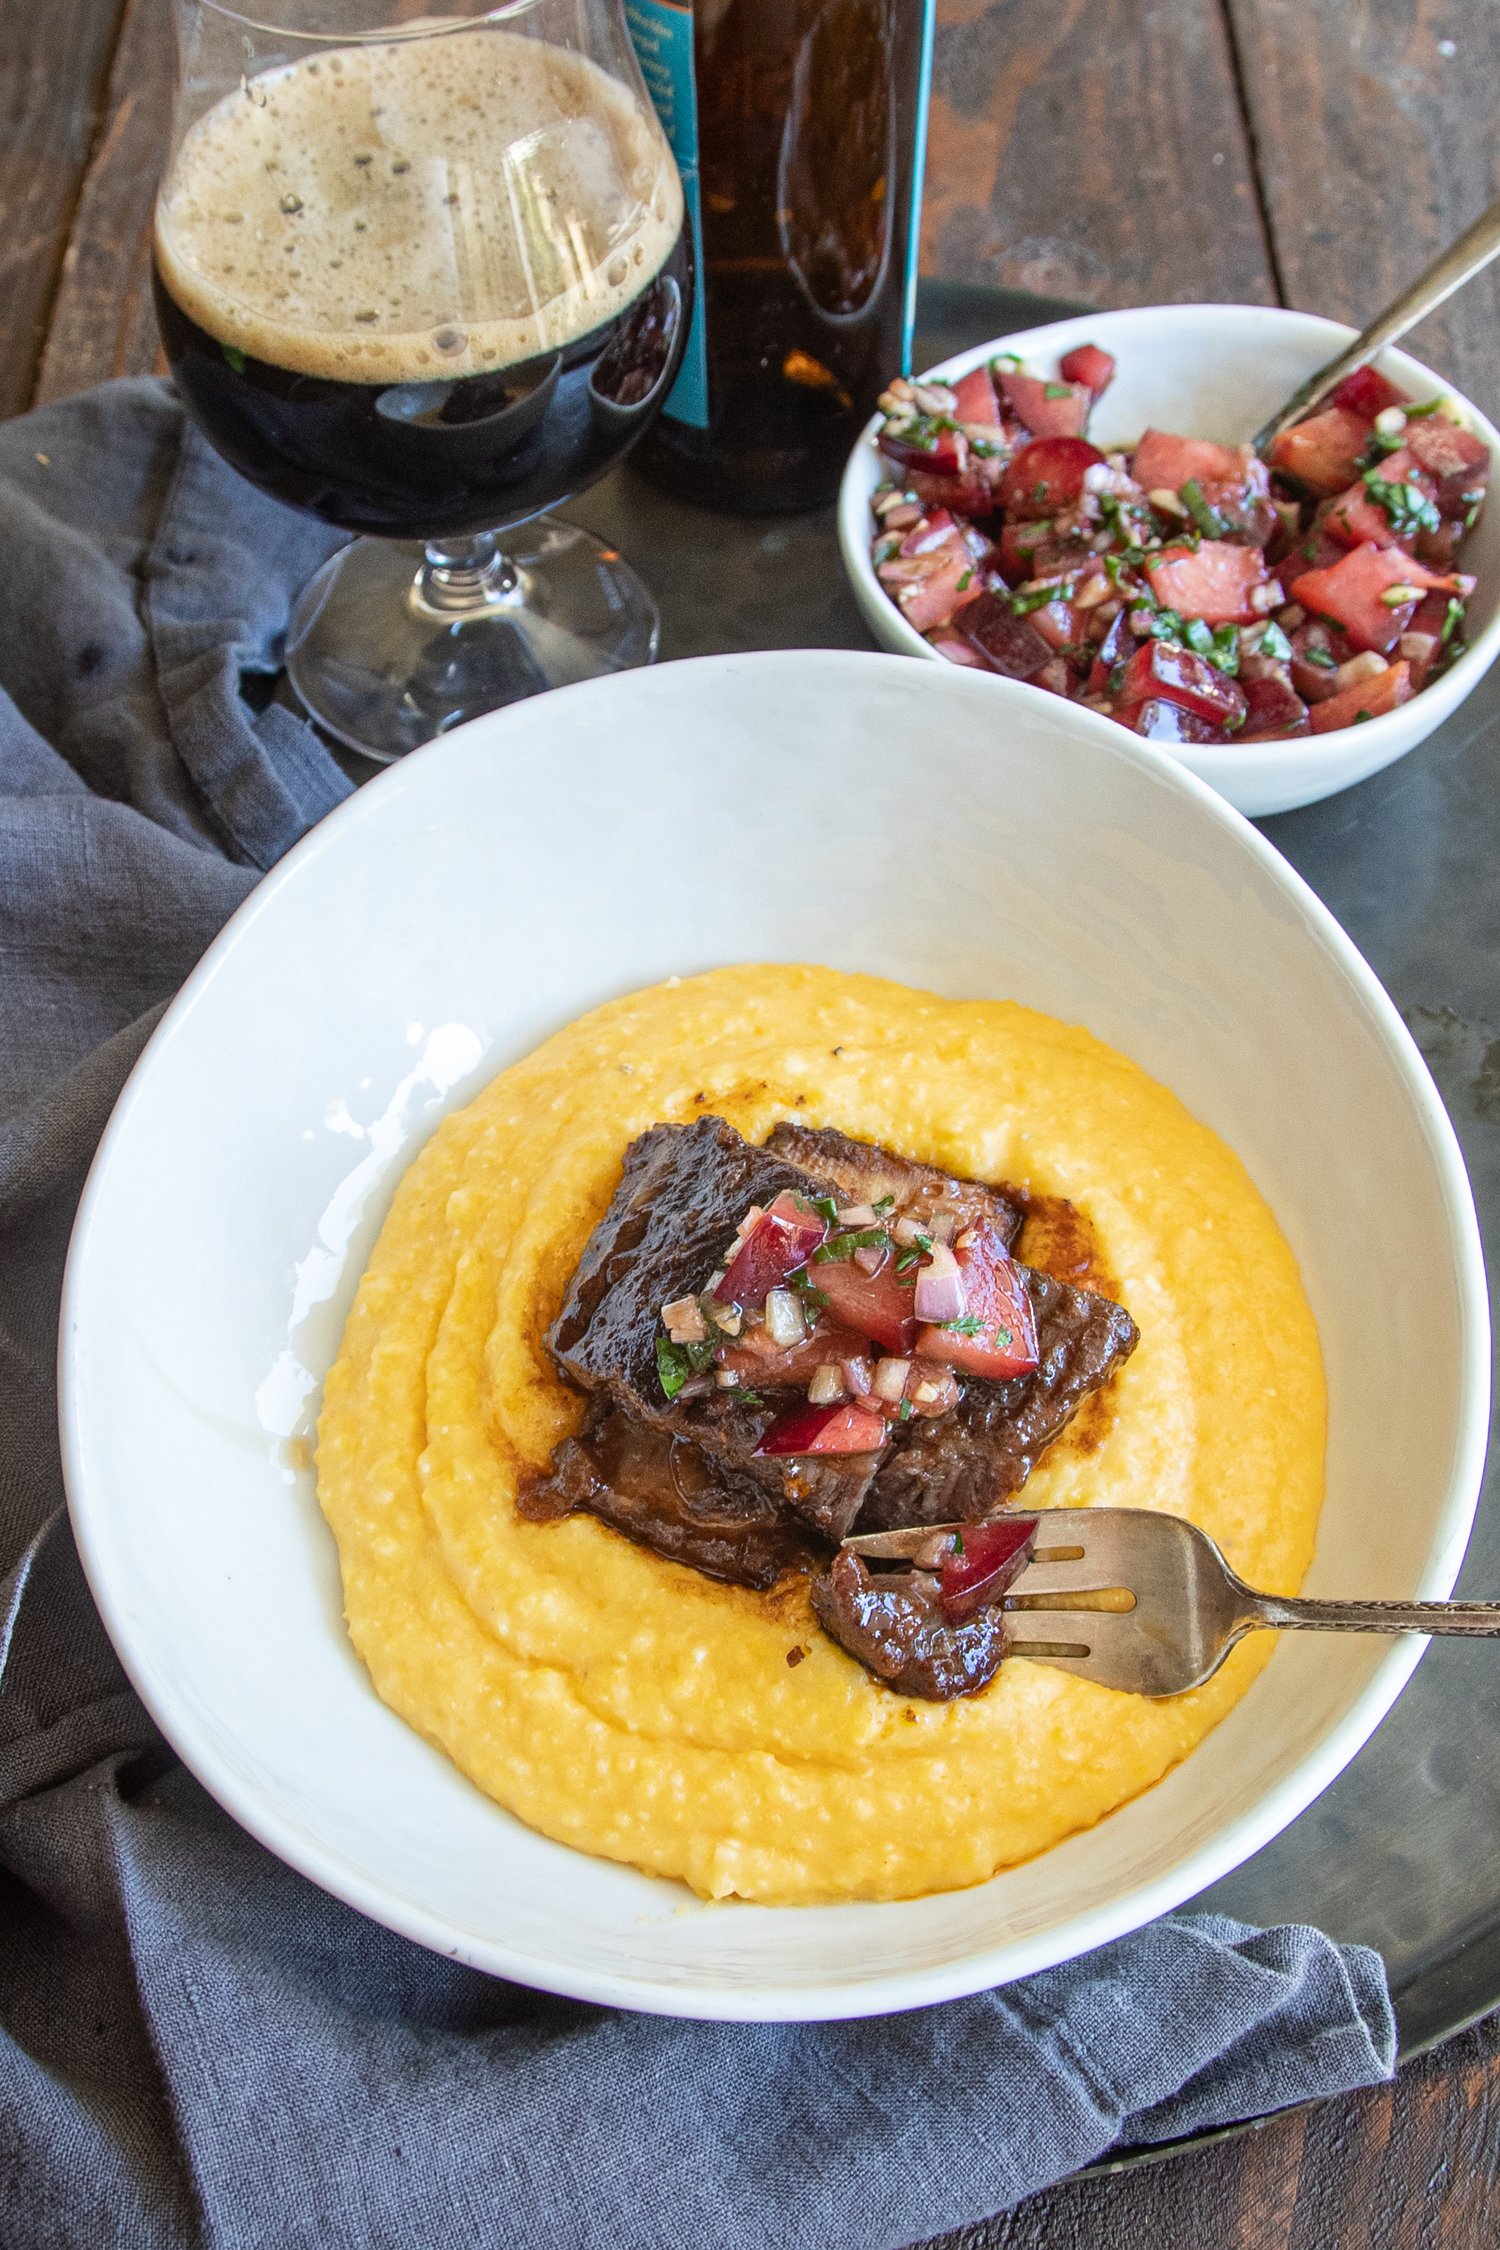
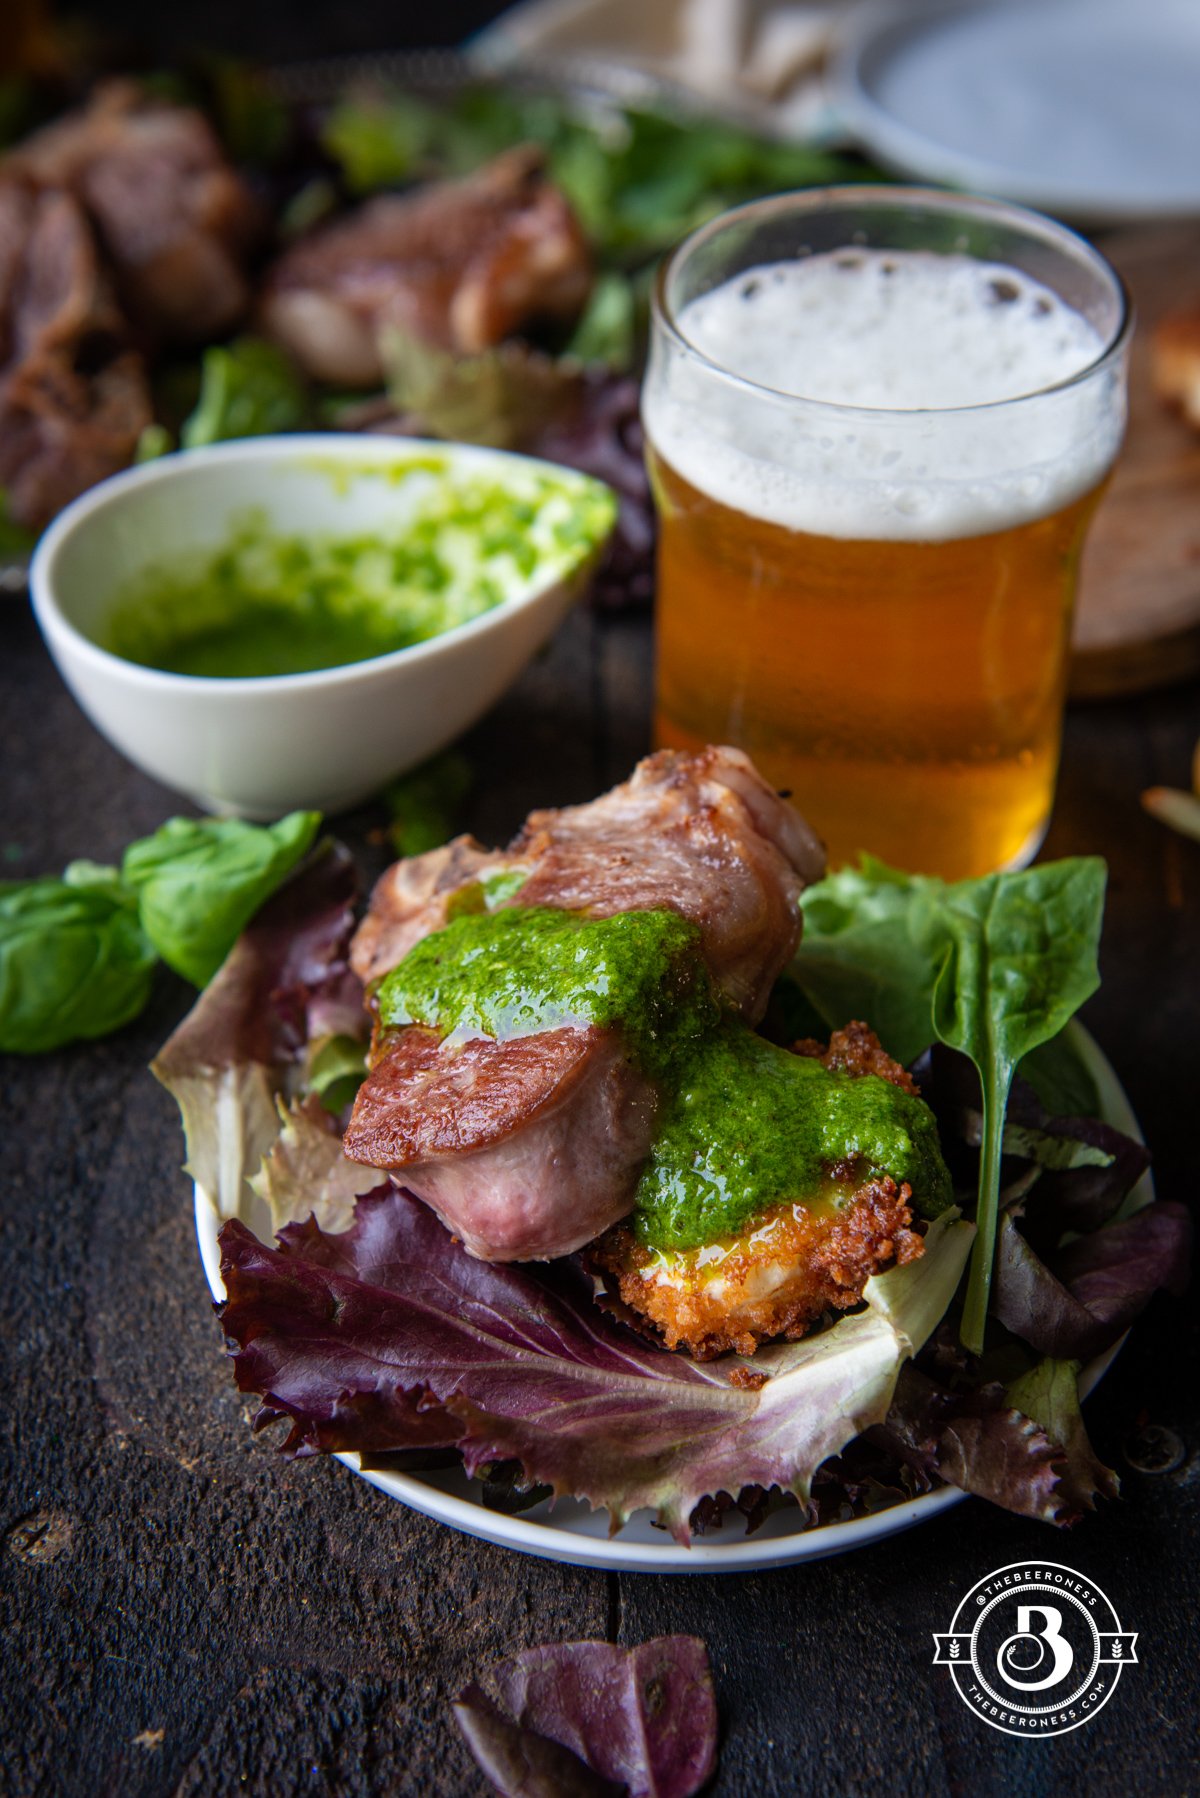
This is going to sound crazy, I know that. But short ribs need stone fruit. They do, it’s a perfect pairing. You don’t believe me? Are you doubting my powers of uncommon food pairings? This is a mistake on your part because short ribs and reb plums go together as well as a pilsner and mowing the lawn.
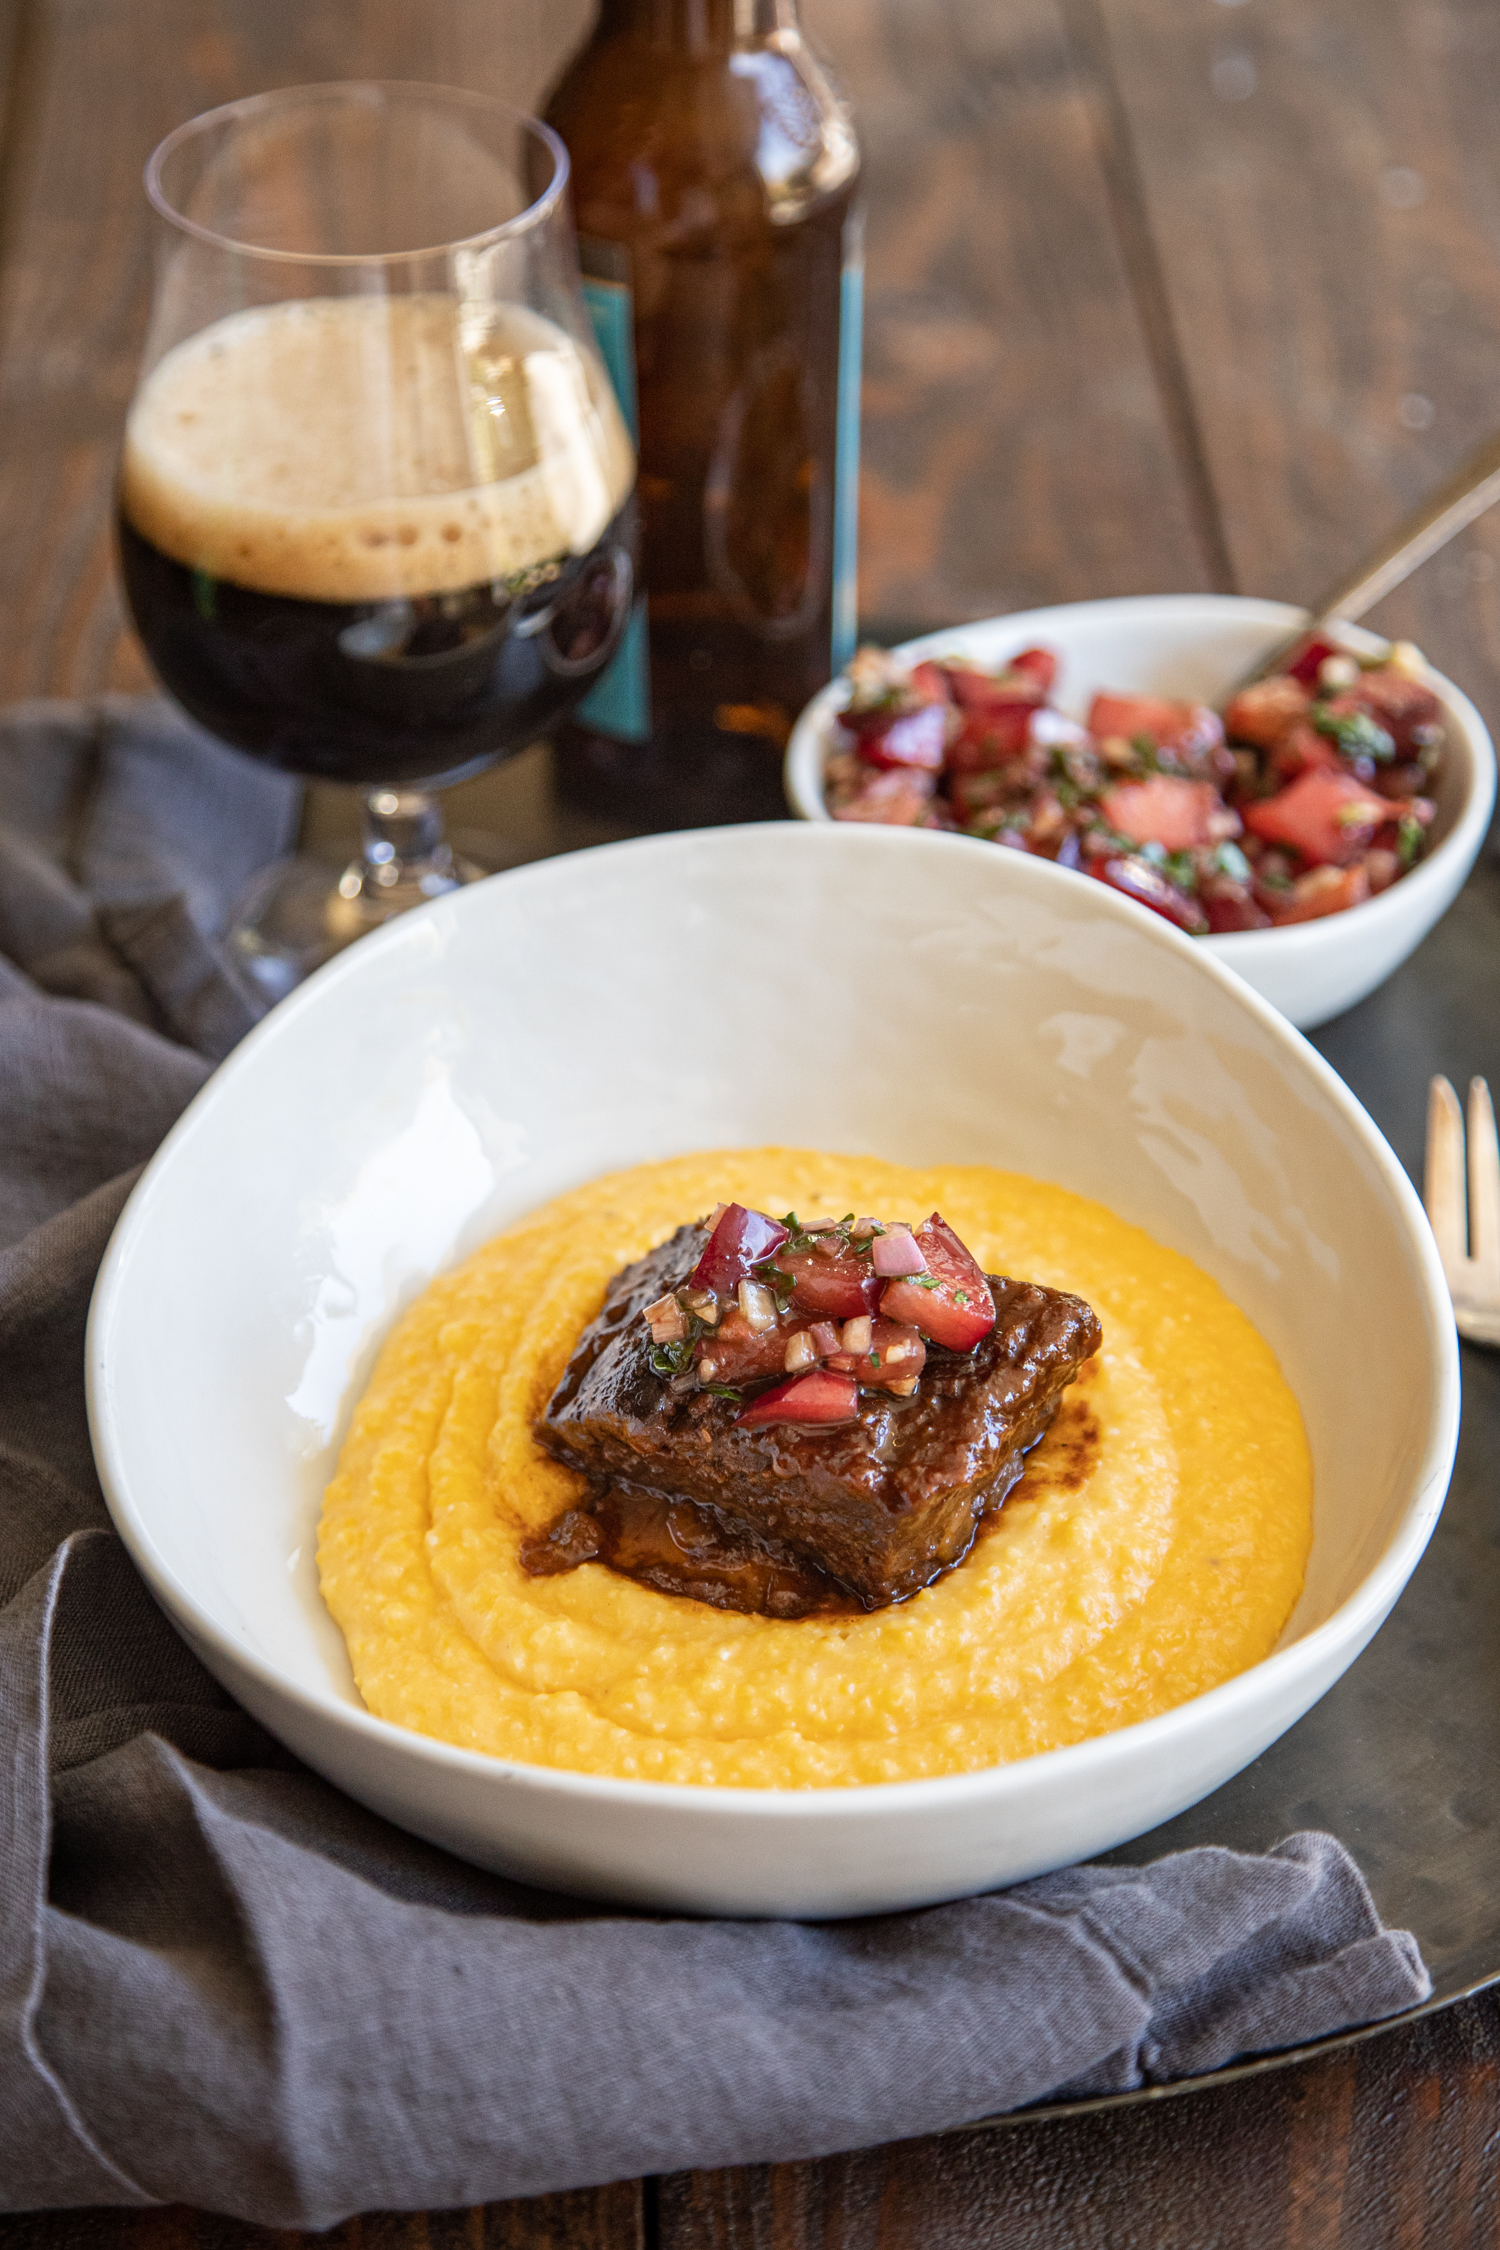
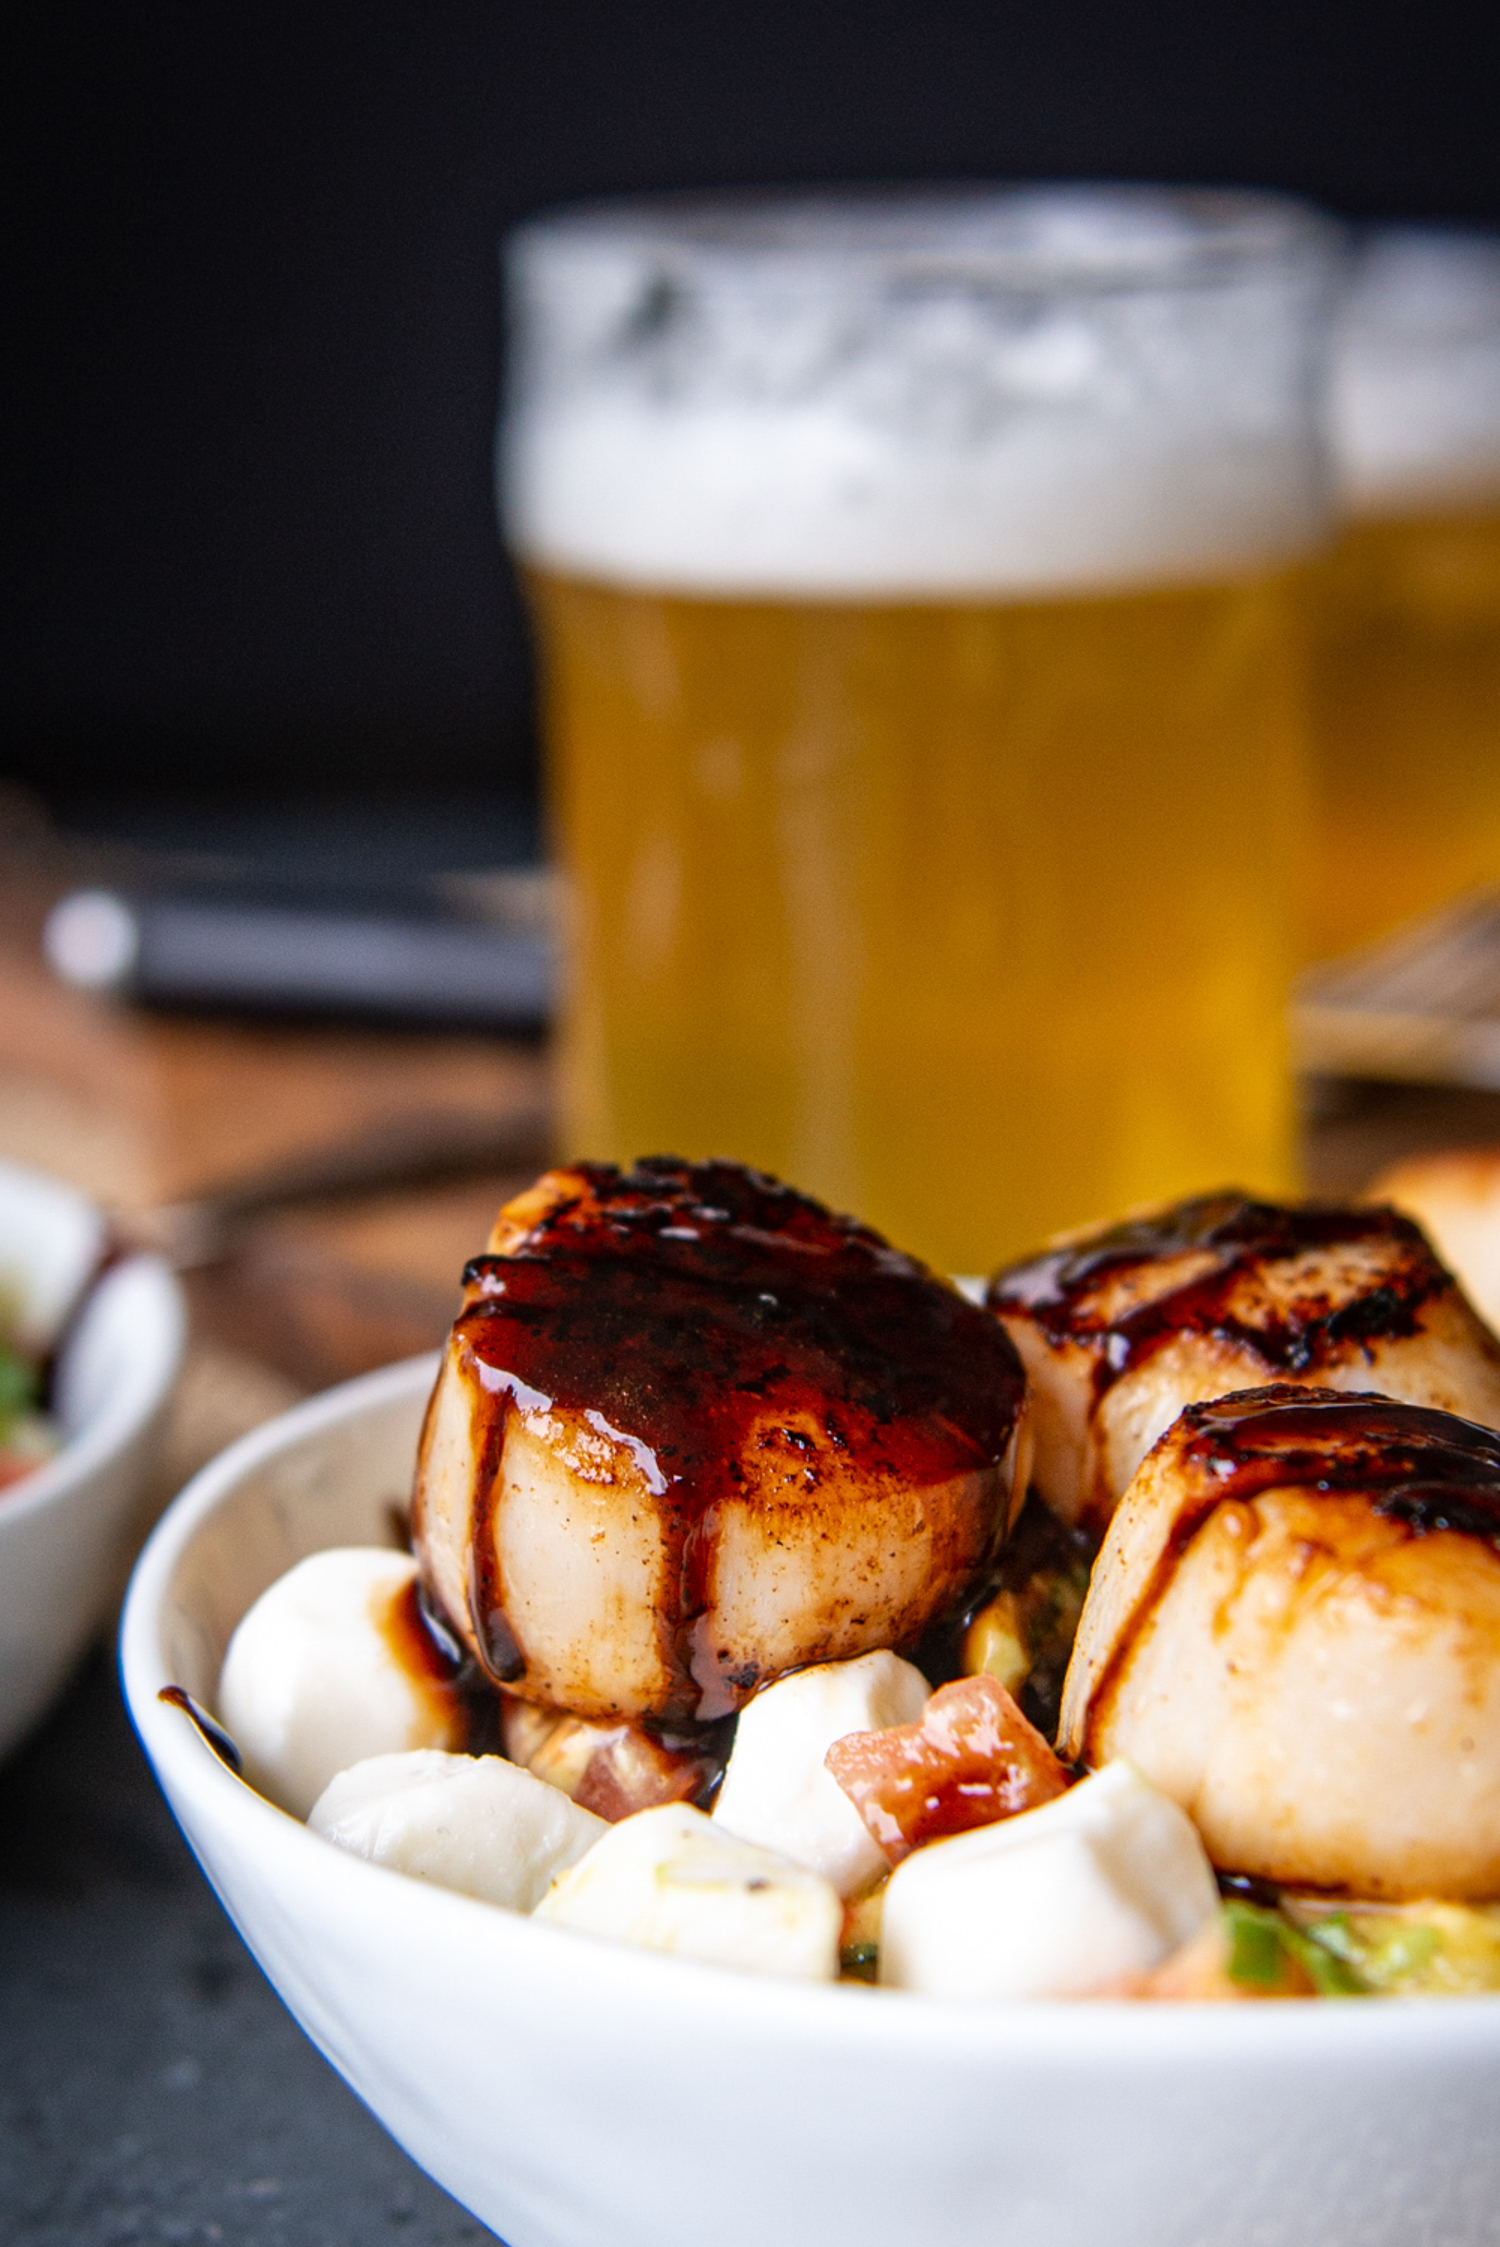
There is such a gorgeous balance when the sweet and lightly acidic tang of the plum cuts through the rich deep flavors and fattiness of the slow-cook beef. Have I convinced you yet? Either way, you obviously have to try it to come to your own conclusion that I’m right. Obviously.
Beer Braised Chinese Five Spice Short Ribs over Mimolette Polenta with Red Plum Chimichurri
Ingredients
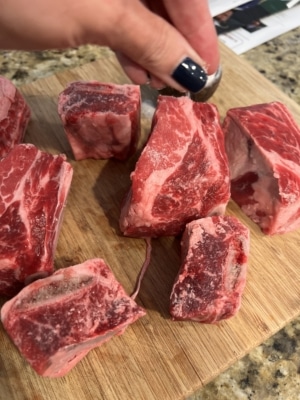
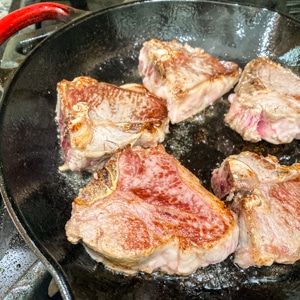
Short ribs
- 2.5 lbs. short ribs
- 1 tablespoon salt
- ¼ cup (30g) flour
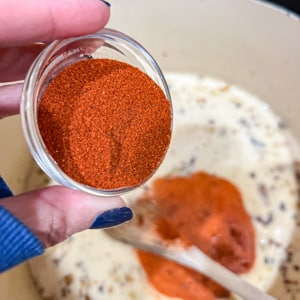
- 3 tablespoons five spice
- 2 tablespoons olive oil
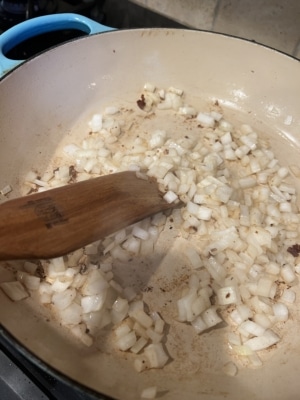
- ½ large sweet white onion about 1 ½ cups, chopped
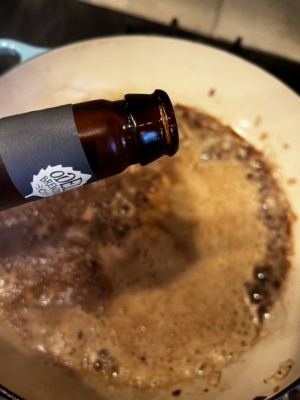
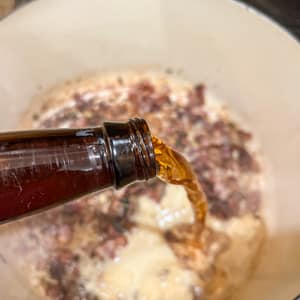
- 1 cup (8oz) stout beer
- 1 cup (236g) beef broth
- 2 tablespoons tomato paste
Chimichurri
- 2 large red plums chopped
- 2 tablespoons chopped shallots
- 1 clove garlic minced
- 3 tablespoons green onions chopped
- 2 tablespoons parsley chopped
- 2 tablespoons aged balsamic
- 1 tablespoons olive oil
- 1 teaspoon salt
Polenta:
- 4 cups (960g) chicken broth
- 1 cup (160g) dry polenta
- ½ cup (120g) heavy cream
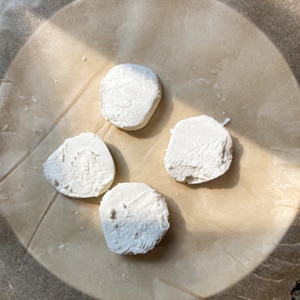
- 3 ounces mimolette cheese shredded
- 1 (6g) salt
Instructions
Make the short ribs:
- Preheat the oven to 325°.
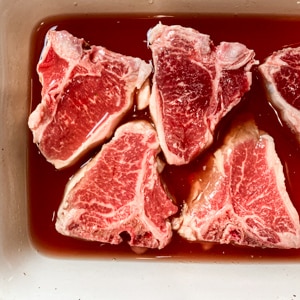
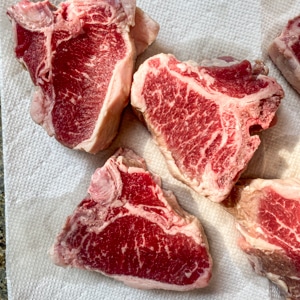
- Salt the short ribs on all sides.

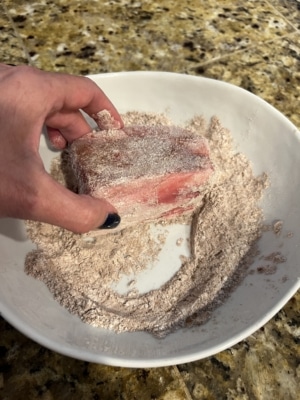
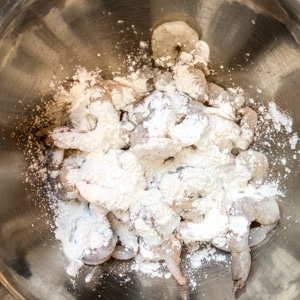
- Add the flour and five spice to a bowl, stir to combine.
- Dredge the short ribs in the flour mixture, coating on all sides.
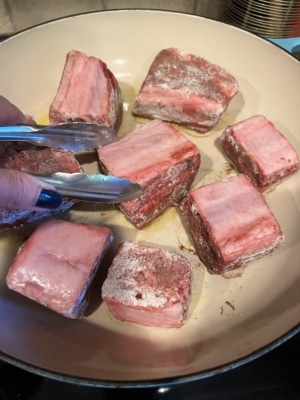
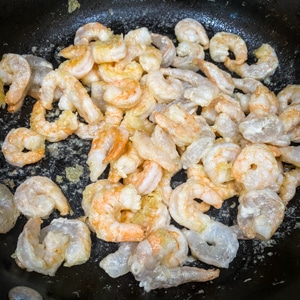
- Heat the olive oil in a pan over medium high heat.
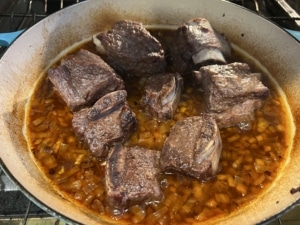
- Sear the short ribs on all sides, remove from pan.
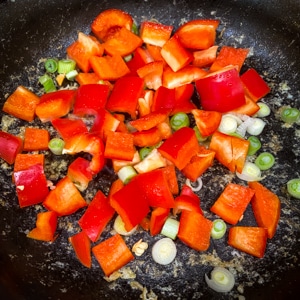
- Add the onions, cooking over medium heat until starting to caramelize, about 15 minutes. Add the beer, scraping to deglaze the bottom of the pan.
- Stir in the broth and tomato paste. Add the short ribs back in, cover, and add to the oven.
- Cook for about 3 hours or until fork tender, checking on the ribs about every hour, turning over and returning to the oven until done.

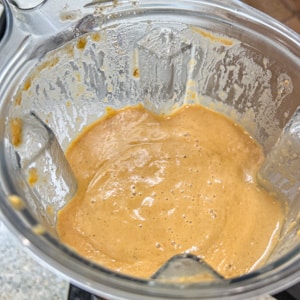
Make the chimichurri:
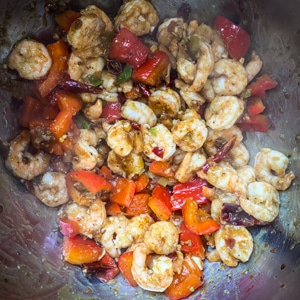
- Add all the ingredients to a bowl, stir to combine.
Make the polenta:
- In a pot over medium-high heat, add the broth, and polenta. Simmer, stirring occasionally, until thickened and polenta has softened, about 20 minutes.
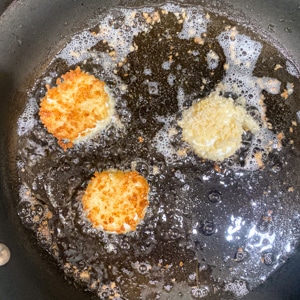
- Stir in the cream, cheese, and 1 teaspoon salt, allow to cook until absorbed, about 5 minutes.
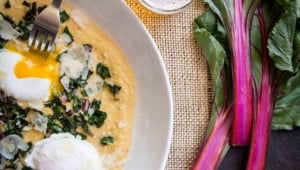
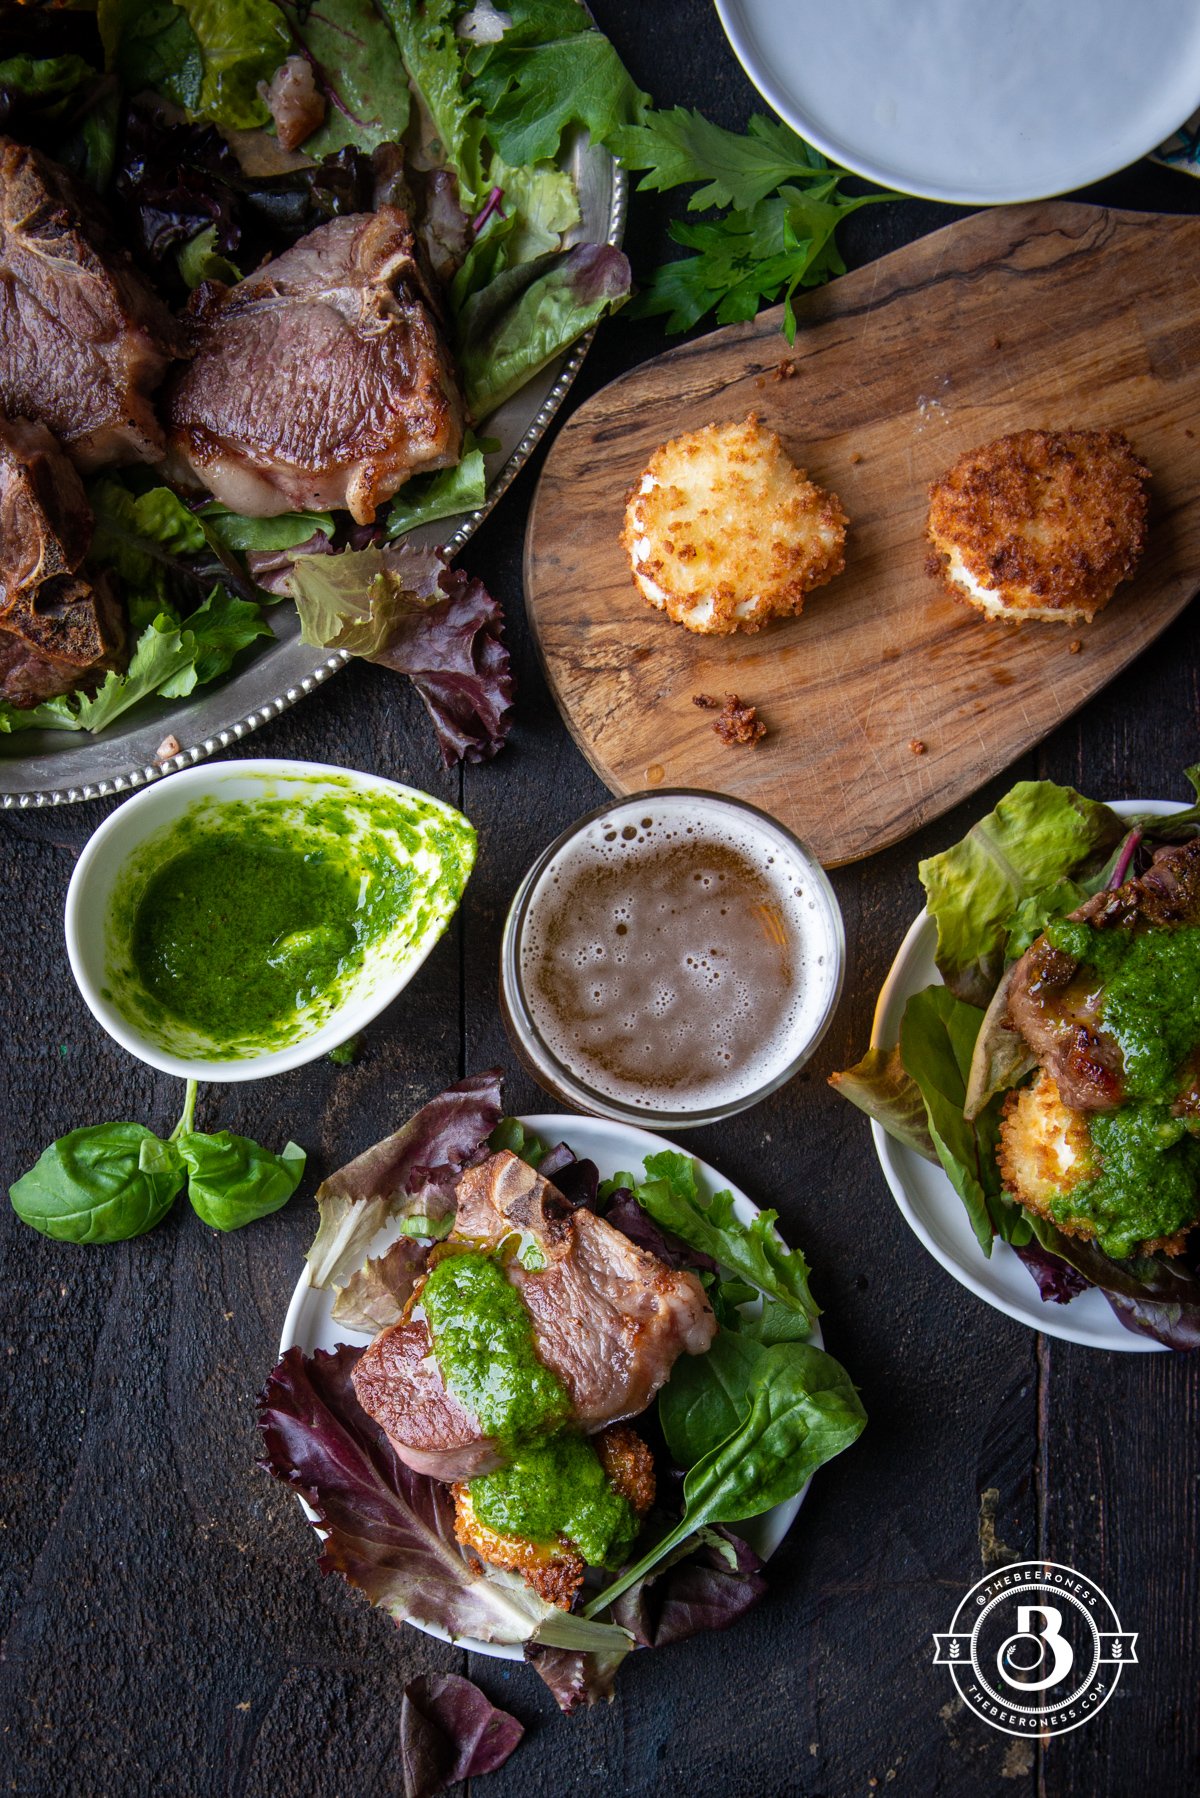
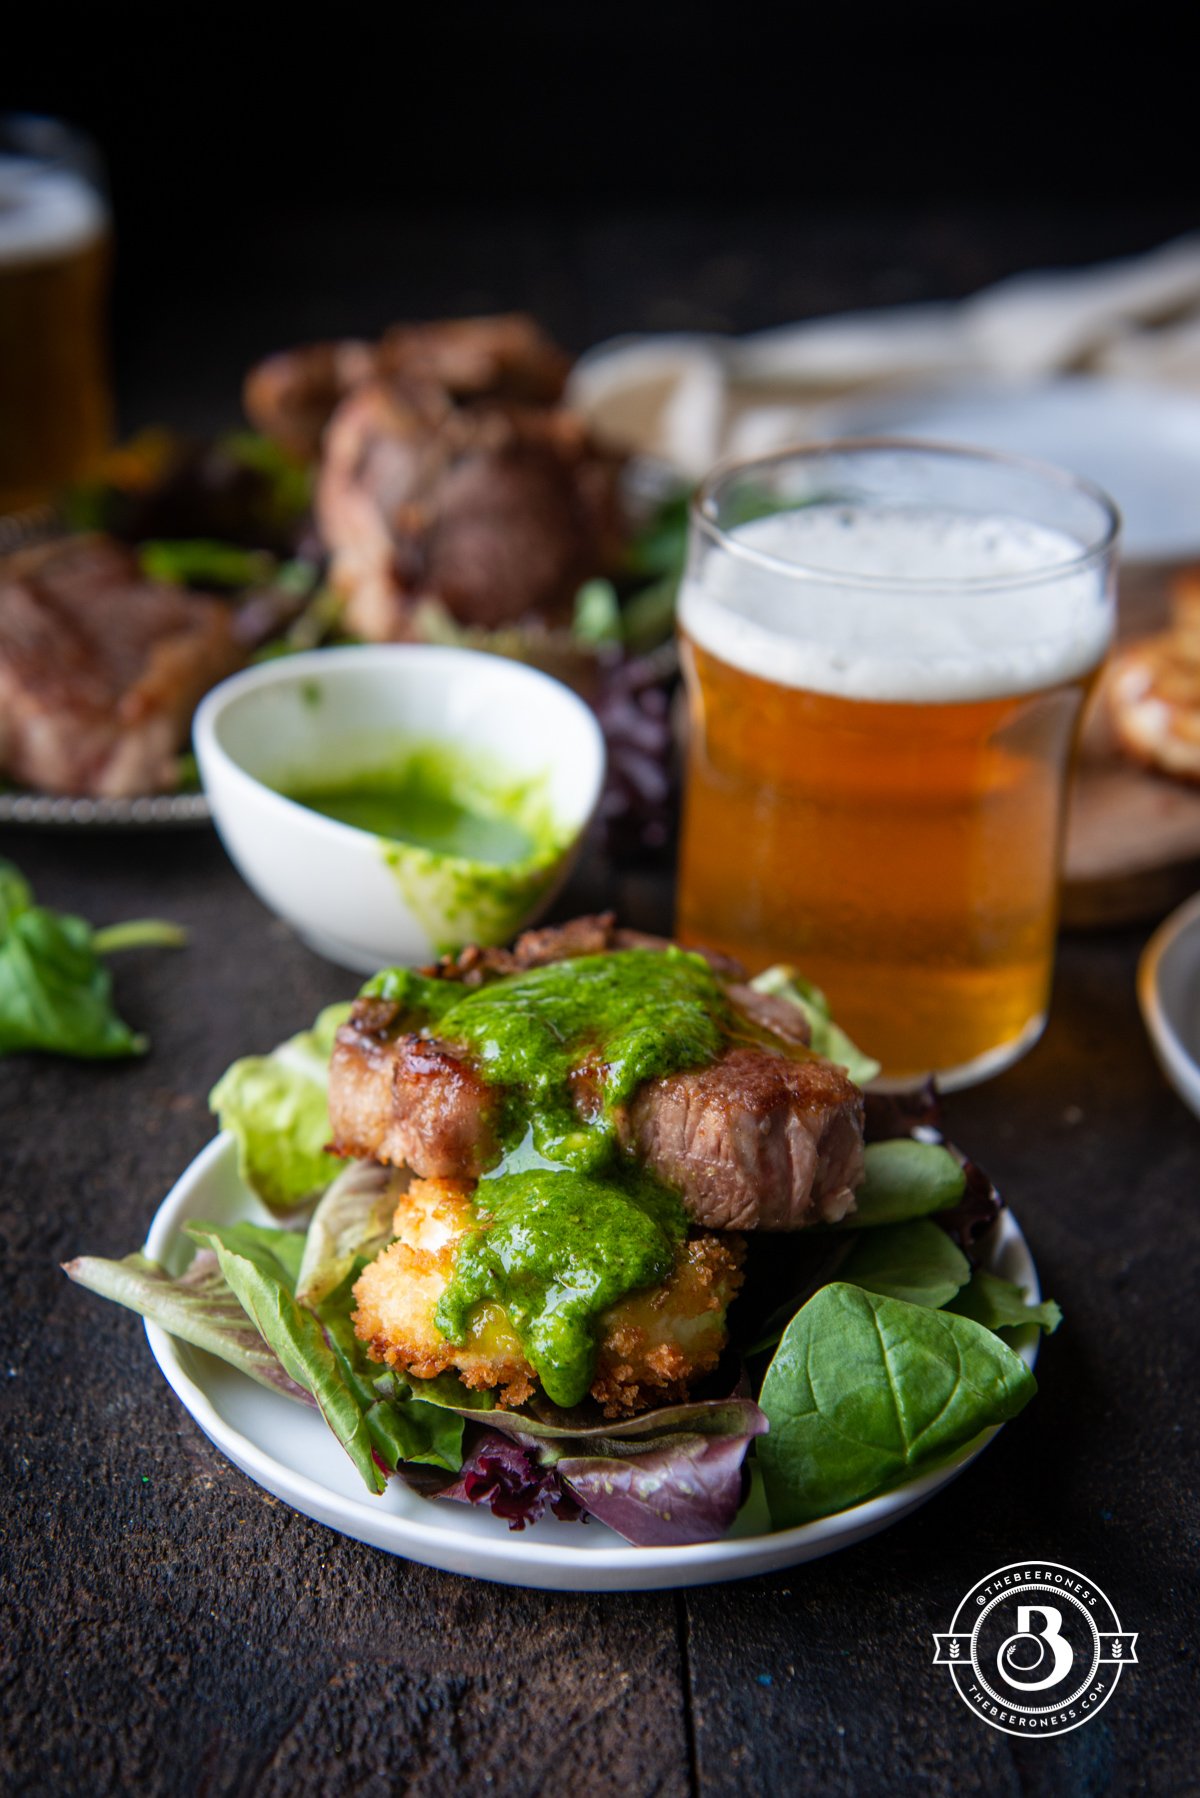
Serve:
- Plate the polenta, top with short ribs, then chimichurri.


