I’ve always been an adventurous eater.
I ate ants in Colombia, snake meat in Greece, mint tea made with a brown liquid I couldn’t identify in Morocco. If it’s new to me, I want to try it. I want to eat all the things, even if I know I’ll hate them. Even the few things I can’t stand, like pears, bananas, and raw celery, if you make them in a way that’s new and exciting, I’ll dive right in. Even if I know with every ounce of certainty that I’ll hate it. Curiosity rules my decision making at time. Even in the midst of my eat-all-the-things ambition, I have a true love for simple food done well.
It took years for me to figure out how to make the perfect steak, and how to cook ribs at home that taste like a southern BBQ, and how to make mac n cheese that’s creamy out of the oven. Sometimes, simple is the most beautiful.
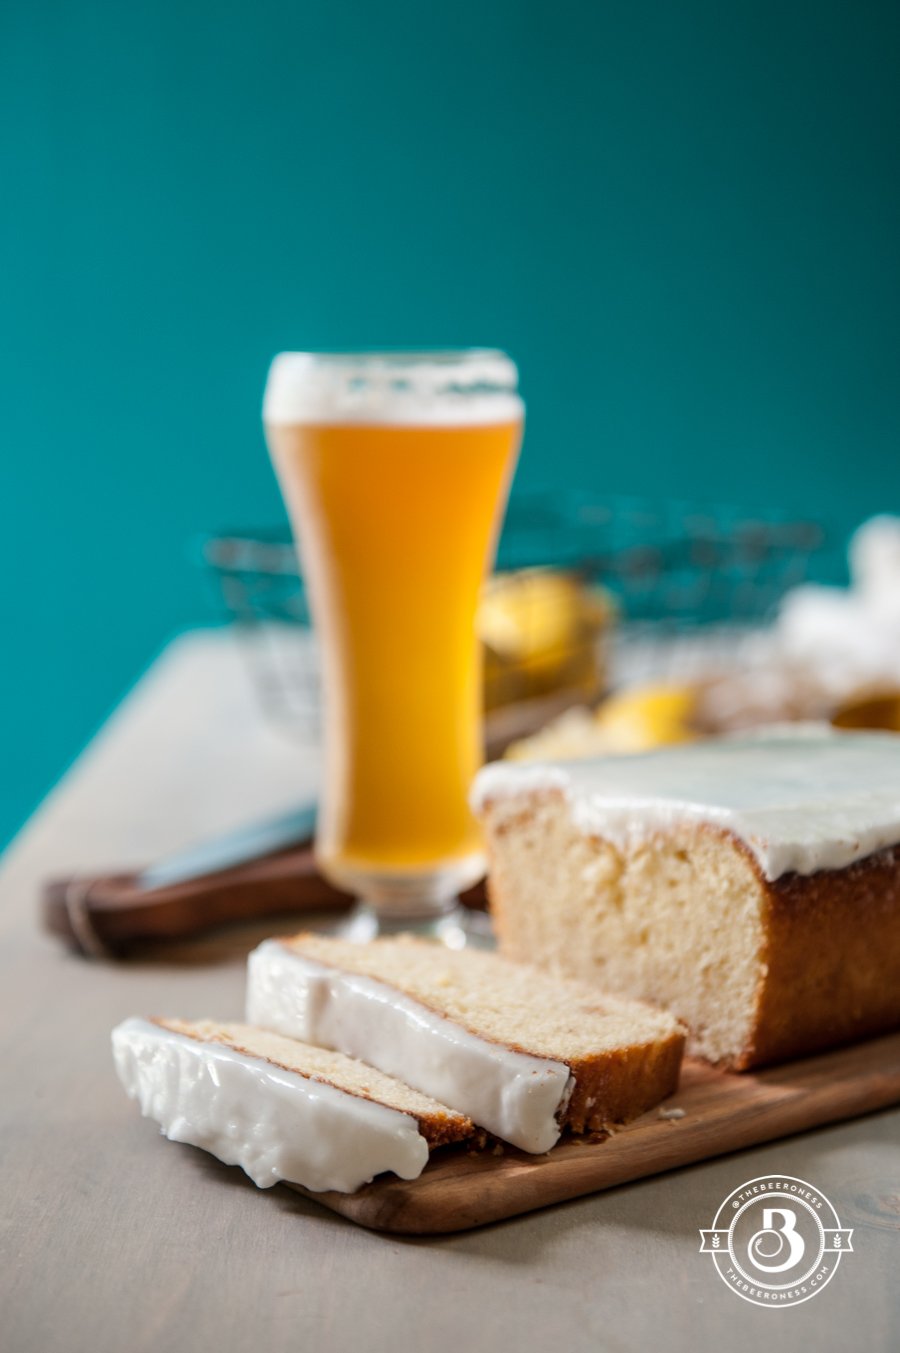
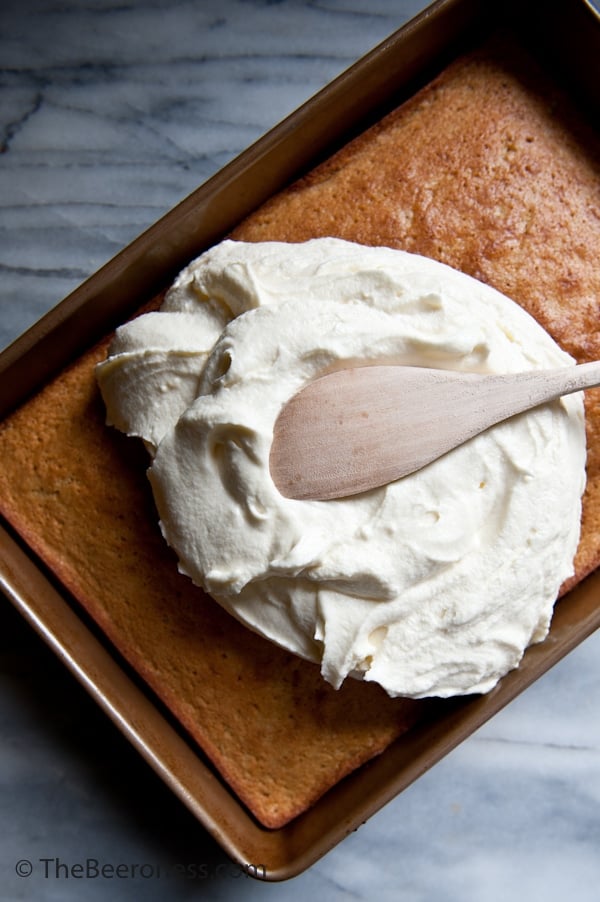
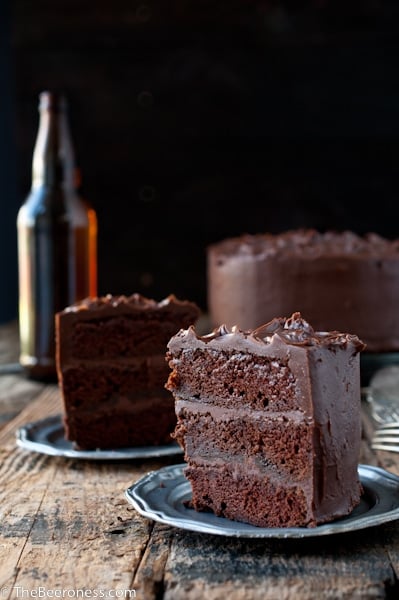
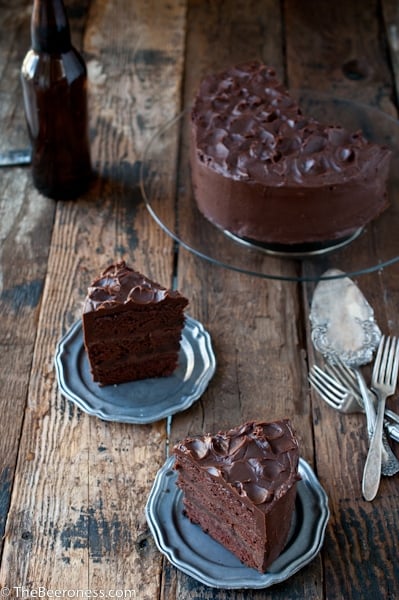
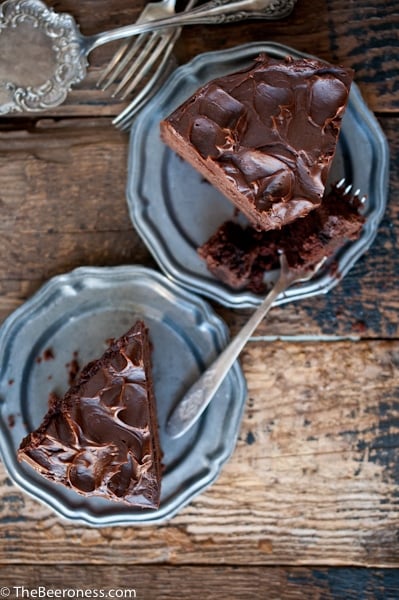
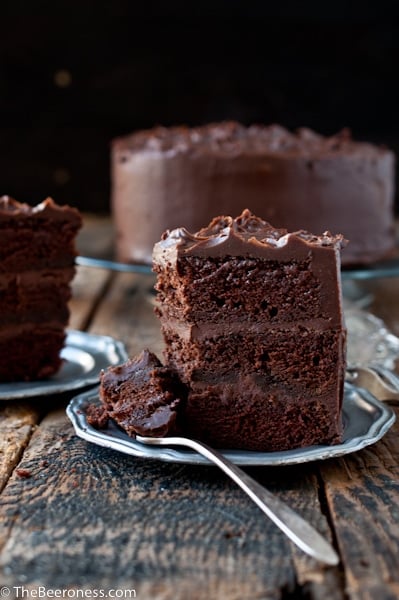
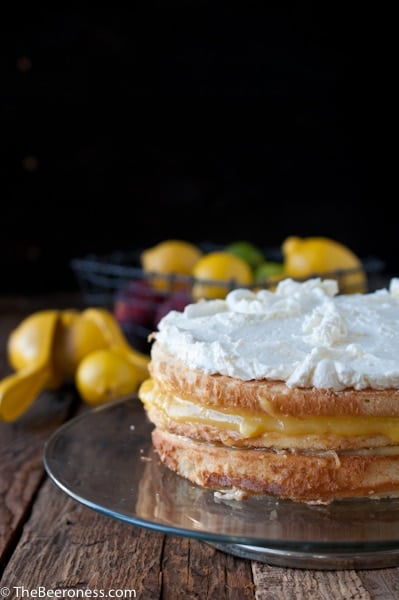
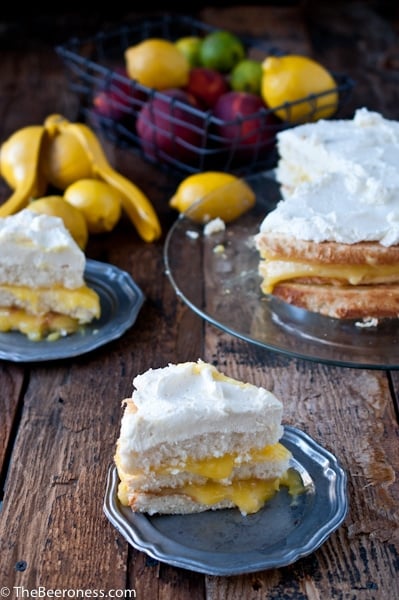
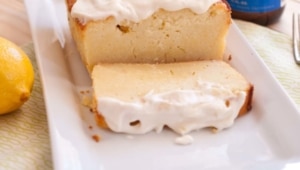
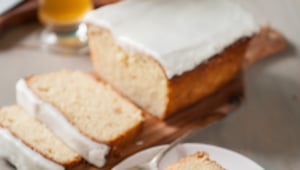
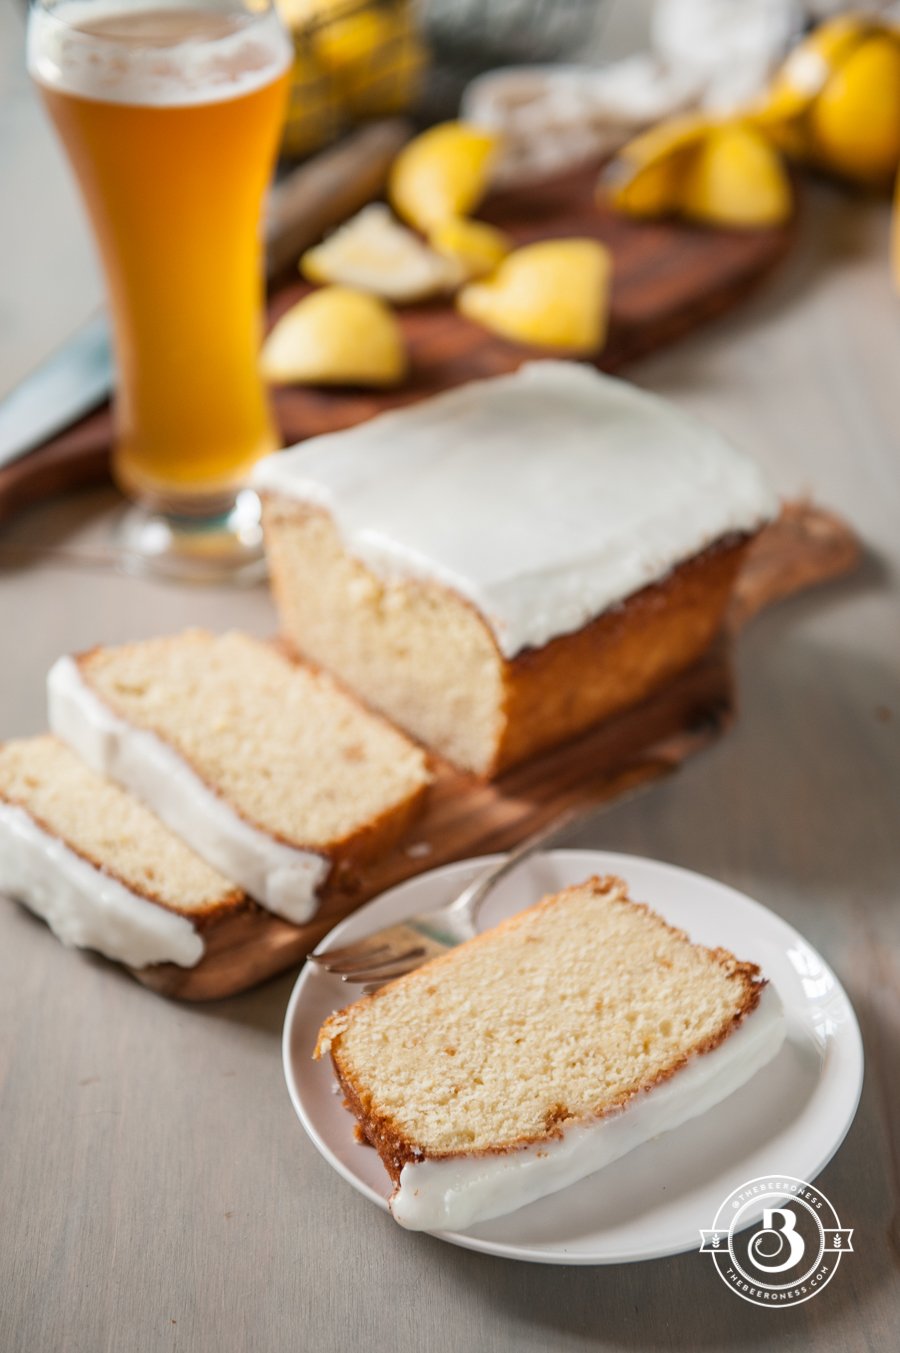
Lemon pound cake is a simple but beautiful food. It’s perfect early in the morning with coffee, or late at night with a beer or a classic rye Old Fashioned. My main goal was the perfect icing. I wanted that thick layer that sits on top like a crown, not dripping down that side. I wanted coffee shop style icing. I figured out that a thick paste, spread on while the cake was still in the pan, then chilled for an hour gave me that gorgeous look. Although I do think this version is better for late-night-with-booze consumption than those cakes served in the morning. But it’s your call.
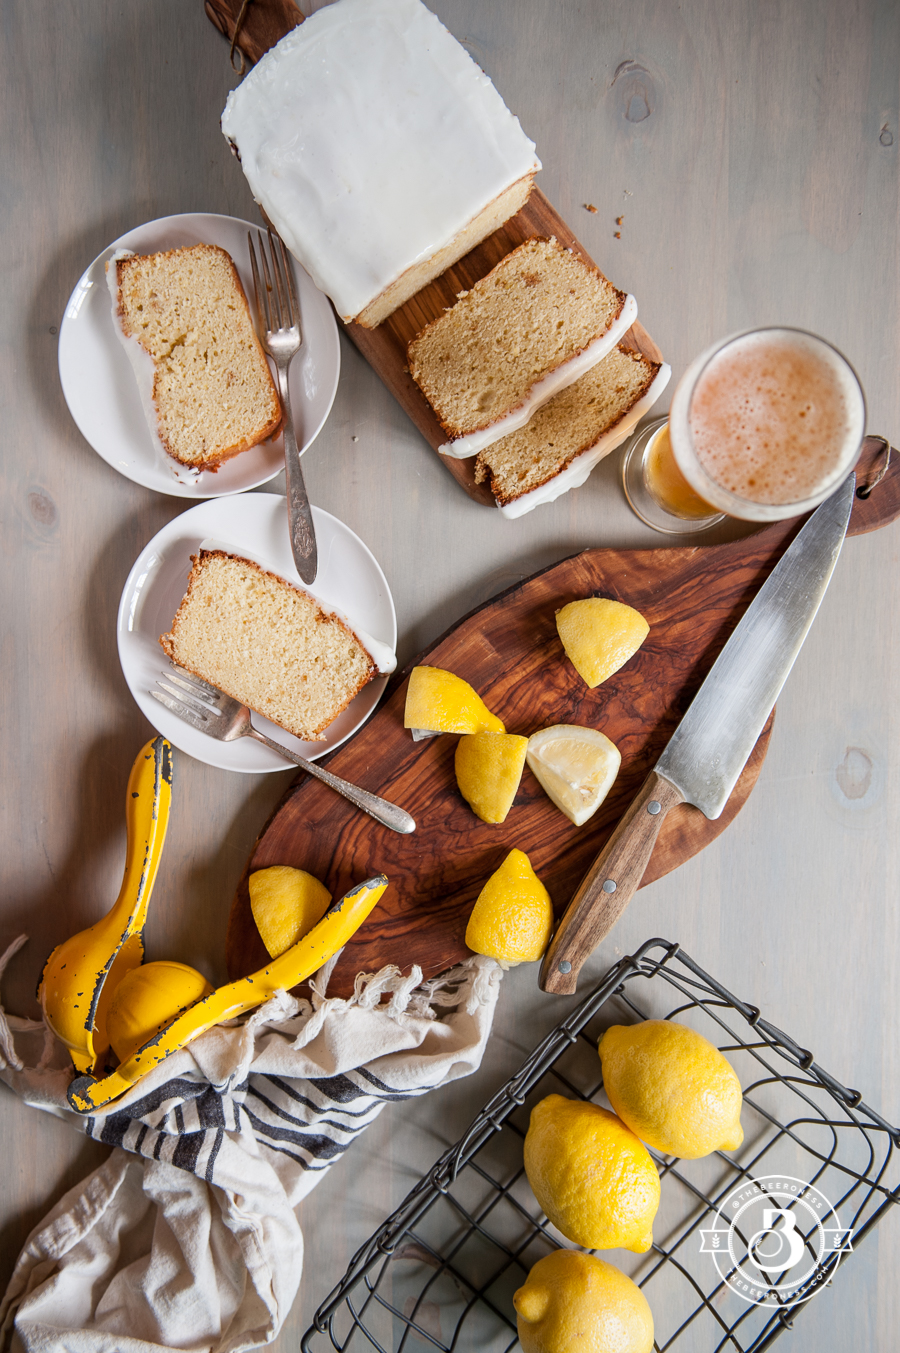
Lemon Beer Pound Cake
Ingredients
- 1 tbs lemon zest
- 1 ¼ cup sugar
- 2 tbs butter softened
- 3 eggs room temperature
- 1 tsp vanilla extract
- 1/3 cup lemon juice
- 1/3 cup wheat beer
- 3 tbs olive oil
- 1 ¾ cups flour
- ½ tsp baking powder
- ½ tsp baking soda
- ½ tsp salt
- Glaze:
- 2 cups 1/2 lbs powdered sugar
- pinch salt
- 2 tsp lemon juice*
- ½ tsp water
Instructions
- Preheat oven to 325.
- In the bowl of a stand mixer add the lemon zest and sugar. Beat for about 2 minutes on high to release the lemon oils into the sugar.
- Add the butter, beat until well combined.
- Add the eggs and vanilla, one at a time, beating well between additions.
- Add the lemon juice, beer and olive oil , beating until well combined, scraping the bottom of the mixer to insure all ingredients are well incorporated.
- Stop the mixer and sprinkle with flour baking powder, baking soda and salt, sitr until just combined.
- Pour into a large loaf pan that has been greased.
- Bake at 325 for 55 o 60 minutes or until cake is golden brown and tooth pick inserted in the center comes back with just a few crumbs attached. Allow to cool completely.
- Stir together the powdered sugar lemon juice and salt to make a thick paste. Spread over the top of the cake, chill until set about 3 hours. Cake is best made a day ahead of time.
- Substitute all of some of the beer to increase the beer flavor.
Notes