If you follow me on twitter, you may have seen my announcement that I shot a TV show for Lifetime back in January. The premise of the show was to take people with interesting ideas for food products and develop those ideas into product lines that end up on grocery store shelves. There is a hole in the market when it comes to beer infused foods. Clearly this is something that people want that currently isn’t being offered on a large scale. The show airs June 22nd on Lifetime, my episode airs on August 22nd at 10:30pm on Lifetime, you’ll have to watch to see how it all turns out for me. Beyond my story, the show was well cast with incredible people, all with stories to tell and passion for what they make.
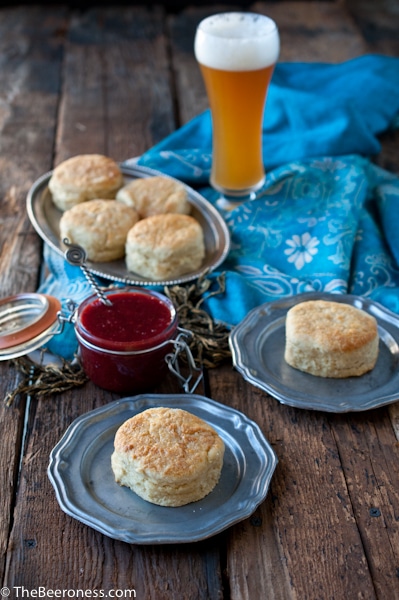
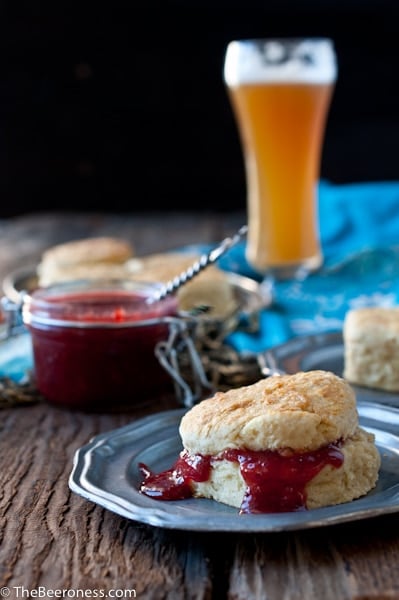
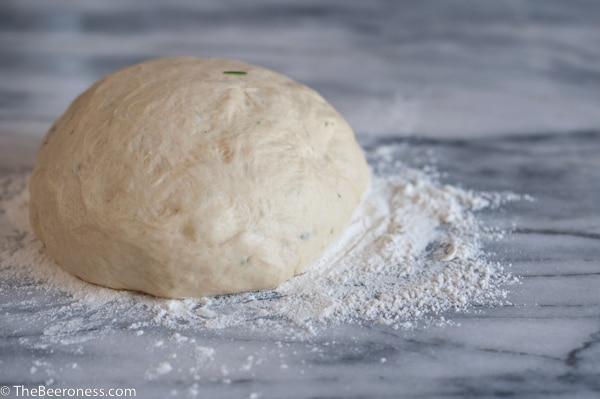
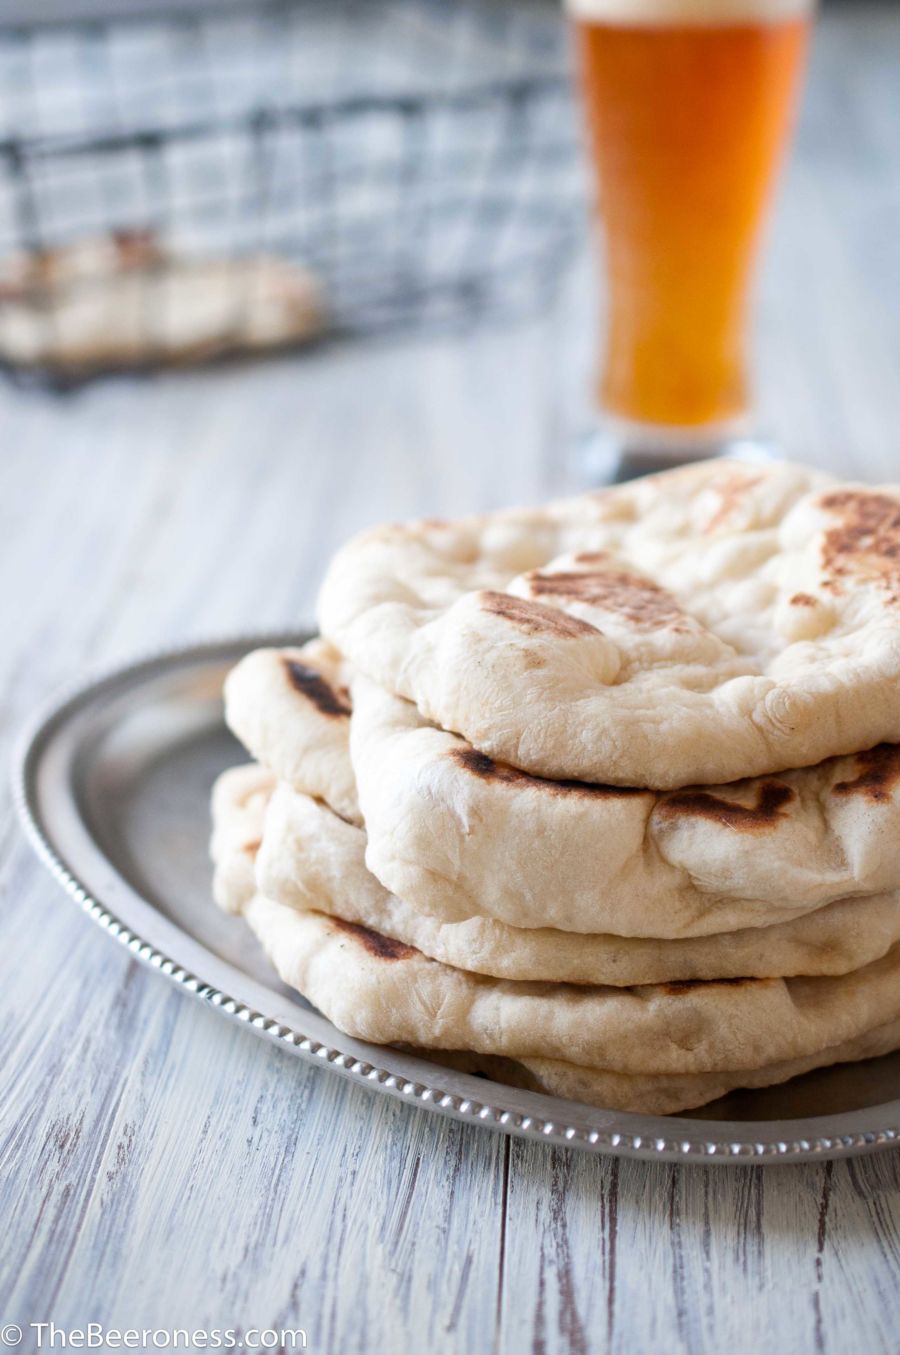
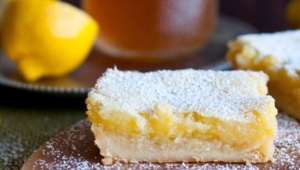
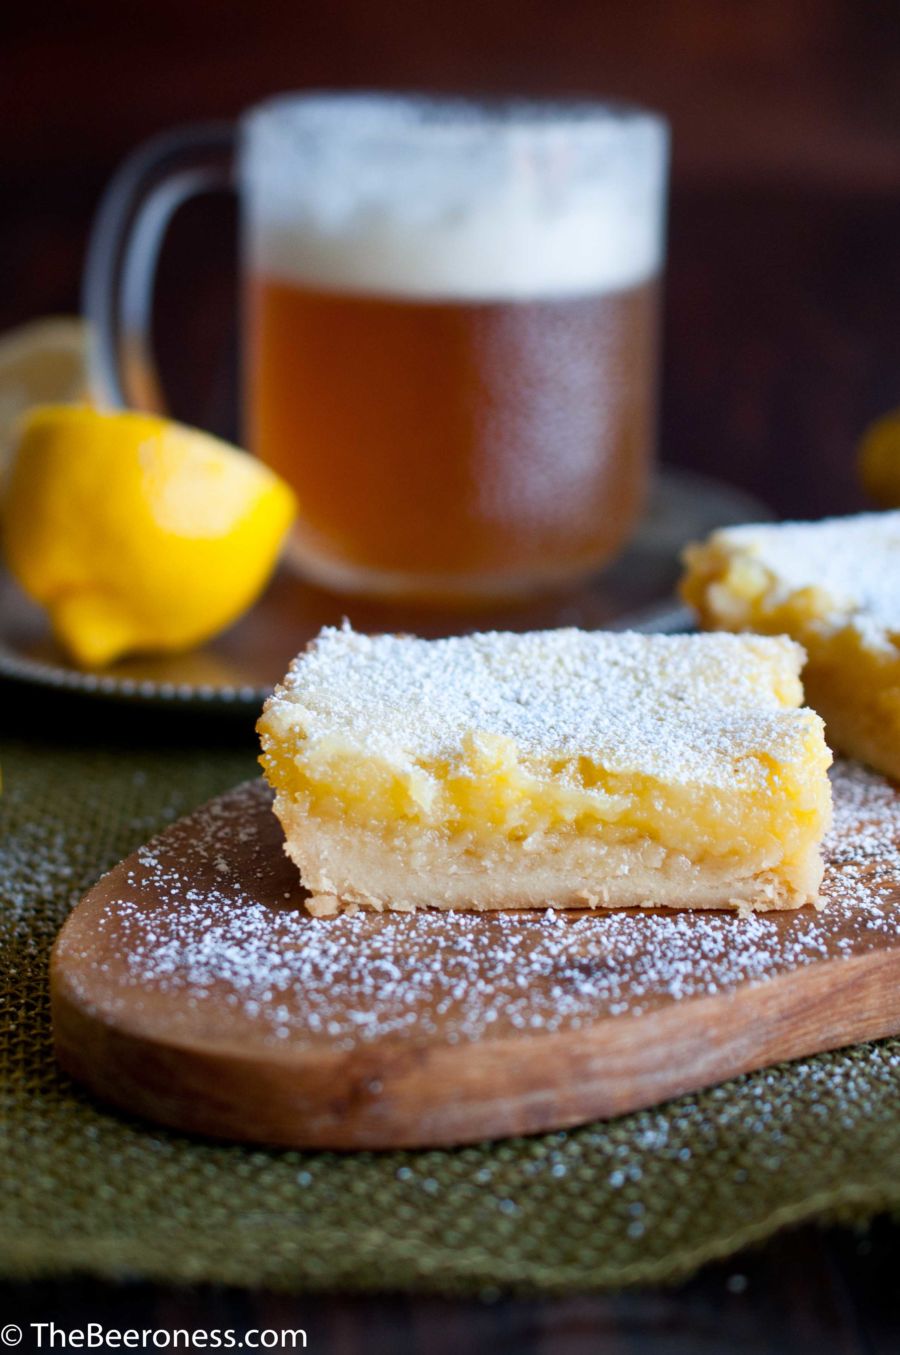
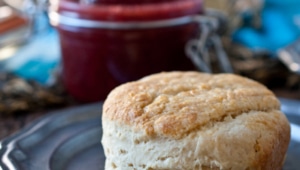
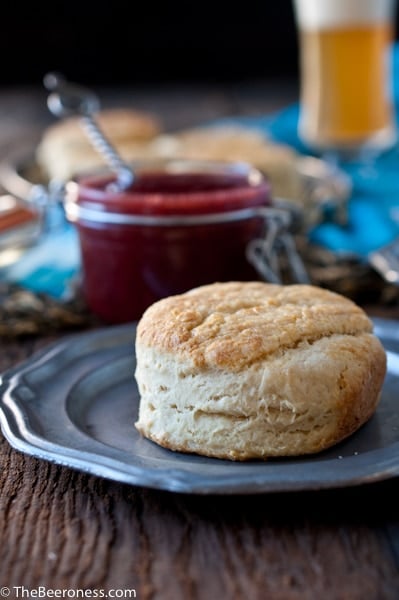
These biscuits, which would be a fantastic addition to a beer infused food line, are the best biscuits I’ve made so far. The technique creates these beautifully flakey layers, the beer lightly leavens the dough, leaving behind soft notes of beer on the finish. For both the sauce and the biscuits I used Mischief from The Bruery.

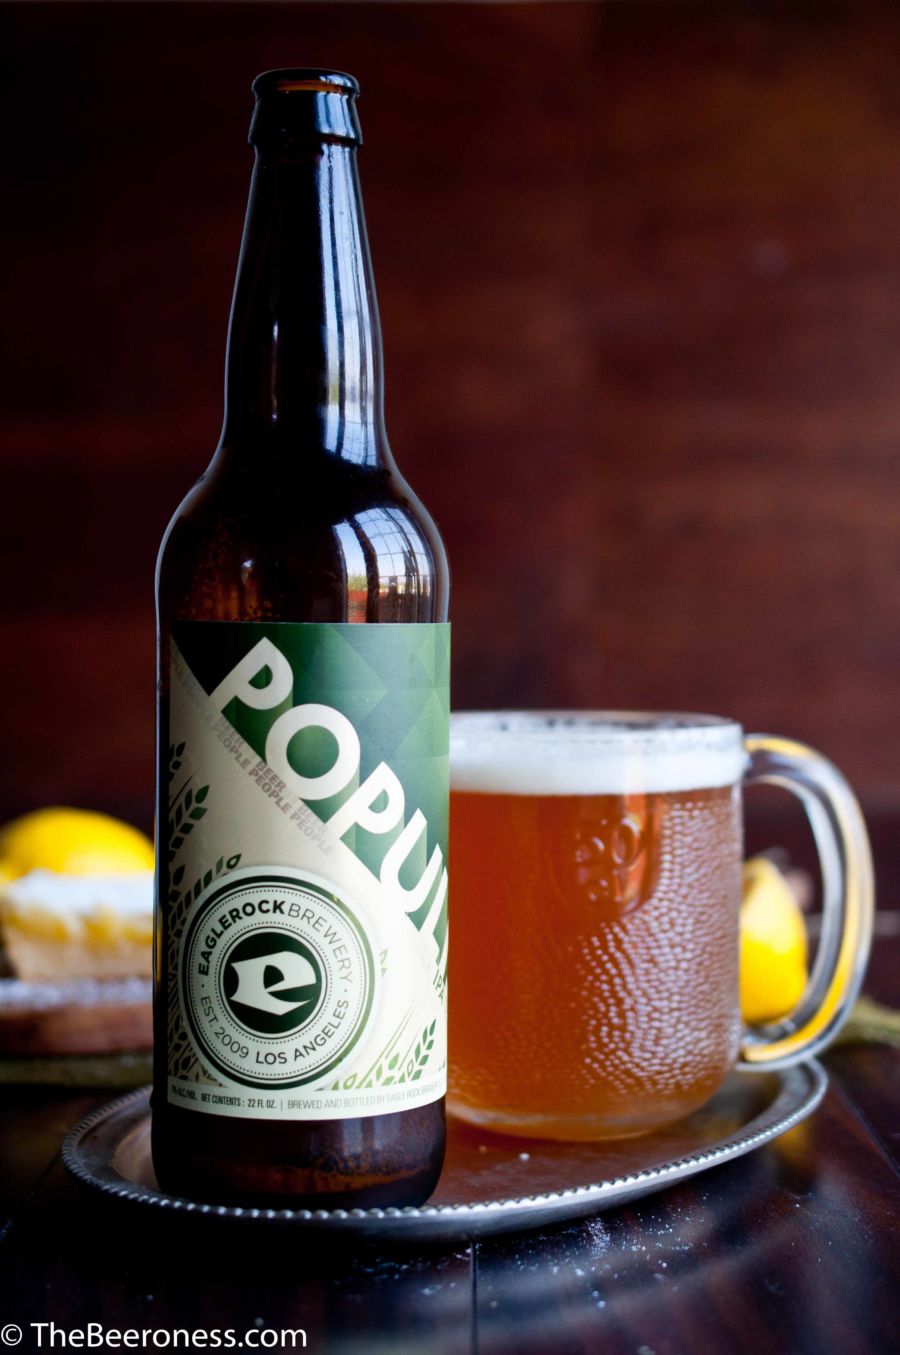
There are two types of breweries that I respect, those that offer accessible beer that’s consistent and well done. Solid beer that can be held up as excellent examples of their represented styles. The Bruery is the other type. They aren’t afraid to break a few rules, they make that clear with the spelling of their name. There is nothing traditional about the beer that comes out of this place, it’s innovative, experimental and exciting. It’s a place that you take a true beer lover, not someones who "like some beer, sometimes." It’s not among the beer I recommend for those who want an easy introduction to craft beer, it’s beer for beer lovers. It’s were you go when you want to see the limits of beer being challenged.
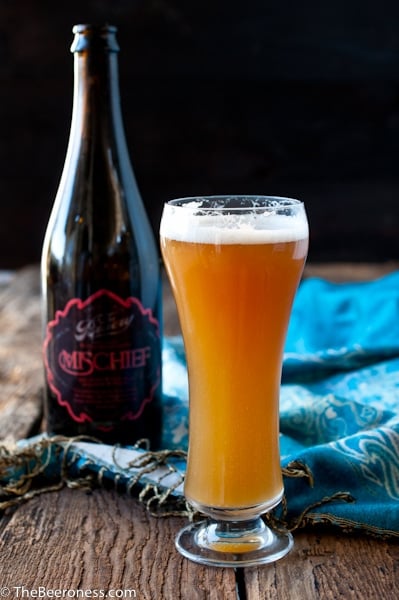
To be honest, I don’t always fall in love with what The Bruery makes, but I’m always intrigued, I always want to try what they’ve come up with because it’s clear how thoughtfully made every batch is. Mischief is one of my favorites. It’s beautifully well rounded with notes of bread, yeast, citrus, grass, with a bit of spice and apricot. It also comes in a bottle that’s a perfect fit for a champagne recorker which comes in handy when you want to open a large 750ML bottle in the morning to make biscuits and want to save the rest for later in the day. It also well distributed, I’ve even heard rumors of it making it past the Booze Guards to the North to earn spots on shelves in Canada.
Another amazing Bruery creation is Black Tuesday, available in October. If you’re near Orange County in late October, it’s worth a drive to the tasting room just for that beer.
If you can’t get your hands on Mischief (although you should try, it’s a great beer) looks for a hoppy Belgian ale or Hefeweizen for this recipe.
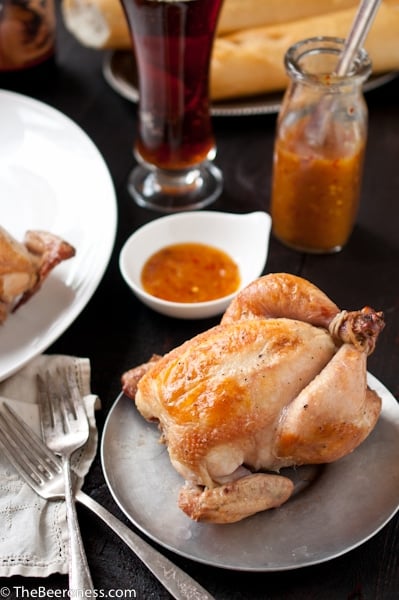
Honey Beer Biscuits with Strawberry Belgian Ale Sauce
Ingredients
For the Strawberry Sauce:
- 2 cups sliced strawberries
- 1 cup sugar
- 1 cup Belgian ale or hoppy wheat beer
For the biscuits:
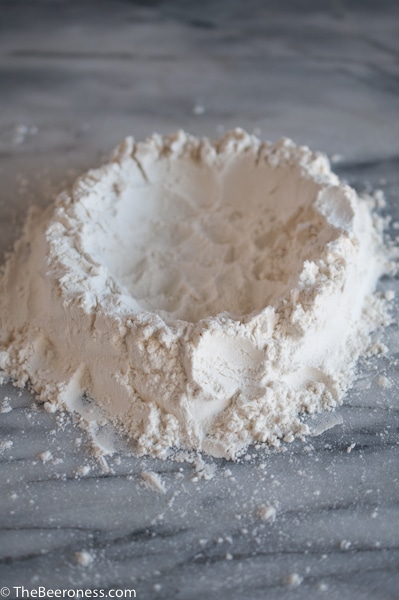
- 3 1/2 cup all-purpose flour
- 2 tsp baking powder
- 1 1/2 tsp baking soda
- 1 tsp salt
- 8 tbs butter cut into cubes
- 1 tbs honey plus 2 tbs (divided)
- 1/2 cup whole milk
- 2/3 cup Belgian ale or hoppy wheat beer
- ¼ tsp course sea salt
Instructions
To make the strawberry sauce:
- Add the strawberries, sugar and beer to a saucepan over medium high heat.
- Allow to simmer, stirring occasionally, until reduced and thickened, about 20 minutes.
- Add to a food processor or blender, blend until smooth.
To Make the Biscuits:
- Preheat oven to 425.
- In a processor add flour, baking powder, baking soda, and salt.
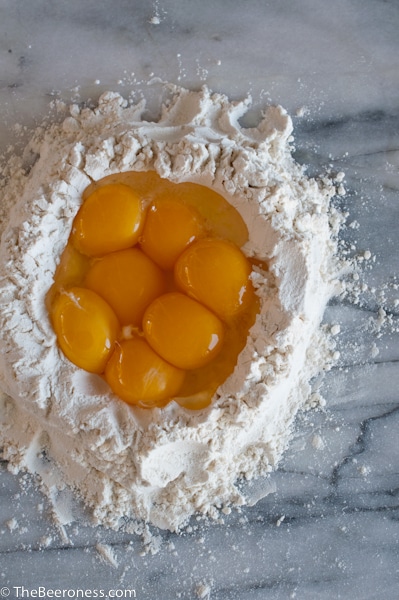
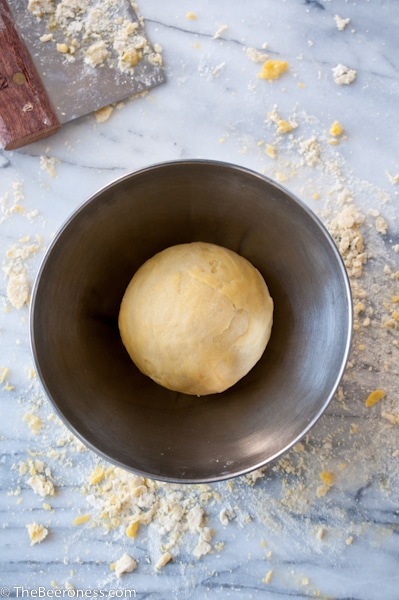
- Pulse to combine. Add the butter and 1 tbs honey, process until well combined. Add to a large bowl.
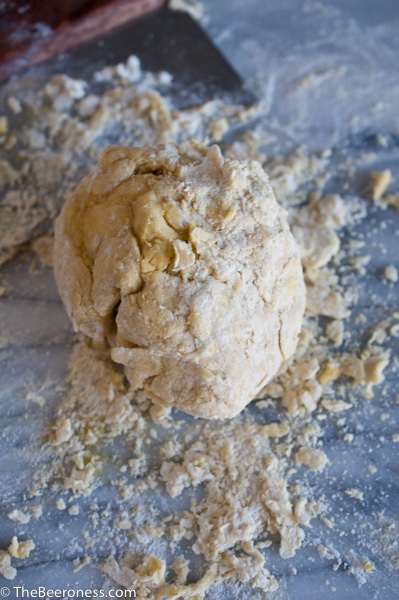
- Add the milk and beer. Mix with a fork until just combined.
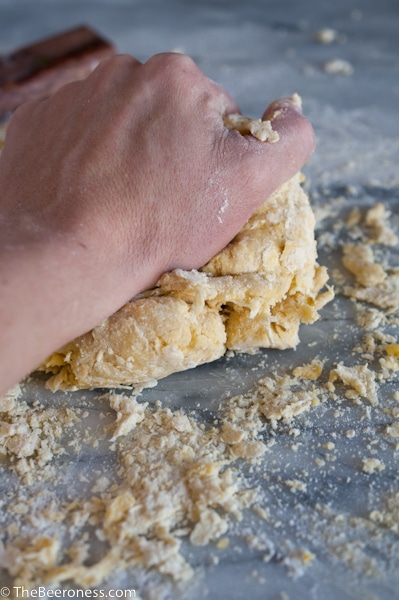
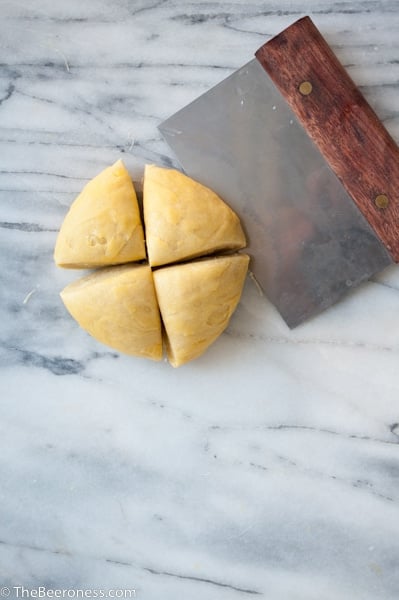
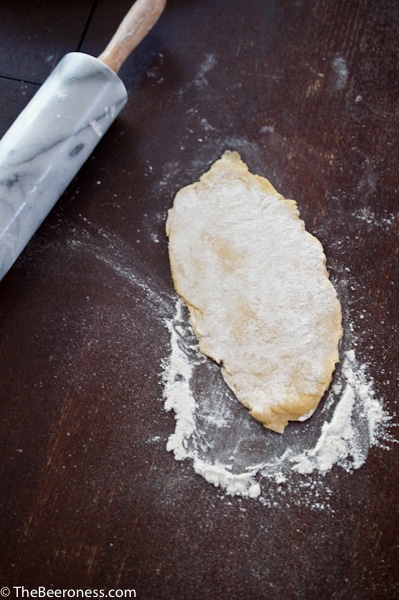
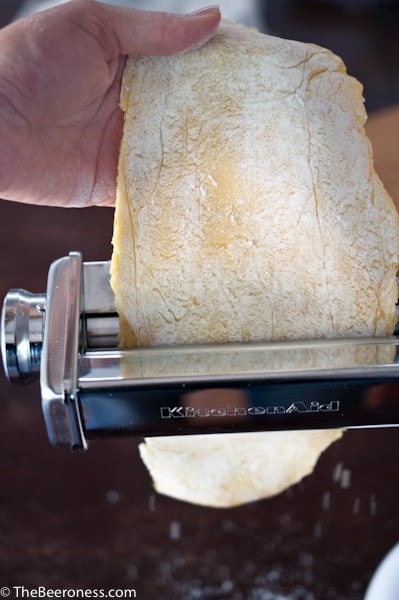
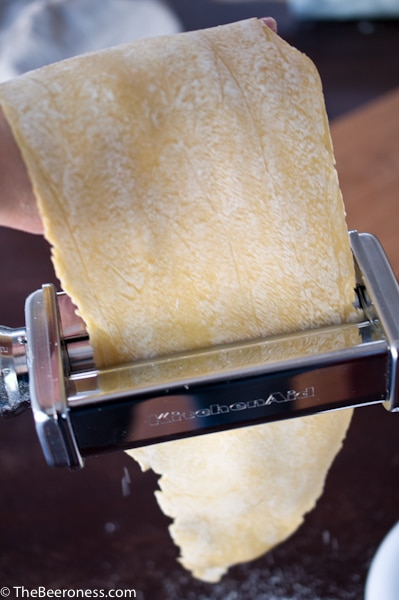
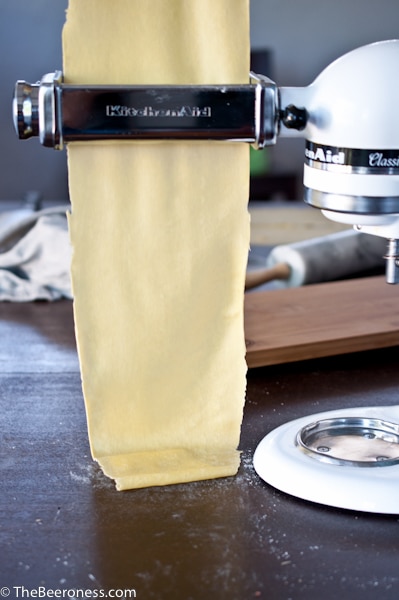
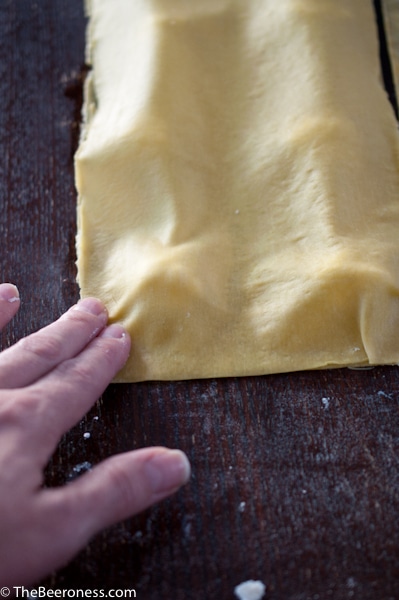
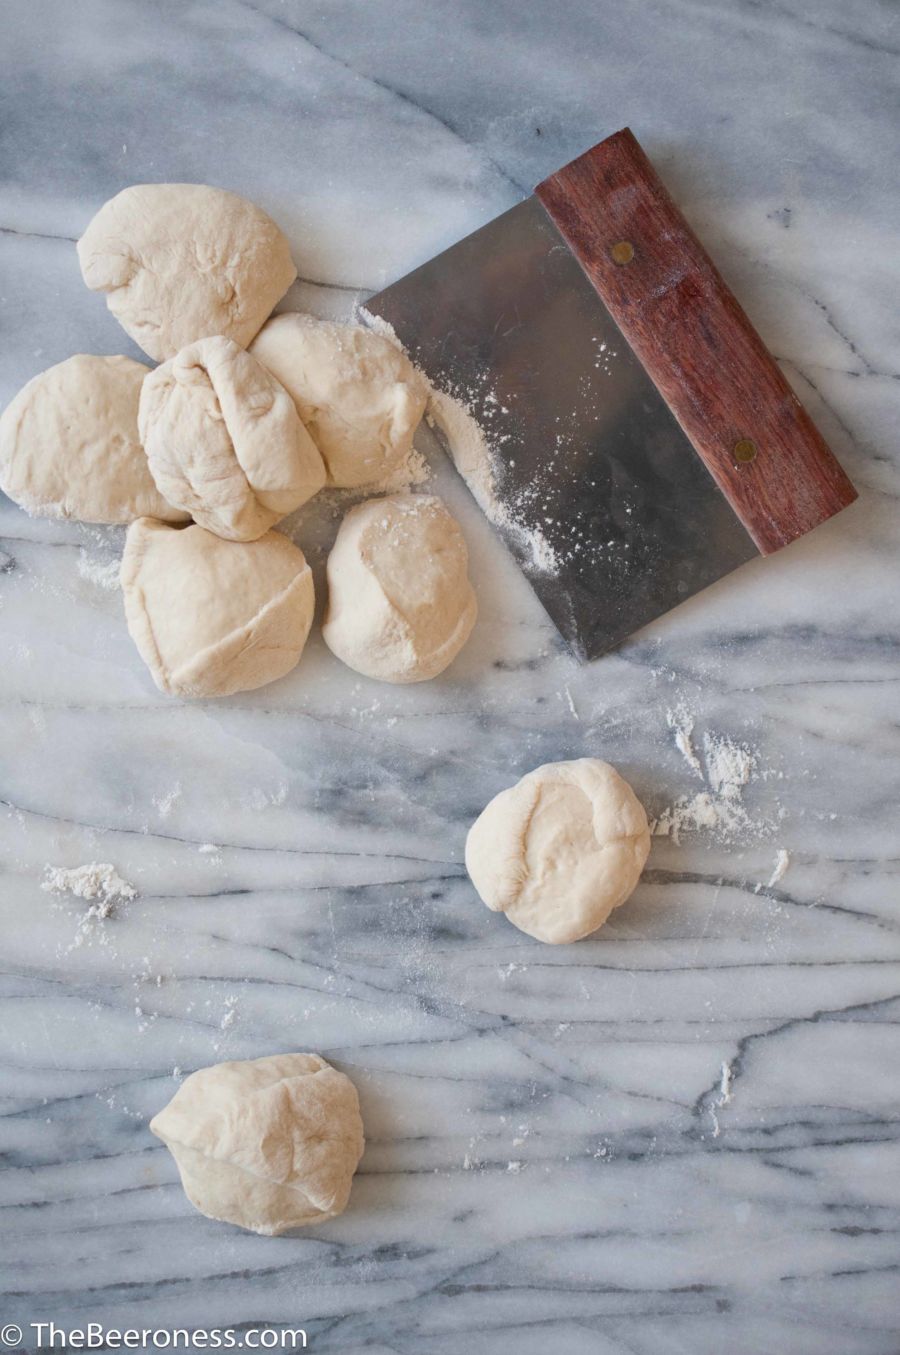
- Add to a well-floured flat surface, pat into a rectangle. Using a cold rolling pin (preferably marble) gently roll into a large rectangle, about 1 inch in thickness, using as few strokes as possible.
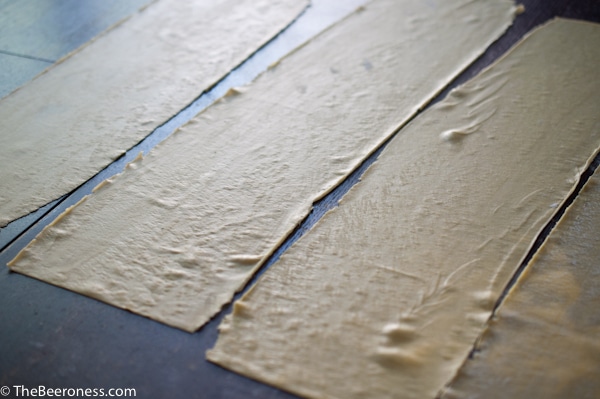
- Fold the dough into thirds as you would a letter about to go into an envelope. Roll lightly, once in each direction to about 1 inch thickness, fold in thirds again. Gently roll into about 1 1/2 inch thickness (this will give you the flakey layers).
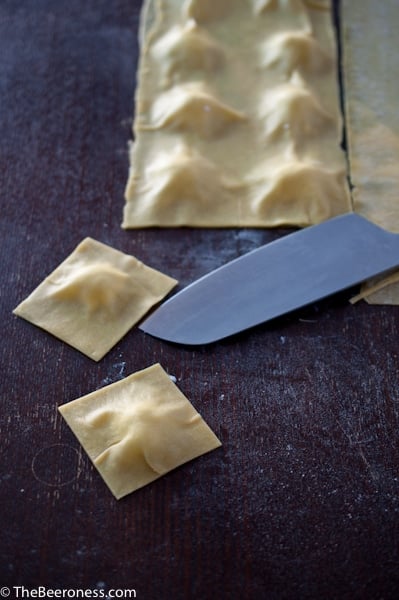
- Using a biscuit cutter cut out 6 to 8 biscuits. Place in a baking pan that has been sprayed with cooking spray.
- Add the remaining 2 tbs honey to a microwave safe dish. Microwave for about 15 seconds or until thinned.
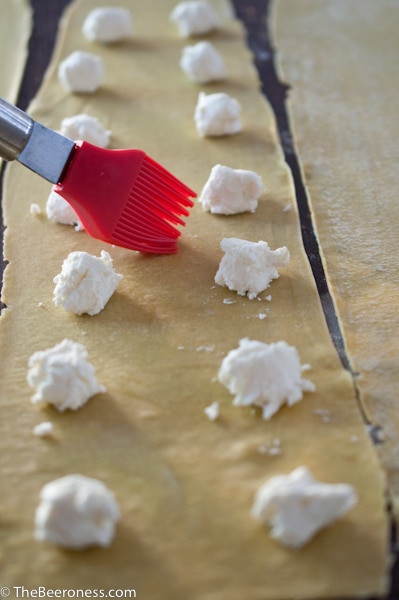
- Brush biscuits with honey and sprinkle with salt.
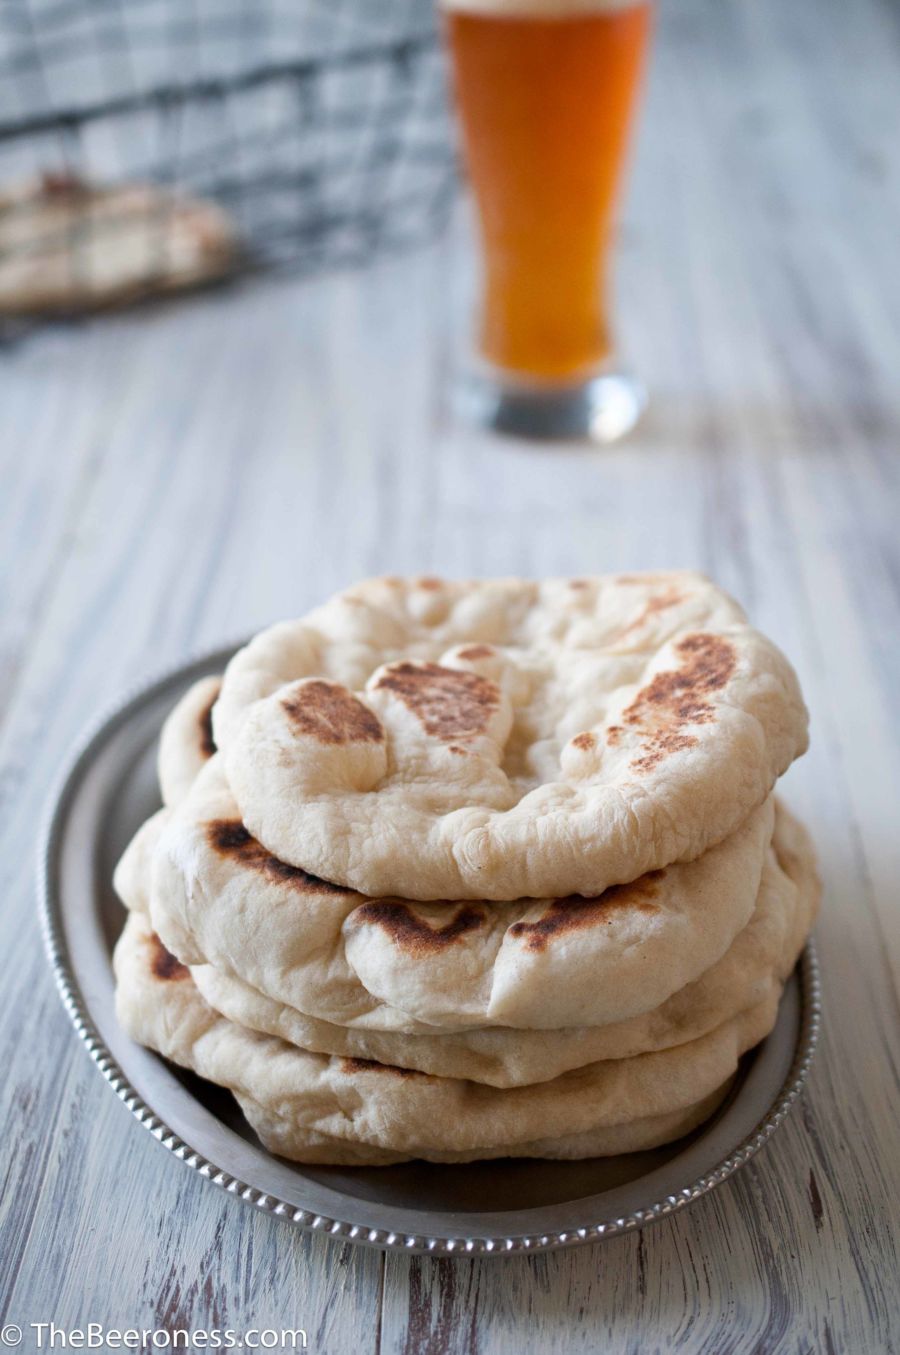
- Bake at 425 for 10 to 12 minutes or until the tops are golden brown.
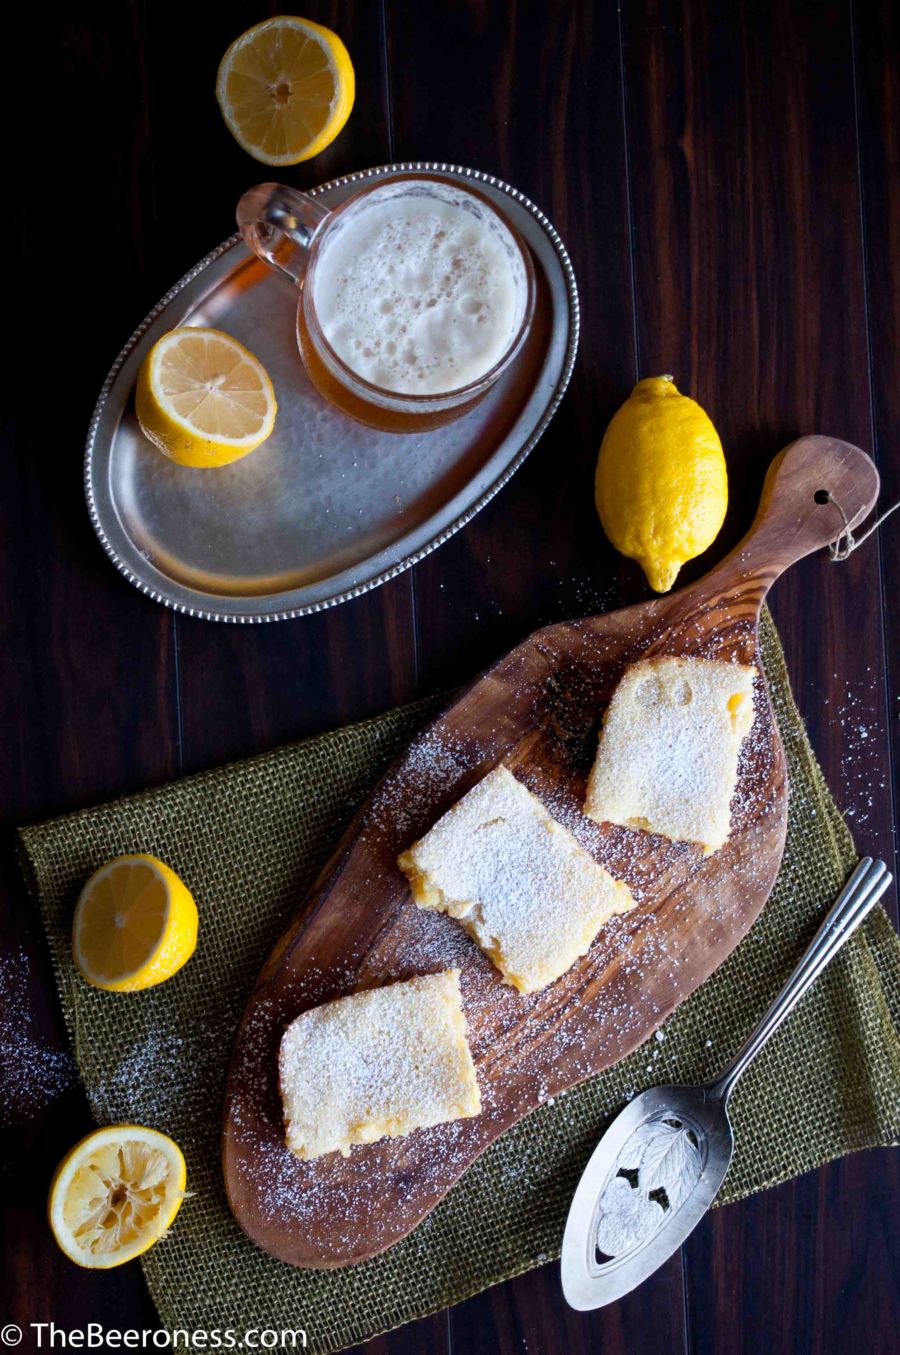
- Serve warm with strawberry sauce