

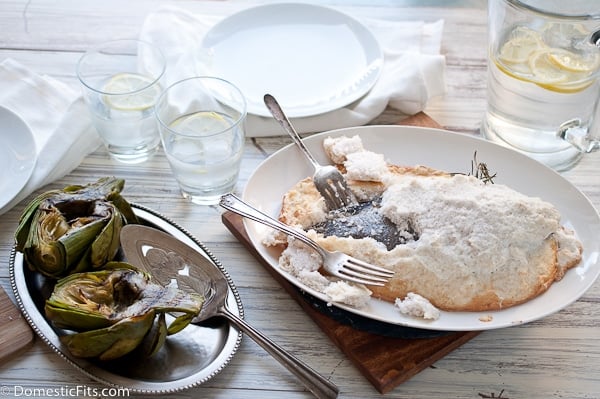
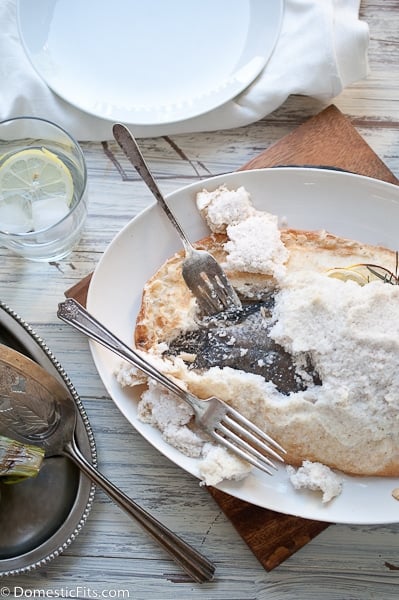
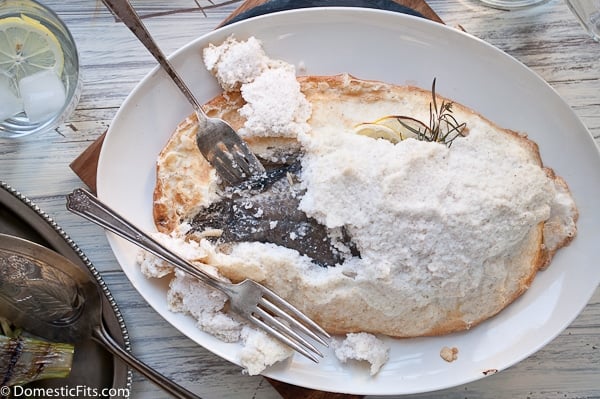
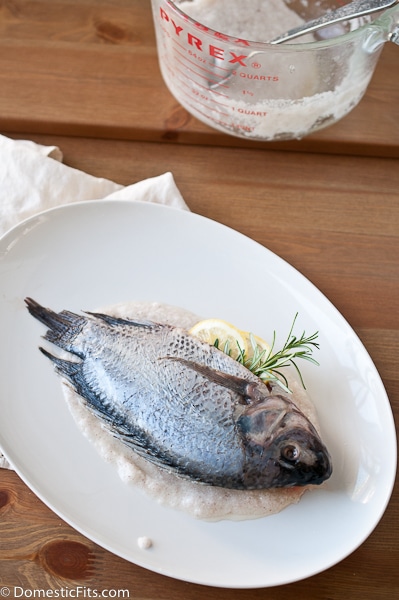
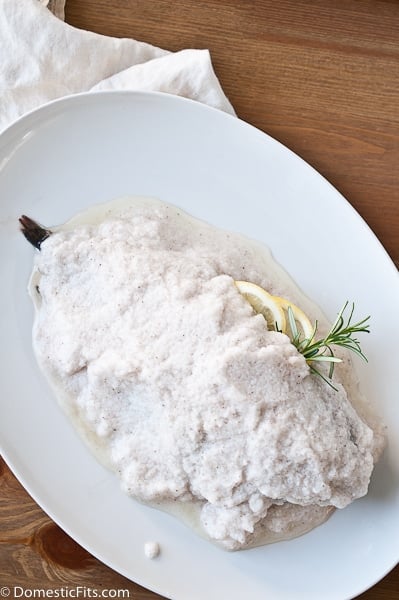
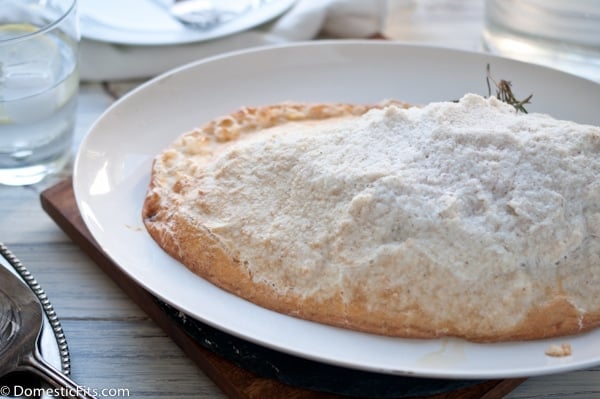
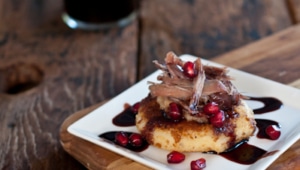
I’ve started to think about dishes that have made an impact on me over the years, a salt roasted whole fish I ate in italy, curried soup I had in New York, even pancakes from my Grandfather. I didn’t grow up in a culinary family, I grew up in a defrost-and-feed family and decided I wanted to figure out this cooking thing when I was in High School. I met a guy who was older than me, SO old, in fact, that he had his own apartment. I wanted to impress him, so I offered to cook him dinner. Newly licensed, I drove to the grocery store all by myself for the first time. I had planned to buy steak and try to figure that out, but a combination of seeing these tiny chickens and realizing how expensive good steak was made the decision easy. Two "tiny chickens" were only $4, and I peeled the price tag off so that he wouldn’t know how cheap I was.
I just rubbed them with butter (probably margarine, to be honest) and salt and pepper, and cooked them until I thought they were done. They turned out amazing, I think I was more impressed than he was. It was my first official Kitchen Win, Roasted Cornish Game Hens at 16 years old, in the kitchen of a crappy post war era apartment off George Washington Way.
I haven’t made them since (until now), and I can’t even tell you why. I make roast chicken all the time, and this is just as easy, and if you are having a dinner party, it’s really impressive, everyone gets their own tiny chicken. You don’t even have to tell them how cheap they are.
A beer brine is incredible, the combination of the subtle flavors and the meat tenderizing properties of beer give you a fantastic final product. I usually use brown ale, I love the notes of molasses and nuts that are easy to find in brown ales. I remembered Brother Thelonious from North Coast, a strong, dark, Belgian Style Abbey Ale . The notes of nuts, fruit, malt, brown sugar and cherries, along with a relatively high ABV of 9.3%, it was exactly what I was looking for. North Coast is a stellar brewery out of Northern California, that has brought us such hits as Old Rasputin and PranQster. North Coast has been preaching the craft beer gospel for 25 years, producing beer that is diverse and on point, you’ll never hear anything but praise out of me for North Coast.
Another reason to enjoy the Brother Thelonious is that a portion of the proceeds go to support the Thelonious Monk Institute of Jazz, It’s a beer with a mission.
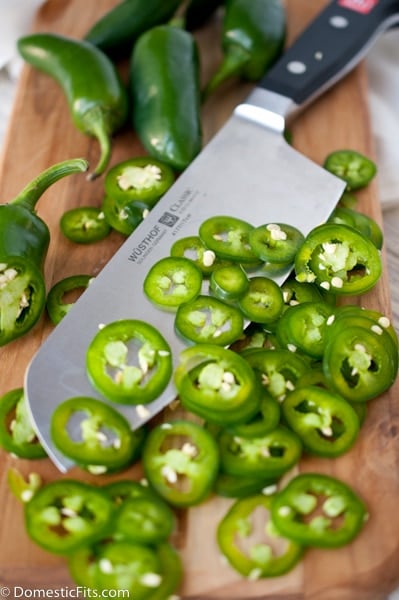
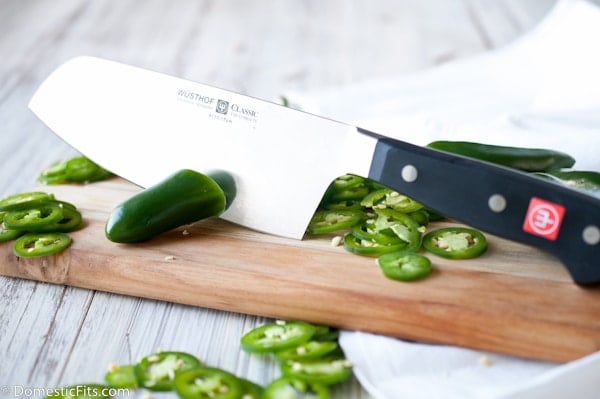
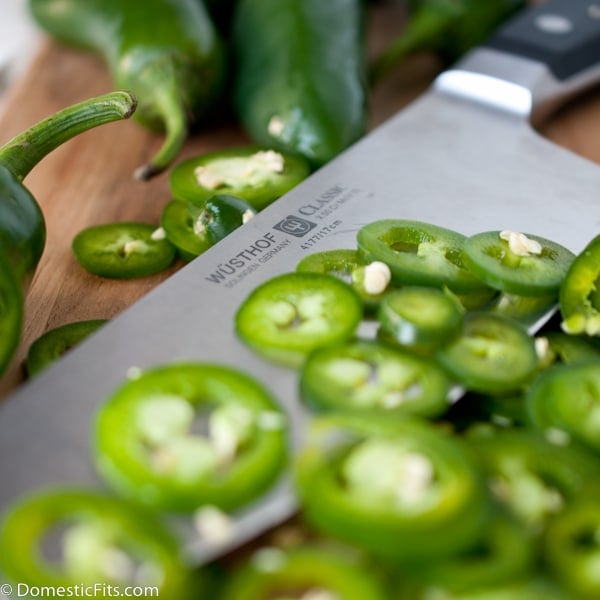
The sauce can be made with what you have "leftover" from the beer brine, but let’s be honest, it probably won’t last that long. You can also use a lighter wheat beer, or a pale ale. Just a warning, alcohol intensifies heat so the higher ABV you use, the higher the heat level will be. Removing the seeds from the pepper gives you a greater control over the sauces final heat level. Most of the heat of a pepper is found in the seeds, with almost no flavor.The flesh of the pepper still has significant heat, but also contains the flavor of the pepper. If you are worried about the heat not being high enough, reserve some of the seeds and add them into the sauce as needed.

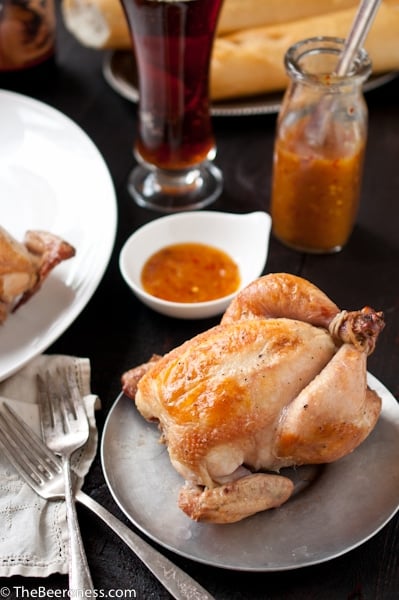
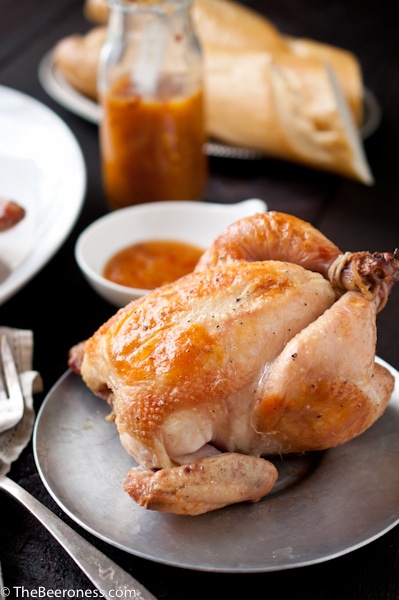
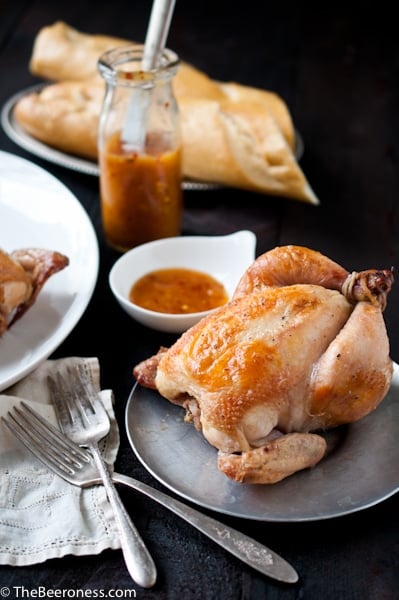
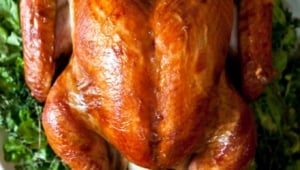
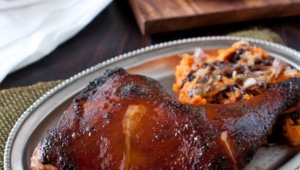
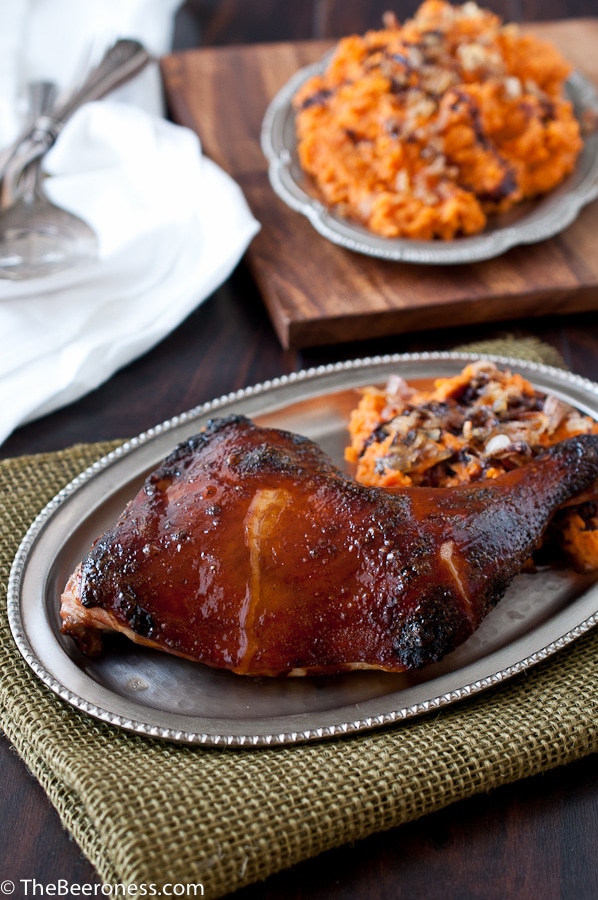
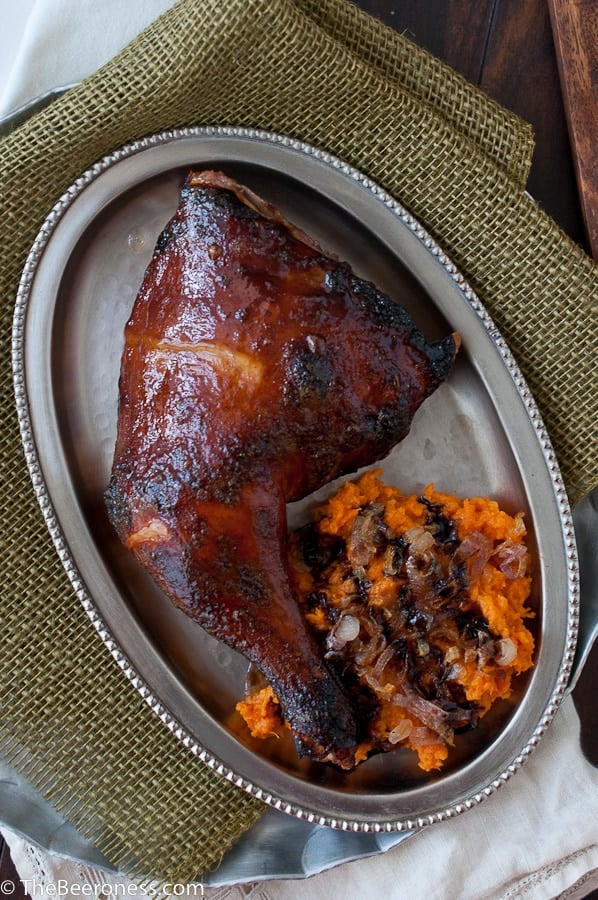
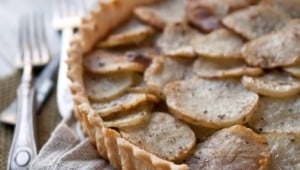
Beer Brined Roasted Cornish Game Hens with Orange Chili Sauce
Ingredients
For the chicken:
- 12 ounces Belgian ale wheat beer, or brown ale
- ¼ cup kosher salt
- 2 tbs white sugar
- 1 tbs whole cloves
- 2 cups ice
- 2 Cornish game hens 1.75 to 2 lbs each
- 1 large lemon
- 2 tbs melted butter
- ½ tsp salt
- ½ tsp pepper
For the sauce:
- 1 habanero chili
- 2 cara cara oranges juiced (about 1 cup)
- 1 tbs corn starch
- 1 tbs white sugar
- ¼ cup wheat beer
- 1 tbs white vinegar
- 1 tbs red chili flakes
Instructions
- In a pot over medium high heat, add the wheat beer, salt, sugar and cloves. Cook, stirring frequently, until the sugar and salt have dissolved, remove from heat. Add the ice, stir until dissolved.
- Rinse the game hens inside and out, place together in a large bowl. Pour the brine over the hens, refrigerate for 6 to 12 hours.
- Preheat oven to 425.
- Remove hens from brine, rinse thoroughly and pat dry.
- Place in a roasting rack of a roasting pan or on a wire rack on a rimmed baking sheet. Cut lemon into quarters. Place one quarter into each hen, place the remaining two in the roasting pan beneath the hens.
- In a small bowl combine melted butter, salt and pepper.
- Brush the hens liberally with the butter mixture.
- Roast at 425 for 45 minutes or until the internal temperature reaches 165.
- While the hens are roasting, make the sauce. Using gloves remove the seeds from the habanero, discard seeds and stem, chop remaining pepper.
- Add habanero, orange juice, cornstarch and white sugar to a saucepan over high heat, whisk frequently until mixture has thickened. Remove from heat, add beer and vinegar, bring to a boil just until re-thickened, stir in about half (1-2 tsp) of the 1 tbs chili flakes. Taste sauce, add additional red chili flakes for a higher level of heat.
- Serve the orange chili sauce in small sauce dishes along side the hens for dipping.
Notes


